Keezer teaser....

Homebrew Talk - Beer, Wine, Mead, & Cider Brewing Discussion Forum

Help Support Homebrew Talk - Beer, Wine, Mead, & Cider Brewing Discussion Forum:

This site may earn a commission from merchant affiliate links, including eBay, Amazon, and others.

mthompson

Well-Known Member
Joined
Sep 2, 2008
Messages
537
Reaction score
50
Location
Plymouth
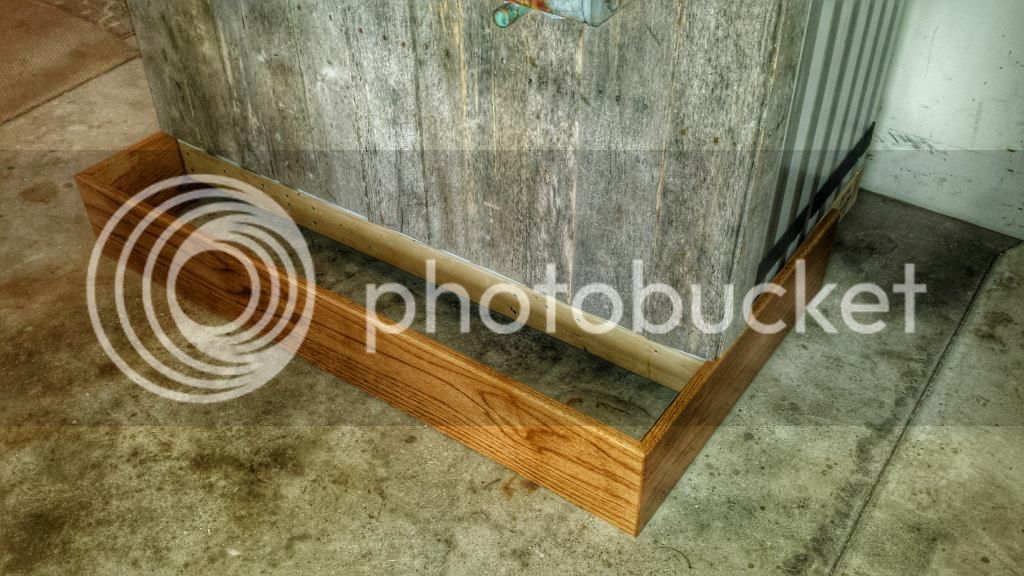
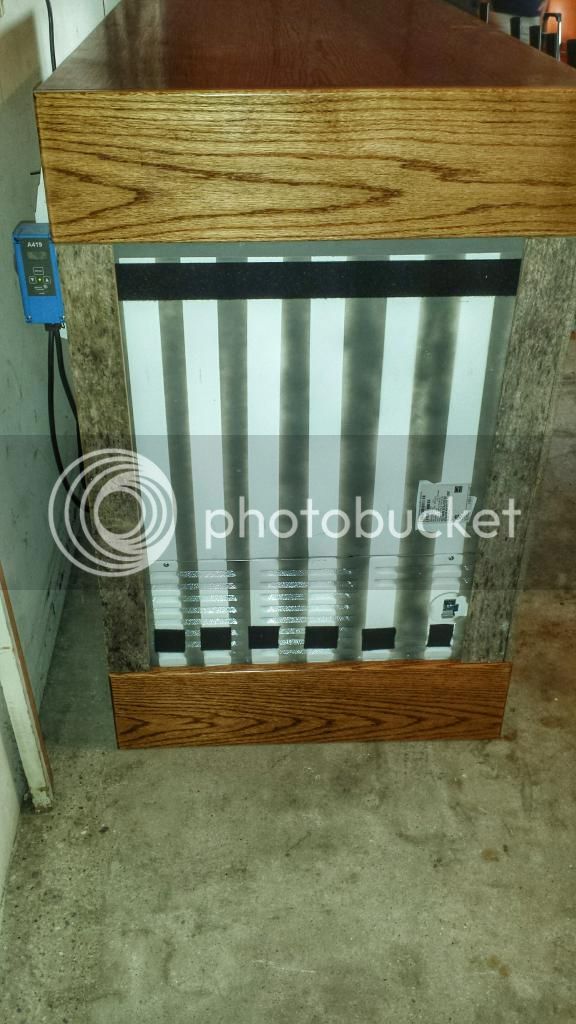
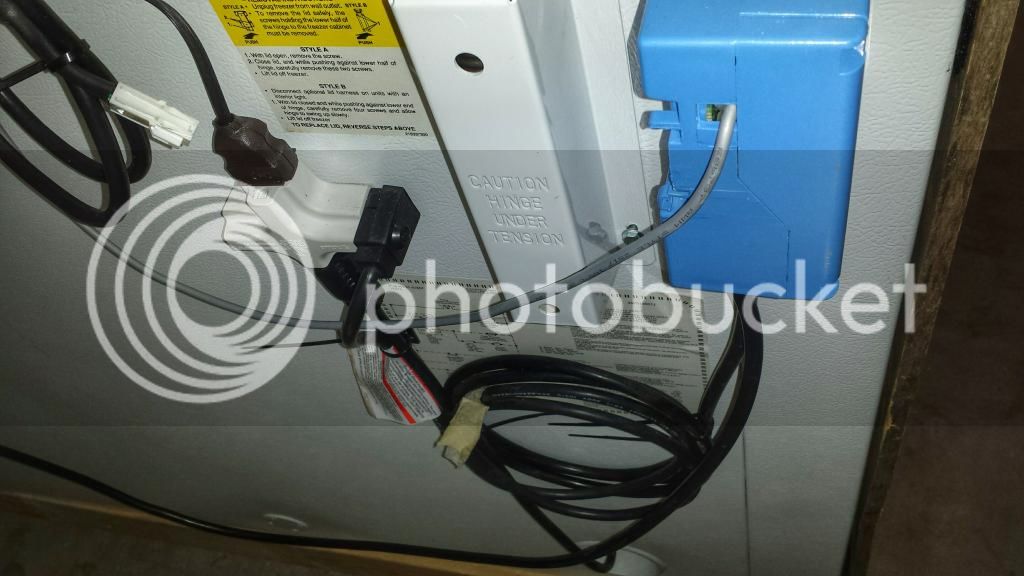
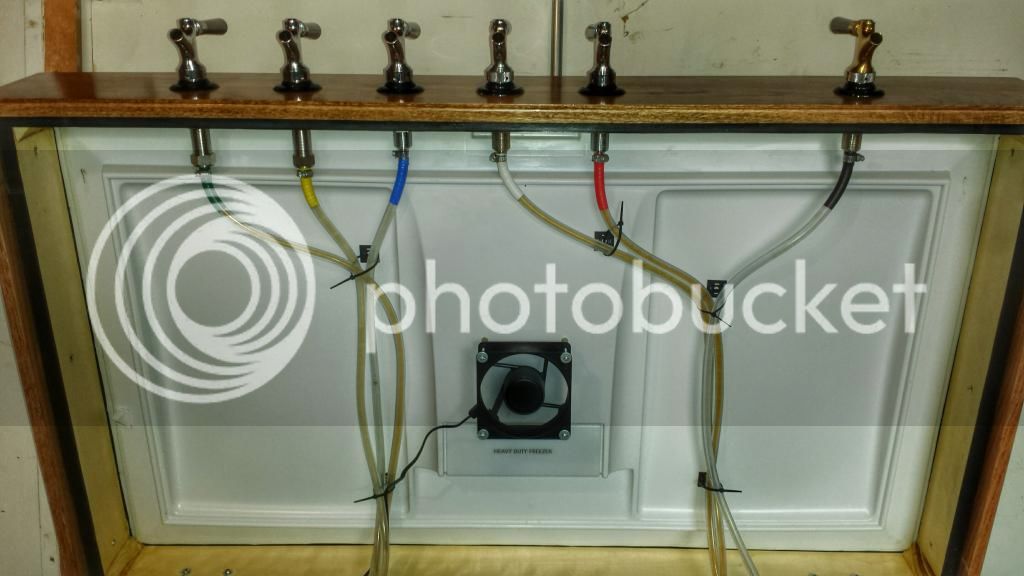
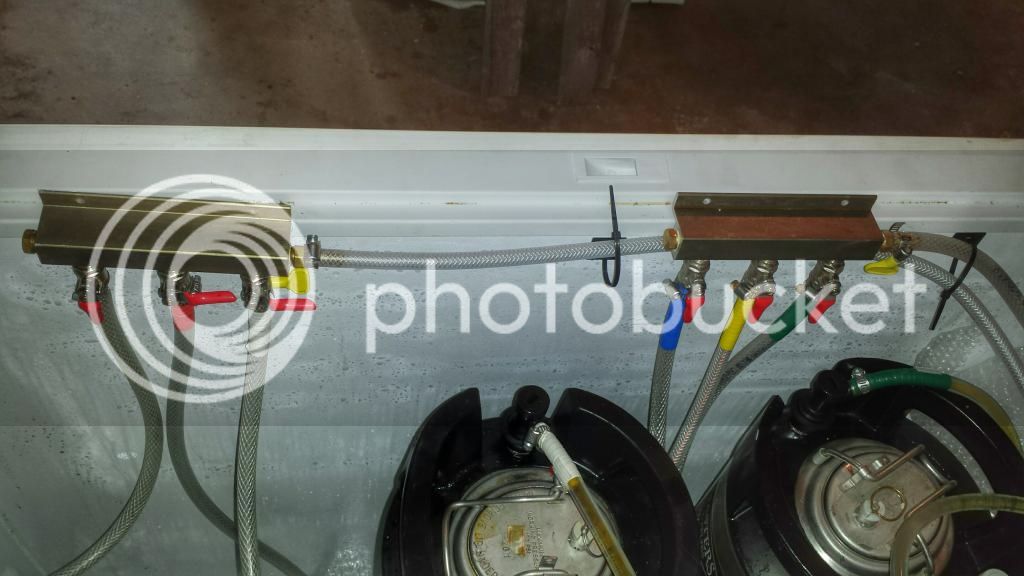
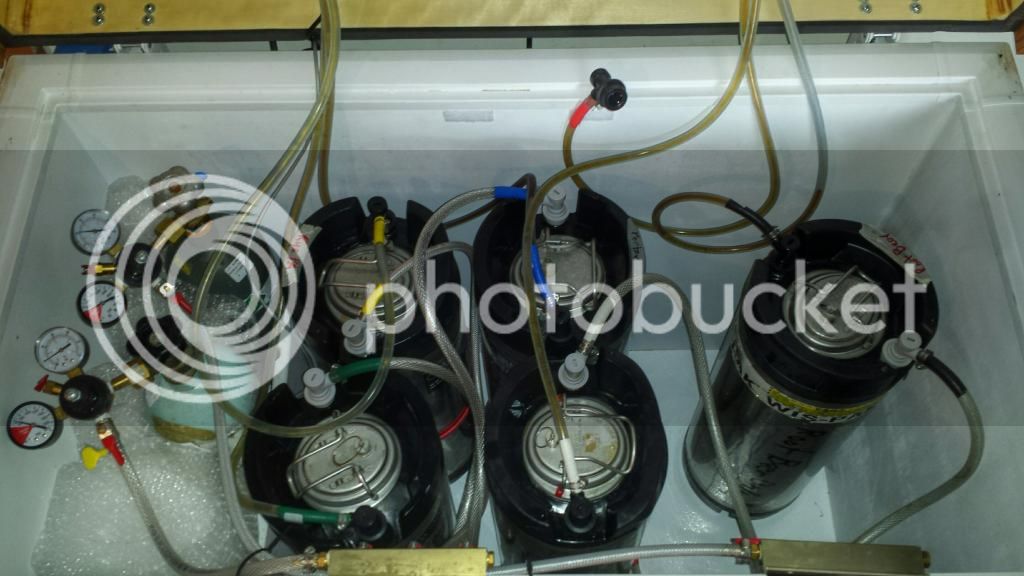
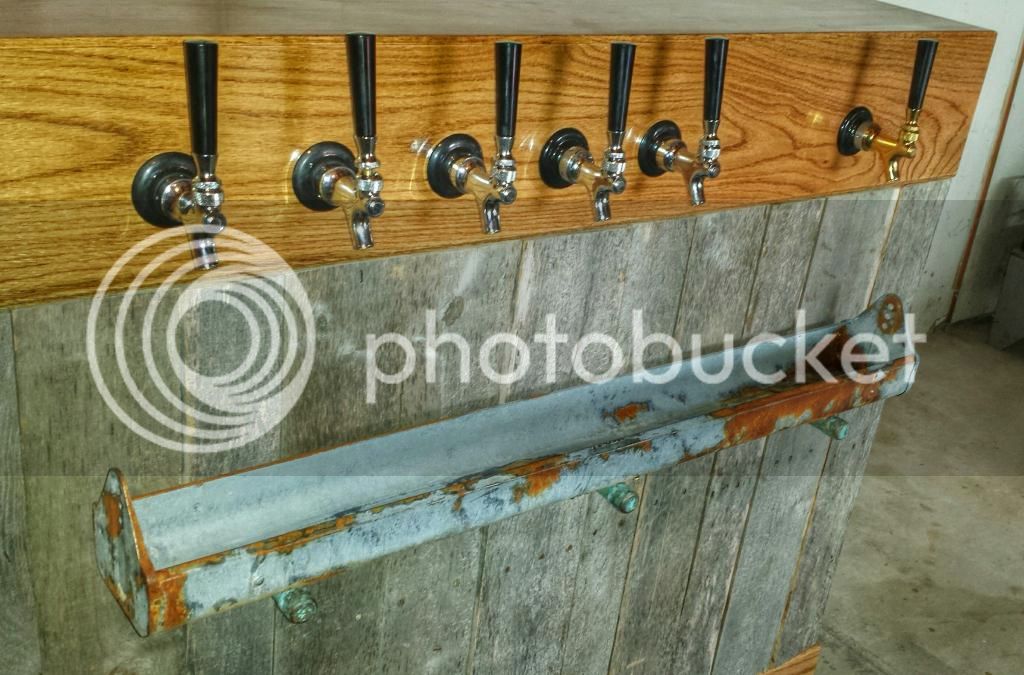
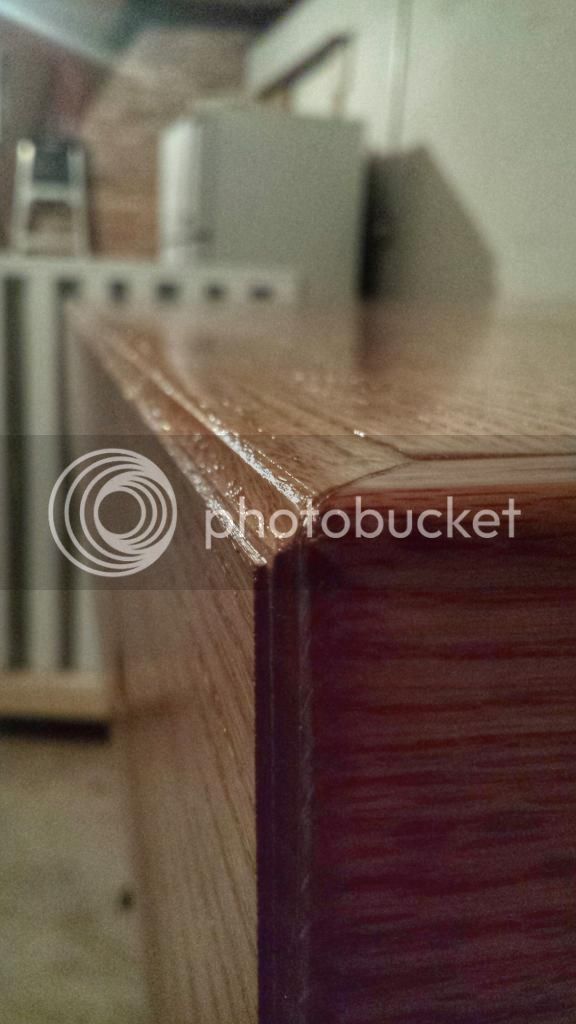
I've been building a keezer for my in-laws, whom over the past few weeks have been on vacation in Oregon and now camping....

I have been texting them "keezer teaser" pics to mess with them a bit.

Thought I'd do the same with you folks. :ban:

It will be completely done on Friday, just in time for its maiden voyage at our friends' vow renewal ceremony/party.

So, without further ado, here are a few teasers. :mug:

20140727_2104522_zpsittjb2dg.jpg


20140731_0942012_zpsv8kr9z34.jpg


p.s. - I'll update with the final product soon.
 
20140802_2047342_zps1hbworm6.jpg


I know I like to see the finished product early in a build thread, so here it is near the end of the party last night.

I'll get some pics up of the build when I get it back home and can take some good ones of the details.
 
The collar is two parts, one 1x4 aspen board inside with sticky foam on both top and bottom for a good seal. Then the oak decorative facia glued and screwed to that, overlapping the lid and chest.
20140803_1551412_zpsfeydluxa.jpg


The top is a 1/2" plywood as a base, glued and screwed to the top, then oak veneer glued on top.

2x4 cart with 4" poly casters. The decorative shroud matches the top facia and just slides into place.
20140803_1549332_zps9a5n93jx.jpg


The weathered pallet wood is simply attached using industrial velcro. Gray spray paint hides the white showing between the gaps in the uneven pallet wood.
20140803_1548172_zpsqwvbsvyg.jpg


Electrical is all wrapped up on back along with the temp controller.
20140803_1546442_zpscfoxwzbi.jpg
 
Drip tray is a 36" chicken feeder with a few pieces removed. Took the galvanizing off with some muriatic acid, then rusted it with salt/vinegar spray solution and leaving outside for few days. It's held up by some floor flanges and copper fittings and pipe... Also patina-ed with ammonia/vinegar/salt and left outside.
20140803_1548492_zpsmupjd64t.jpg


Internals are pretty standard. Color-coded beer and gas lines with electrical tape.
20140803_1550232_zpsxvtnu3tc.jpg


20140803_1550342_zpsh6j3vymd.jpg


Velcro holds the extra beer lines up for easy access.
20140803_1550472_zpsgbqlvrku.jpg


5 taps for beer and a separate tap dedicated to root beer for the young-ens.
20140803_1548372011_zps6a2a4fec.jpg
 
We're still searching for a nice antique bottle opener for in between the beer and root beer taps.

We also have tap handles to make....
 
MT - I really dig the weathered pallet wood for the exterior. I was going to ask you if it was reclaimed barn wood because it has the same appearance as barn wood. Nice ingenuity on the drip tray. Very cool. Job well done.
 
MT - I really dig the weathered pallet wood for the exterior. I was going to ask you if it was reclaimed barn wood because it has the same appearance as barn wood. Nice ingenuity on the drip tray. Very cool. Job well done.

We had barn boards too, but they were too wide for this project. It would only be 4ish board across the front, and they were mostly red-painted and weathered.

The pallets had been sitting outside for 2 years and worked great.
 
This is the coolest keezer I've seen on this site, excellent work, it is gorgeous!
 
Great use of the aged pallets. I can't tell from the pics, but did you manage to get the joints tight and flush, or did you allow for some gaps and fluctuations in the boards? I have the wood from a few old pallets (some had been branded with built dates from the 60's) that I was think of using for a keezer build. SWMBO cant visualize what I wanted to do, but this should do well to explain it.
 
Thanks everyone for the compliments. I've built a lot of things in my life. This has got to be the nicest overall... But I had a lot of dumb luck where things just seemed 'meant to be'.

For instance, the drip tray fits perfectly across all the taps... Except I drilled the holes more than a week before I even thought about a drip tray. And my father-in-law bought the taps, came home, and pulled the first one out.... Brass. All were supposed to be chrome... We already had one reserved for root beer, so that one is the brass one.
 
Great use of the aged pallets. I can't tell from the pics, but did you manage to get the joints tight and flush, or did you allow for some gaps and fluctuations in the boards? I have the wood from a few old pallets (some had been branded with built dates from the 60's) that I was think of using for a keezer build. SWMBO cant visualize what I wanted to do, but this should do well to explain it.

I trimmed a few boards so that the boards were closer to even in width across the face and sides of the freezer. Basically, lined up the boards in order (this takes some trial and error, and puzzle games). Then, measured the overlap and cut that total overlap length off a couple of boards so there wasn't just one skinny board. I tried to get the different width boards randomly spaced... This is part of the puzzle.

Does that make sense? I cut 5 boards total, I think. Three of those fresh cuts are hidden in the butt joints at the corners and the other cut ends are hidden on the last boards on the side. You can't see any of the cuts, just weathered portions show.

Other than that, the boards are rough and uneven. I also cut them to length so that the nail holes are roughly in line. My goal was to have a contrast between finished, jointed, top and bottom with the rough, weathered boards.

I painted the gray strips on the freezer to match with the joints in the boards. The white stuck out a lot in the gaps.

Velcro is the way to go, just mark the boards and sand/tack cloth the area before you stick it on. The velcro easily pulls off the weathering, and is useless for sticking afterwards.
 
Back
Top