Home Built Grain Mill - From Scratch

Homebrew Talk - Beer, Wine, Mead, & Cider Brewing Discussion Forum

Help Support Homebrew Talk - Beer, Wine, Mead, & Cider Brewing Discussion Forum:

This site may earn a commission from merchant affiliate links, including eBay, Amazon, and others.

EZCyclone

Well-Known Member
Joined
Jan 29, 2013
Messages
472
Reaction score
72
Location
Ames
I feel as though I'm posting this in some obscure corner of HBT being in the "Other" slot in the DIY section. Hopefully it will find those who can use the information within.

So after lots of thinking and pondering, I finally decided to build my own grain mill rather then shell out the Mula for a Monster. I often am killing 50#+ of grain a day and the current homebrewer mills just don't cut it for me. So, off to the machine shop I went.

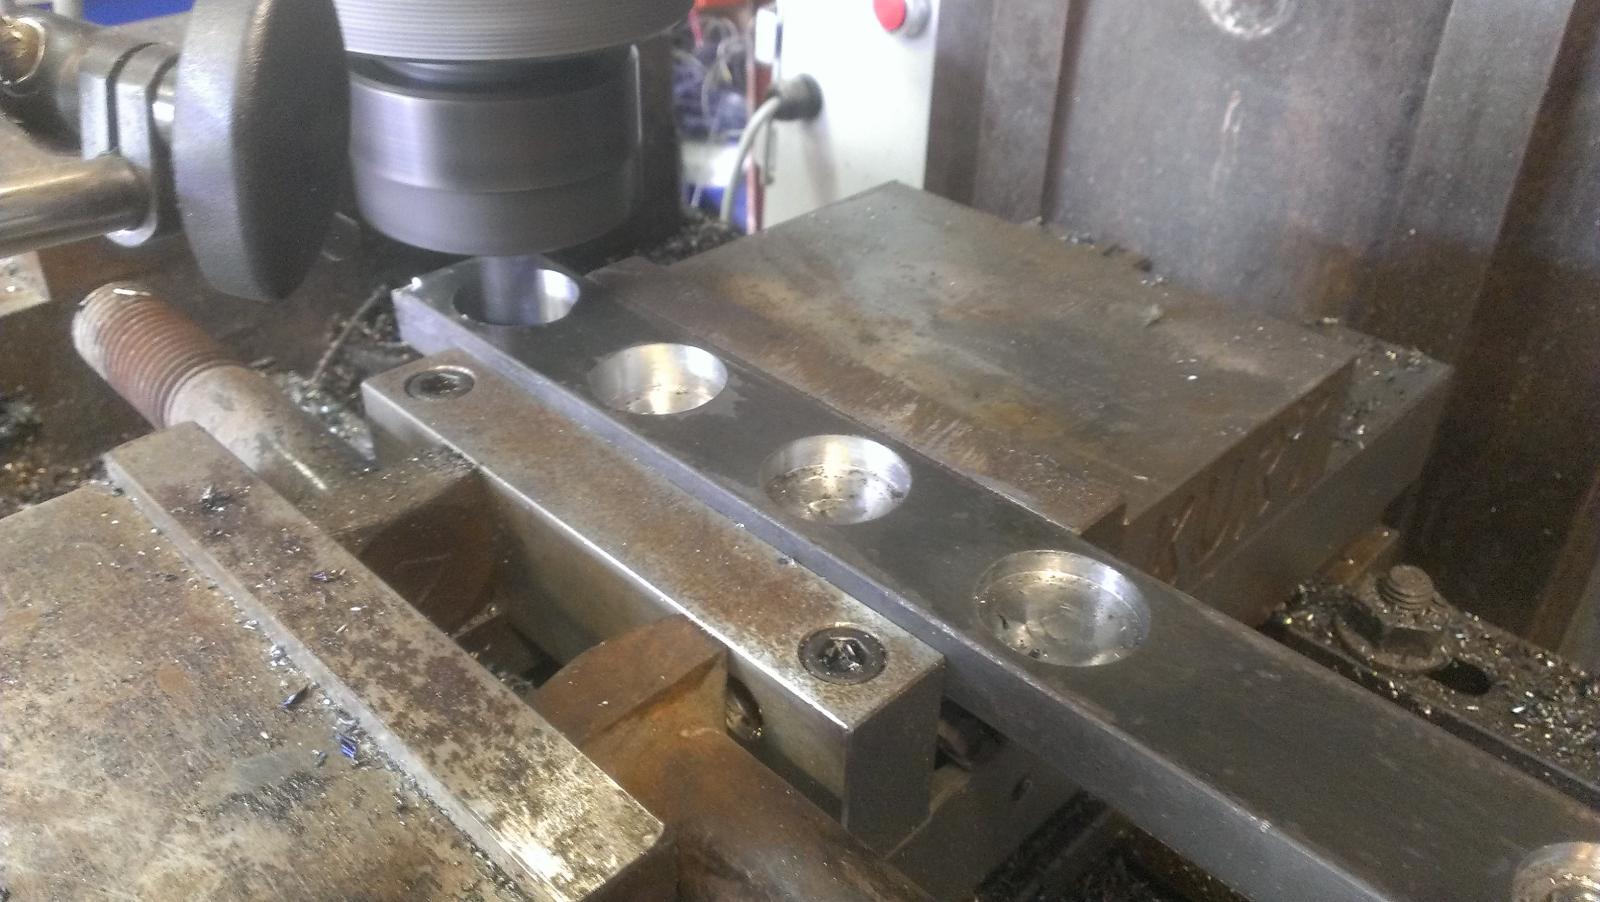
On the way to my shop I picked up some 3" rhot rolled round bar and some flat steal stock for milling up the bearing blocks. The angle was some stuff we had just laying around.

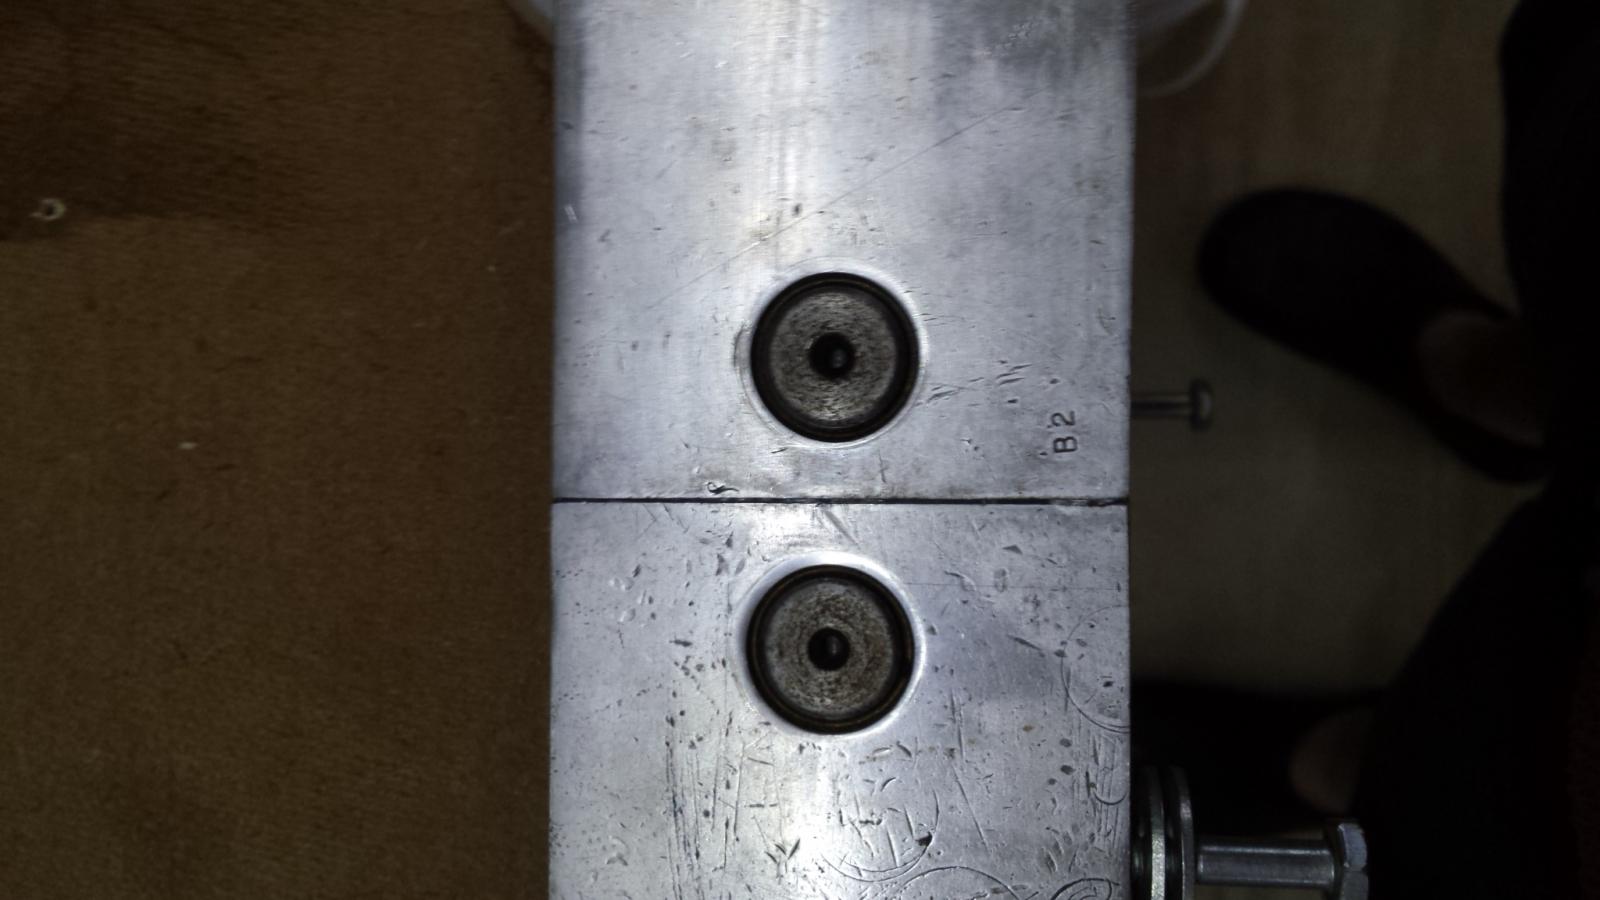
Bearings were some left over from a CNC mill I built a while back. I want to say they are 45mm x 15mm

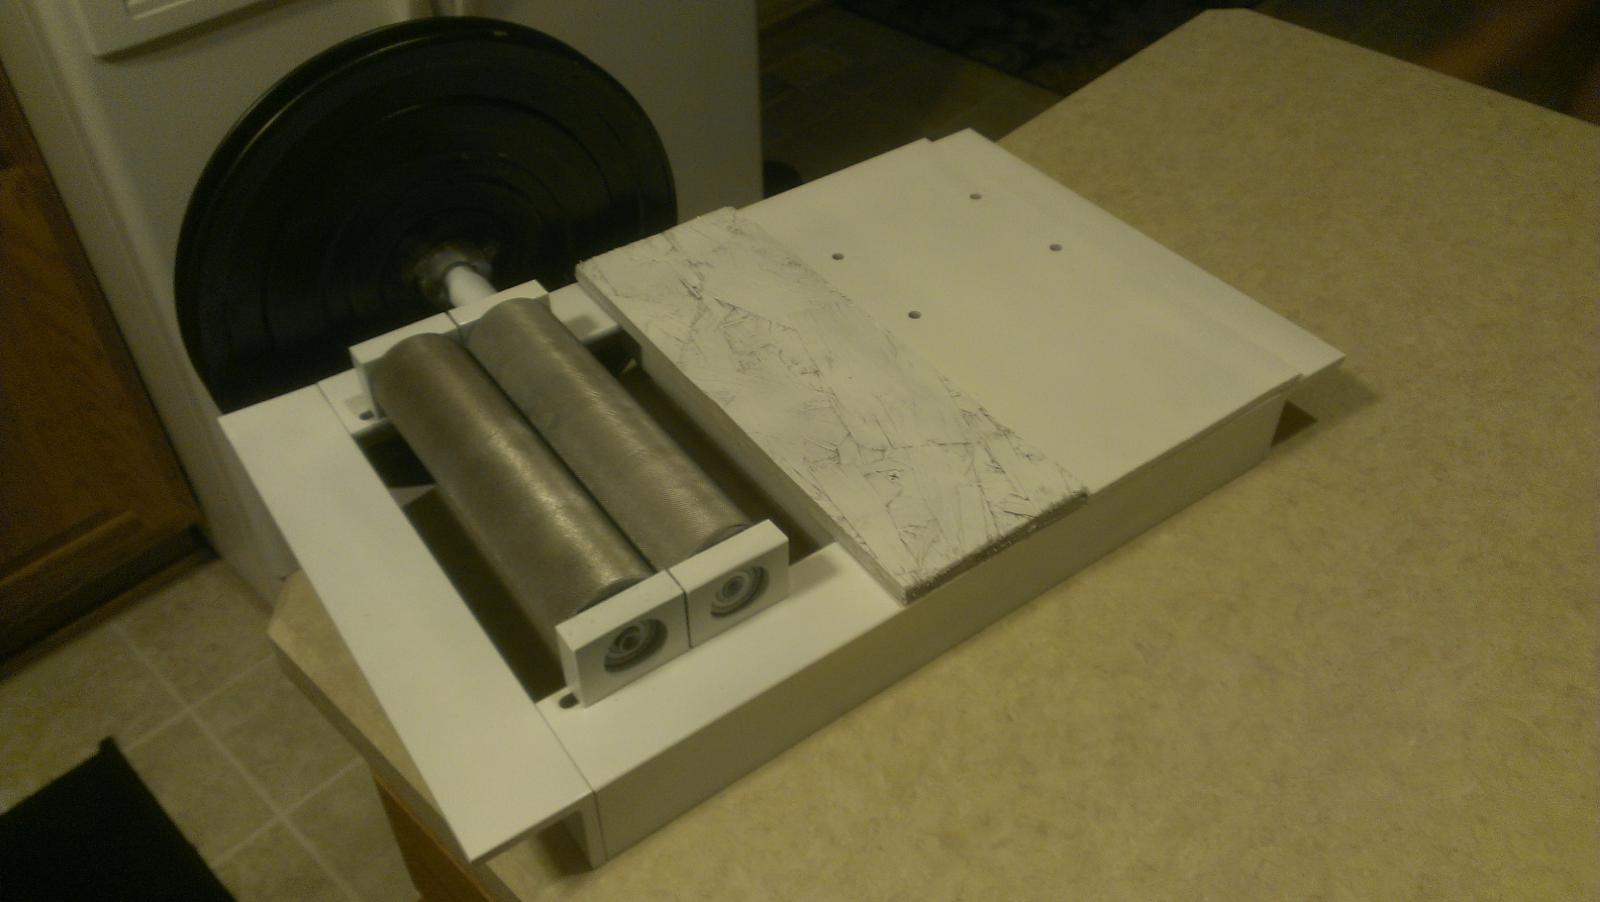
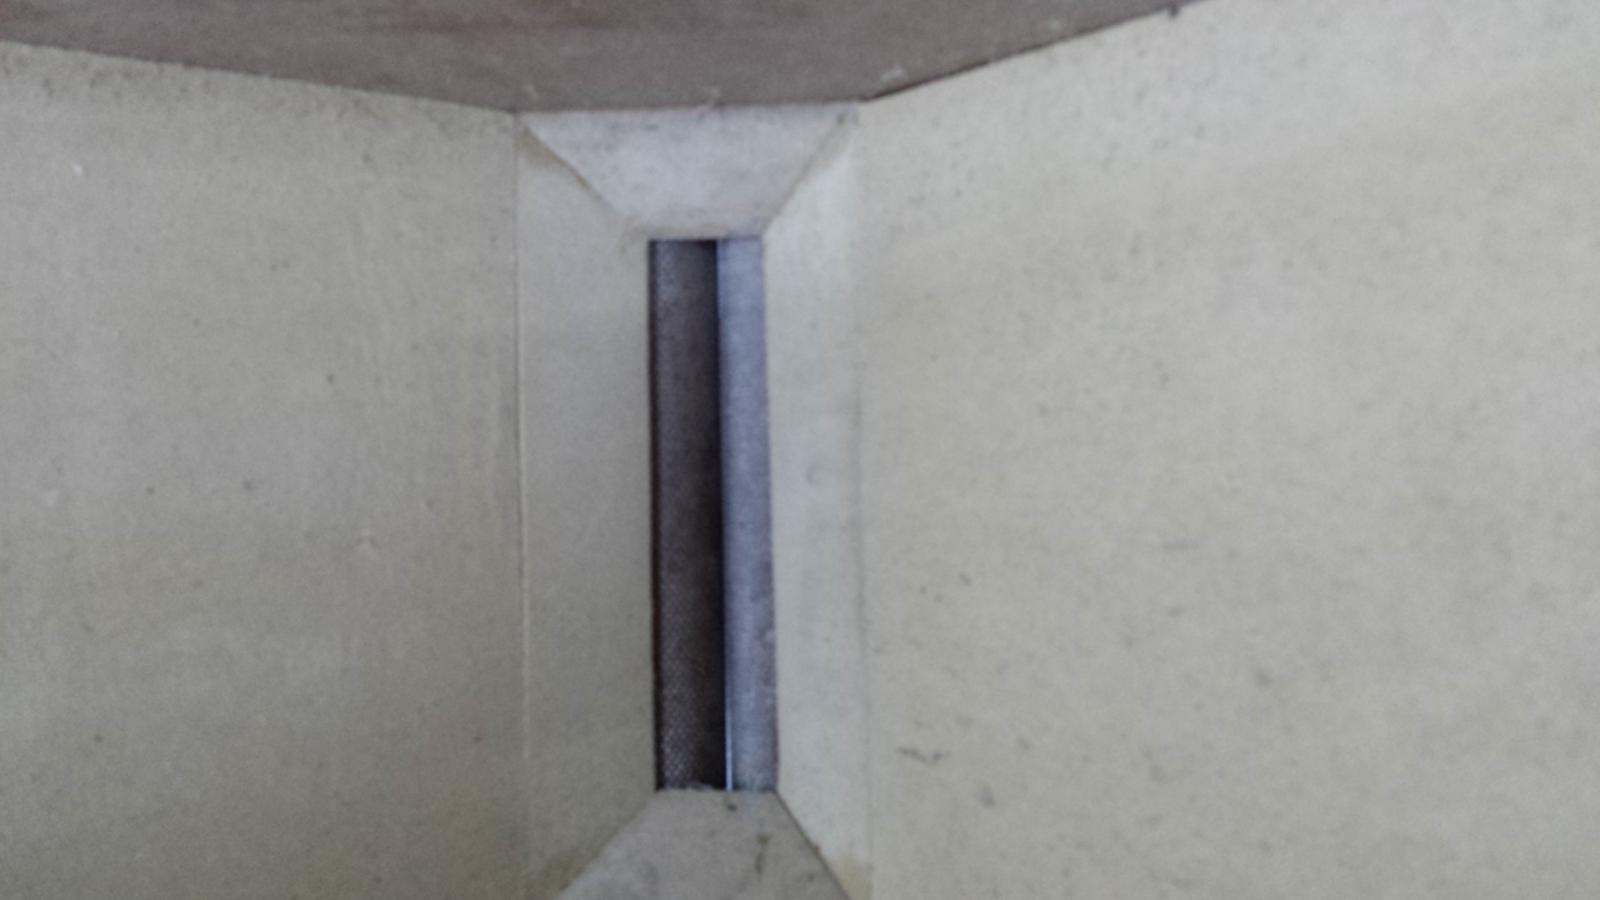
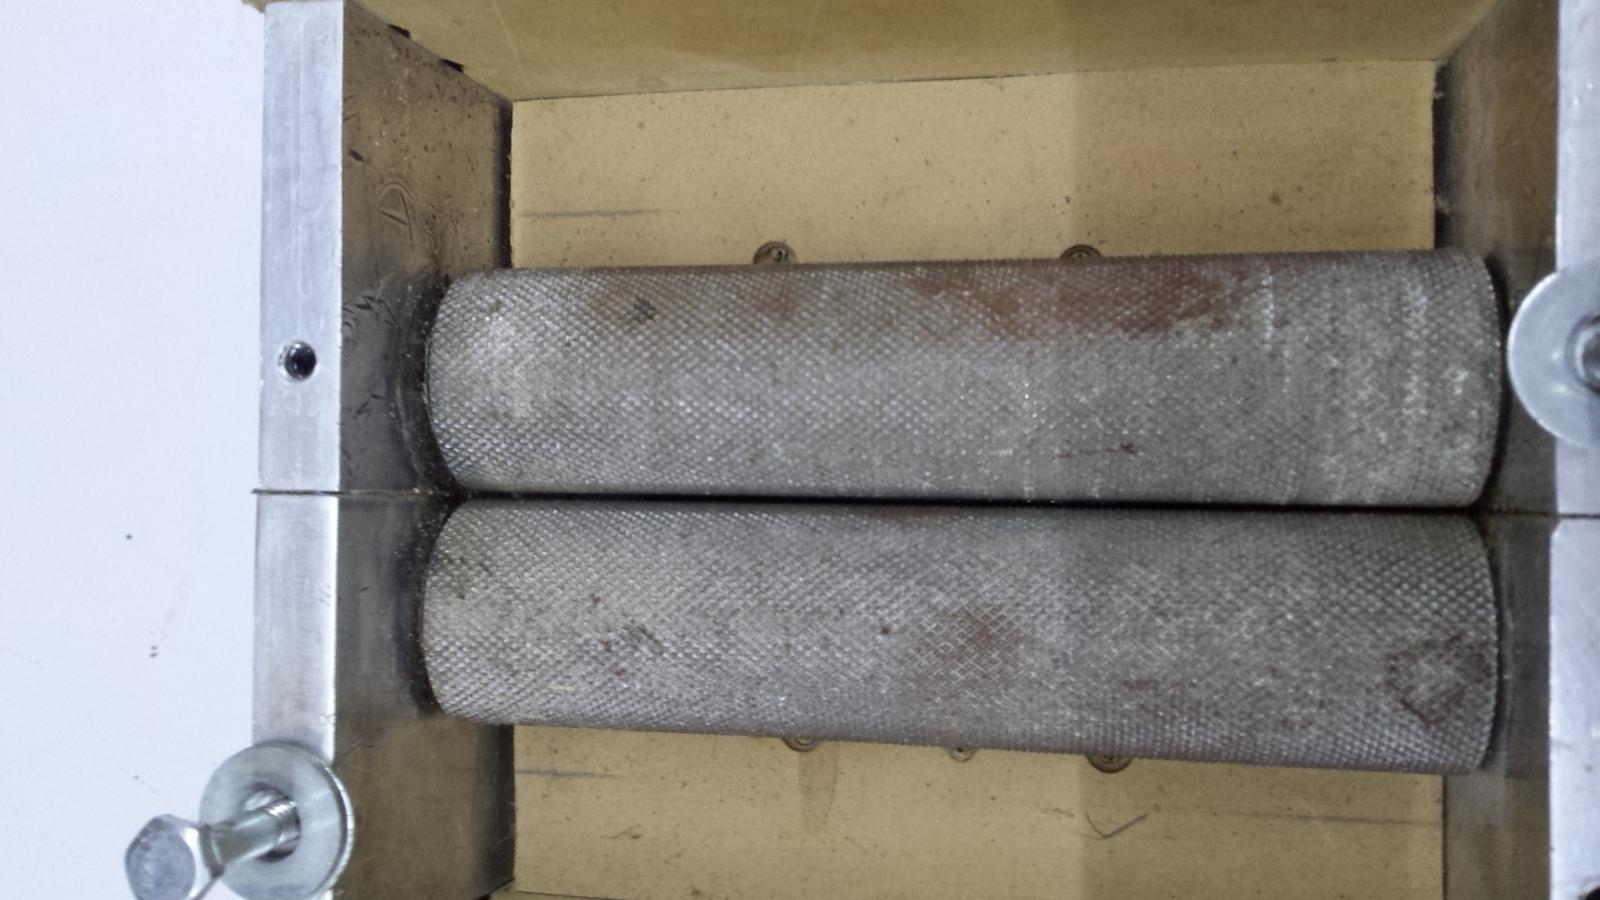
Rollers are 2 7/8" by 10" long. Shafts are 5/8" dia.

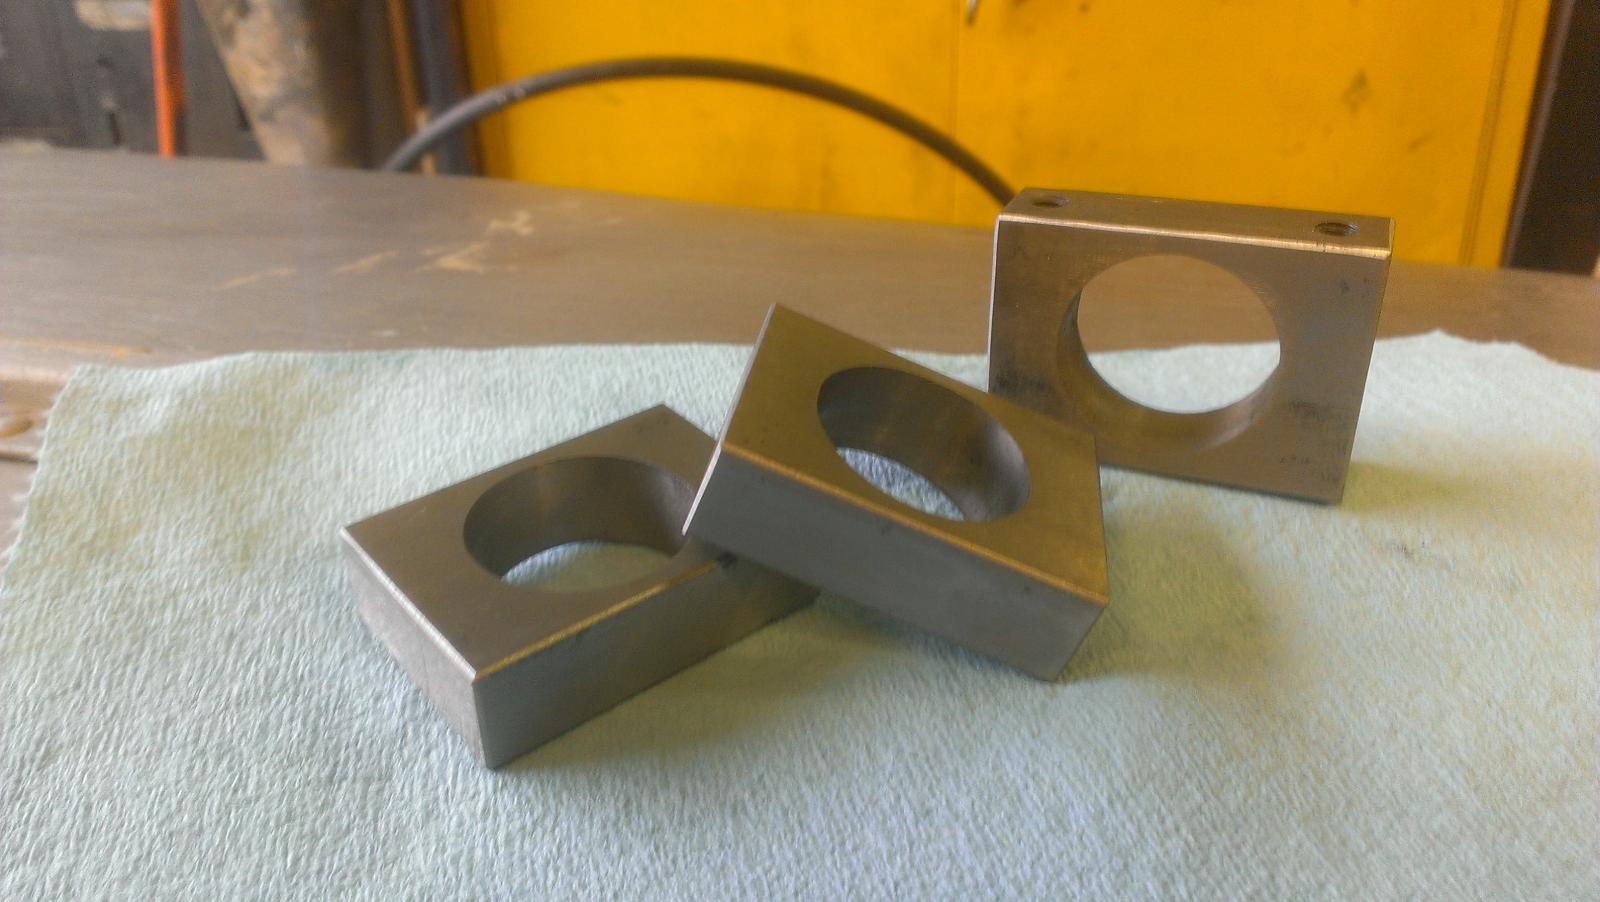
Bearing blocks were milled from 1"x 2" bar stock and are now .75"x2"x3"

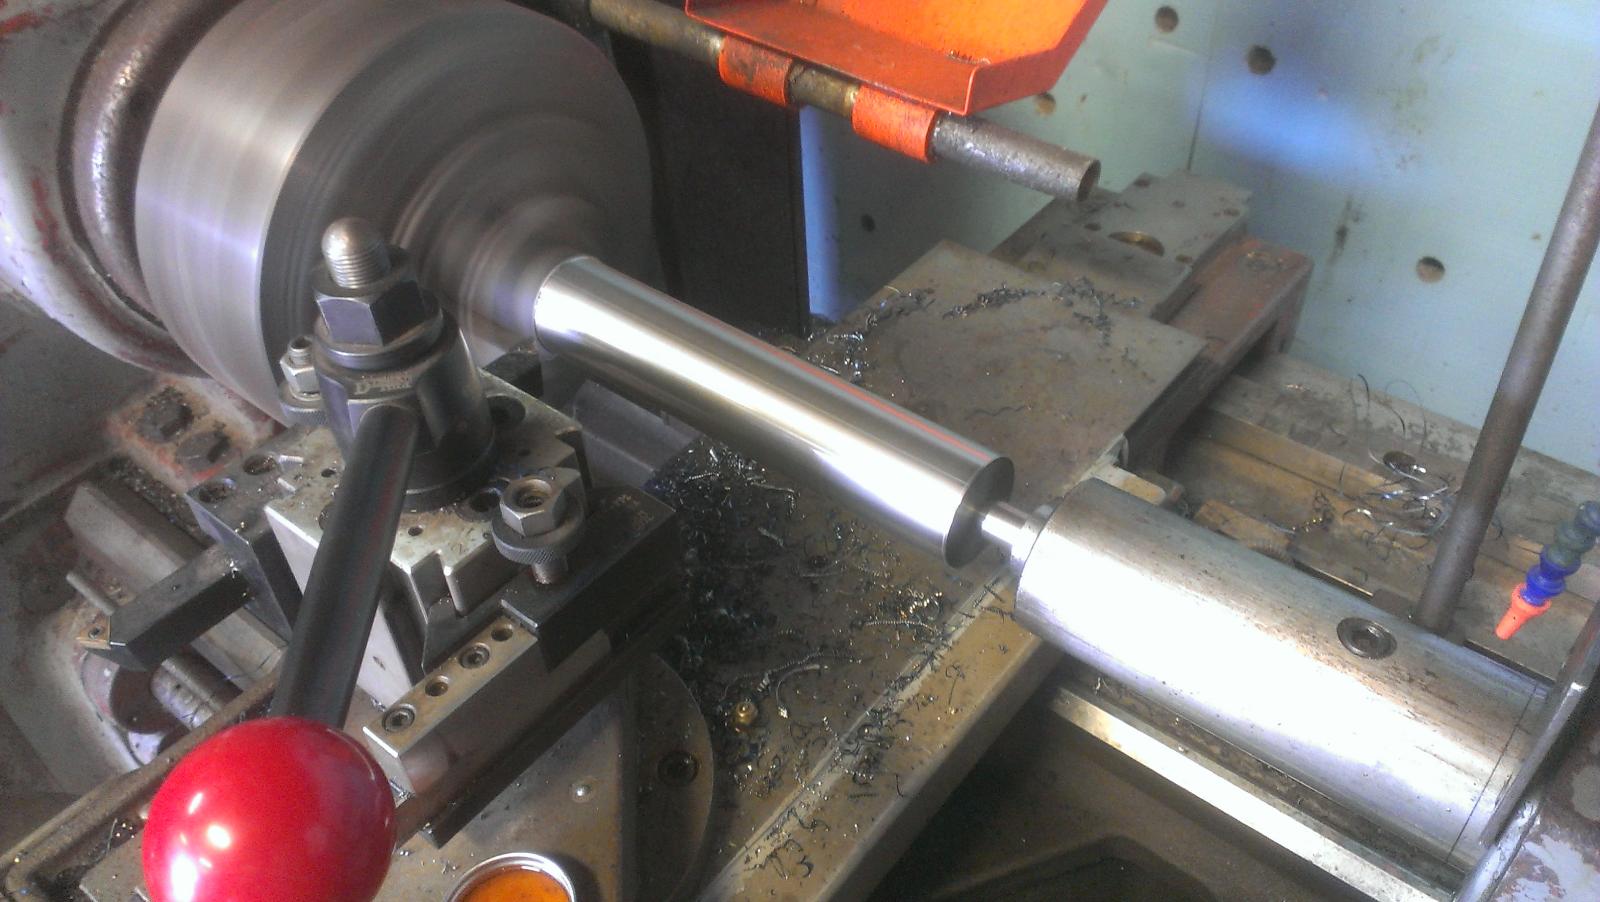
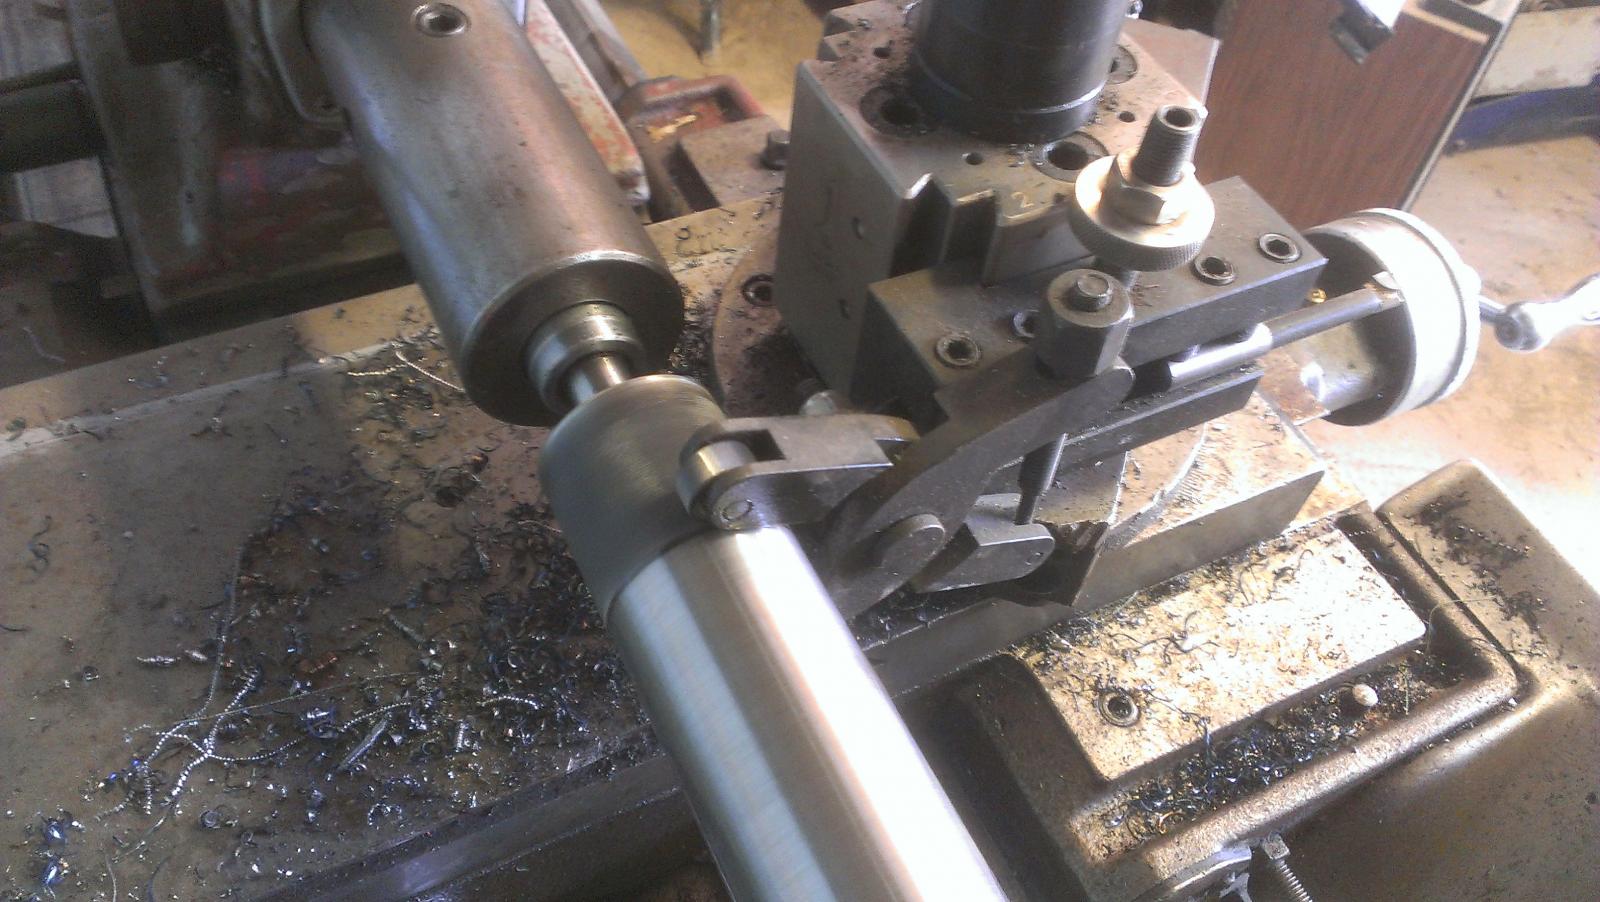
The first pic is of descaling the round stock, then putting the knurl on it.
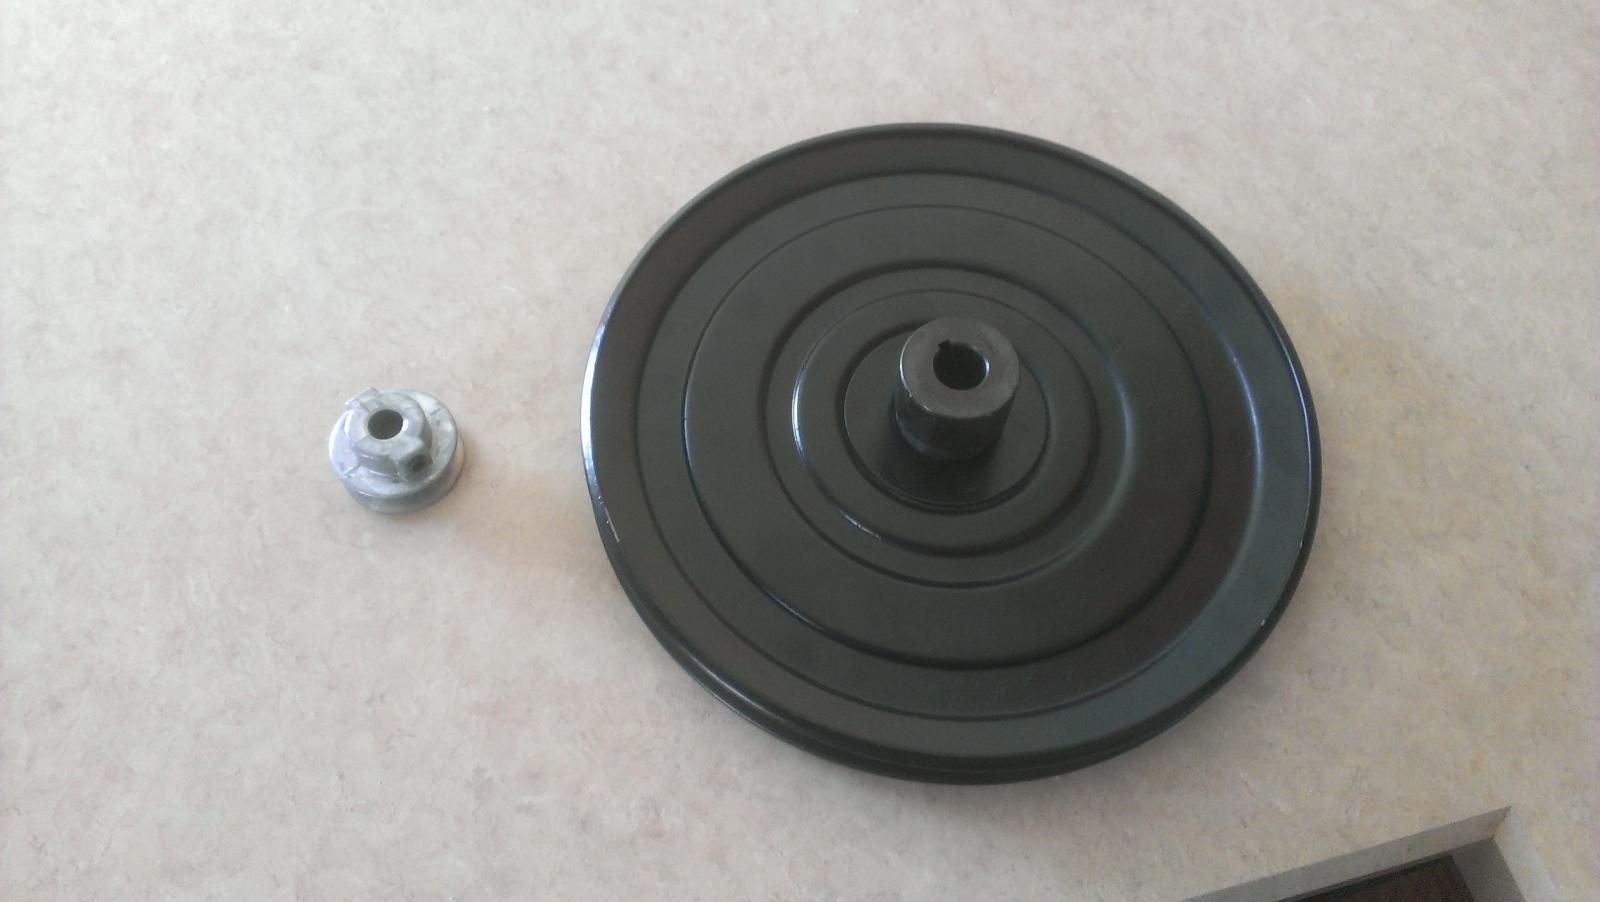
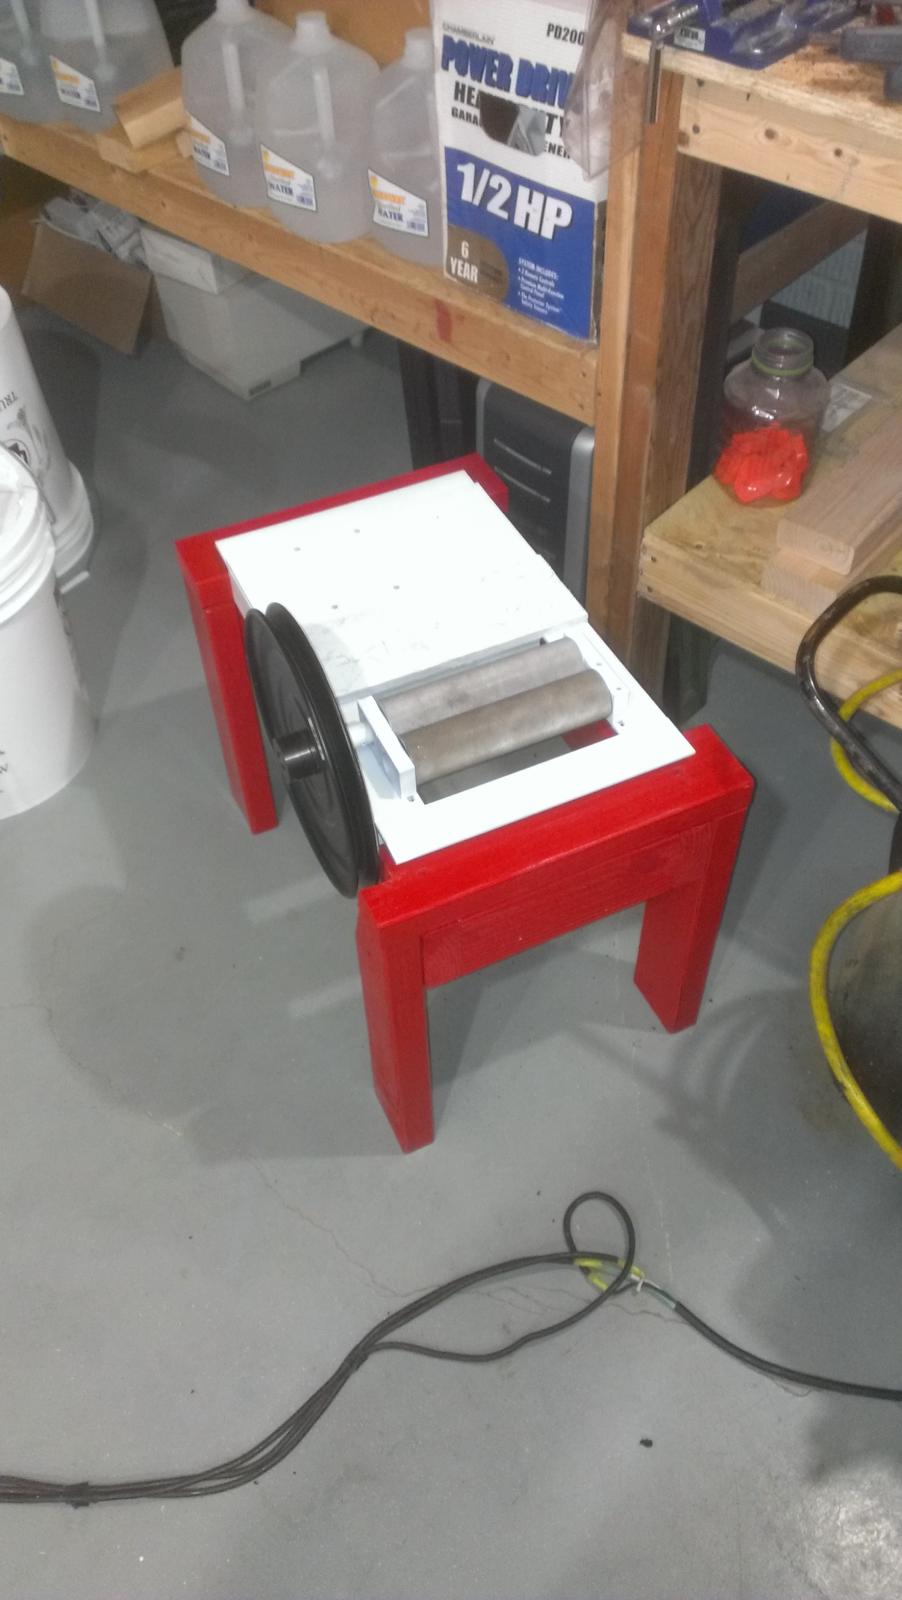
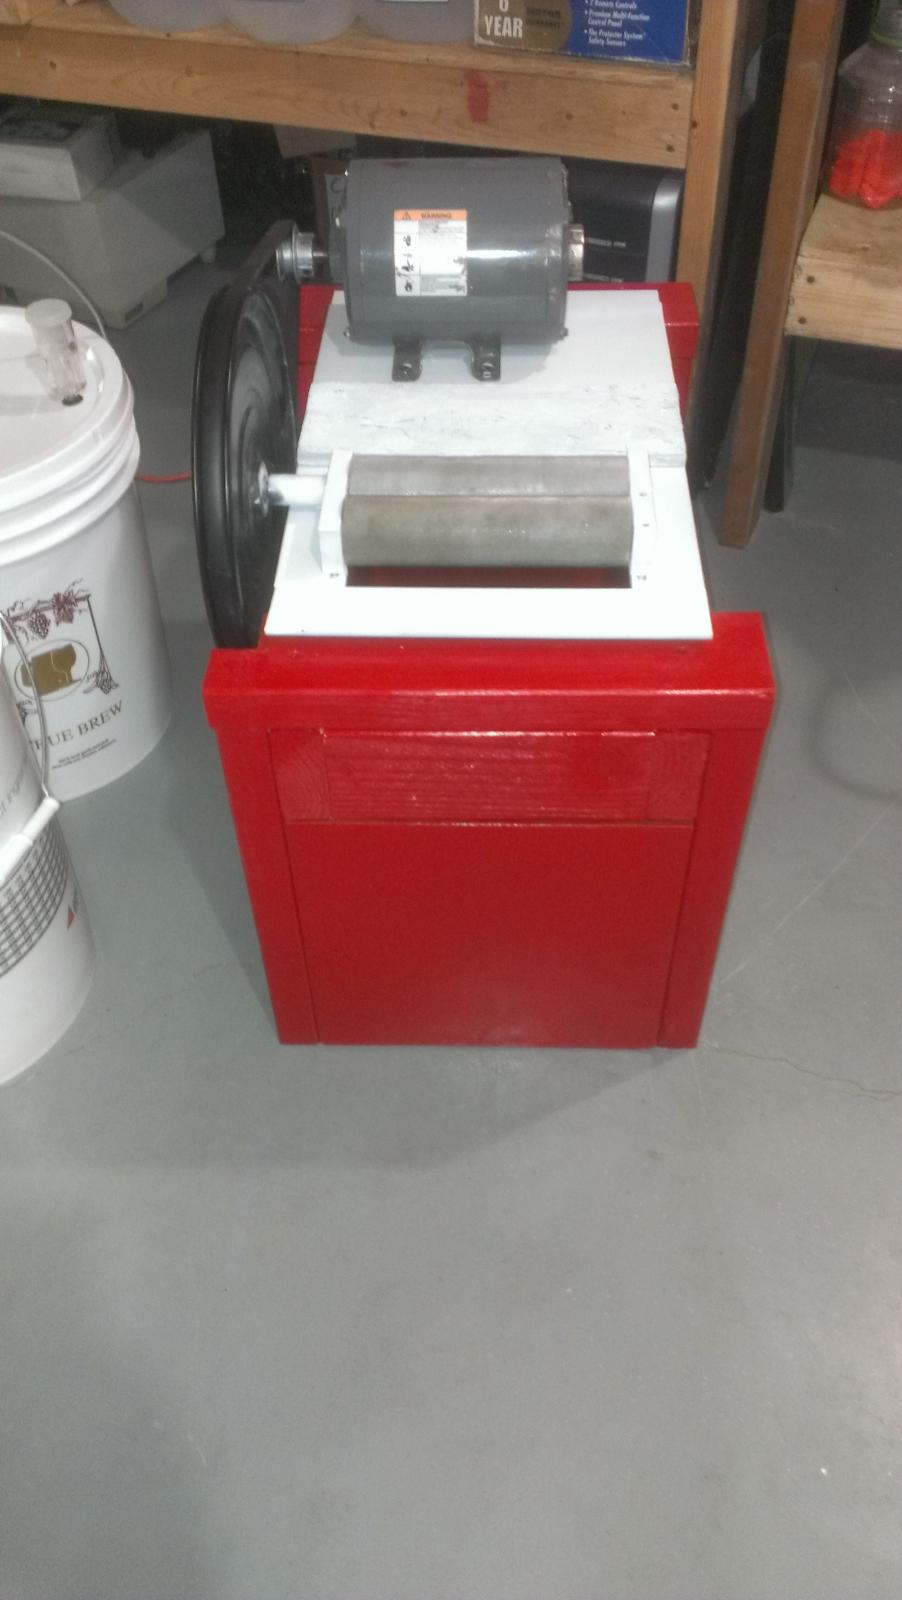
The next pics are milling the bearing blocks on the CNC, and then them after they were finished. The next images are test fitting everything on the new frame. The motor is a high torque 1HP split phase. You can see here my first pulley arrangement. I had one marked 4 inch I just grabbed out of the bin, and swung by the store and bought one marked 2". I figured a good starting point was at somewhere around half of the motors 1750RPM. Of course the 4" pulley was actually 3.5" and the 2" pulley was actually 2.5" so my gear ration ended up being 2:1 it was 1:0.784, giving me a speed of 1,249RPM instead of the 862RPM I was after.

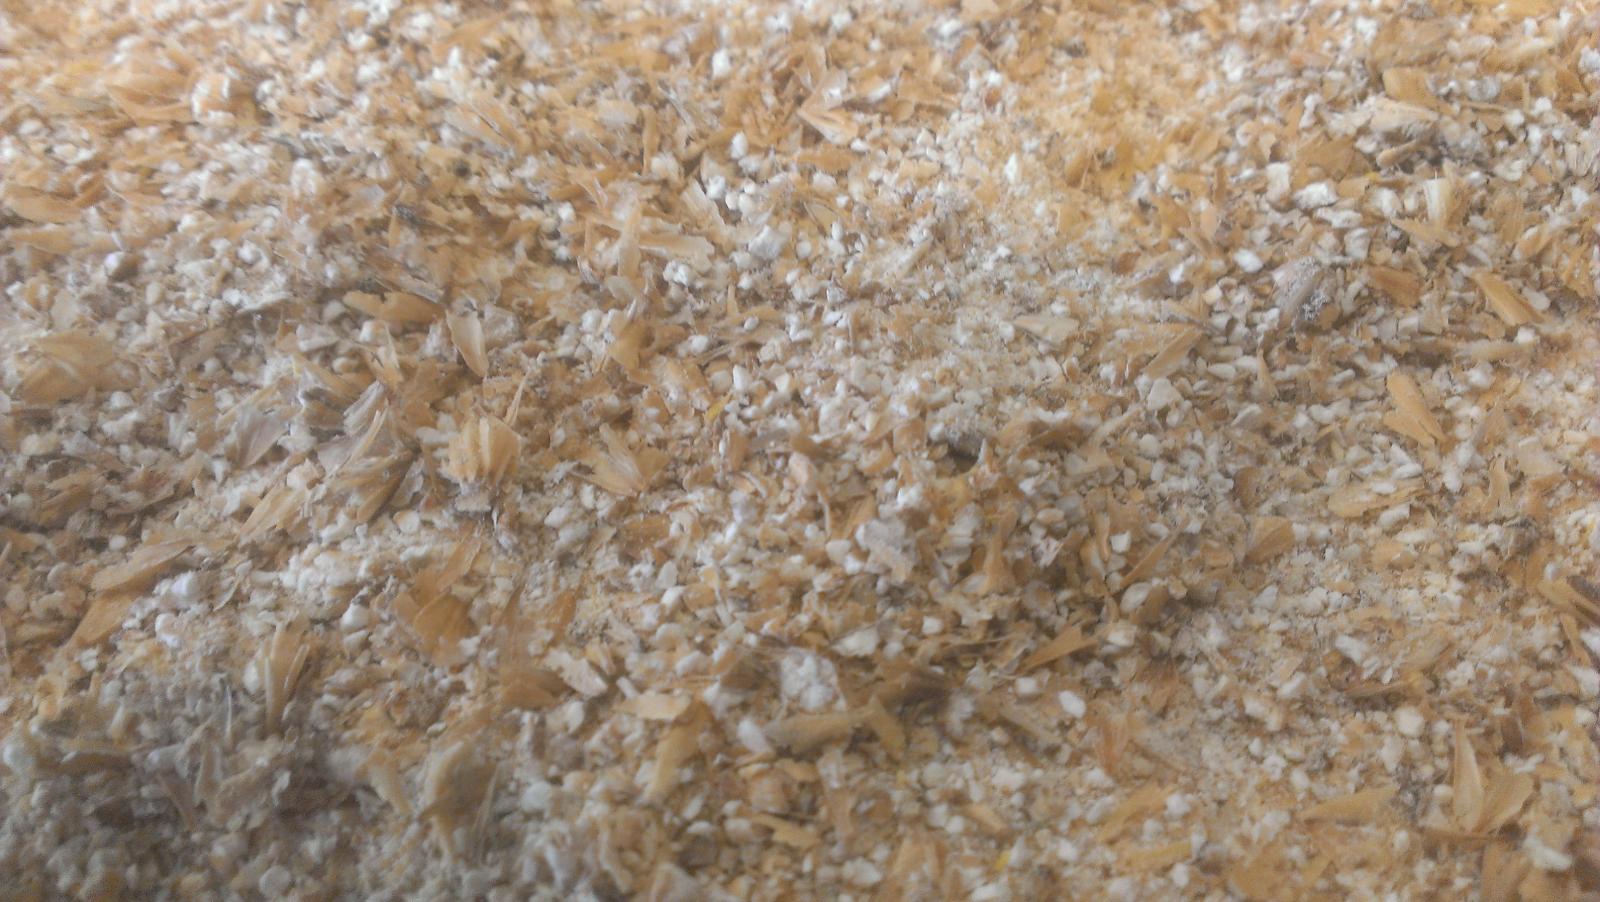
The very first run I made flour, and I mean FLOUR. I could have made bread with it. In fact, that might be something I do in the future. lol

Anyway I ended up going with a my next set up which was what is in the next picture. It's a ratio of 6.22:1 so I'm cruising at a nice 277RPM. I get the best crush I have ever had from this set up.
IMAG1195.jpg


IMAG1198.jpg


IMAG1200.jpg


IMAG1207.jpg


IMAG1213.jpg


IMAG1224.jpg


IMAG1225.jpg


IMAG1226.jpg


IMAG1279.jpg


IMAG1280.jpg
 
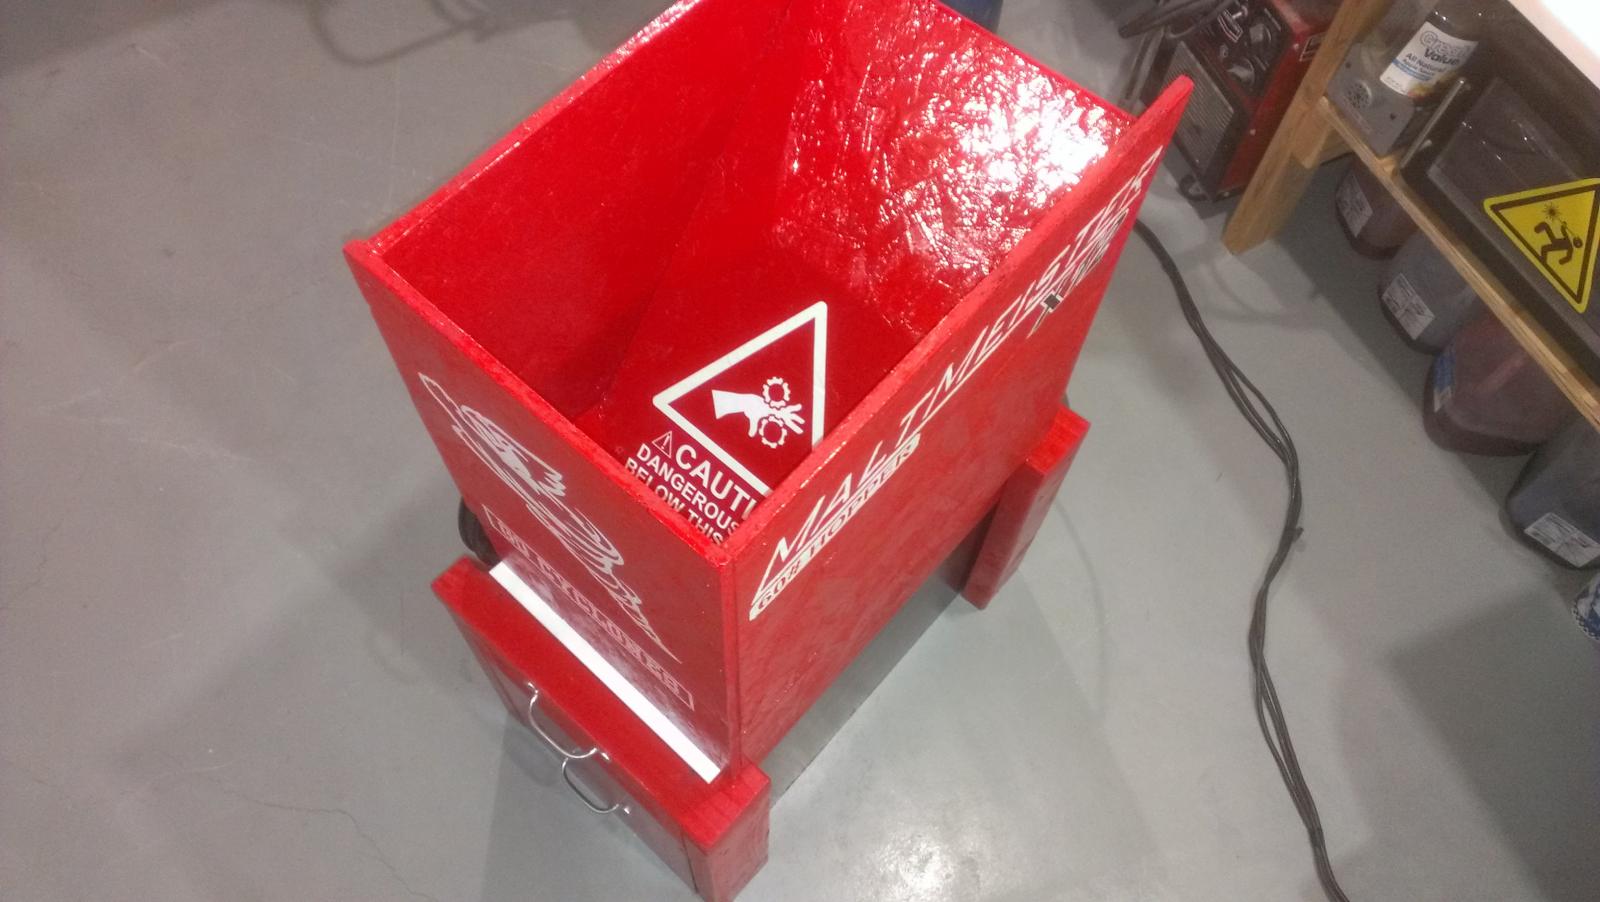
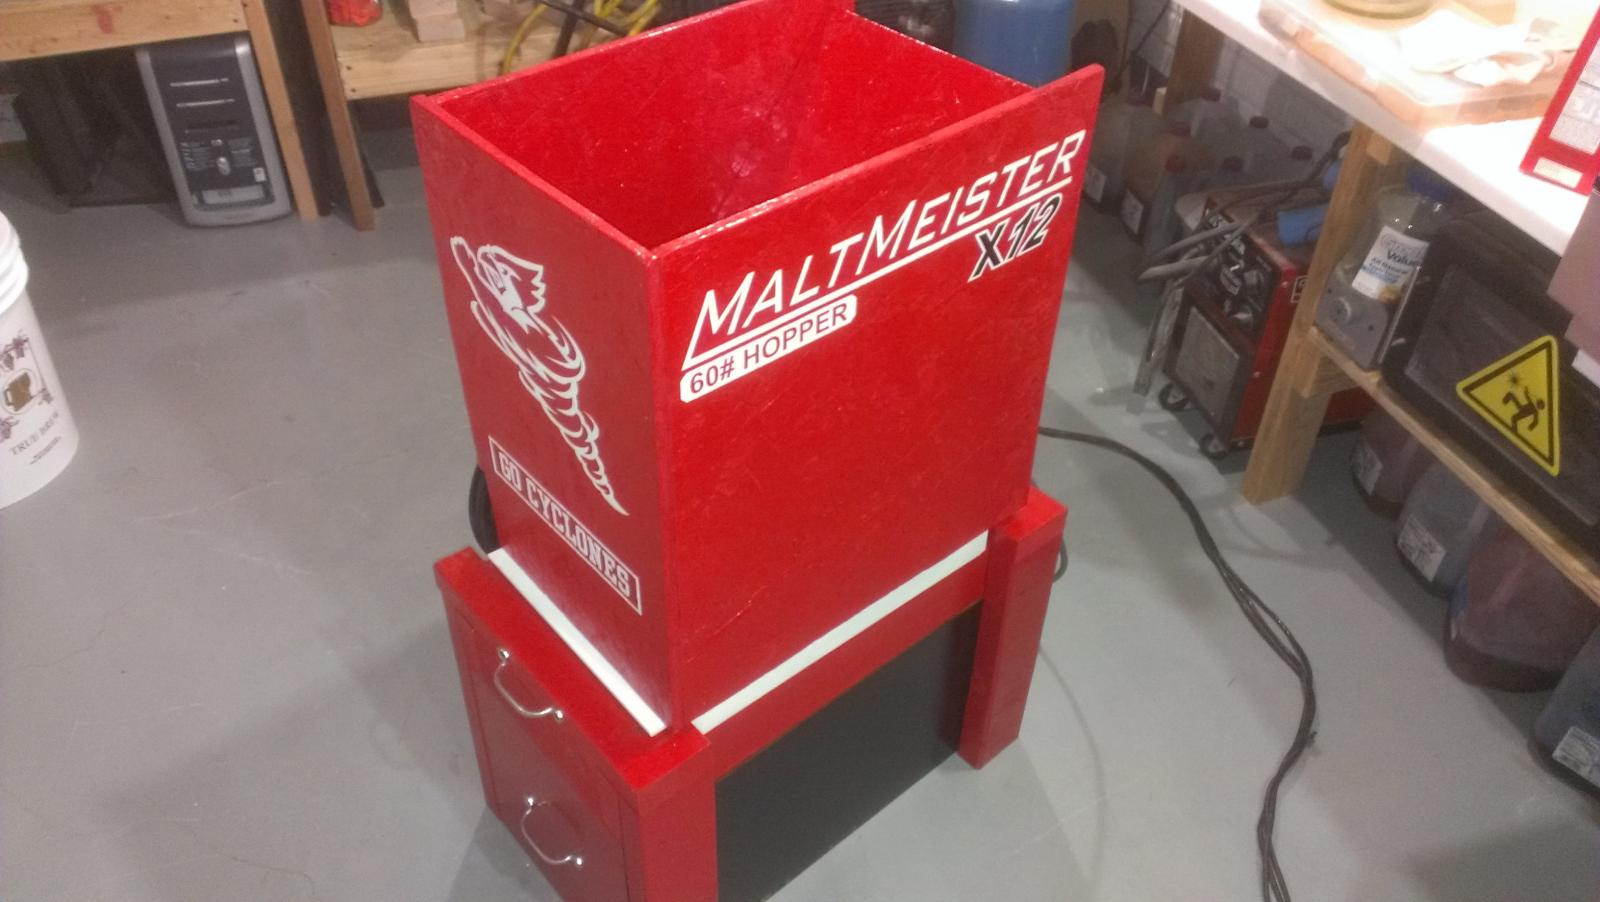
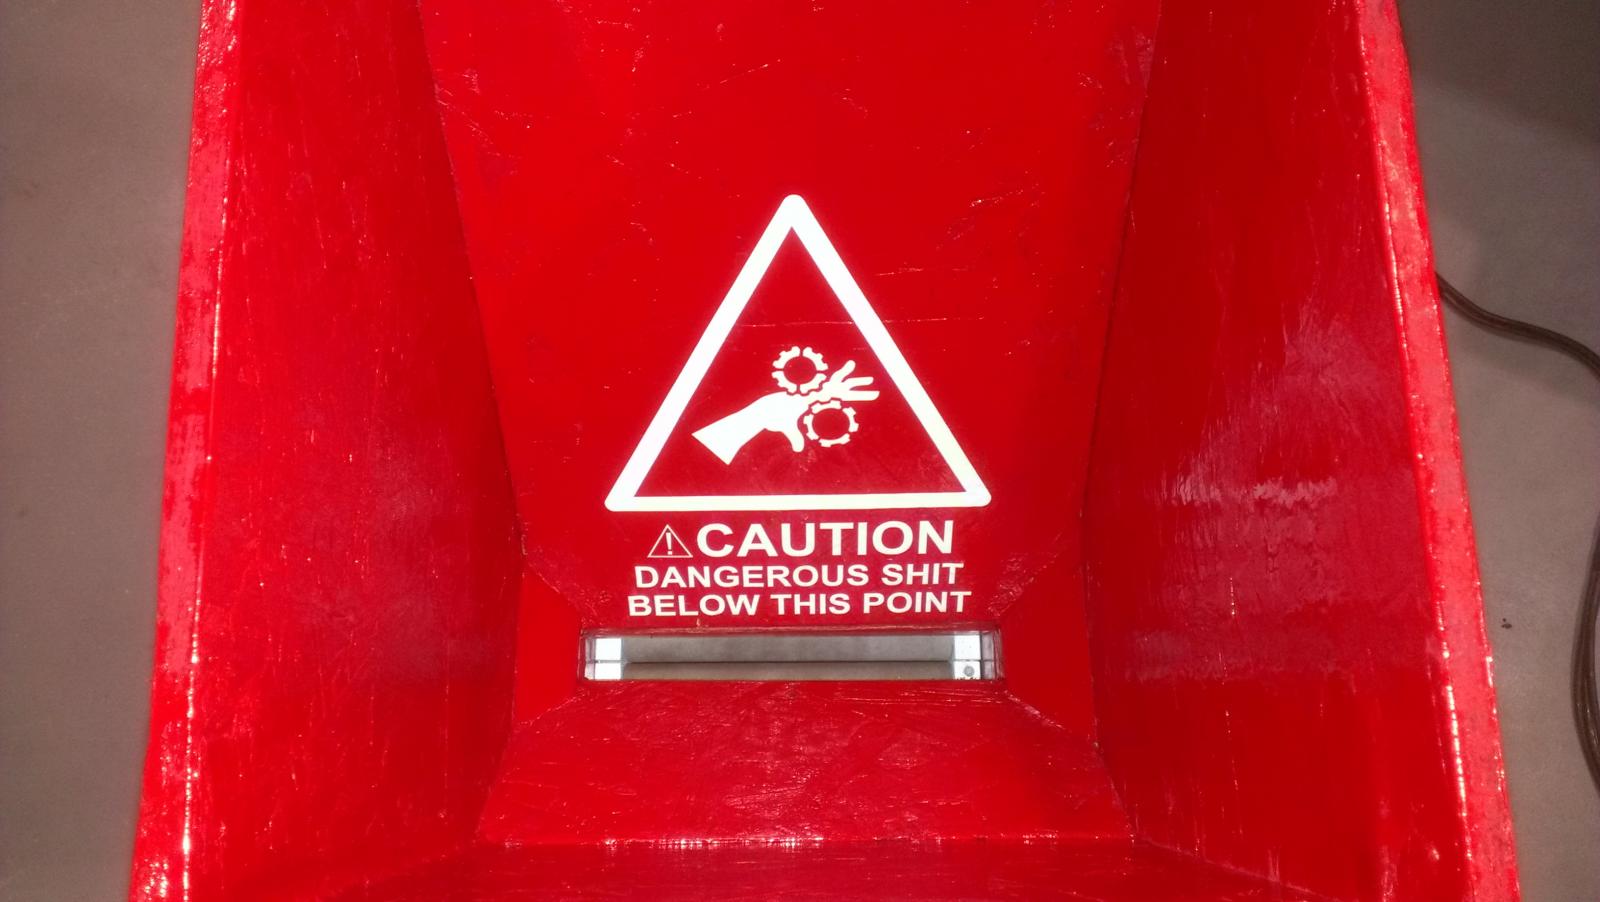
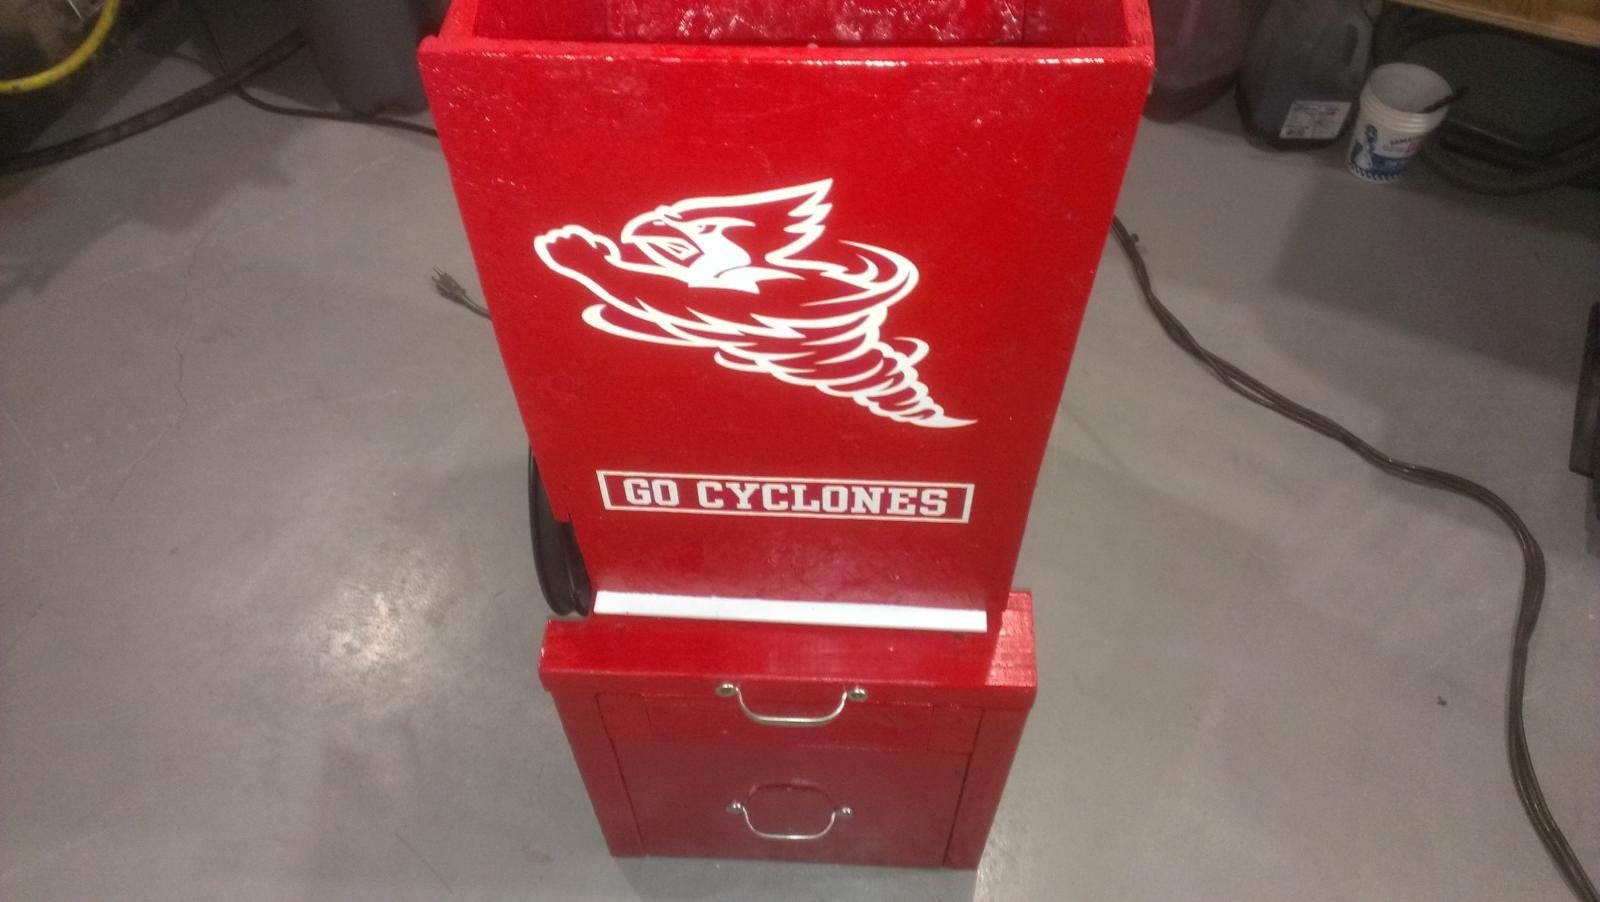
After a quick fitting of the parts, and getting the base frame sprayed white, I made a stand for it the houses a wooden drawer to catch the malted goodness as it come out of the crush zone. Then I made up a 60# hopper and smeared on a nice coat of Cyclone Red. Then cut a few nice decals for it. I think it turned out pretty sharp if I do say so myself.

IMAG1294.jpg


IMAG1310.jpg


IMAG1311.jpg


IMAG1312.jpg


IMAG1313.jpg
 
Thanks Tflew, it was a lot of work but wroth every minute of it!
 
The motor is a high torque 1HP split phase. It's 110v and 1750RPM.
 
Very nice fabrication skills there. I wish I had some metalworking machines...although then I'd spend all my time building stuff instead of brewing.
 
Brett, I think making custom brew gear would be awesome! Sounds like a fun way to keep deep in the hobby!
 
Yeah except I'd start off building stuff for brewing...then move on to building stuff for my car, for my tractor, motorcycle, bicycles, general around the house stuff...you get the idea. :drunk:

See for me, it's the other way around! Just got a new CNC mill up and running today, definitely an exciting time around here!
 
Beauty! Thanks for sharing! I really like how the hopper is sloped heavily on the one side to also cover the motor. I was just trying to talk a guy out of a Jet 9x20 that was collecting dust, but he wasn't budging.

How are the rollers mounted? Bolts through the base palate? Are there slides or anything to let you change the gap?
 
Very nice job. And the "other" category of DIY is where all the good stuff is (like this). It is covertly named so as to cut down on posts about "my ability to be the one-hundredth person to follow instructions and build the same stir plate as everyone else." Oh, and love the decals!
 
How are the rollers mounted? Bolts through the base palate? Are there slides or anything to let you change the gap?

So the bearing blocks are mounted with bolts up from the bottom of the frame. They are slotted and allow for adjustment up to 0.25" It's nothing fancy, and does not allow for fast adjustment. You will still need a gap gauge of some sort to get it where you want it. I built mine this way for one simple reason - I never adjust the damn gap anyway. BUT that said I still wanted to be able to if I wants too. I bashed my brain against the idea trying to design up all kinds of complicated fancy adjustment cams and mechanisms, but in the end I finally just did it this way. I have never looked back!

IMAG1223.jpg


IMAG1229.jpg
 
Thank you Auger, Weezy and tjpfeister. Yeah the decals really make it stand out. They just make it look good. lol. And you have to have your warnings! lol. I've thought about putting a safety guard in the bottom. But really, why?
 
BREEZY! Long time no see! Thanks a lot man. Did you see the new bar is getting started?
 
Beautiful job! What kind of bearings did you use for the rollers--sleeve or ball?


Oh Only ball bearings for something like this. I'd never use bushings for something with a heavy side loading like this.

They are sealed permanently lubed ball type 45mm (1.77") x 15mm (0.6") with a 16mm (5/8") bore.
 
Oh Only ball bearings for something like this. I'd never use bushings for something with a heavy side loading like this.

They are sealed permanently lubed ball type 45mm (1.77") x 15mm (0.6") with a 16mm (5/8") bore.

Nice. That's what I've always thought was the one weak link for many commercial mills, MM included. Those cheap bronze sleeve bearings. It's not an issue if one is using a gearbox, but with pulleys there is a lot of side-loading.
 
Max, even with gear drive you still have tremendous side load. The only mechanical load on it is outward side load from the grain being forced between the rollers. Ideally one would use needle type roller bearings for this, but I had these bearings chilling in the parts drawer and that saves $100 right there. Total cost in this machine is $27.

Now if I was milling for 8 hours a day non stop, I would have gone with full on rollers.
 
Looks good. Not sure how to put this , but I have a diy mill too but have trouble with it grabbing grain and pulling through the rollers. Its setup kinda like your with the 4 separate blocks with bearings in there for the rollers. I have mine bolted together with spacers in between them. The rollers are 1.5" hot rolled steel I think 6" long. The sides are aluminum with bronze bushings( would like to change to roller bearings.) My hopper is a large V and the grain kinda just jumps around instead of getting pulled through. The knurl is kinda sharp I would say its about the same as a barley crusher. Just need a push in the right direction to get it to pull right. I think its something to do with the hopper but I don't know.
 
Hmm, not enough information. How about sharing some pics of your build. Close up pics.
What RPM are you running? What is your gap? Let's figure this out!
 
There are a few pics. The gap I believe is 0.035. As for rpm I use a drill. It was the big harbor freight drill handle drill that has an rpm of 0-800. It's always ran on the slowest speed. The mill has sat un used for probably 2 years because it just quit pulling grain through. I bought a Corona style since it was cheap and I haven't had any problems frpm that grinder probably ran 300+ lbs through it and ran some whole kernal corn too. I want to get the rolleg mill back up and running and make a nice little house for it since I have my own shop/brew shed now.

1421074697144-1881550498.jpg


1421074719871-1095618508.jpg


1421074743702-931709008.jpg
 
Ok, I think I see what's going on here. If you have access to a lathe still it's an easy fix. Get a big fat O-ring that's around 1.25" in diam. and 3mm or 1/8" thick, then take your drive roller and cut a round bottom groove at one or both ends that is about 1/16" deep. put your O-rings in the grooves and remount your drive roller smushing the o-ring between your other roller. A better option would be to gear the two rollers together on the outside as the 0-ring option will not last as long, but will get you going.

Mine is only single driven like yours, but they are knurled much smaller then a MM knurling. I get a far better grind with bigger husks.

Remember if you put gears on it, that they have to be pretty sloppy so you can still adjust your mill. I would suggest you mount your corona to discharge into your big mills hopper. Then if you do whole kernel corn, I would run it fist through your corona mill, then re-mill it with the rest of your grain bill.
 
I have no access to a lathe. I have considered the gear option but haven't found a cheap set of gears.

To do the gears I would think to drill and tap the rollers and then use a small bolt to hold the gear to the roller.

I wonder if you still do that but use small pulleys and use a silicone o ring as the belt for it?
 
It says it's for use with O-rings, but if the pulley in the picture is the one it's selling that is NOT designed for an O-ring. But it could be just a picture. That said, you CANNOT use a belt drive to run a set of mill rollers, as they need to go in opposite directions. IE rolling towards each other. A belt drives things in the same direction. What you can do, is spin up the motor and carve a groove into one of the rollers with a round file. You don't need a very big groove, a file will get it done.

Just don't hold the file in one place. Even thought your work is now moving towards the cut of the file, you will want to stroke the file over the work as if it wasn't, or you will round off the teeth on the file. Should work perfect!
 
Now that I think about it, I think I would hog out the metal using the edge a smaller flat file. Then just clean it up and round it out with the round file.
 
My brother built my first grain mill, had rollers knurled like Csuho's. The small diameter and lack of deep knurling caused it to constantly slip. Was a shame to retire it with its otherwise primo-design (cammed adjustment, ballbearings). No amount of O-rings could keep that thing spinning properly... Now gears, gears could work. Anyhow, mine got replaced by a barley crusher, which has since been worn out and recently replaced by a monster mill-3 2.0.
 
A lot of American ingenuity there. I didn't read your post too closely because I know that I won't be doing that. Did you ever figure out the total cost? Is it unique enough to patent?
 
Nah, it's nothing I could patent. I could build a better version and market it, which I would not be against doing at some point. With the machines I already have I could do that, but I would have to really streamline my production methods and all. lol. Total cost in this machine is like $27 however that's because I had most of the stuff laying around. This mill runs circles around my neighbors Monster MM3 and I get a better crush. It's funny, we have actually had a few "Mill-Offs" It's funny, he get's so frustrated every time but keeps wanted to "run them" again. I guess I could offer up a completely motorized mill system or something.

I have had several people email me about building them one,I guess if there was enough of an interest I could do that.
 
Back
Top