shaggybudd
Active Member
This is mostly for anyone out there who might be interested in our process to move from 5 to 10 gallon batches. And to answer any questions on why we did something a certain way versus a different one. And also to take pointers on next steps. ")
This is what we've done to move up to 10-gallon batches (so far).
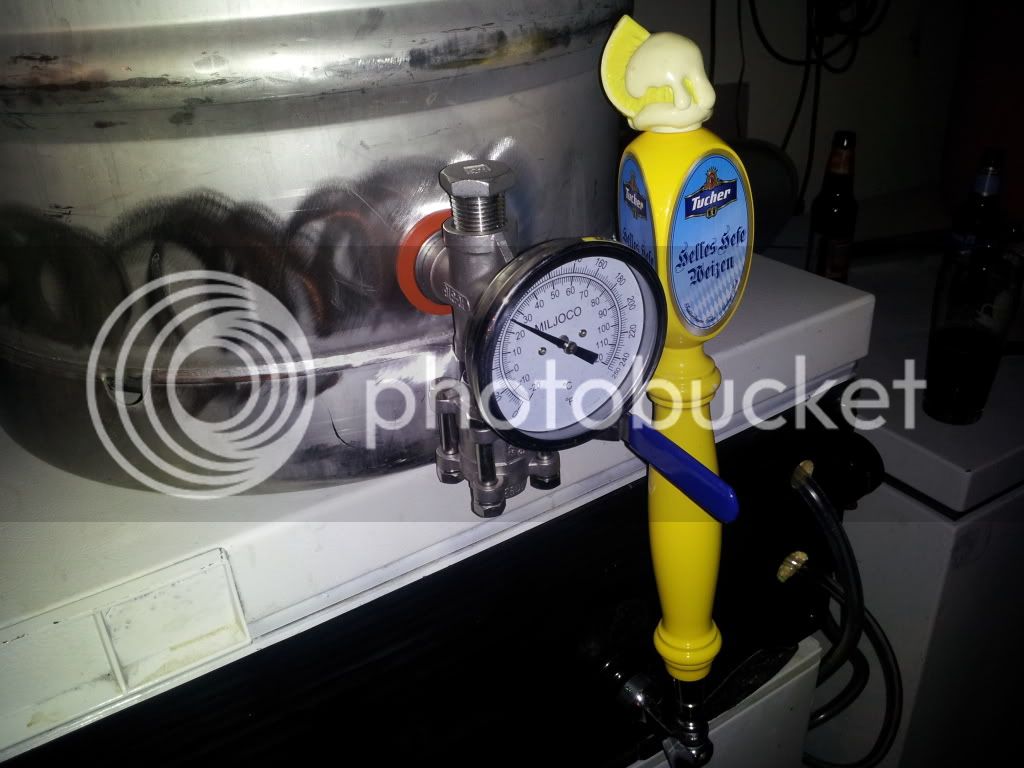
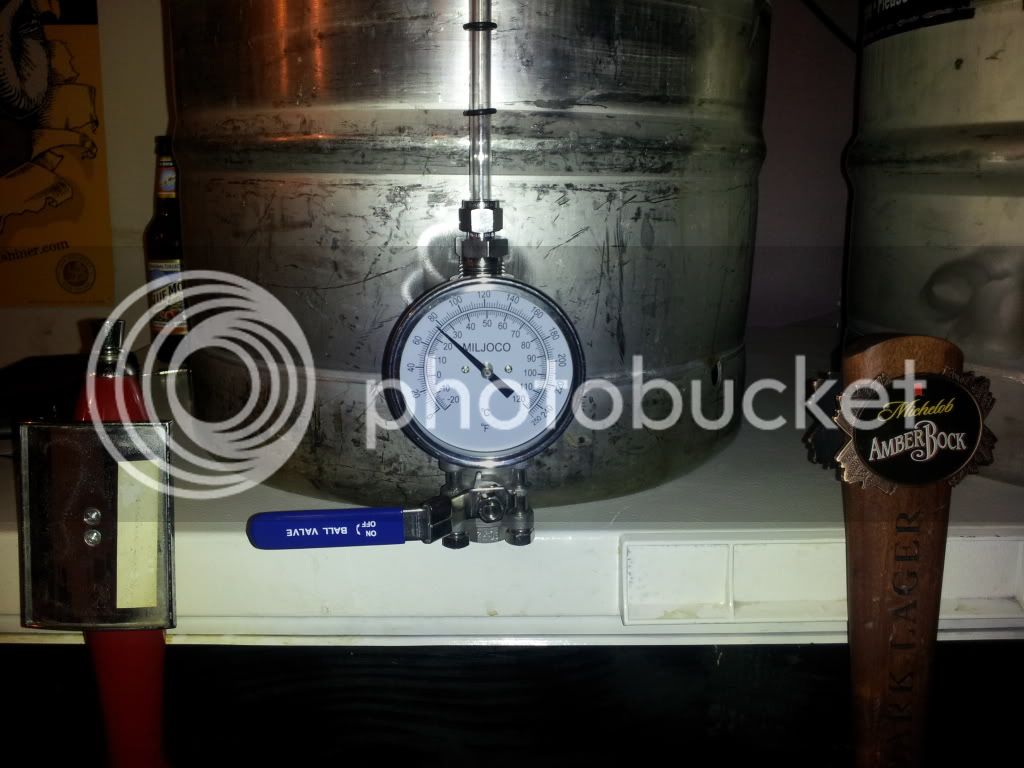
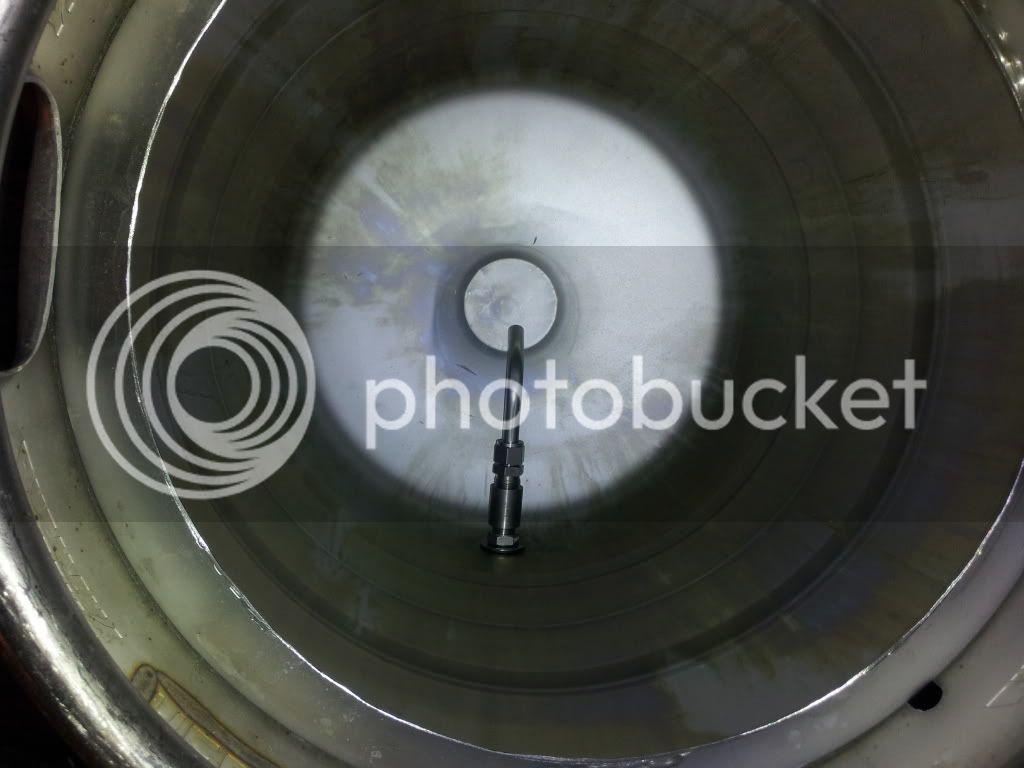
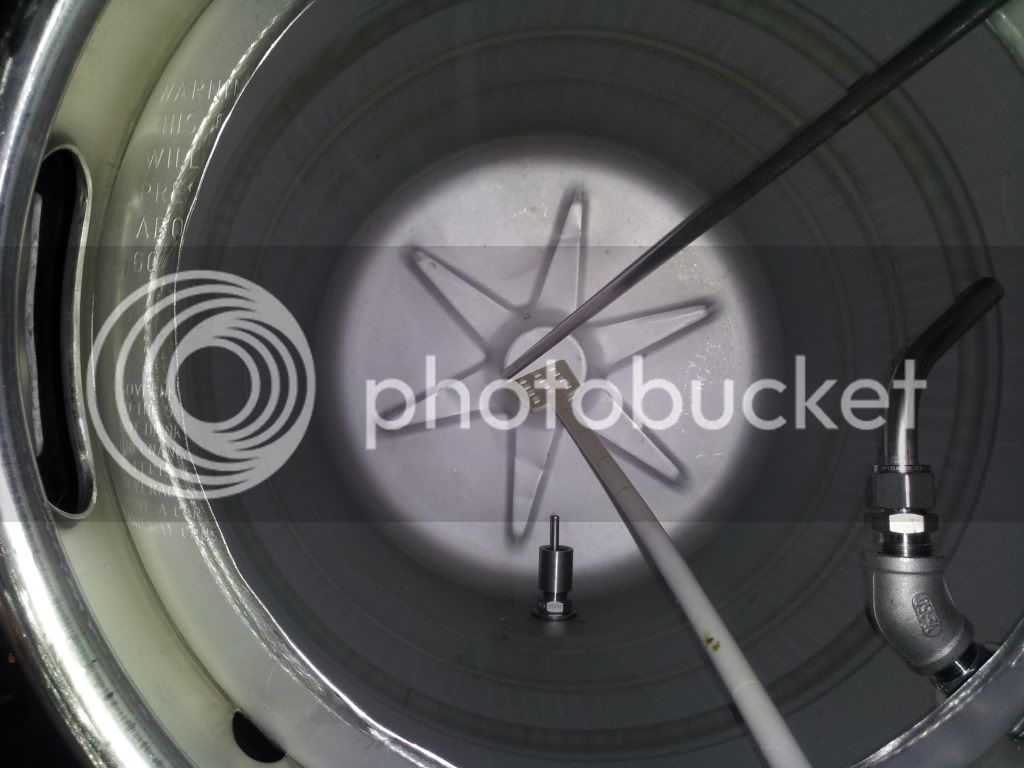
Part1: Converting Kegs to Keggles
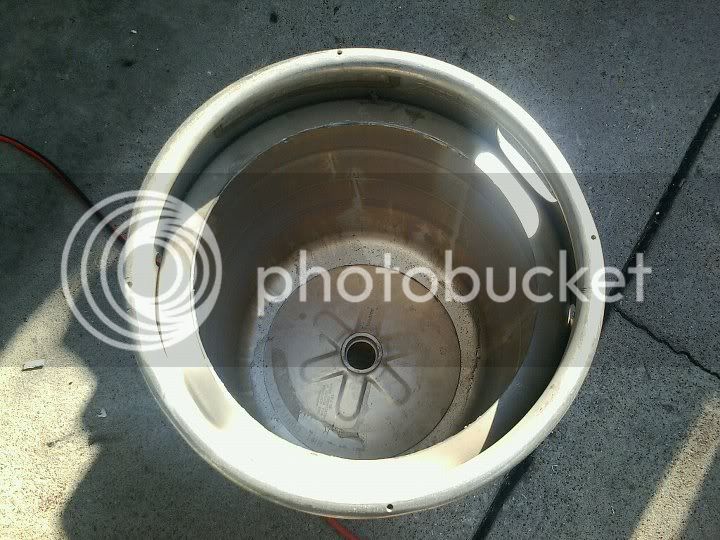
We borrowed an angle grinder and built a rig so that it would cut a "perfect" circle off the top of the keg. We measured just a little wider than our false bottom for the mash tun (12.25" for our current false bottom, we have not decided on getting a larger false bottom yet). The rig you see is just a pvc pipe that we notched out the top of going down the keg and secured the handle of the grinder to it. Pretty simple stuff. After the top was cut off we of course ground down the edges of the hole (it was pretty sharp). And next is to sand it down farther.
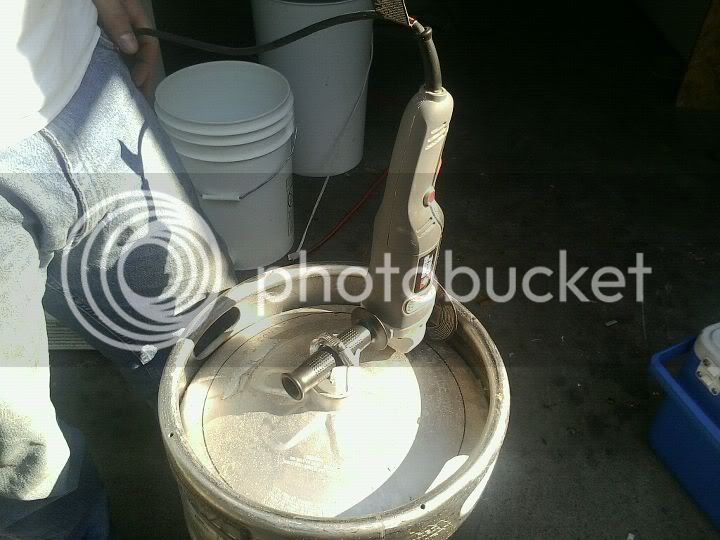
A little warning on the video: it is loud (of course). It was taken by my phone and at the end when I say, "Ow!" it's because I got hit with a little chunk of the grinding wheel that broke off when he finished cutting the keg. But it only takes about 3 minutes to cut the top off of one keg.
[ame]http://vimeo.com/28561439[/ame]
Stay tuned for part 2 which will be fittings and attachments for the kegs. I should have those pictures by tomorrow.
P.S. I say "we" and "our" a lot because there are 5 of us that brew together in Dallas, Tx. We take turns and its cheaper.
This is what we've done to move up to 10-gallon batches (so far).
Part1: Converting Kegs to Keggles
We borrowed an angle grinder and built a rig so that it would cut a "perfect" circle off the top of the keg. We measured just a little wider than our false bottom for the mash tun (12.25" for our current false bottom, we have not decided on getting a larger false bottom yet). The rig you see is just a pvc pipe that we notched out the top of going down the keg and secured the handle of the grinder to it. Pretty simple stuff. After the top was cut off we of course ground down the edges of the hole (it was pretty sharp). And next is to sand it down farther.
A little warning on the video: it is loud (of course). It was taken by my phone and at the end when I say, "Ow!" it's because I got hit with a little chunk of the grinding wheel that broke off when he finished cutting the keg.
But it only takes about 3 minutes to cut the top off of one keg.[ame]http://vimeo.com/28561439[/ame]
Stay tuned for part 2 which will be fittings and attachments for the kegs. I should have those pictures by tomorrow.
P.S. I say "we" and "our" a lot because there are 5 of us that brew together in Dallas, Tx. We take turns and its cheaper.