JVD_X
Well-Known Member
I could not get the CFO to sign off on a Top Tier
LOL - so true. This time I bought it first and asked the CFO for forgiveness after the fact. She said "so does this mean that I can do the same?".... uhhhhh "no"
")
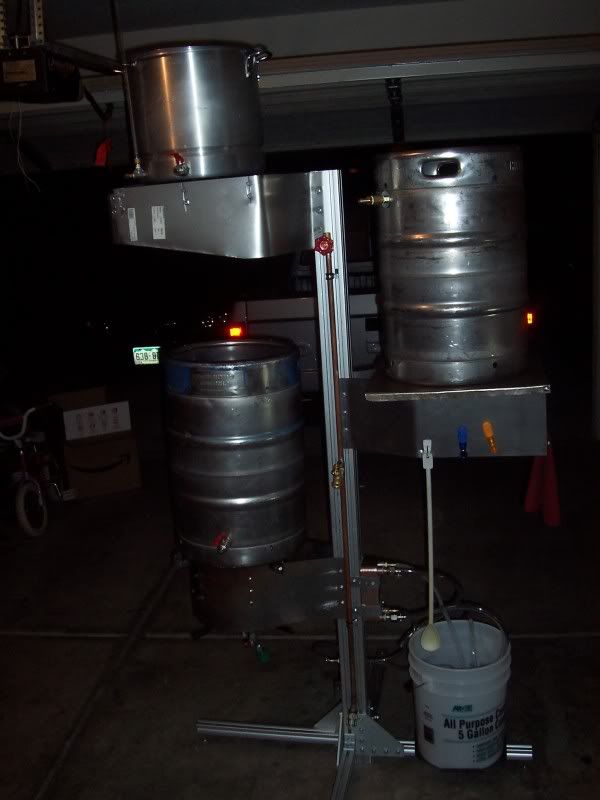
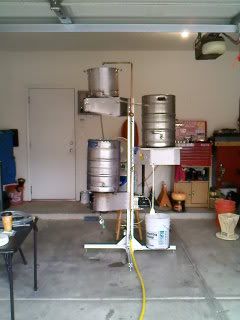
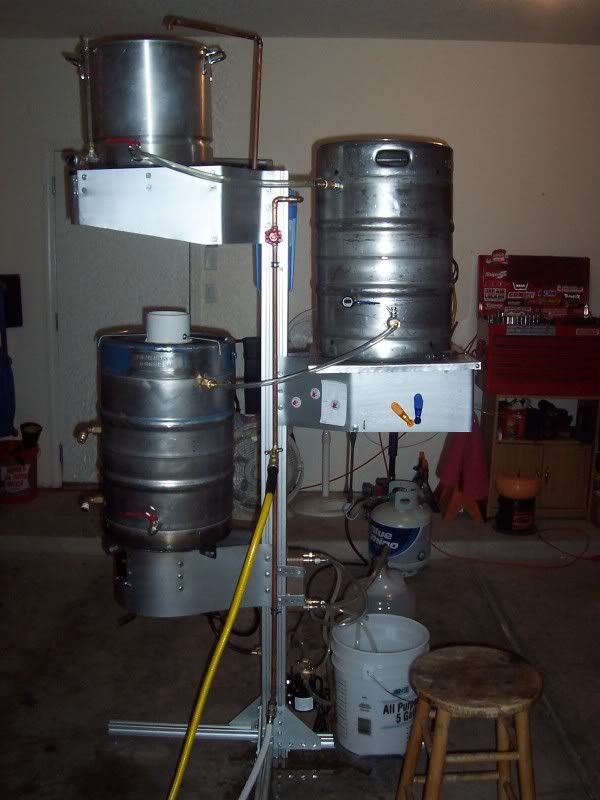
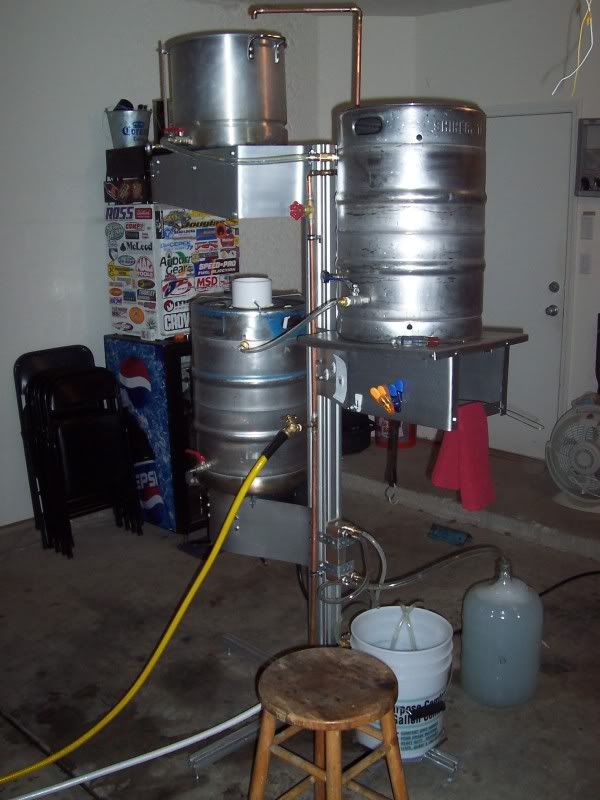
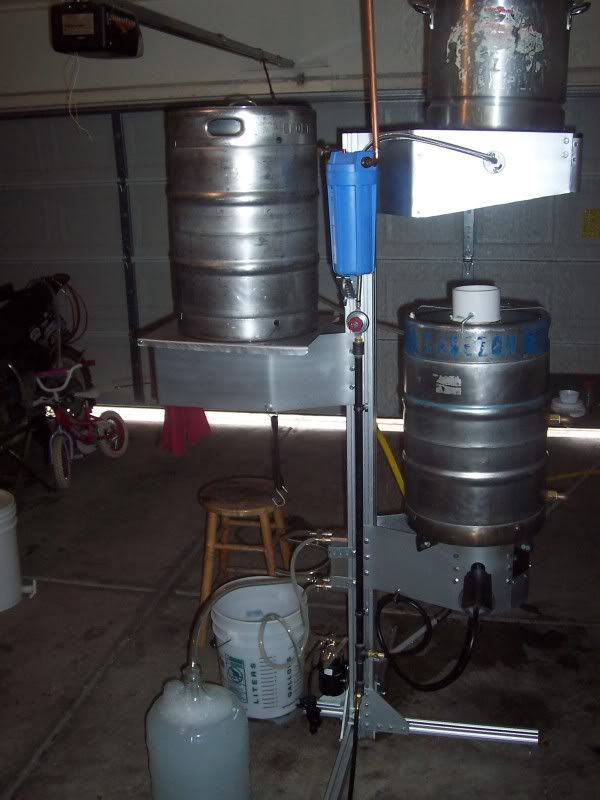
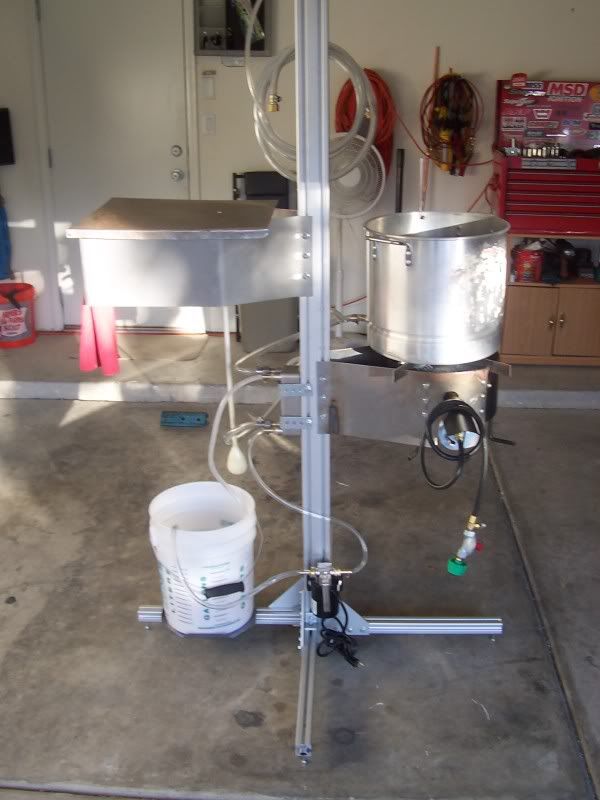
I really like your shelves. Are all those shelving components available from the manufacturer?


![Craft A Brew - Safale BE-256 Yeast - Fermentis - Belgian Ale Dry Yeast - For Belgian & Strong Ales - Ingredients for Home Brewing - Beer Making Supplies - [3 Pack]](https://m.media-amazon.com/images/I/51bcKEwQmWL._SL500_.jpg)


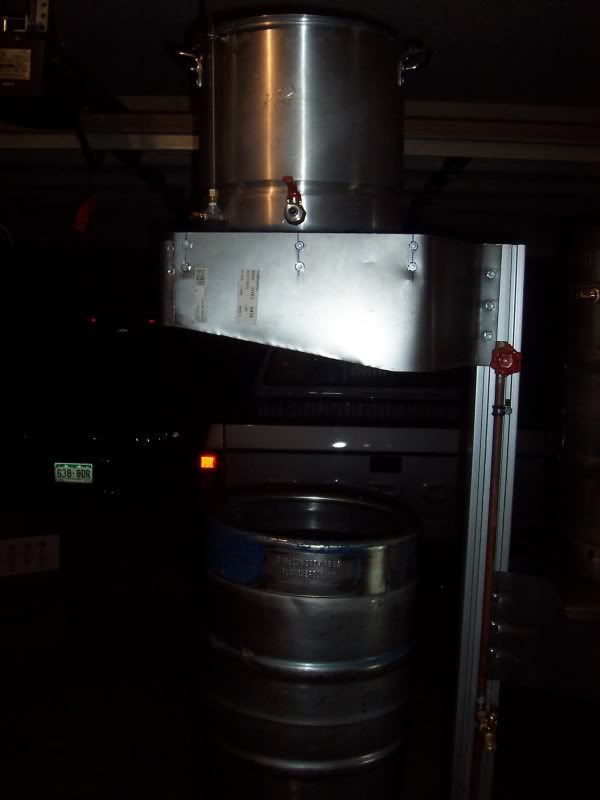
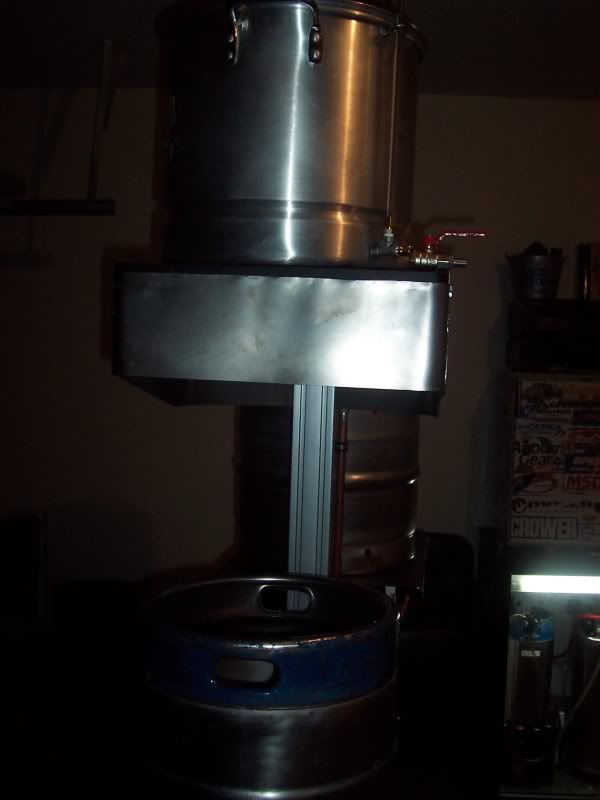
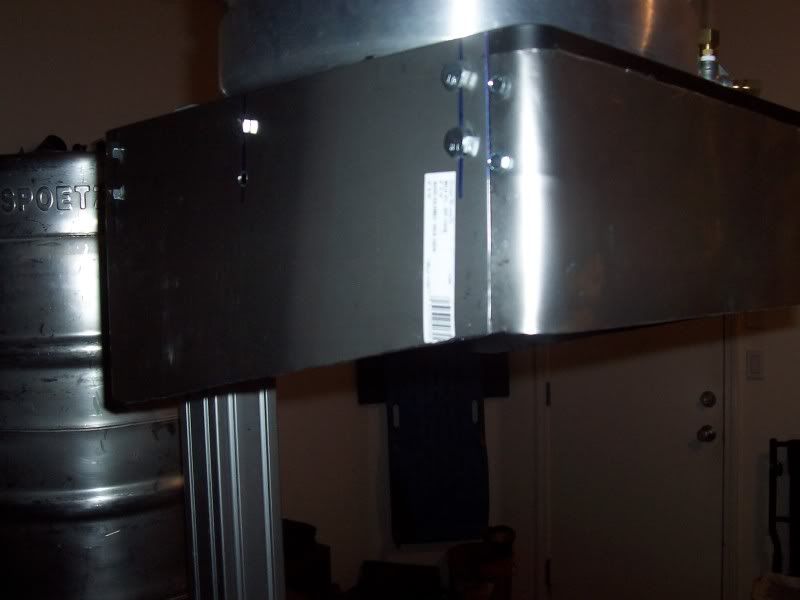
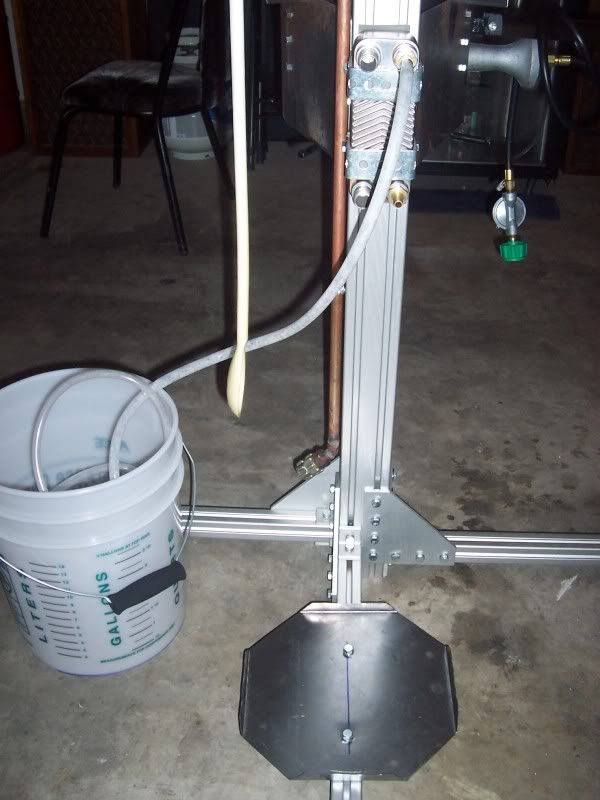
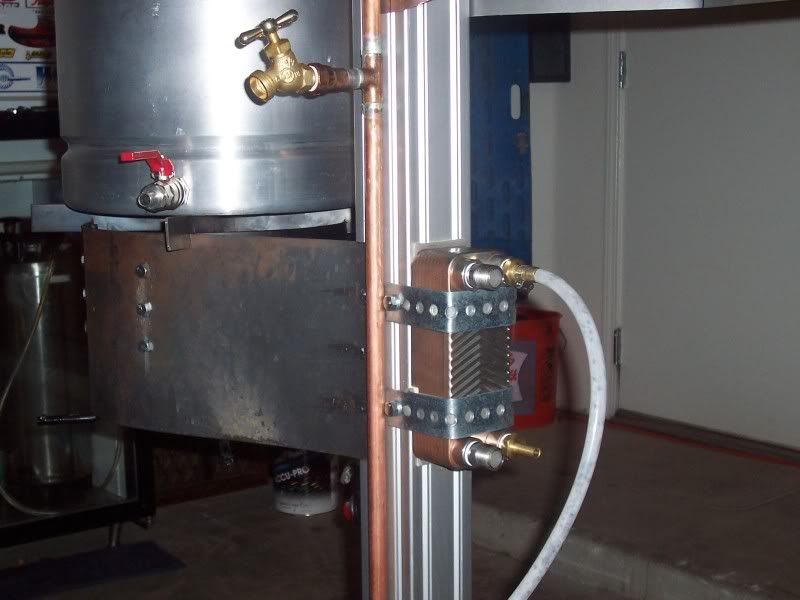
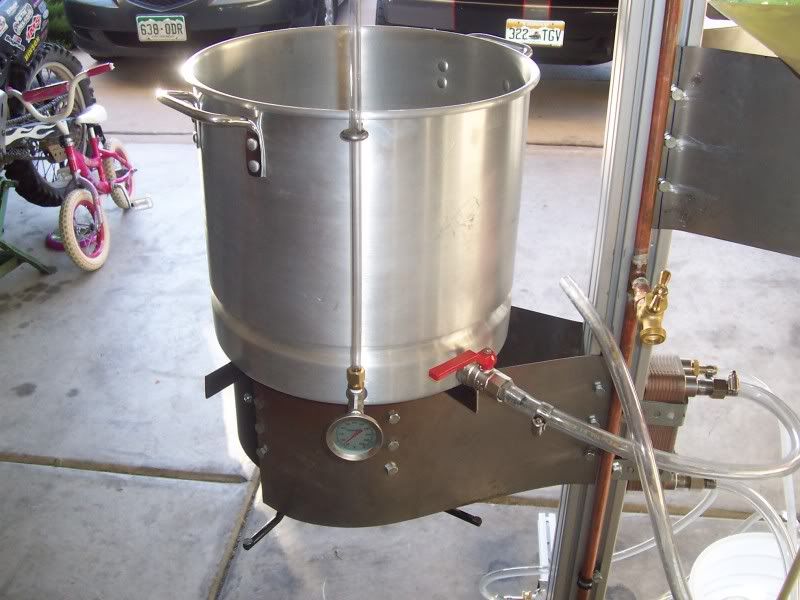
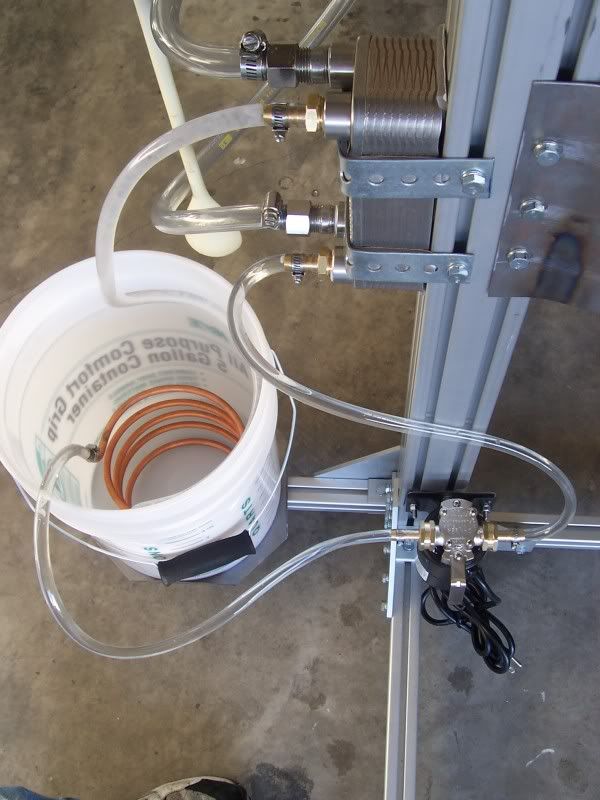
 I should get the pump cover finished today, I will post some pics.