Top Freezer Bottom Fridge Schematic Help. Convert to Fermentation Chamber.

Homebrew Talk - Beer, Wine, Mead, & Cider Brewing Discussion Forum

Help Support Homebrew Talk - Beer, Wine, Mead, & Cider Brewing Discussion Forum:

This site may earn a commission from merchant affiliate links, including eBay, Amazon, and others.

roncruiser

Well-Known Member
Joined
Jun 7, 2012
Messages
163
Reaction score
14
Location
San Diego
My local Home Depot has a Frigidaire FFTR1814QW0 on sale that's at a very good price. The sale is for this weekend only.

I want to make sure I can re-wire the fridge before pulling the trigger. I wanted to check in with some of the experts here on the forum first to make sure it can be done.
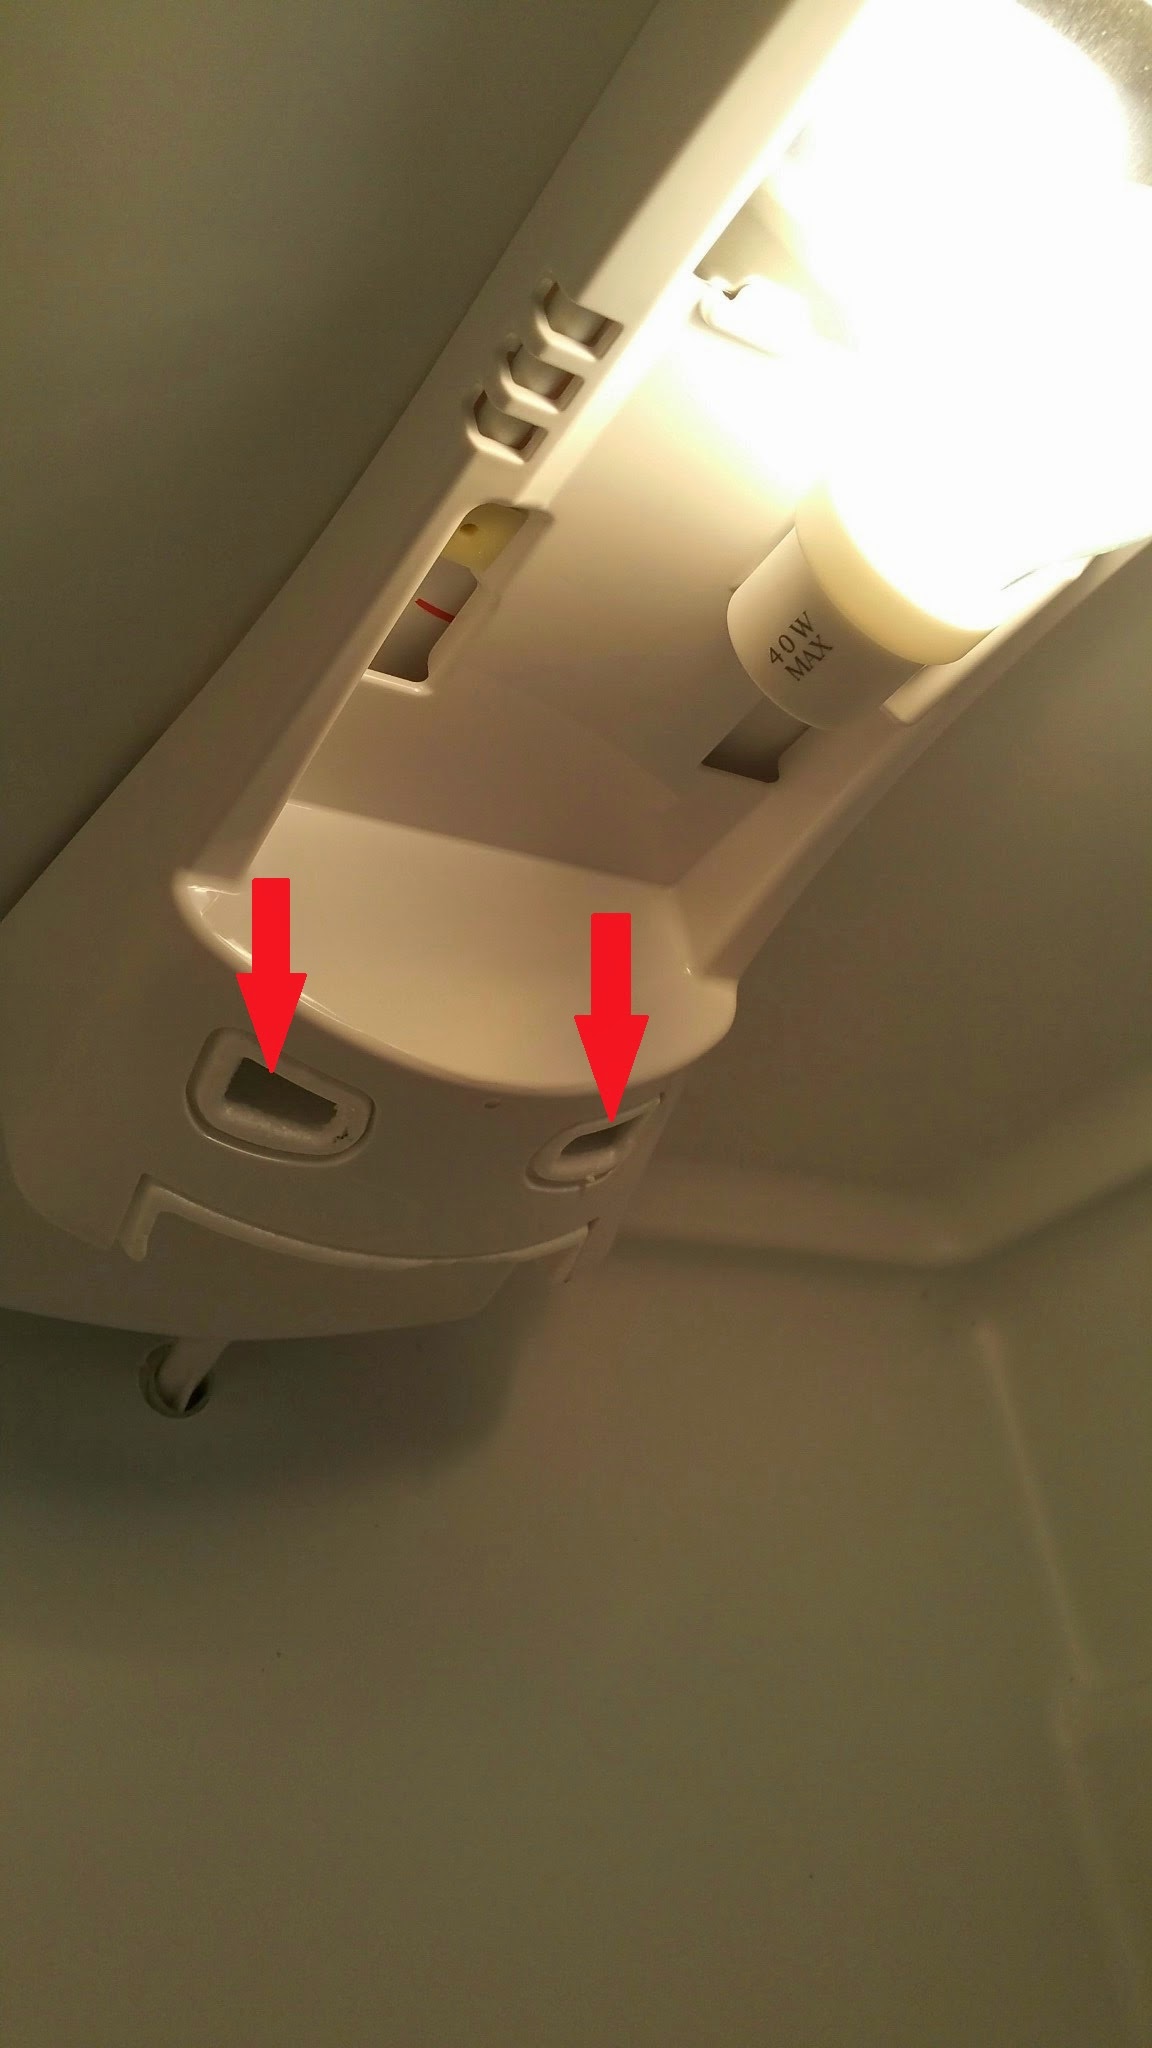
I'm sure I have access to all the wires. That shouldn't be a problem.

Here's what I would like to do:
*Control the temp in the top freezer and use it to store bottles at ~50F.
*Use the bottom fridge section as a fermentation chamber.

My first question is which wires would I need to access first to control the compressor?

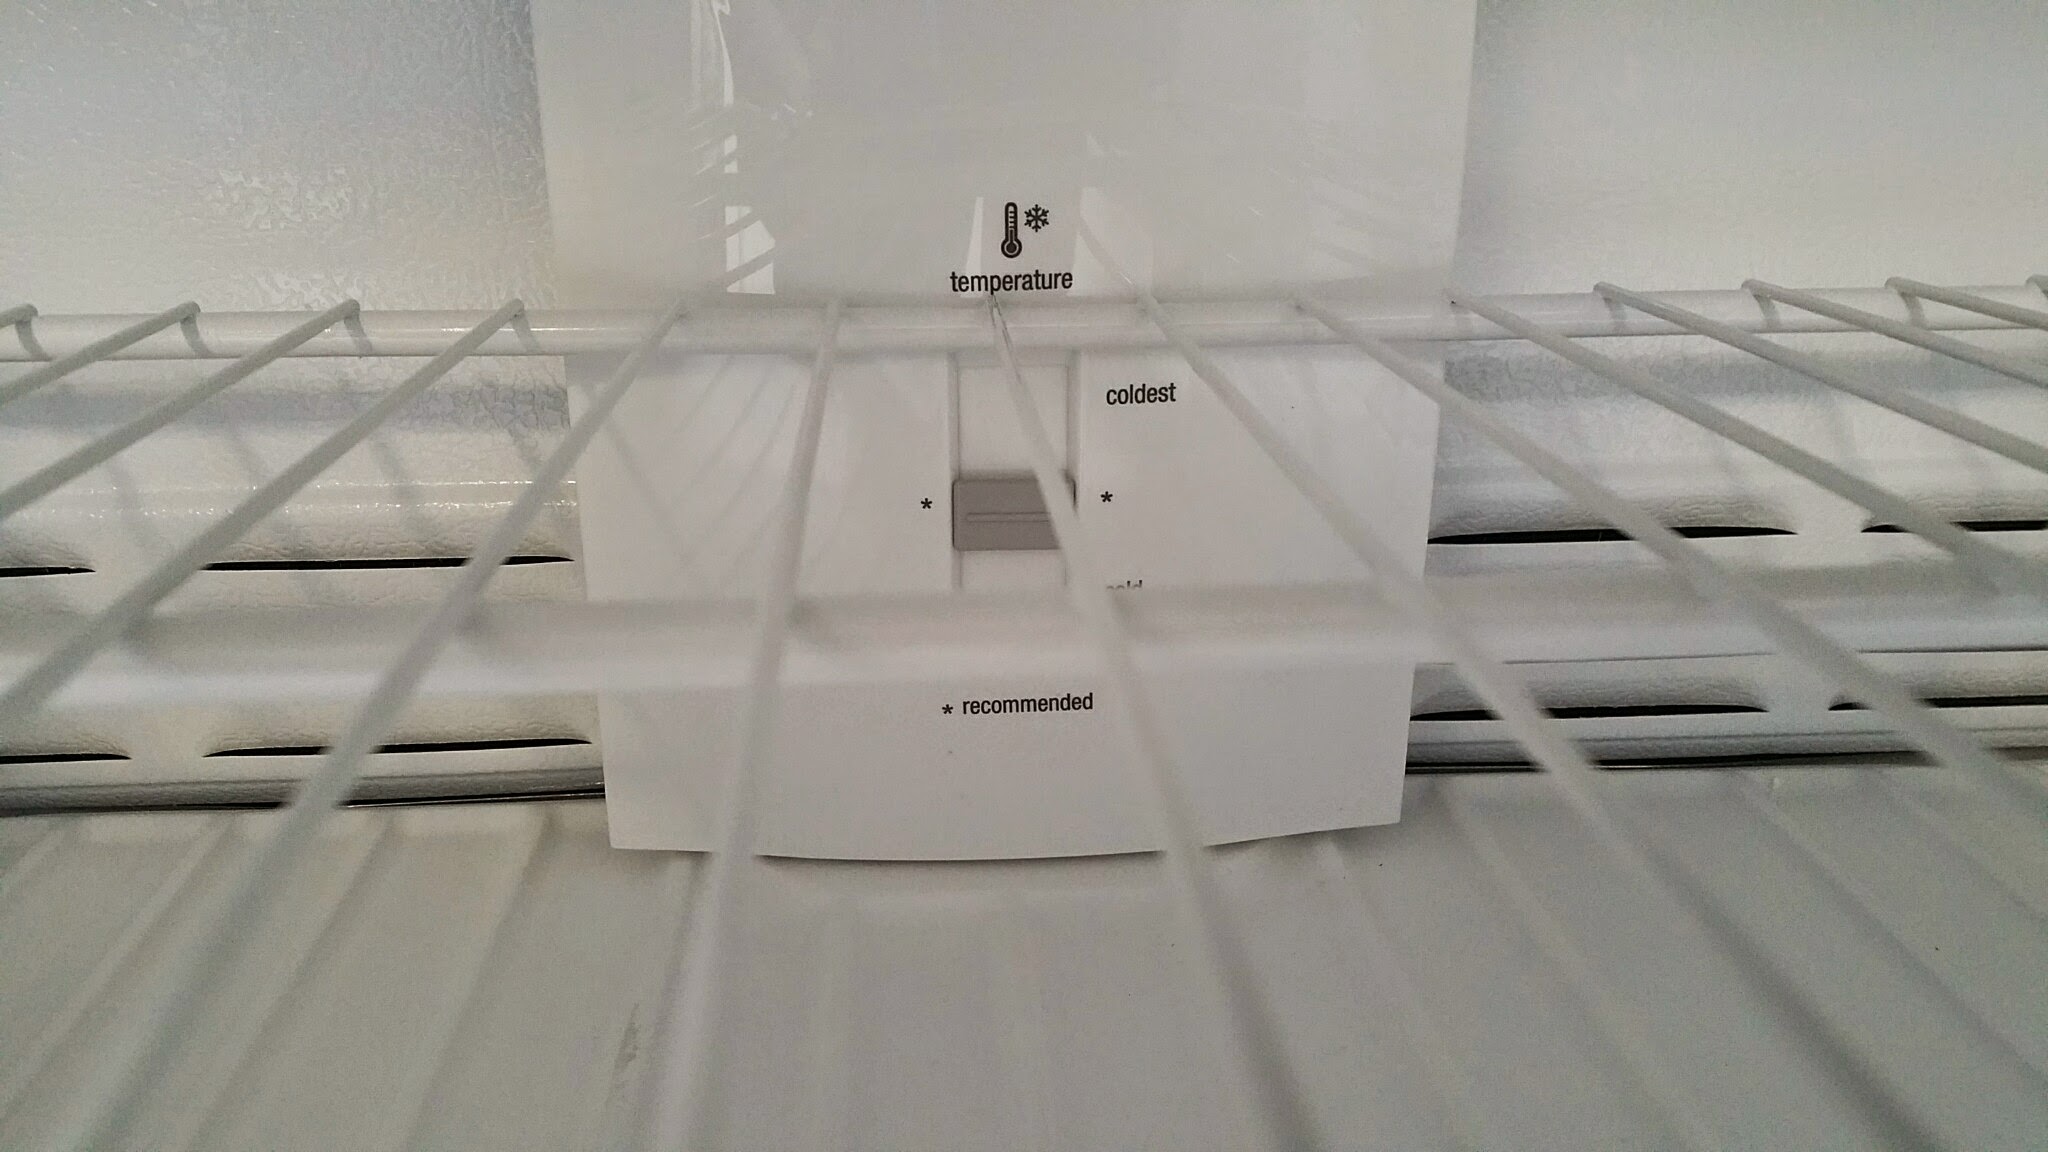
With control of the compressor, I can keep the freezer section at a stable ~50F. My first thought is to use the STC-1000 to control the temp in the freezer section.
Then use another STC-1000 to control the temp in the fridge section. I believe a fan moves cool air from the freezer to the fridge to maintain fridge temp. By controlling this fan,
I can then maintain the fridge at fermenting temps greater than 50F... in theory. Preferably around 65-70F for DIPA's.

Let me know what your thoughts.

Thanks.

Ron

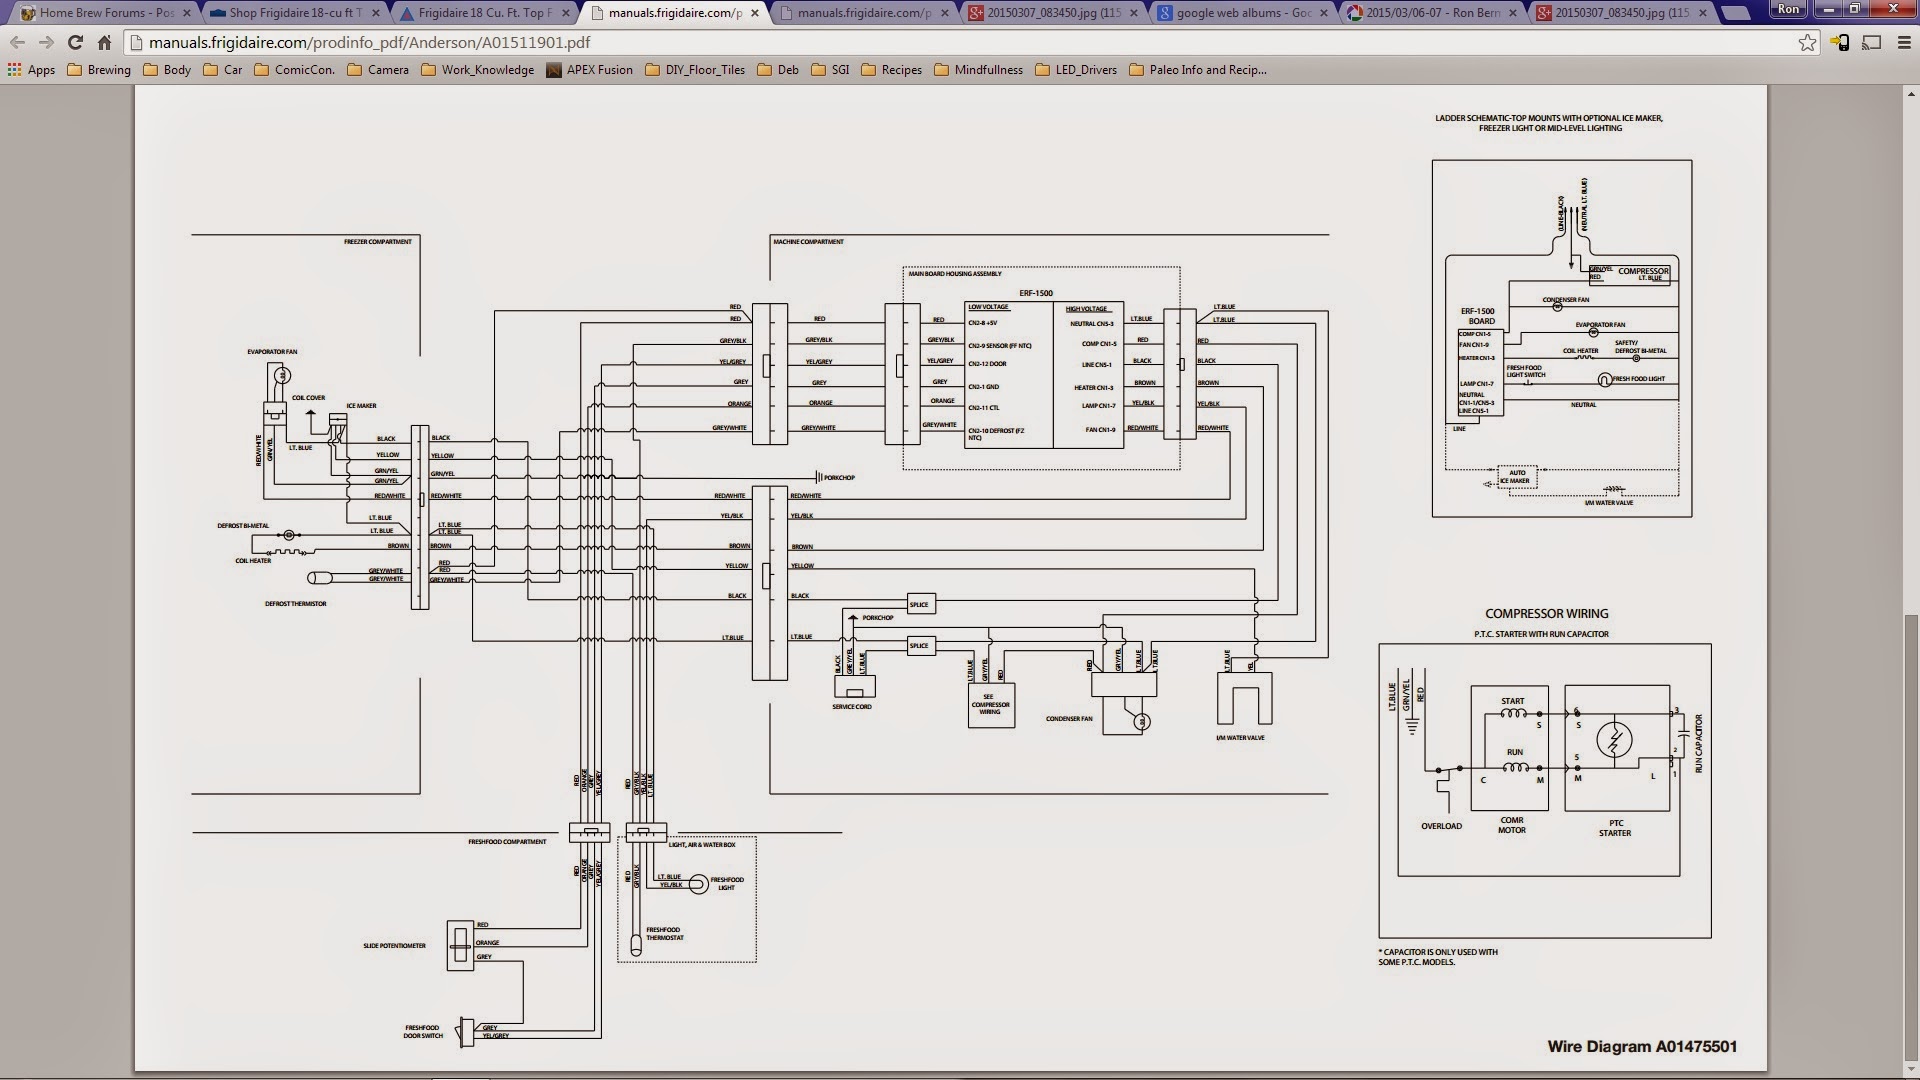
I have the schematic here:
http://manuals.frigidaire.com/prodinfo_pdf/Anderson/A01511901.pdf

Schematic below (The URL above provides a better view of the schematic):
Fridge_Schematic.jpg


It's a nice freezer/fridge setup. The price is almost to good to pass up.

The fridge section on top of the clear shelves measure: 18 deep x 25 wide x 28-30 high.
20150307_083450.jpg


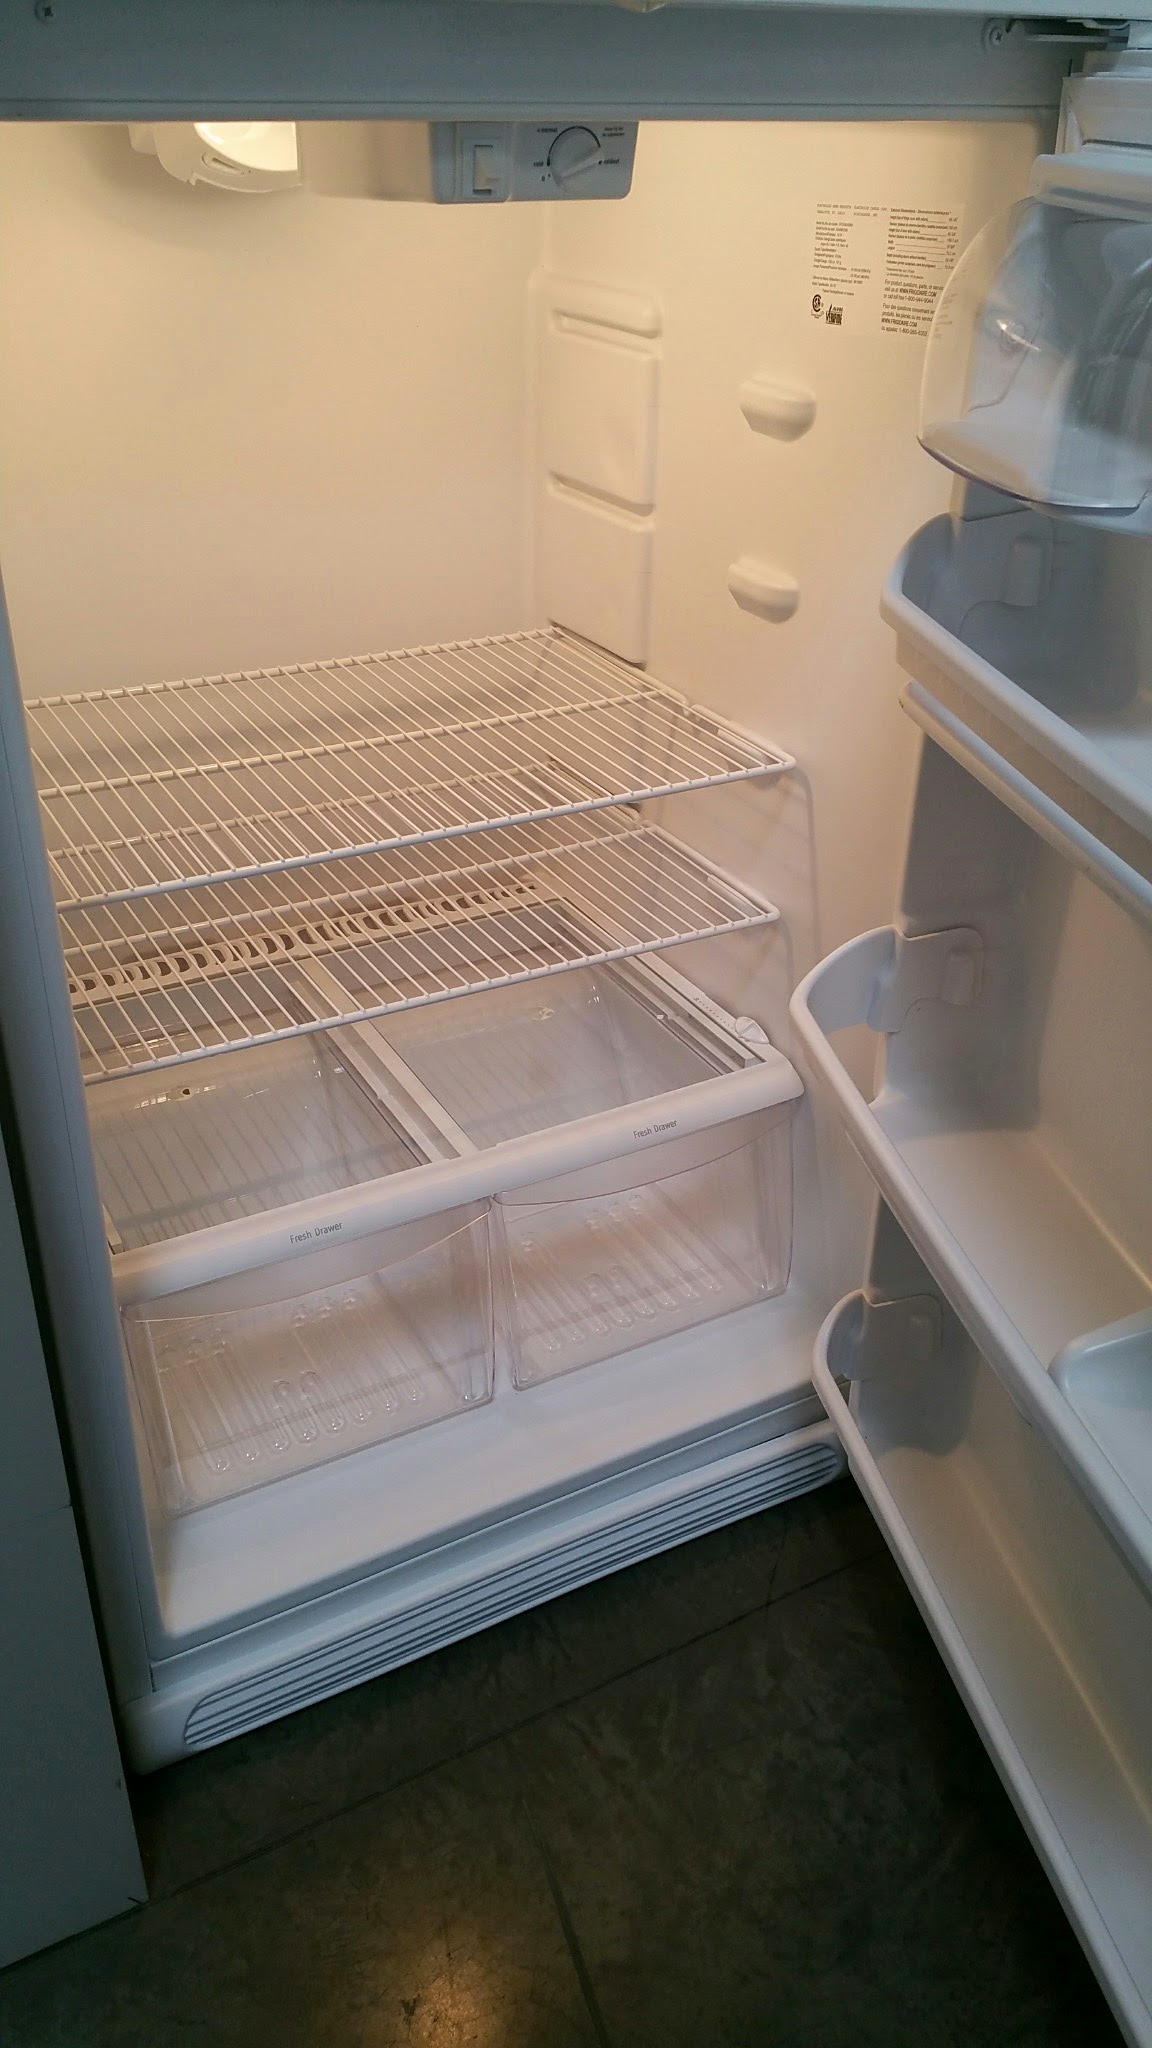
The freezer section measures 14 deep x 23 wide x 14 high. High enough to store bottles upright!
20150307_083459.jpg


For future reference:
https://www.homebrewtalk.com/f252/top-freezer-roper-fridge-fermentation-chamber-223499/
 
Last edited:
The block labeled "See Compressor Wiring" almost smack in the middle of the diagram shows the RED wire is the compressor power, the LT.BLUE is neutral, and of course the GRN/YEL is the safety ground.

Just to the east of that block you can see the Condensor Fan block. You need to have that fan running whenever the compressor is running. The blocks are shown wired together and you want to keep it that way.

So you want to disconnect the RED wire coming from the stock controller to the Compressor and the Condenser Fan leaving them still connnected together. Connect their part of the RED wire to one side of your COOL relay with a HOT AC feed on the other side, and put your temperature probe in the freezer compartment. With that you should have the freezer section under control - with the compressor answering to your controller and the fan going along for the ride.

Then, to deal with the fridge compartment, see the Evaporator Fan over in the northwest corner. The wire you need to control is the RED/WHITE lead. You'd want to take complete control of that just like the compressor, so cut it free, connect it to one side of the COOL relay on your second controller with AC HOT on the other side, stick the probe in the fridge, and you should have that under control...

...except you'll need to add a heater to the fridge compartment, hooked up to the HEAT relay on your second controller, to keep the fridge from getting too cold.

[edit] Given your location, perhaps a heater won't be necessary, but I would make sure your second controller is a dual-stage just in case you do find you need a heater on occasion.[/edit]

This should still allow the lights 'n' stuff to still work, but it will no longer allow auto-defrost to function (if your unit has that)...

Cheers!

Hey day_tripper, thanks for the time looking the schematic over and providing a well crafted response!

Living in Southern California, my garage rarely gets below 60F. Cold air from the freezer compartment may make it down into the fridge section even without the evaporator fan on. There's a mechanical manually controlled air damper contained in the cool air duct from the freezer to the fridge. It's always partially open. Cool air may travel down that duct even without the evaporator fan going. I'll experiment and play with the evaporator fan and air damper combo and dial that in. All that being said, I'll make sure to have a controller option to provide heat if need be. Thanks!

As for the auto-defrost, wouldn't it still go into defrost and wouldn't that be a bad thing? I am unsure if keeping the freezer section at a constant 50F would allow for frost build up on the evaporator fins and coils. Maybe. I don't have enough experience to know. If frost does build up, that could be a problem as the controller could have the condenser running while the defrost heater is on. Running at the same time. It could be an easy fix if there's no frost builds up. I'll just disconnect the defrost heating element. Else I'll have to figure something else out to make sure the condenser and defrost heater do not come on the same time.
 
If the defrost cycle doesn't use the evaporator fan (that is now on your second controller) while the heater is running, then you'd lose nothing with the mods. If it needs the fan to run while in defrost mode, then you might have an issue.

As for the compressor running while the fridge is doing a defrost, if you were to insert a relay between your new compressor controller and the compressor, with the RED wire passing through the Normally Closed set of points, then wire the relay coil to the heater circuit, when the heater is on the relay will open and the compressor won't run.

The relay would need to have enough heft in the points to handle the compressor (I'd go with a 15A-20A relay) and the coil would need to be for 110VAC (actually a fairly common model, I use a big one to control my well pump). But that'd take that problem right off the board.

And I bet we could come up with a way to use the same relay to turn on the evap fan during Defrost, too...

Cheers!
 
If the defrost cycle doesn't use the evaporator fan (that is now on your second controller) while the heater is running, then you'd lose nothing with the mods. If it needs the fan to run while in defrost mode, then you might have an issue.

Got it. Also, with the Frigidaire FFTR1814QW0, I can force the freezer into defrost to see what the evaporator fan does. I'll report back with my findings.

As for the compressor running while the fridge is doing a defrost, if you were to insert a relay between your new compressor controller and the compressor, with the RED wire passing through the Normally Closed set of points, then wire the relay coil to the heater circuit, when the heater is on the relay will open and the compressor won't run.

The relay would need to have enough heft in the points to handle the compressor (I'd go with a 15A-20A relay) and the coil would need to be for 110VAC (actually a fairly common model, I use a big one to control my well pump). But that'd take that problem right off the board.

Thanks. Make sense to me! Can't seem to find a 110VAC coil relay that's normally closed.... hmm...
 
Look for either an SPDT or DPDT plug-in style relay with a 110VAC coil voltage and at least 15A contact rating. These are usually 8 pin cubes with Lucite covers...

Cheers!
 
This is a good paper detailing the pros of uncoupling the compressor and the evaporator fans.
http://docs.lib.purdue.edu/cgi/viewcontent.cgi?article=1368&context=iracc

Since the fridge uses a manual damper, I will experiment with different damper settings. Uncoupling the fans along with the proper damper setting should be enough control to maintain the freezer compartment at 55F while maintaining a nice fridge compartment fermentation temperature of anywhere in the range of 60-70F.

If at 55F there are no signs of frost or ice build up on the evaporator fins or coils, I will disconnect the defrost heating element and auto defrost feature. Of course, with the option to re-connect them in the future.

If ice or frost does build up, then I'll look into adding the NC relay.

The manual damper control is located in the freezer compartment. It simply controls the amount of air flowing from the freezer section to the fridge section:
20150307_082425.jpg


Air flows into the fridge compartment from the freezer through these vents:
fridge_air_flow_vents.jpg
 
Update: I have the fridge in place, and it's ready to be modified.

I'll be using the BrewPi Spark and Rasberry Pi 2 combo to control the temperature of both the freezer compartment and the fridge compartment.

The Rasberry Pi is up and ready to go. It's WiFi enabled and I am able to access the RPi remotely. The BrewPi Spark should be arriving shortly. Still need to place an order for the 1-wire temp sensors. The Crydom solid state relays are arriving shortly as well.

More updates to come as things progress.

Ron
 

Latest posts

Back
Top