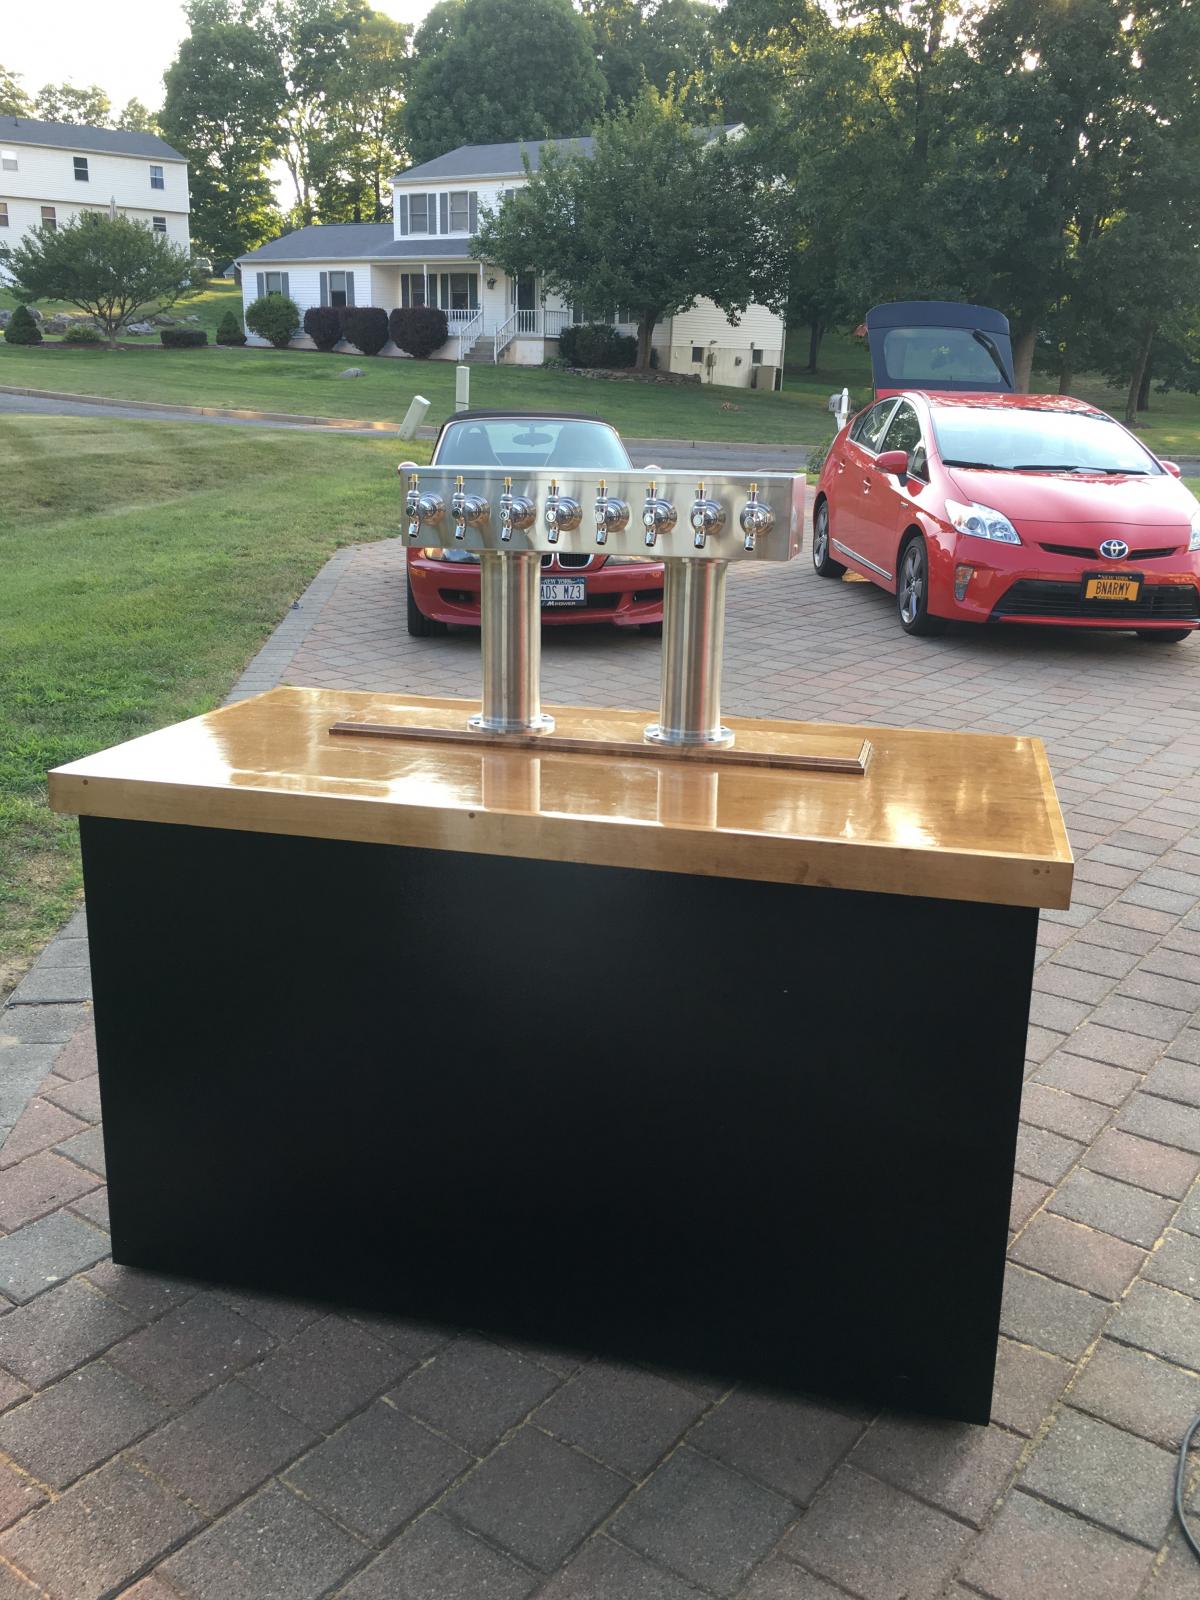
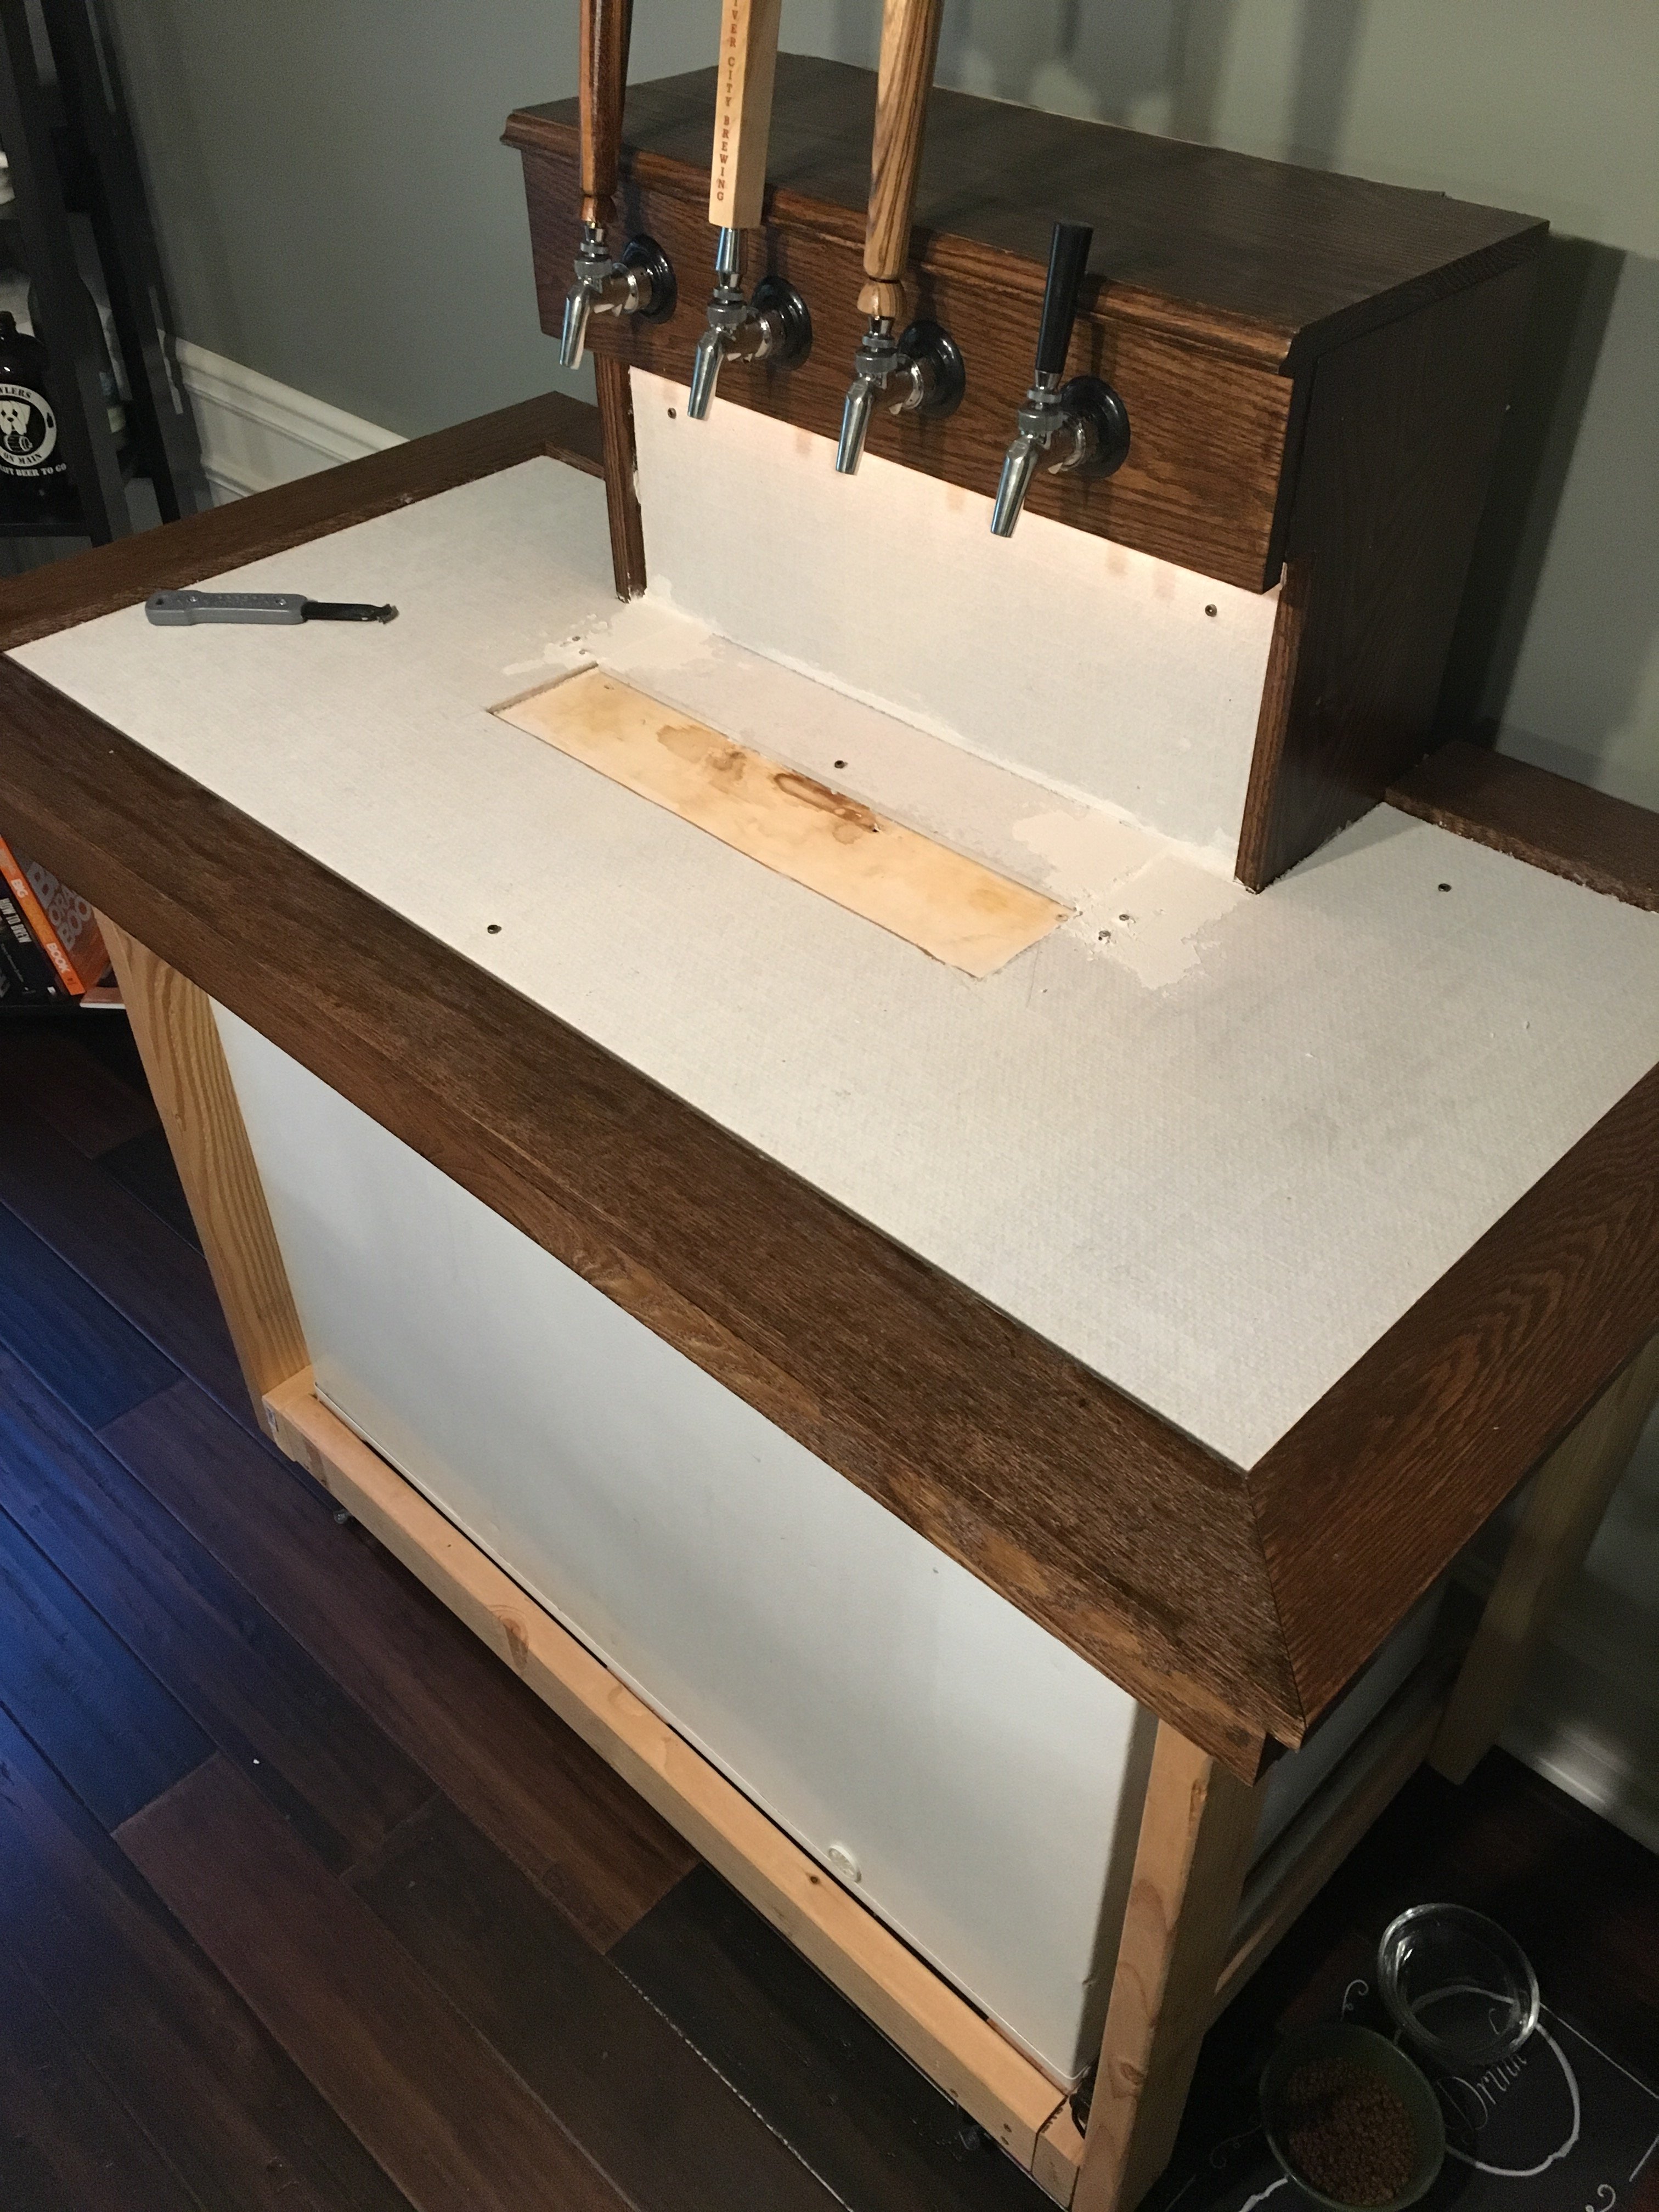
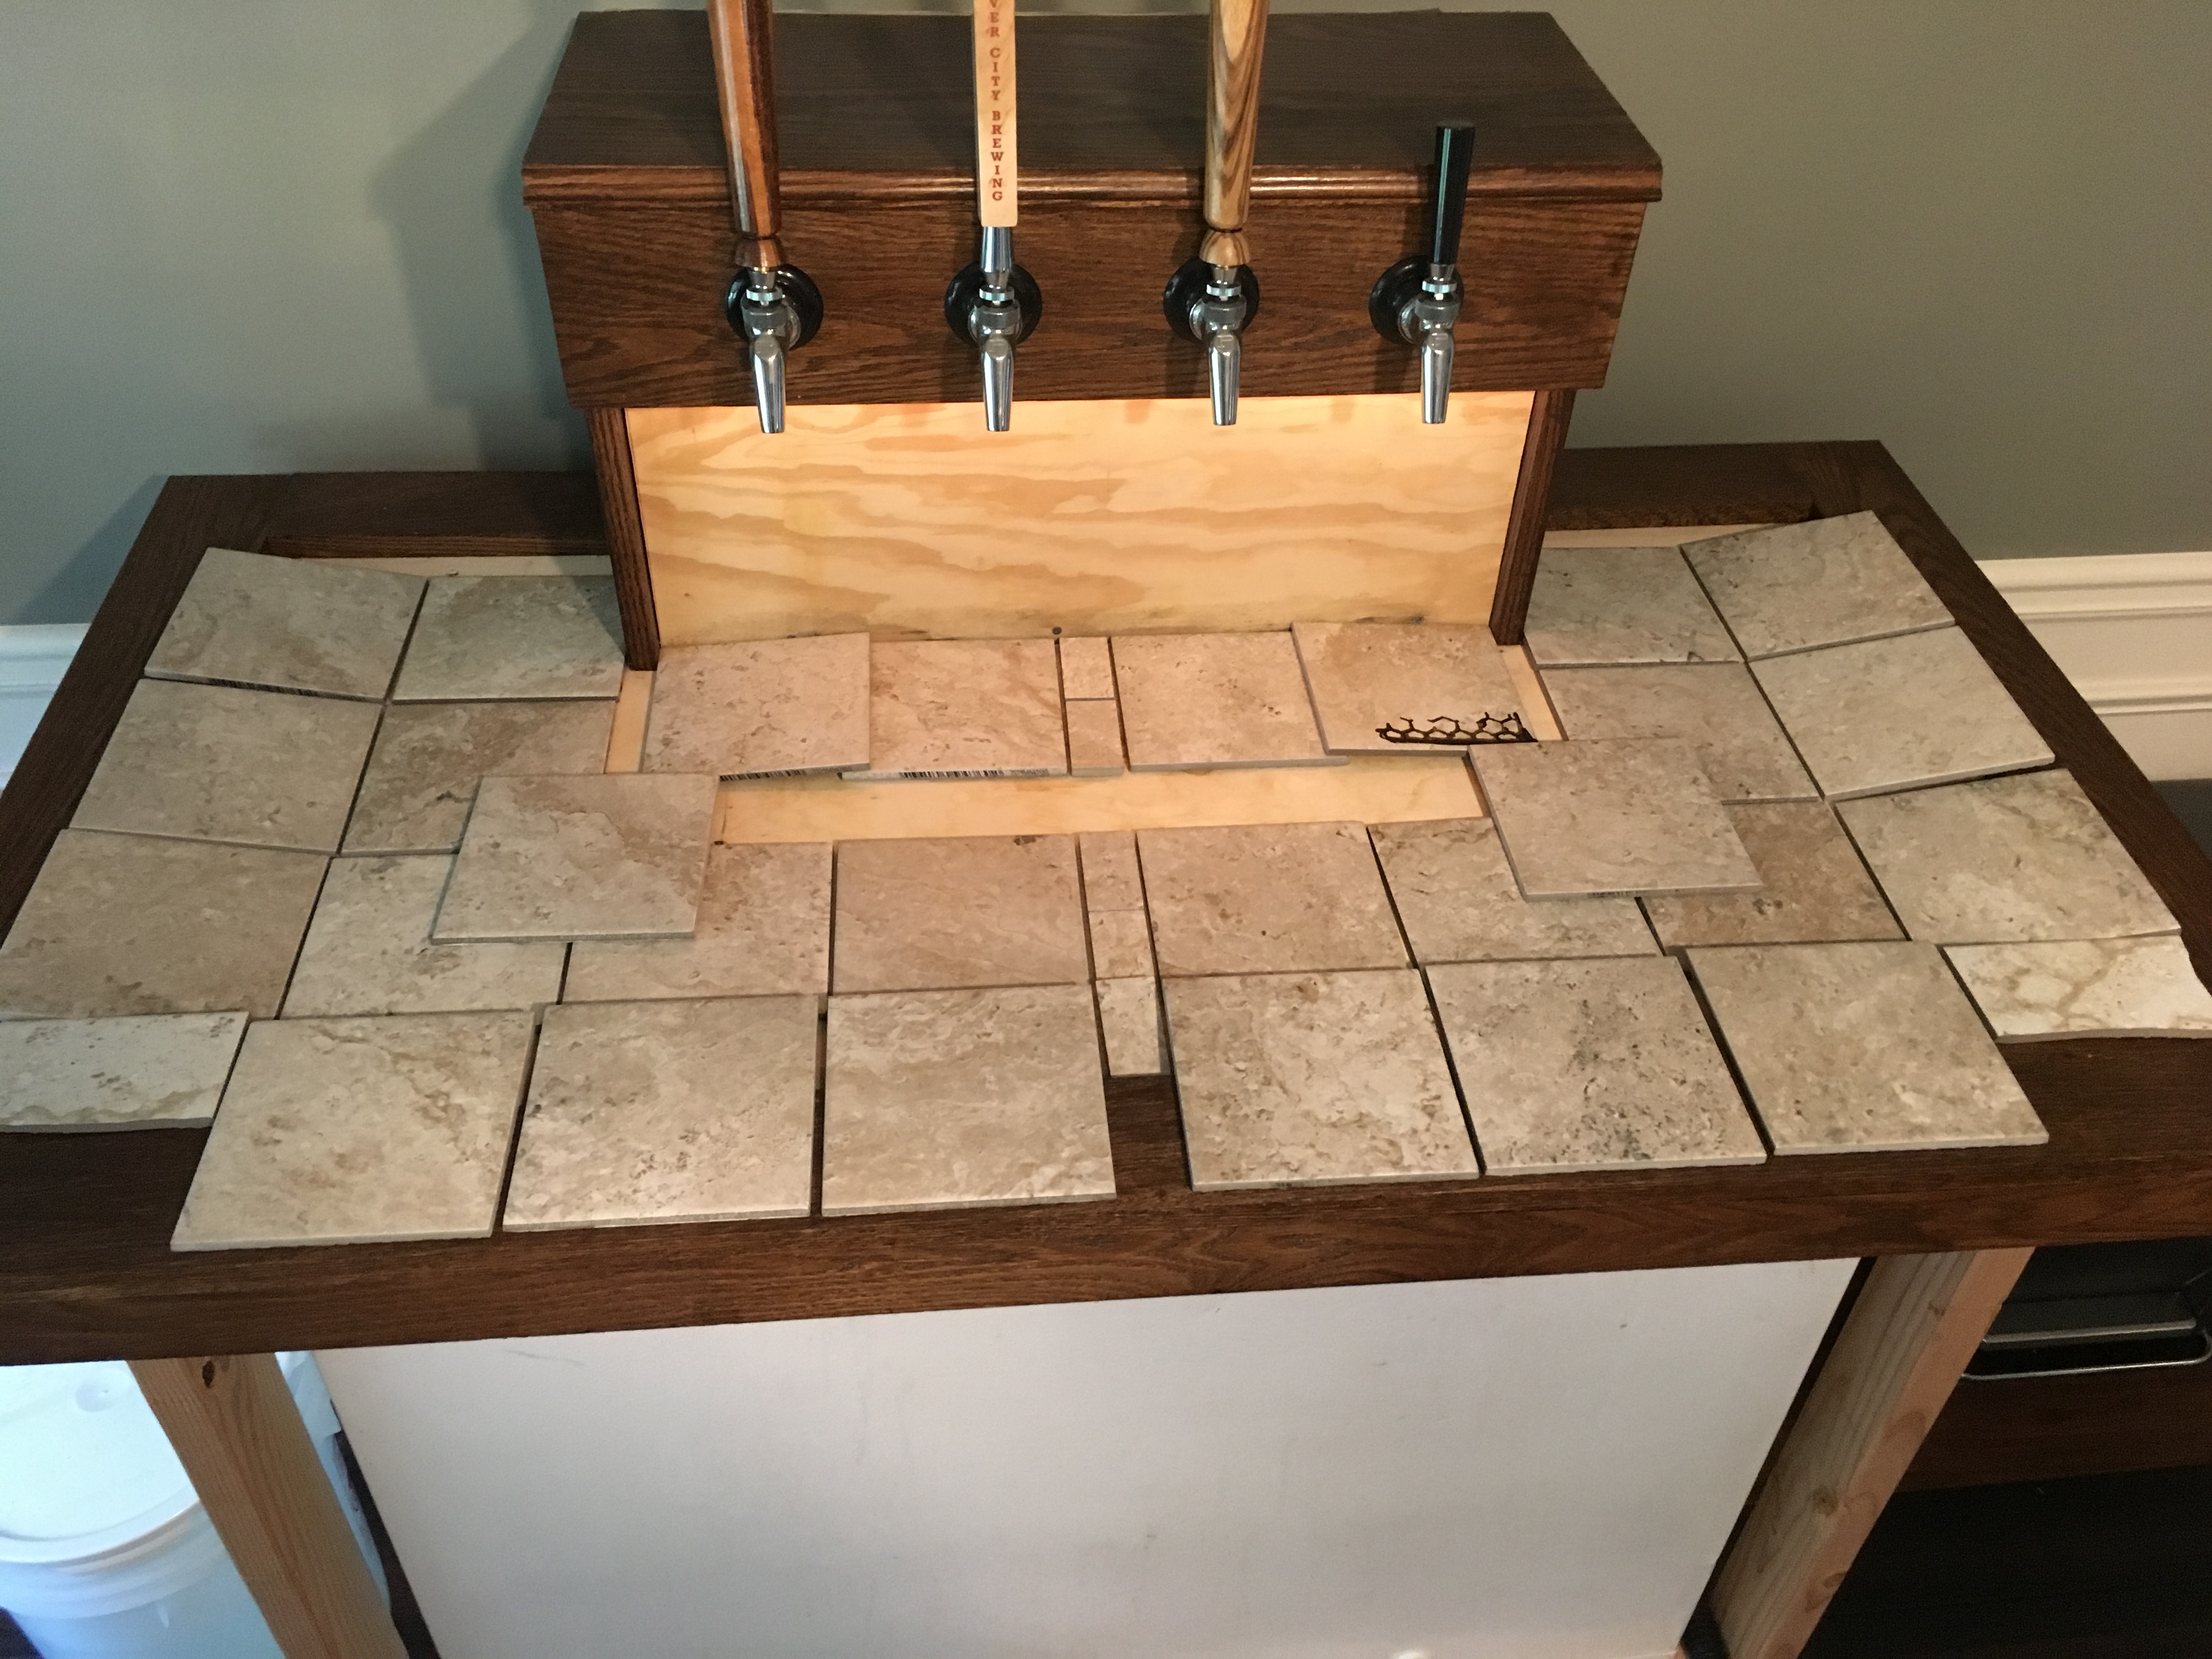
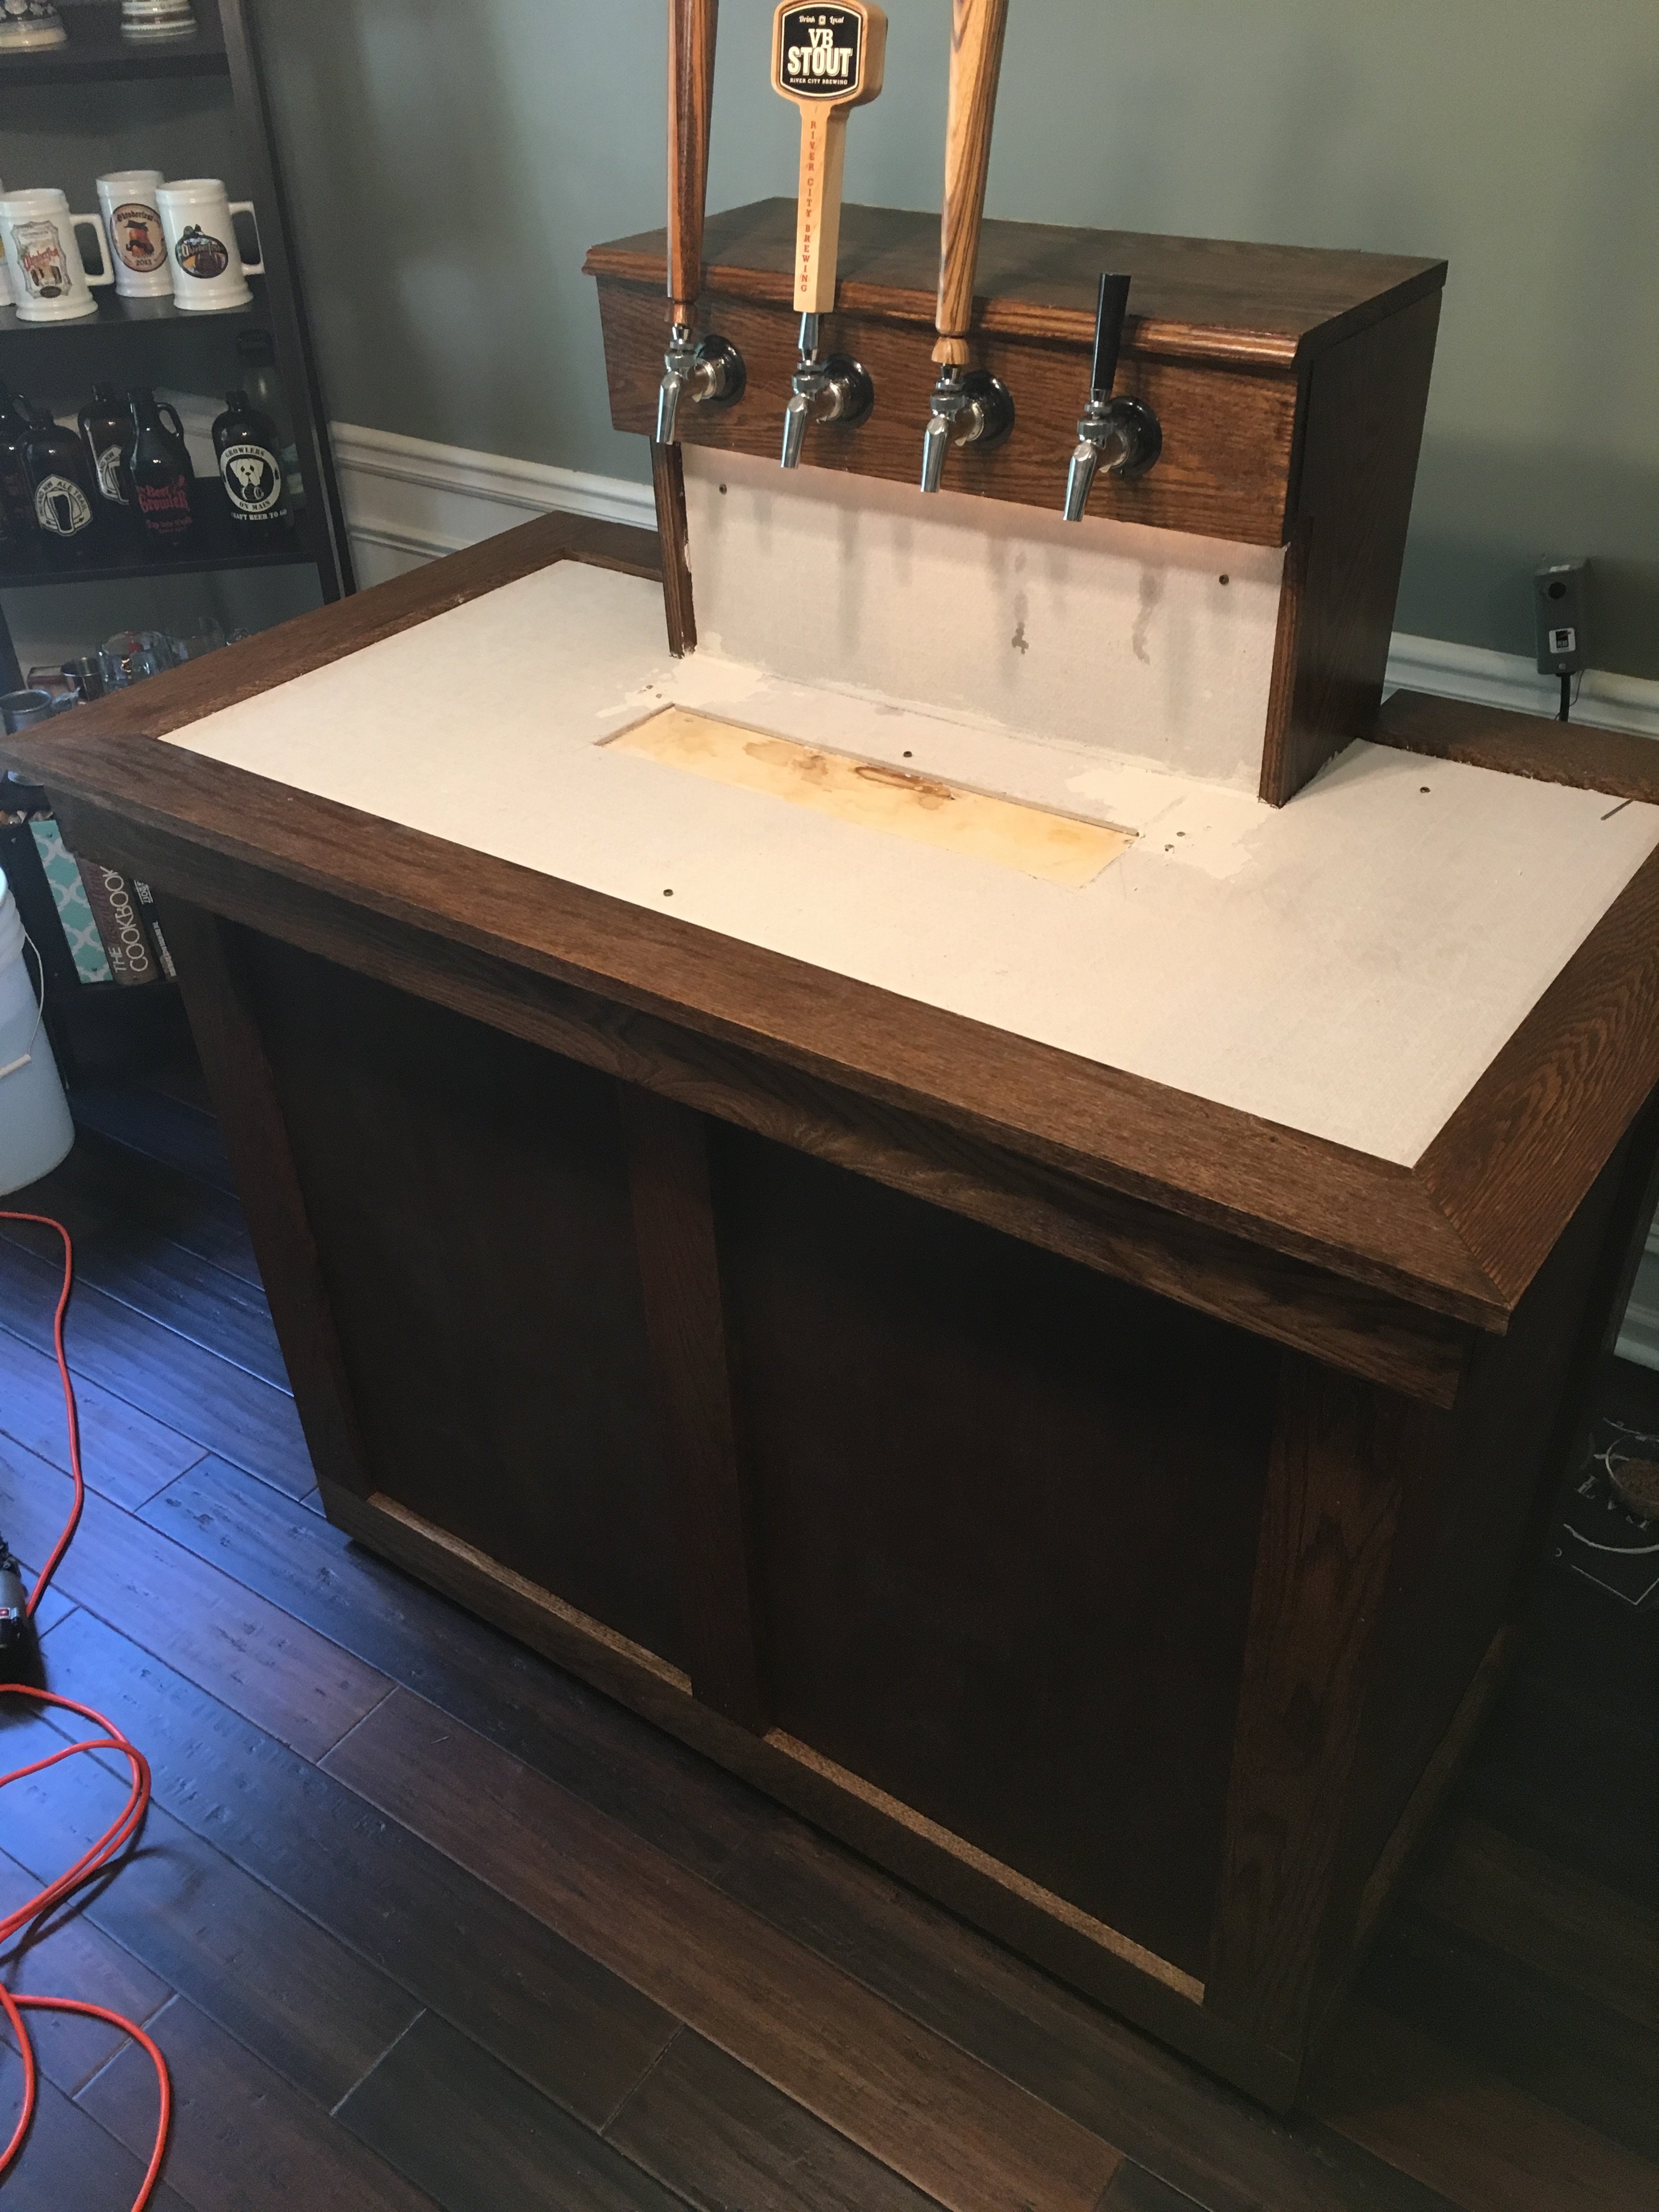
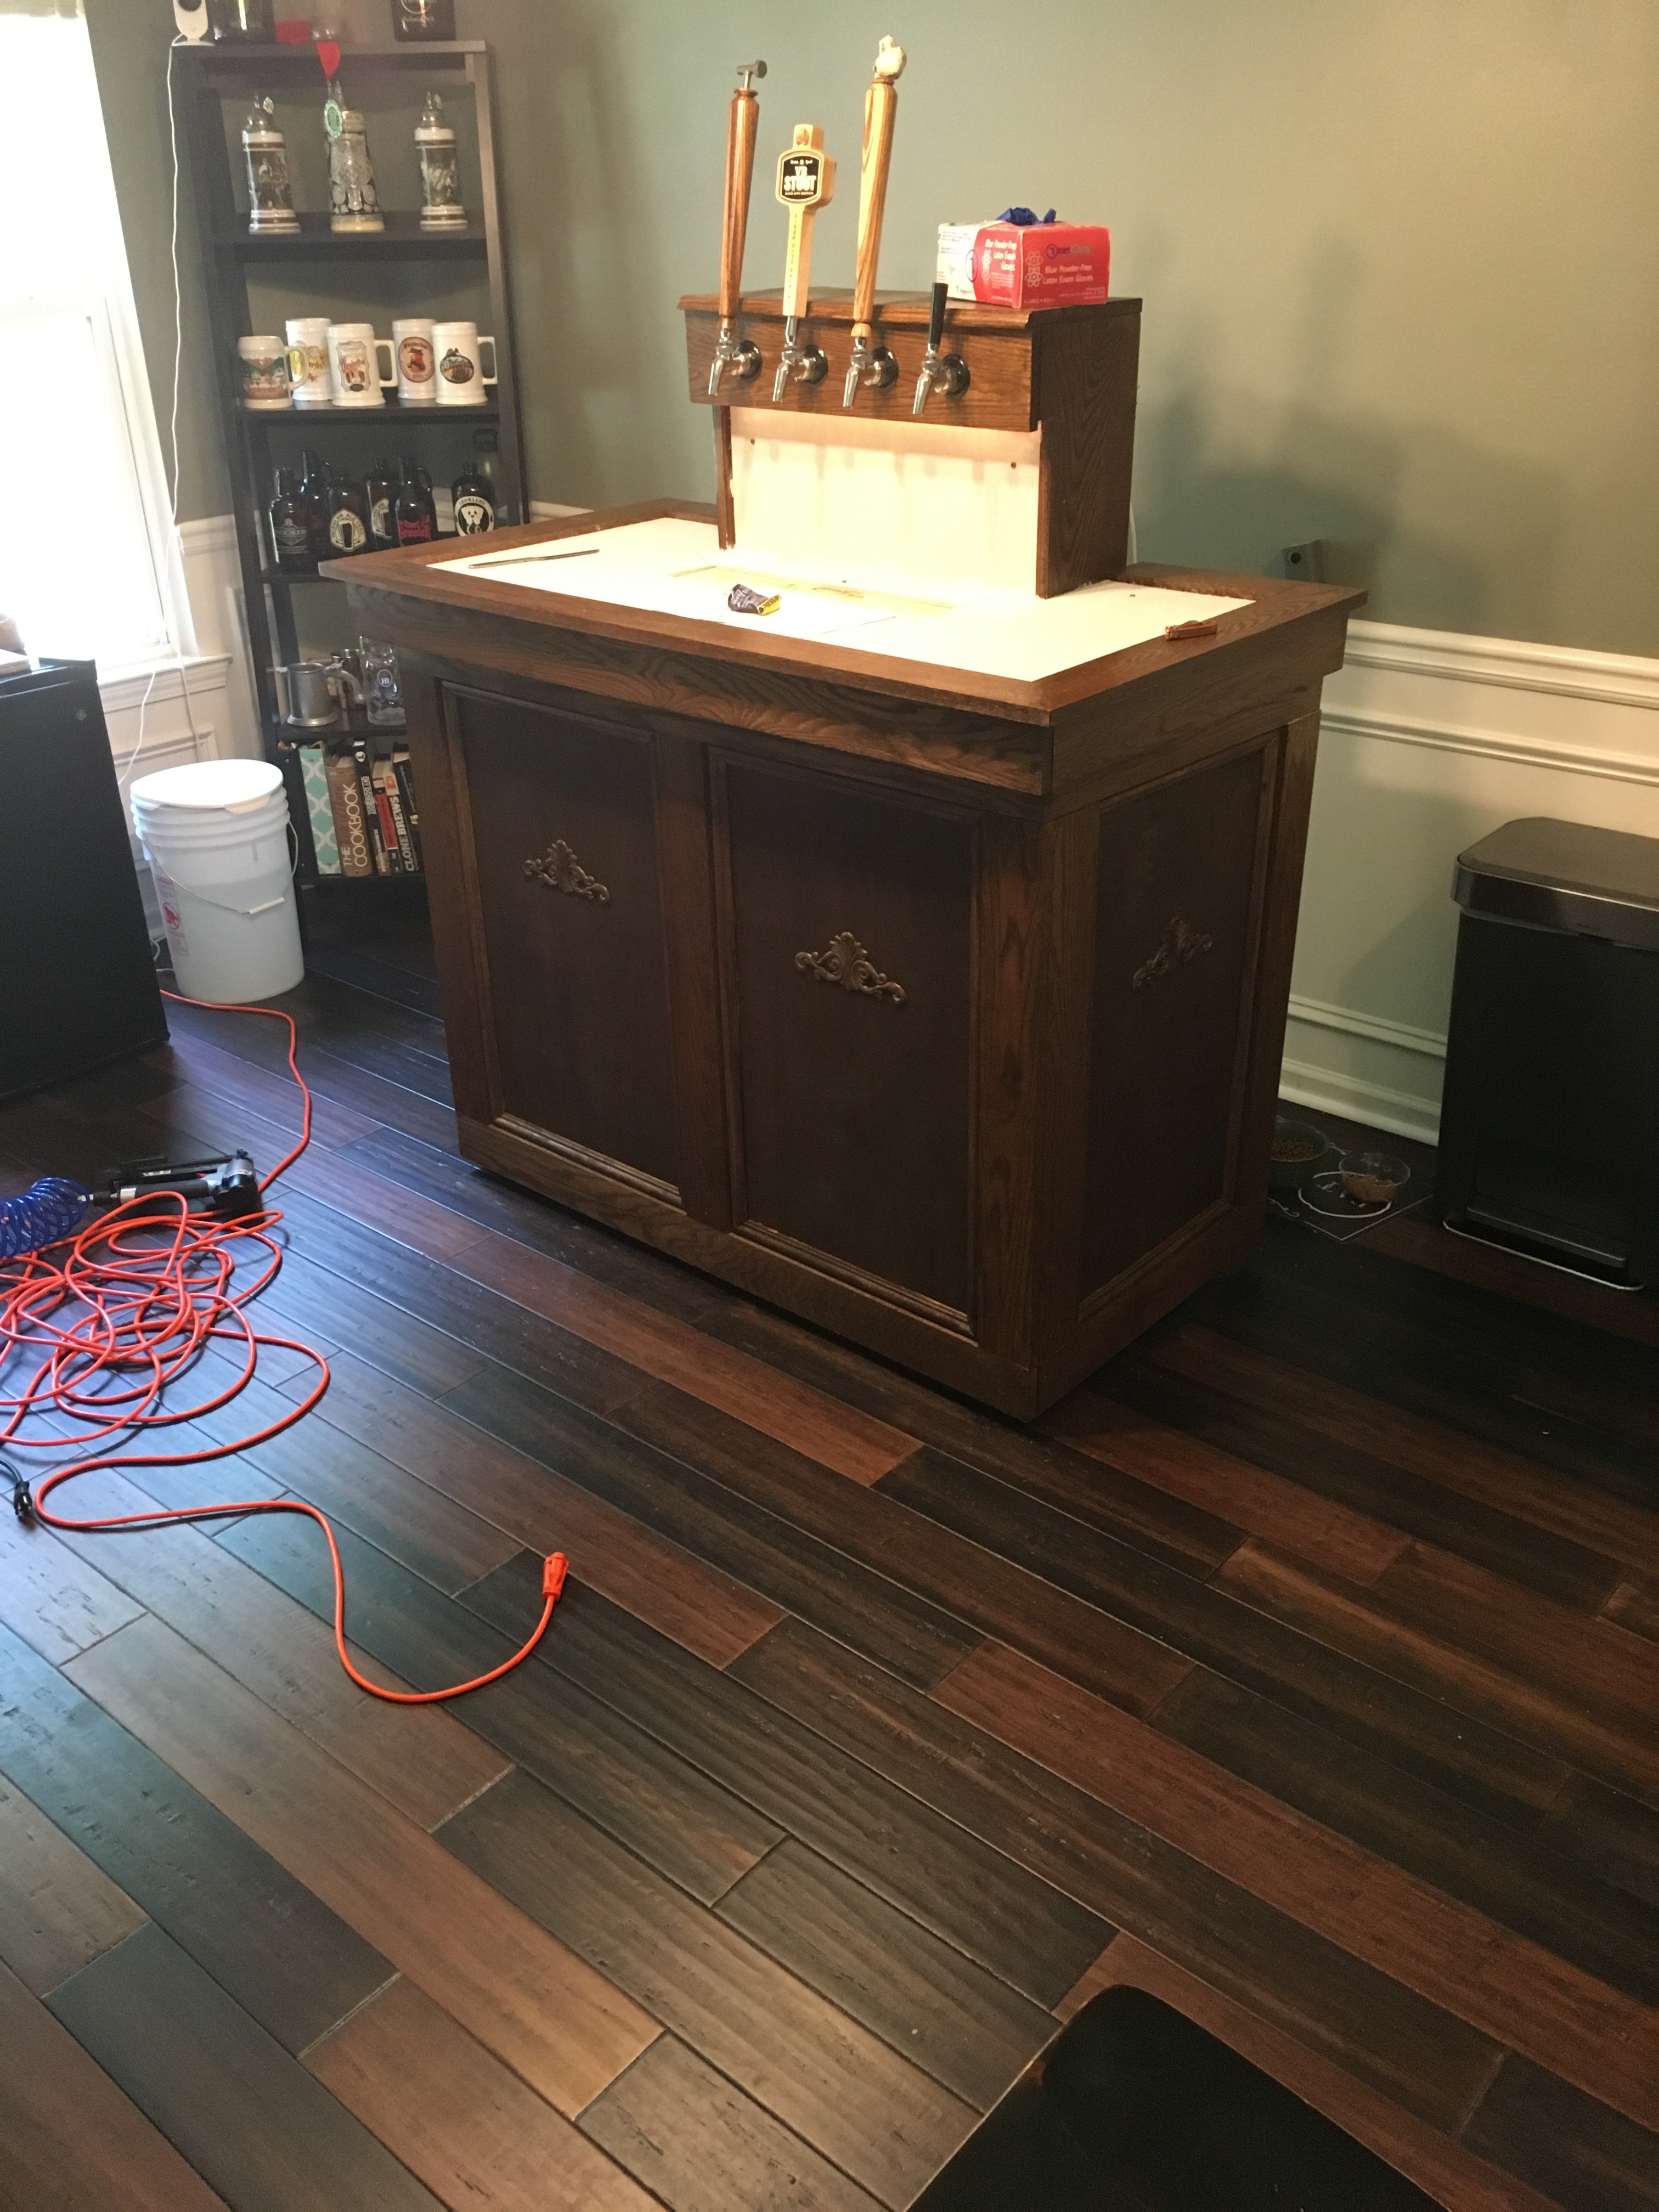
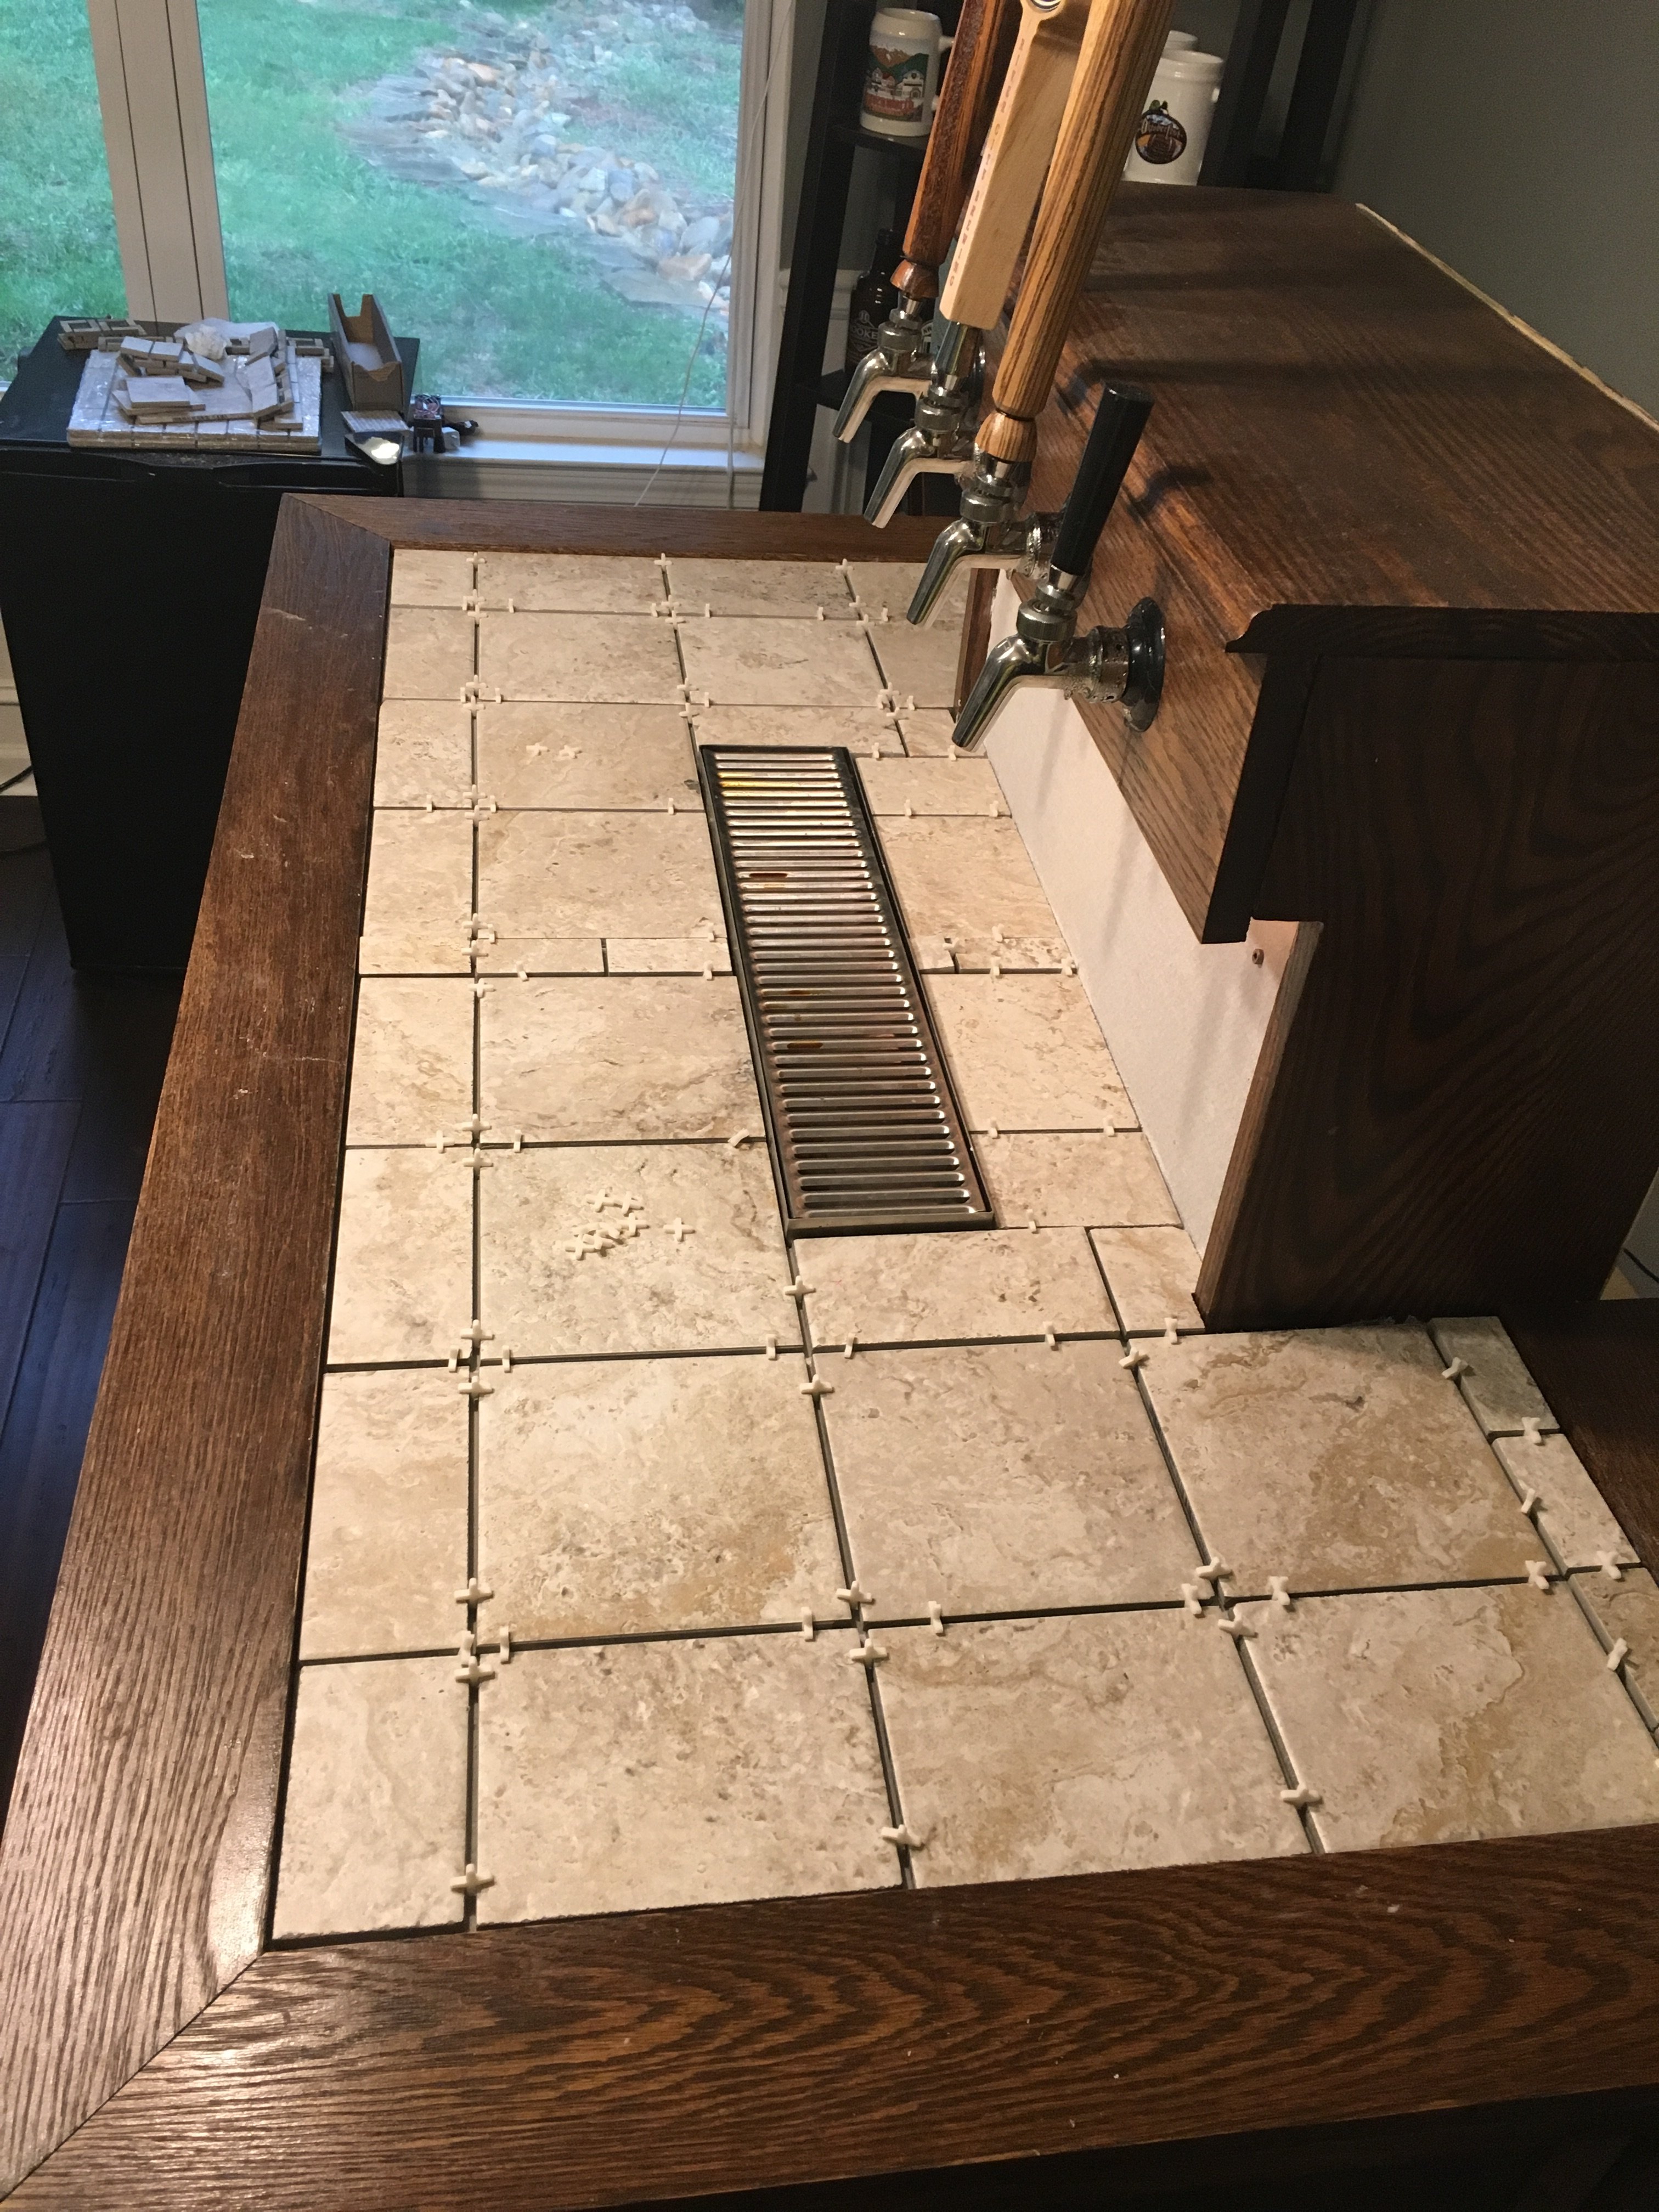
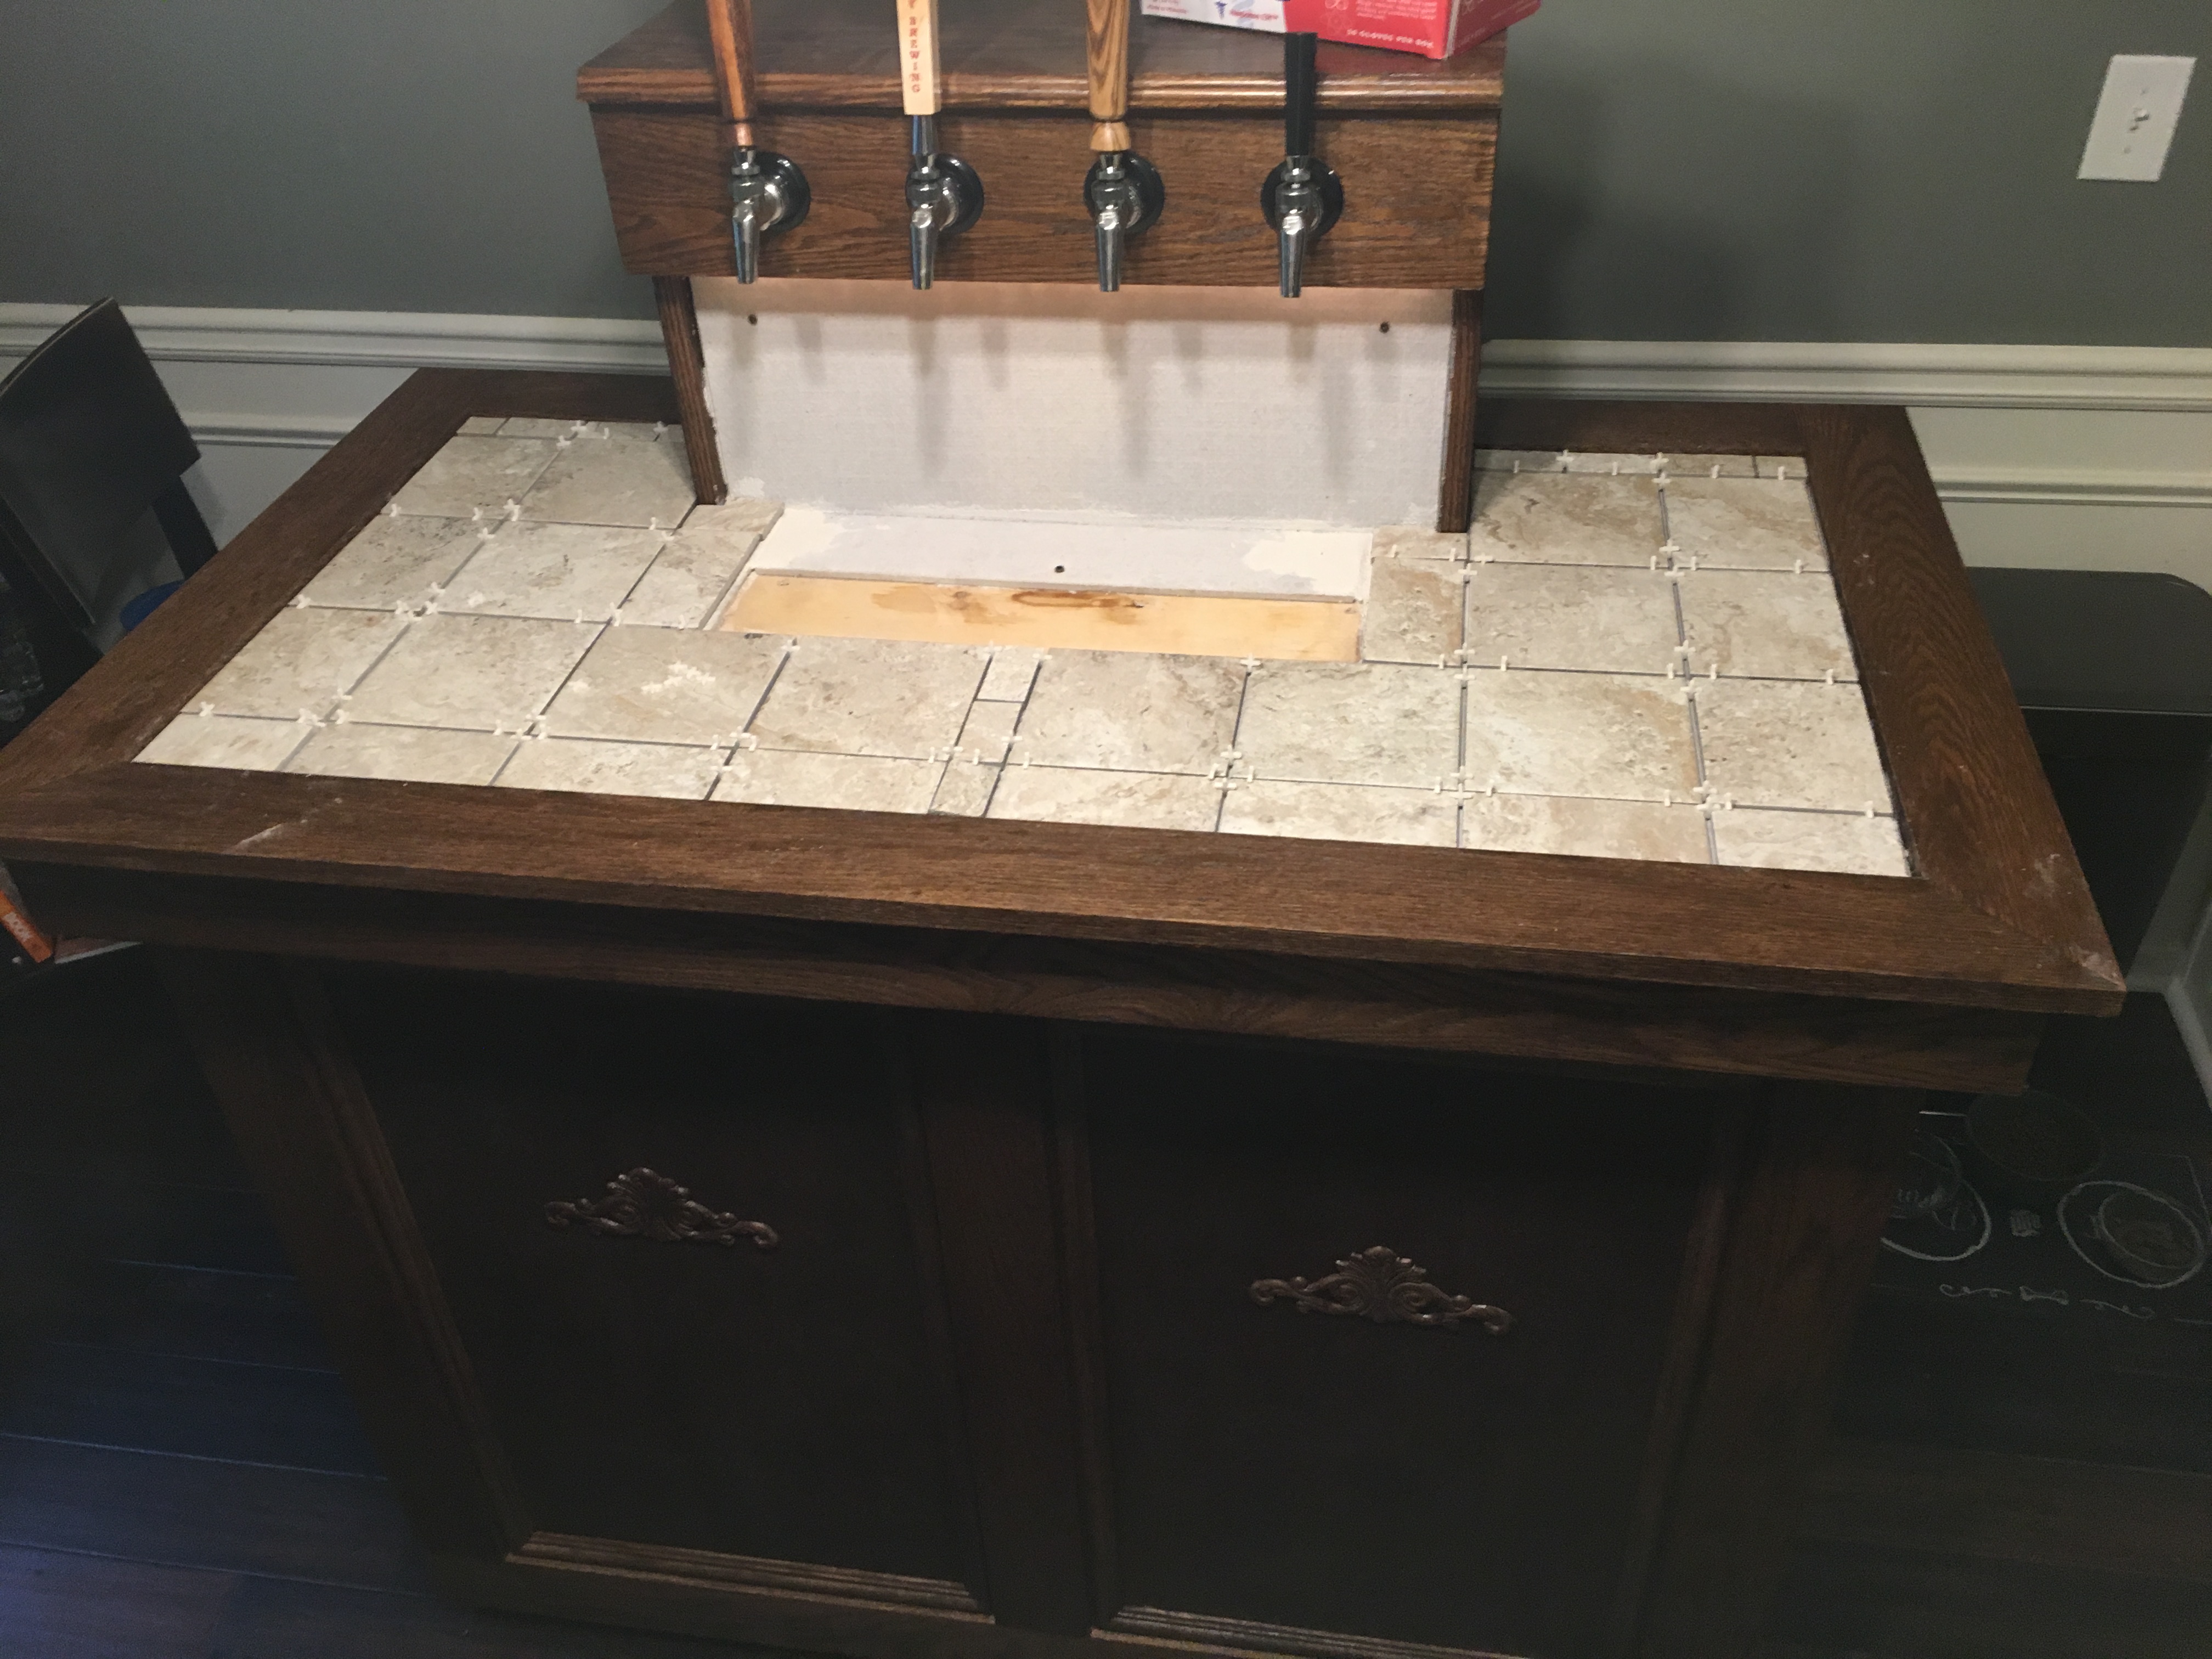
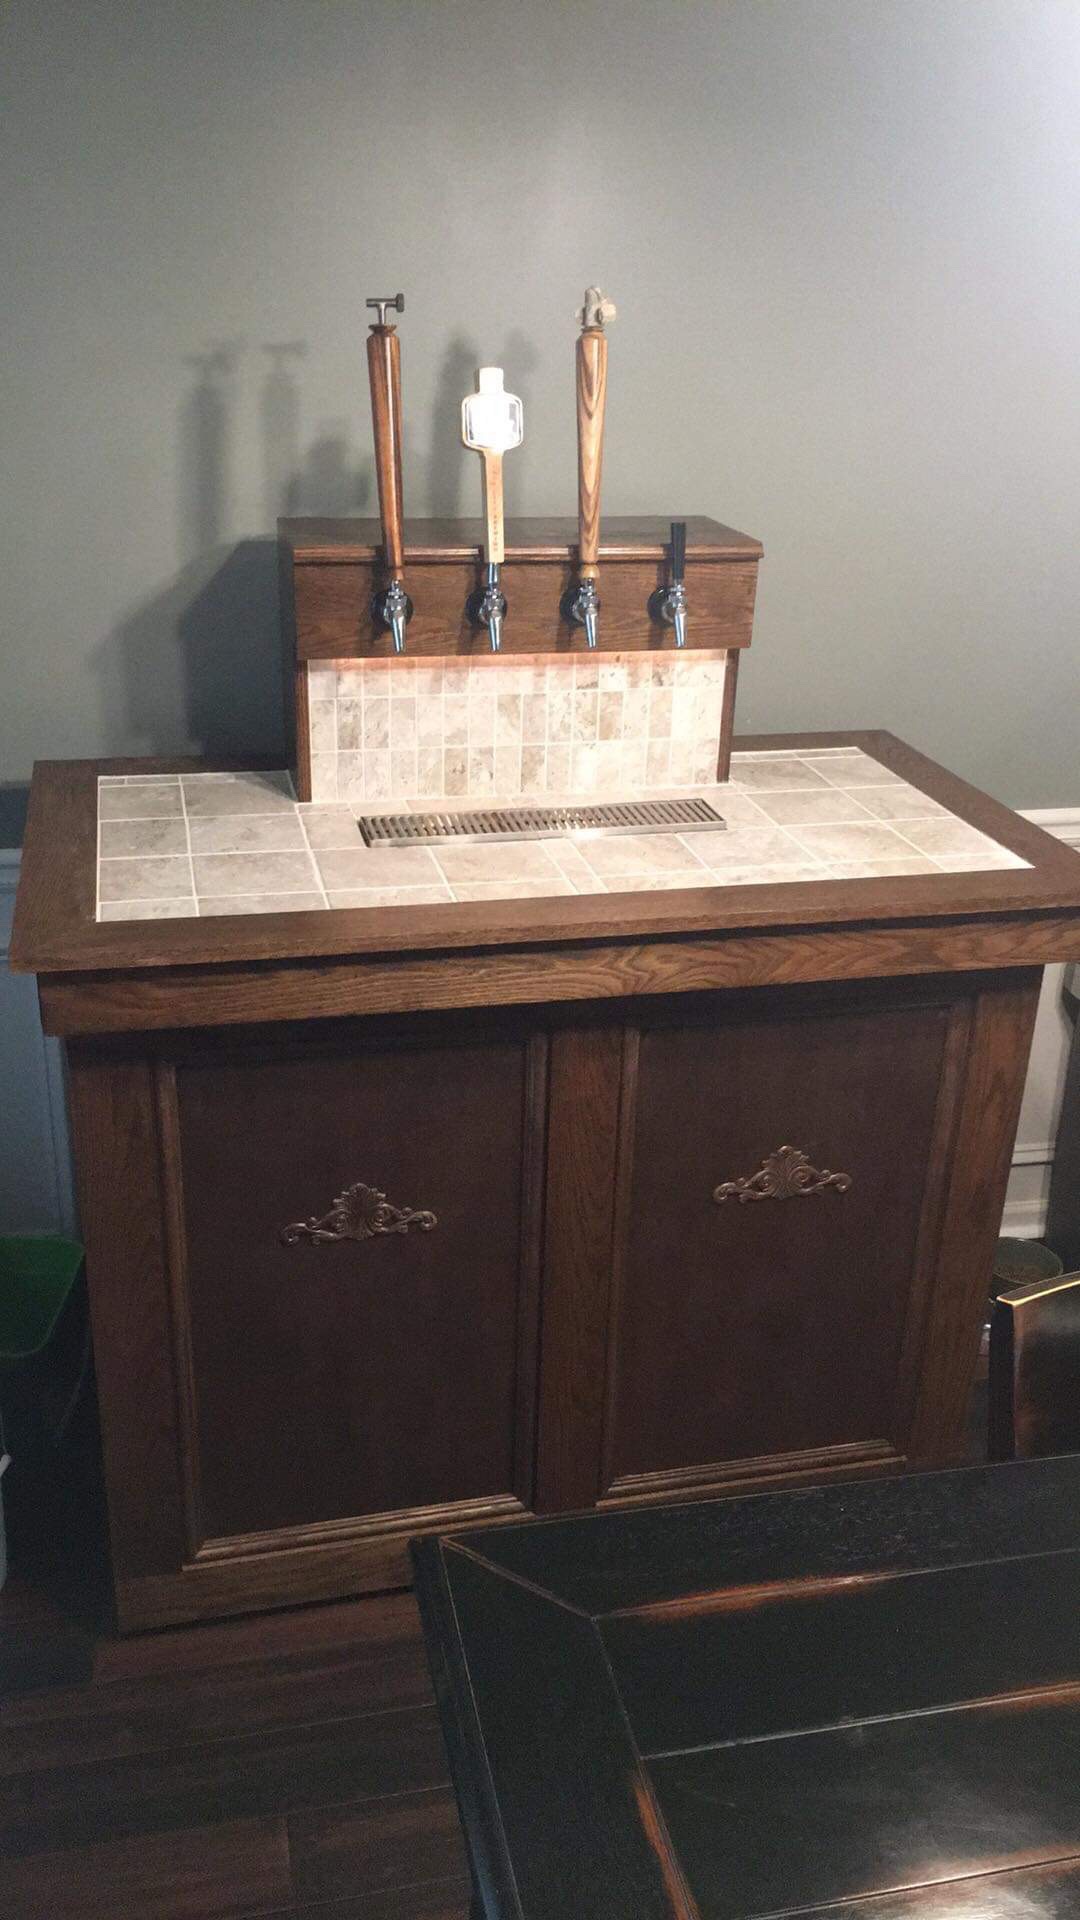
So I finally got started on this thing after weeks of agonizing and CAD modeling. It is another Jester Keezer ripoff for the most part, and I'm still figuring out the details of cooling the coffin but I think I've got it under control. I have two 4" holes for PC fans, one up and one down, and one 2.5" hole for tap lines. I will insulate everything inside with 1" foam board and aluminum tape.
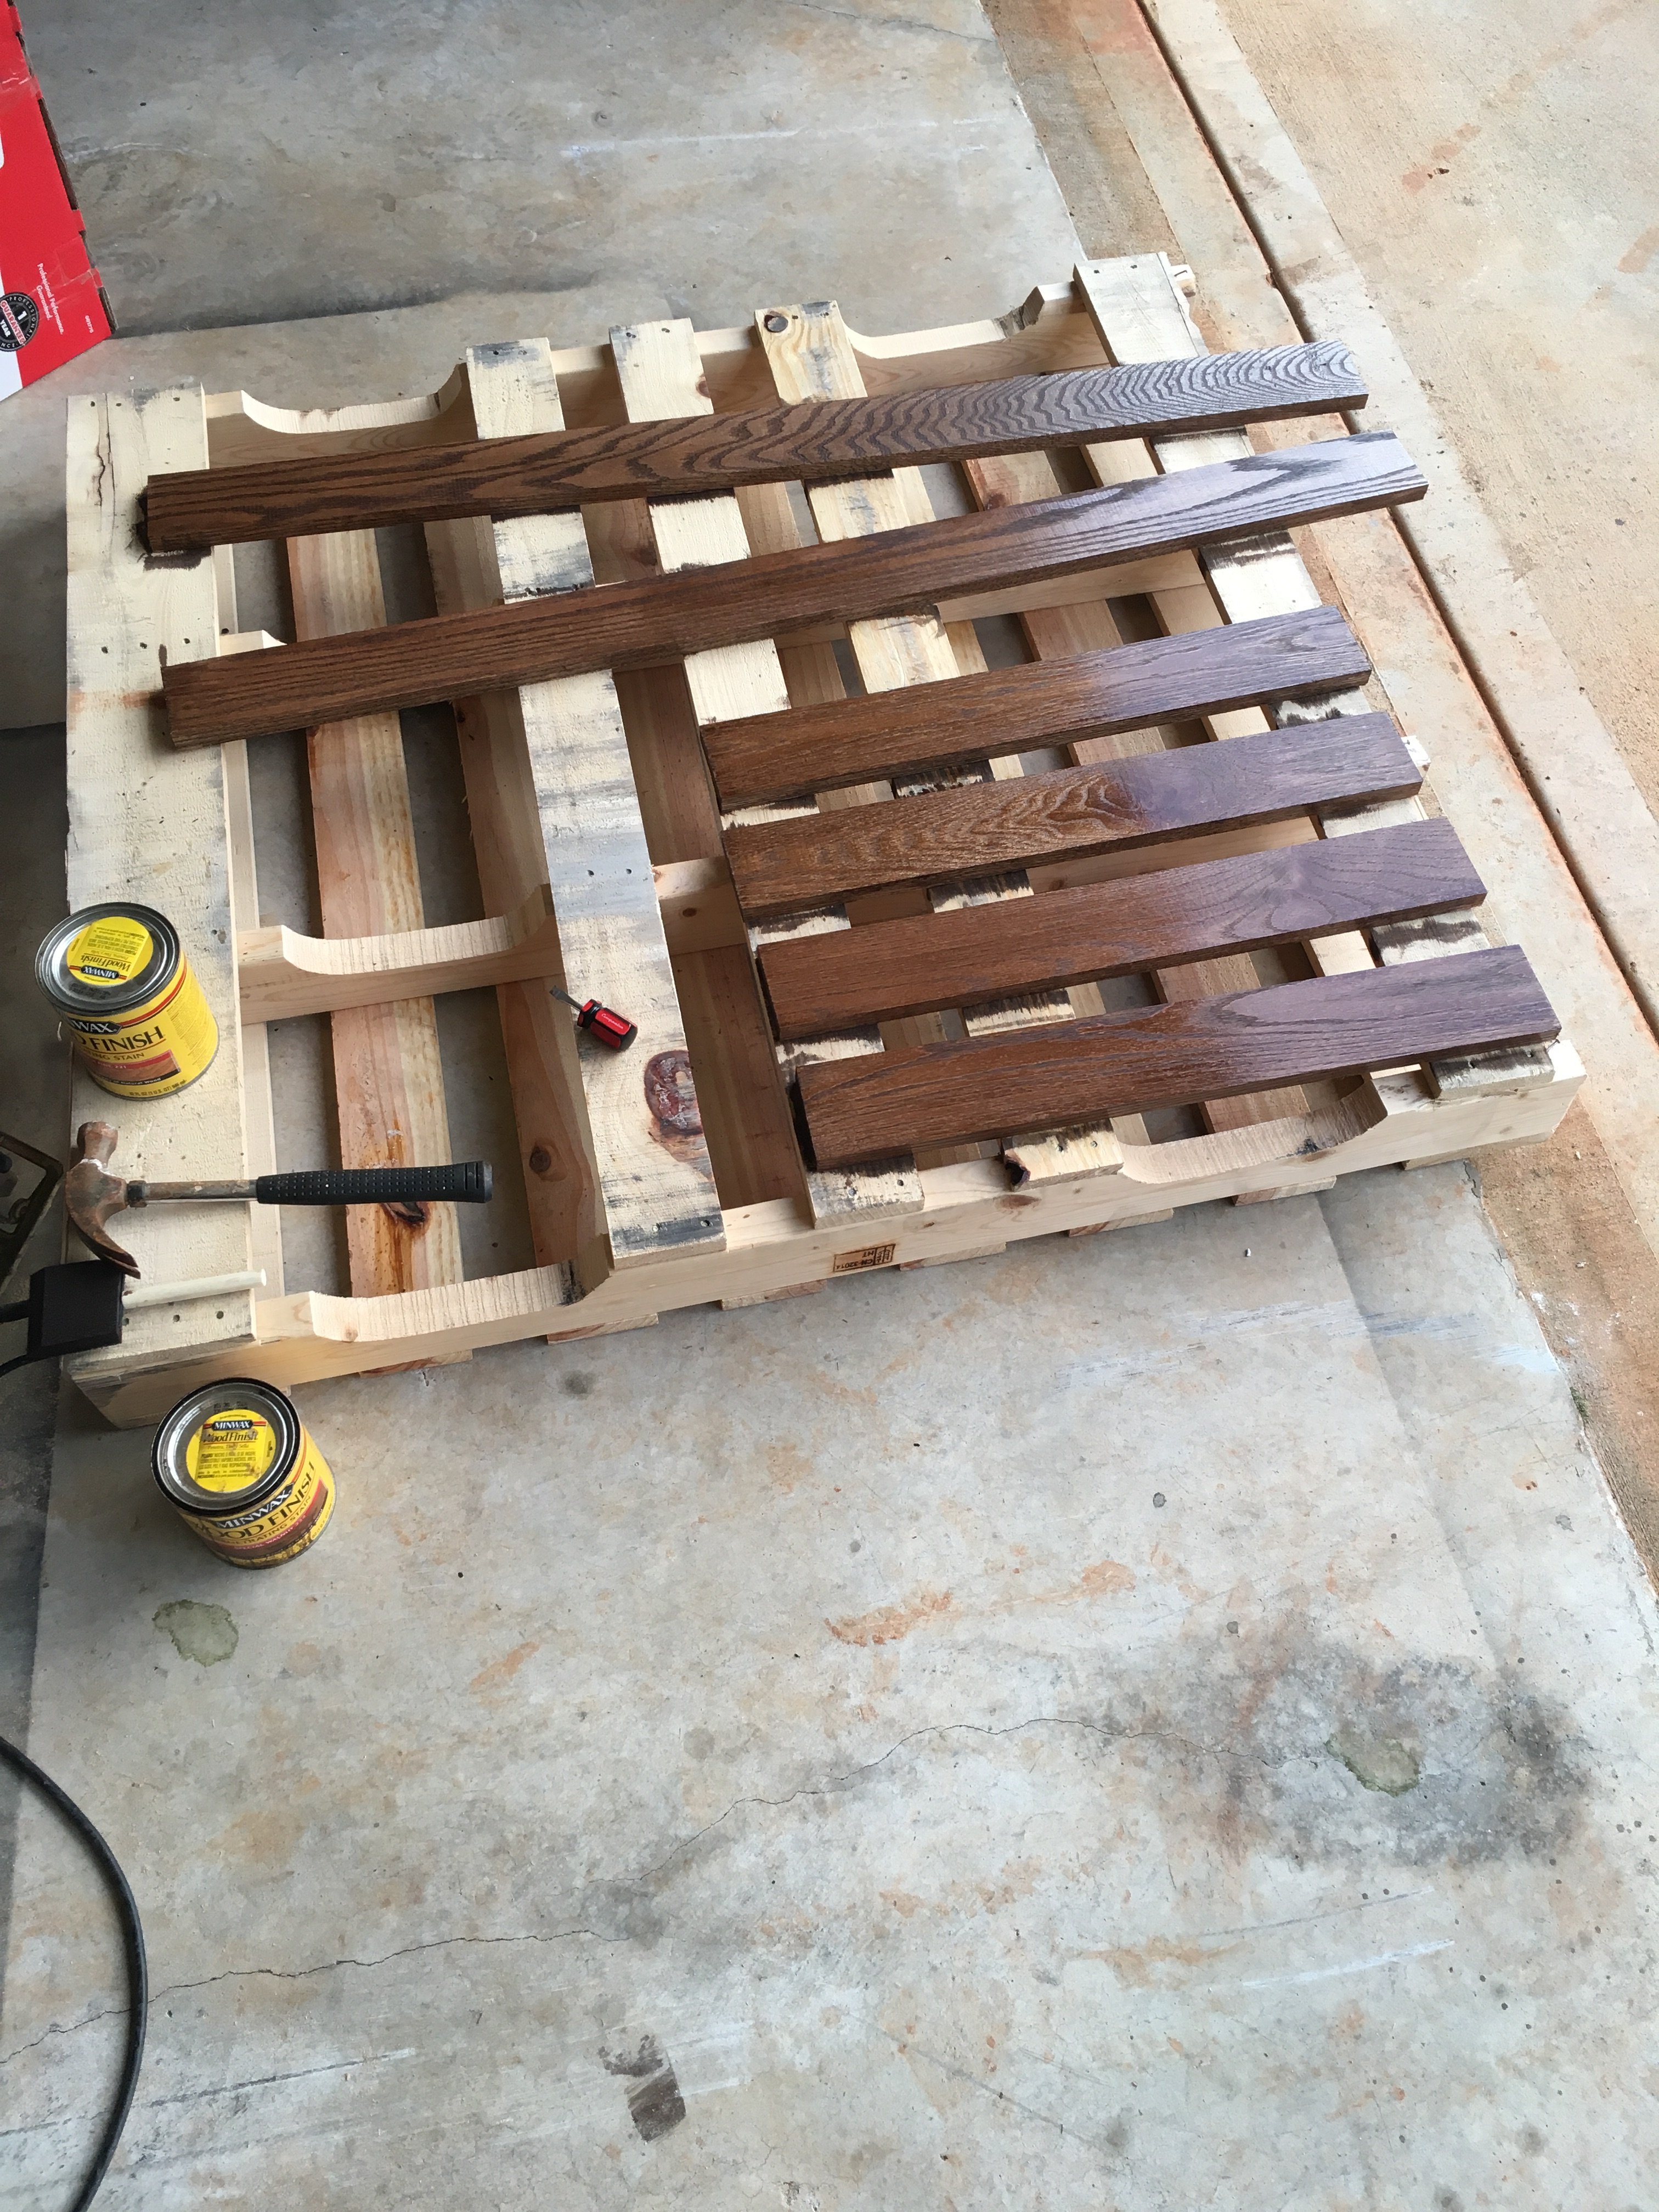
I went with red oak for all of the visible wood because it's what is available in my area. I plan to do floating panels for the skin around the keezer body, but I haven't decided on the wood for those yet. I'd like something that compliments the red oak though.
Without further rambling, pictures!
View attachment ImageUploadedByHome Brew1486160813.902475.jpg
An early draft
View attachment ImageUploadedByHome Brew1486160887.945302.jpg
A draft with the final dimensions for the top and inlaid travertine tile, and you can see the 2x4 framing leaving a sizable gap (1.5") between the skin and the keezer body for cooling. I will probably remove the vertical 2x4's in favor of 2x2's to save weight. I also plan to use pneumatic springs to assist the lid lift, since the lid will weigh about 100lbs.
View attachment ImageUploadedByHome Brew1486160902.208268.jpg
3/4" hardwood plywood for the lid. I'm not planning to bolt it, just liquid nails to the freezer lid.
View attachment ImageUploadedByHome Brew1486160915.611605.jpg
The first cut, with a SkilSaw, since that's what I have available and no F-Ups!
View attachment ImageUploadedByHome Brew1486160933.945231.jpg
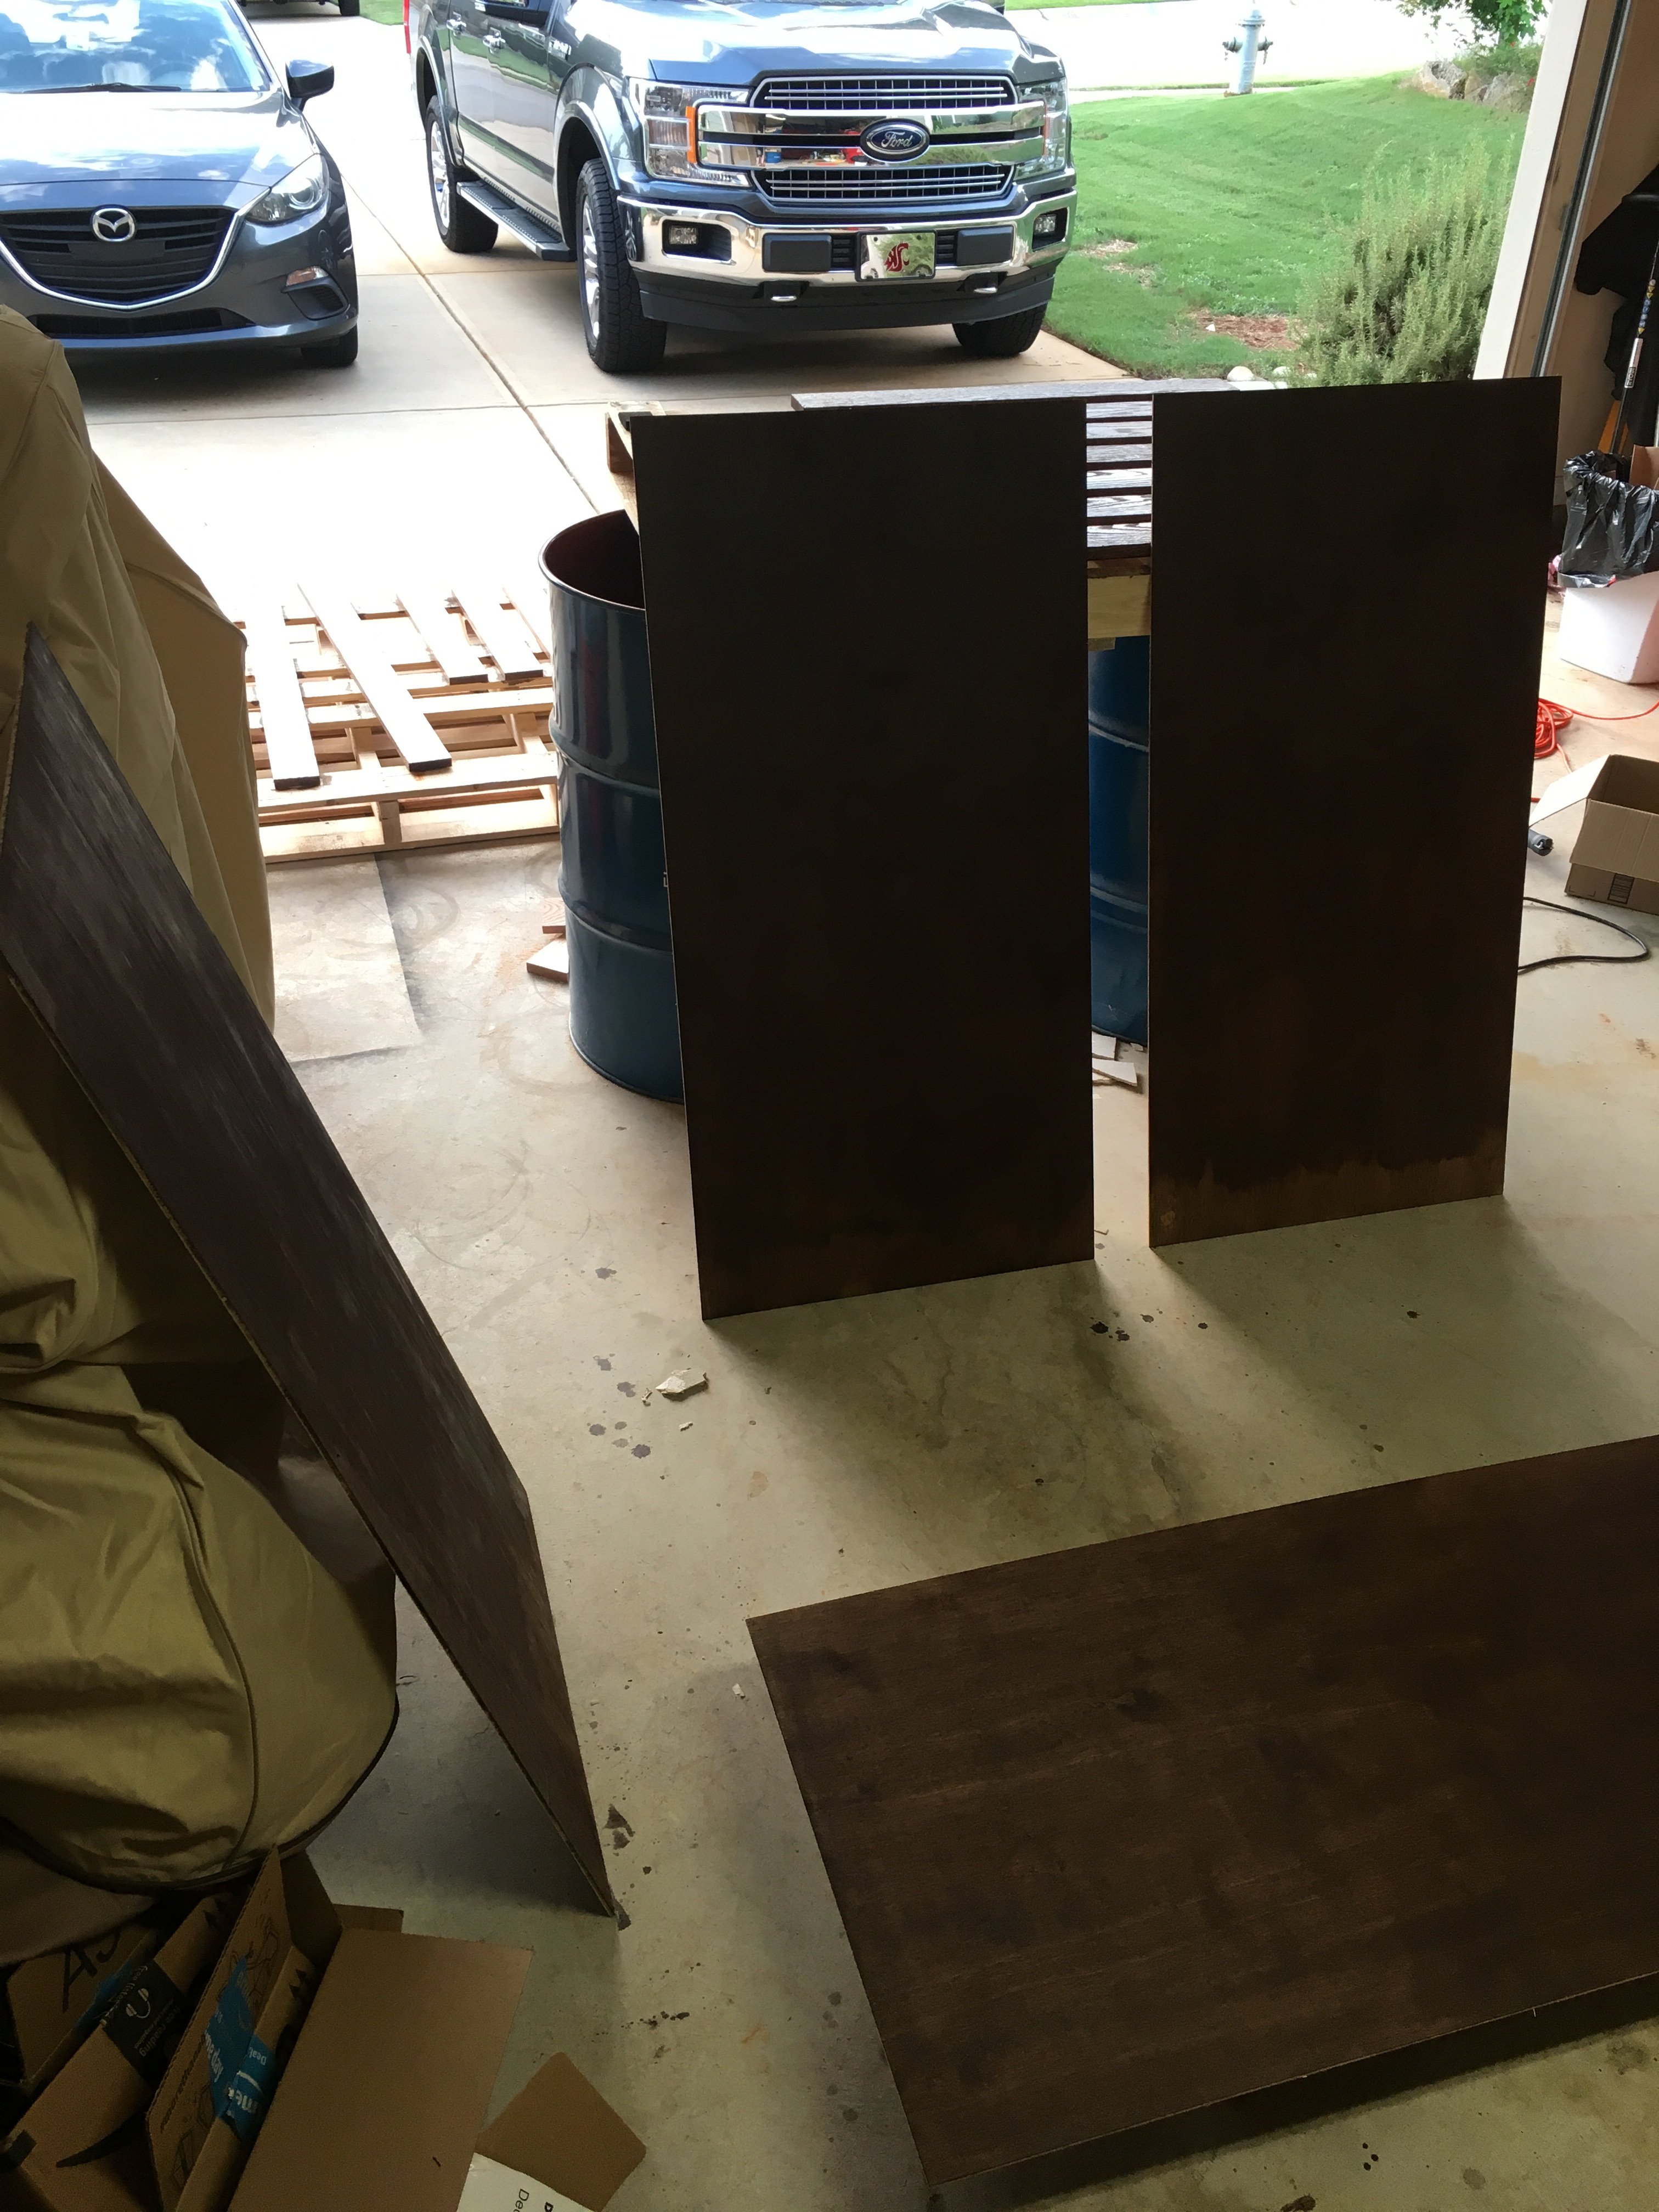
Got the sides and the top cut. I'm going to rip 1" off the width of the top piece so that the tap handles don't hit the overhang, but I need to borrow a table saw for that. I'm barking mad, but I won't try to rip oak lengthwise with a SkilSaw.
View attachment ImageUploadedByHome Brew1486160953.041045.jpg
Sides top and framing members mocked up and partially sanded. The 5.5" board lying in front will be my tap board, but I need to rip 1/2" off of that too before I drill the holes for the taps.
I'm planning to join almost everything with pocket screws and wood glue. I need to borrow my neighbors miter box for the trim too, but otherwise it should be a pretty straightforward build. I'll post most pictures as I make progress on the weekends.
Suggestions and questions welcome!


![Craft A Brew - Safale S-04 Dry Yeast - Fermentis - English Ale Dry Yeast - For English and American Ales and Hard Apple Ciders - Ingredients for Home Brewing - Beer Making Supplies - [1 Pack]](https://m.media-amazon.com/images/I/41fVGNh6JfL._SL500_.jpg)


