STC-1000 Wiring For Danby Mini Fridge

Homebrew Talk - Beer, Wine, Mead, & Cider Brewing Discussion Forum

Help Support Homebrew Talk - Beer, Wine, Mead, & Cider Brewing Discussion Forum:

This site may earn a commission from merchant affiliate links, including eBay, Amazon, and others.

njxrinzler

Active Member
Joined
May 29, 2013
Messages
28
Reaction score
3
Have my Danby 4.4 cu ft mini fridge I'm converting to a kegerator. Coming along nicely but I would like to hardware the stc1000 and replace the original thermostat, without hooking it up to an outlet. I would like to do a direct replacement and just build it into the current box it's in. Can anyone help with wiring? I know the yellow and white are for light switch. That leaves me with a yellow/green wire, red, 2 black which seem to be spliced together, and the large white wire connected to back up thermostat. Using these pictures can anyone help me with wiring?

IMG_4679.jpg


IMG_4680.jpg


IMG_4682.jpg


IMG_4683.jpg
 
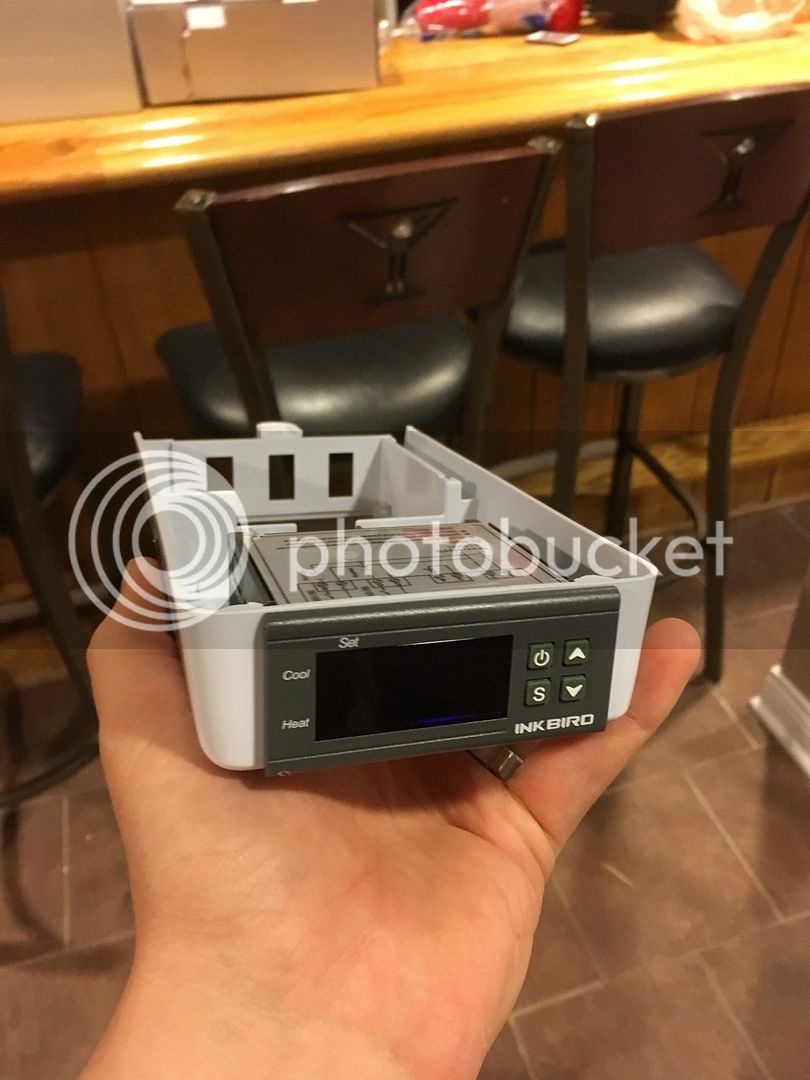
Not sure why you want to by-pass the thermostat and build in the STC? Making a separate STC project box and just plugging the frig into the box is not only the simplest method but also make the STC portable/reusable on other set-ups. AND allow you to convert the frig back to a frig. Which is why I went in that direction. Now if my frig craps out or I decide to change things around, I just unplug the frig and plug in the next appliance.
20160227_103603.jpg


But, if you're bent on integrating it...

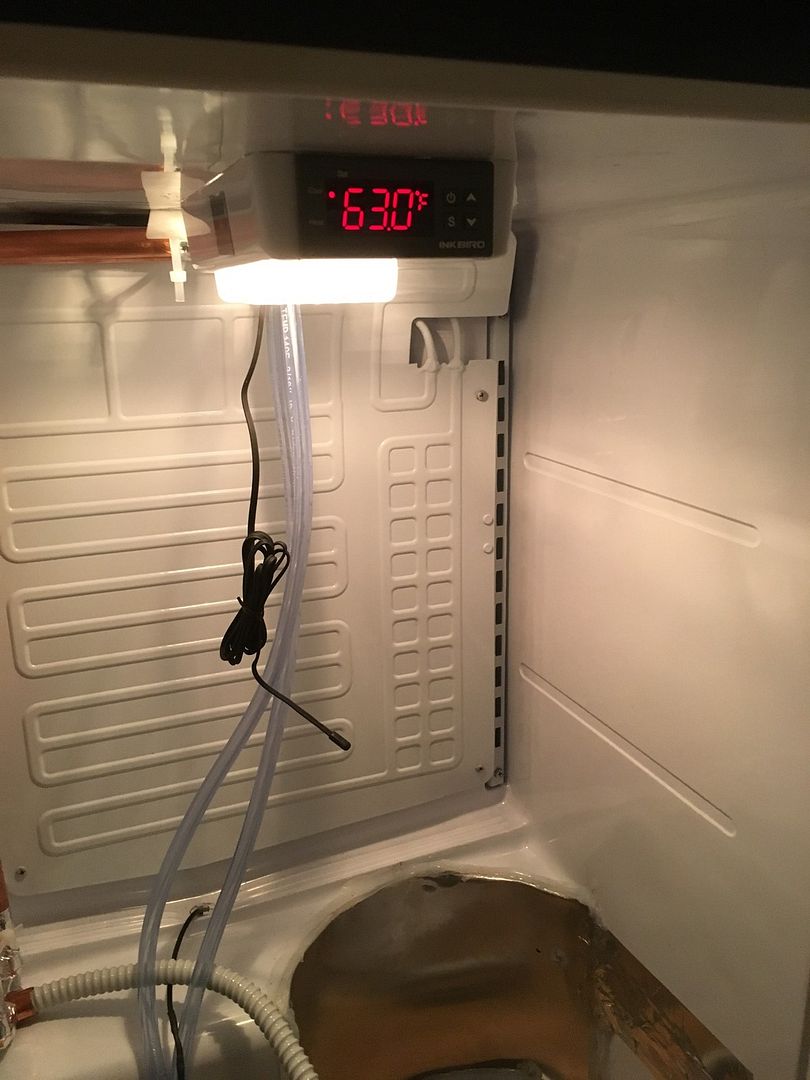
Looking at your Danby wiring diagram, the black wire going into your thermostat is the Line/Hot wire from the plug on your frig. That black wire will be the new feed for your STC. Disconnect it from the thermostat and connect it to the Term #1 & #7 per the STC diagram below.
Note: It is difficult to see the terminals and which wire physically connects to the thermostat. You'll need to identify this wire yourself.

Then, disconnect the red wire coming out of your thermostat. That red wire will connect to term #8 (blue wire) in the STC diagram below.

Next, connect the white/neutral wire coming from your frig plug to the term #2 per the STC diagram below.

Last, the big white wire coming off the back of the thermostat is the temperature prob. It is no longer needed and can be disconnected. But if you clip it off, there won't be any turning back...

The yellow/green wire is ground. The chassis of the frig should be grounded where the plug cable comes into the frig so there should be nothing needed for grounding now that the thermostat is removed from the circuit.

stc_1000_wiring_diagram.jpg


Disclaimer:
I'm an engineer but NOT an electrical engineer. Wire at your own risk...

Good luck!

:mug:
 
Thank you so much, I'll have to try this out tomorrow. The black wire is actually two black wires going to the same spot/plug on the thermostat. See picture

image.jpg
 
I have an MH1210 (single stage controller in a similar format to the STC-1K) mounted in the front edge of my keezer lid, so I get the "integrated" thing.

That "white wire" coming out of the thermostat is not actually a wire, it's the capillary tube between the thermostat and the bulb "sensor". Ie, that's a mechanical thermostat. No need to do anything to any of that - just remove the black and red wires and leave the rest alone, including the green/yellow safety ground that's attached to the thermostat housing.

Anyway, treat the double-crimped black lead as if it were a single lead, and follow the directions provided by @jbb3. The black should go to pins 1 and 7 of the controller, the red to pin 8, and then make a jumper to connect the white wire (shown next to the yellow wire at the bottom of the first couple of pics) to controller pin 2.

Should be good to go...

Cheers!

Thanks daytripper!

Had such a busy weekend wasn't able to get around to it and hoping I'll be able to attempt this at some point this week. As far as the "white" wire to connect to port 2. That white wire is for the light. I got the 2 light wires out of the way for my last picture. So the only thing connected to the thermostat are the green/yellow (ground), the 2 intertwined black you said to treat as one, and the red wire...
 
I get it, so I'm splicing into the lights power wire to power the new digital thermostat? Do I have that correct?
 
I get it, so I'm splicing into the lights power wire to power the new digital thermostat? Do I have that correct?

Yes. That white wire is your common or neutral. Splice off that white wire and connect to terminal #2 on the STC per the diagram.
 
Yes. That white wire is your common or neutral. Splice off that white wire and connect to terminal #2 on the STC per the diagram.

Thank you jbb3. Not sure why my other post didn't go through thanking you. You both have been a great help. Hoping to get to his this weekend. Working and having no time for projects sucks!
 
I was thinking about doing this same concept. How well has this been working for you? Does the fridge hold whatever temperature you have it set at well? Would you recommend this project?
 
I'm wondering the same thing. I received my new Danby a few weeks ago and want to start my kegerator build soon. When I first plugged it in it was staying about 42 but now I can't get it below 45.
 
It's been a couple of months, how is the STC-100 holding up in this application? Considering doing the same for my kegerator build eventually, but will likely see how it runs with just manually adjusting the original thermostat first.

Either way, it'd be handy to know if you have experienced any issues or would have done anything differently now that you've been running your system for a while.
 
Thanks to the folks who posted info in this thread. It help a lot when swapping my mechanical thermo for a STC-100. Only difference is I used the power from the light to power the STC (Pins 1 & 2) and then the two black wires that are together both went to Pin 7. I wired the leads for the door switch together to maintain power. Getting rid of the light also provides a perfect place to make a box for a fan to cool my tower! Super stoked with how clean this installation came out!View attachment ImageUploadedByHome Brew1474378069.920222.jpgView attachment ImageUploadedByHome Brew1474378089.637151.jpgView attachment ImageUploadedByHome Brew1474378162.928344.jpgView attachment ImageUploadedByHome Brew1474378174.811907.jpg
 
Bumping this because it helped me dp the same thing.

Follow the directions above, marrette or crimp two additional leads onto the 2 blacks, and it's easy as pie.

I used an oscillating tool to cut out the thermostat housing to fit the stc - I had to part of the screw channels out to make it fit, but it wasn't difficult.

Link for the beginners 'how to program your stc" that was helpful to me is
https://www.google.ca/url?sa=t&sour...x28jtvfnGP_UlkifA&sig2=BQnIhyD7fYotmxzjwohFBA

I'll try to post a pic later, but my phone doesn't want to work atm

Thanks to the original posters and replies in this thread,

Scott
 
At first I wondered why you would want to do this, but looking at how clean it is, I understand! nice work!
 
I did it because the factory thermostat would only get me down to about 43 degrees. This is way cooler, better looking, and controllable!
 
Bumping this because it helped me dp the same thing.

Follow the directions above, marrette or crimp two additional leads onto the 2 blacks, and it's easy as pie.

I used an oscillating tool to cut out the thermostat housing to fit the stc - I had to part of the screw channels out to make it fit, but it wasn't difficult.

Link for the beginners 'how to program your stc" that was helpful to me is
https://www.google.ca/url?sa=t&sour...x28jtvfnGP_UlkifA&sig2=BQnIhyD7fYotmxzjwohFBA

I'll try to post a pic later, but my phone doesn't want to work atm

Thanks to the original posters and replies in this thread,

Scott

Bump

Can you post a picture of the final wiring setup? I am not an engineer and I don't understand why their are two black wires attached to the same point on the original thermostat.

Thanks
 
One of those wires I believe to be the lead to the door light. I know for a fact that only one of them is hot, so I just added 2 wires maretted to those original 2 and ran them to the points on the controller.
 
One of those wires I believe to be the lead to the door light. I know for a fact that only one of them is hot, so I just added 2 wires maretted to those original 2 and ran them to the points on the controller.

I ended up thinking in my head that if they are both hot, I can just run them to each 1 & 7. After I closed the whole thing up, the STC-1000 turned on but not the compressor or the light. I ended up running another wire between 1 & 7 and everything worked perfectly.

Thanks for the response. http://imgur.com/8E9AlRO

Now, I need to experiment with the fan placement to keep the air moving around
 
I hope I'm not too late to the party on this one. I'm planning to follow this thread with my new kegerator build and wanted to know what everyone ended up doing with the white thermostat tube coming out of the back of the original thermostat? One comment says to snip it, another says to leave it alone.
 
Leave it alone, if you're bypassing the oem thermostat the bulb/capillary sensor won't affect anything...

Cheers!

Understood, thanks. But I suppose my question is more of 'is it ok to remove?'. If I'm bypassing it permanently, can I just take it out? Or will it affect some other component? Thanks for your help!
 
Thanks for your help. As it turns out, I don’t have to cut it at all. I had thought the probe ran down and outside the fridge (for some dumb reason) but it’s only attached to the back of the coil panel. It can be removed in one piece. This is probably what others have done.
 

Attachments

  • C79B9695-A89C-4E10-A1D3-249C1093ED37.jpeg
    C79B9695-A89C-4E10-A1D3-249C1093ED37.jpeg
    1.5 MB · Views: 463
I have a similar model Danby....at least the wiring diagram is the same. I am in the process of following these instructions and I have hit a road block. When I wire up the STC-1000 as per jbb3's instructions, the STC comes to life with "EE" on the display and an awful maintained high pitched warning noise. I can only assume that the "EE" means it has been wired incorrectly.

My proposed solution is the following:

1. I used a flat head screwdriver to pry off the door switch (this switch is for the light). That exposed a black and yellow wire that were attached to the back of it. I removed both the leads from the switch and patched them together thereby eliminating the "Switch" from the wiring diagram.

2. I will connect the yellow wire (that would normally be the "hot" line to the light) to terminal # 1 on the STC-1000 and the white neutral to terminal # 2. Essentially, by doing this, you can alter the wiring diagram to remove the switch for the lamp and replace the lamp symbol with the STC. (NOTE: the yellow wire you can see in the original post photo. It comes from the switch, out the top of the fridge, then is patched to the black lead coming from the light bulb itself. The wiring diagram does not depict a yellow lead at all so I had to do some head scratching to figure out that it is actually the tiny wire on the diagram between the "Switch" and the "Lamp".)

3. I will connect the double black lead to terminal # 7 and the red lead to terminal # 8 on the STC-1000 as per the original instructions.

I will take some photos of the process and post them with my results whether successful or not. Should have some results in the next few days

Please comment if you see a problem with my logic here.

IMG_4683b.jpg
 
Last edited:
So, the "EE" on the display when powered up and the awful noise happens when the temp sensor is not plugged in to the STC unit.

That being said, I connected all the leads as per the previously posted diagram and all worked out ok!

Pics to follow.
 
Hey Guys,

I just followed these directions and wired in my Inkbird following these steps. thanks for the hard work that goes into these posts. They are essential and extremely valuable. I really appreciate it.

Newf
 
Back
Top