Starting over

Homebrew Talk - Beer, Wine, Mead, & Cider Brewing Discussion Forum

Help Support Homebrew Talk - Beer, Wine, Mead, & Cider Brewing Discussion Forum:

This site may earn a commission from merchant affiliate links, including eBay, Amazon, and others.
KUbrew said:
So what's the deal with them? They keep posting vague messages on facebook that don't sound good but they won't actually say what's going on. If they're going out of business I'm going to be very disappointed, that pale ale is awesome. And then WV would be down to 1 craft brewery.

I talked with a friend of mine who worked there. Sadly, he told me its dead. Owner killed it trying to save his brewpub. Rumor has it though that he is looking for investors to start over though.
 
I was on a mission today. With company coming Thursday evening I needed to get some serious work done. I started at 9 AM Wed. and (minus a dinner break and one trip to Home Depot) have worked straight through until 6 AM.

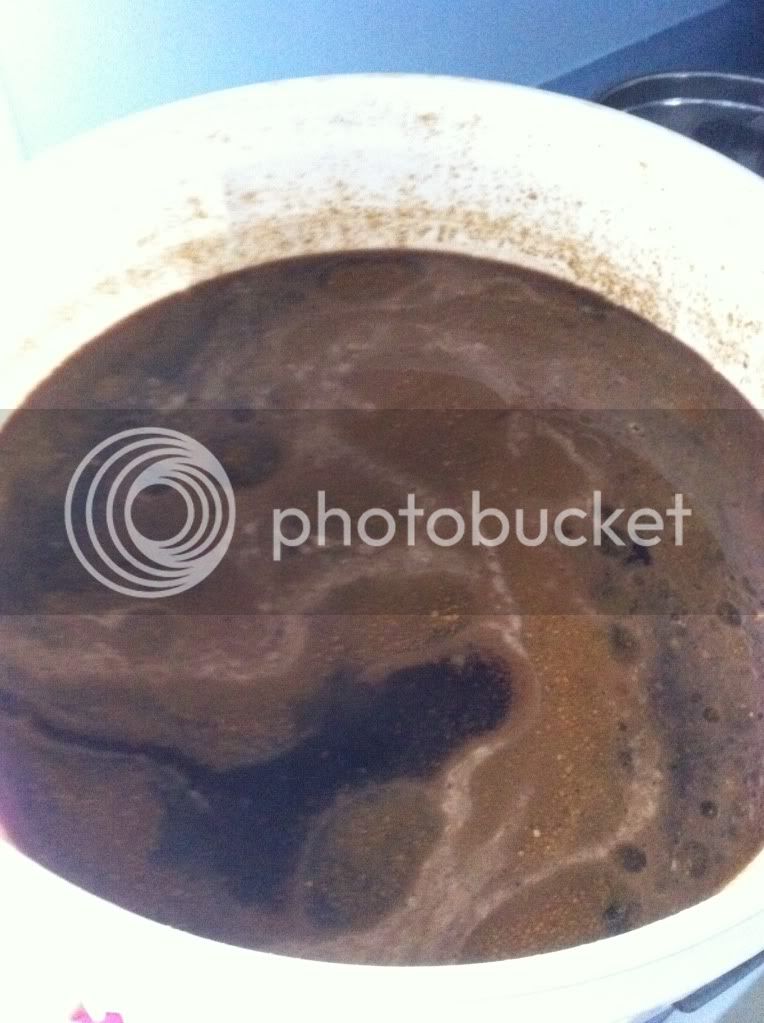
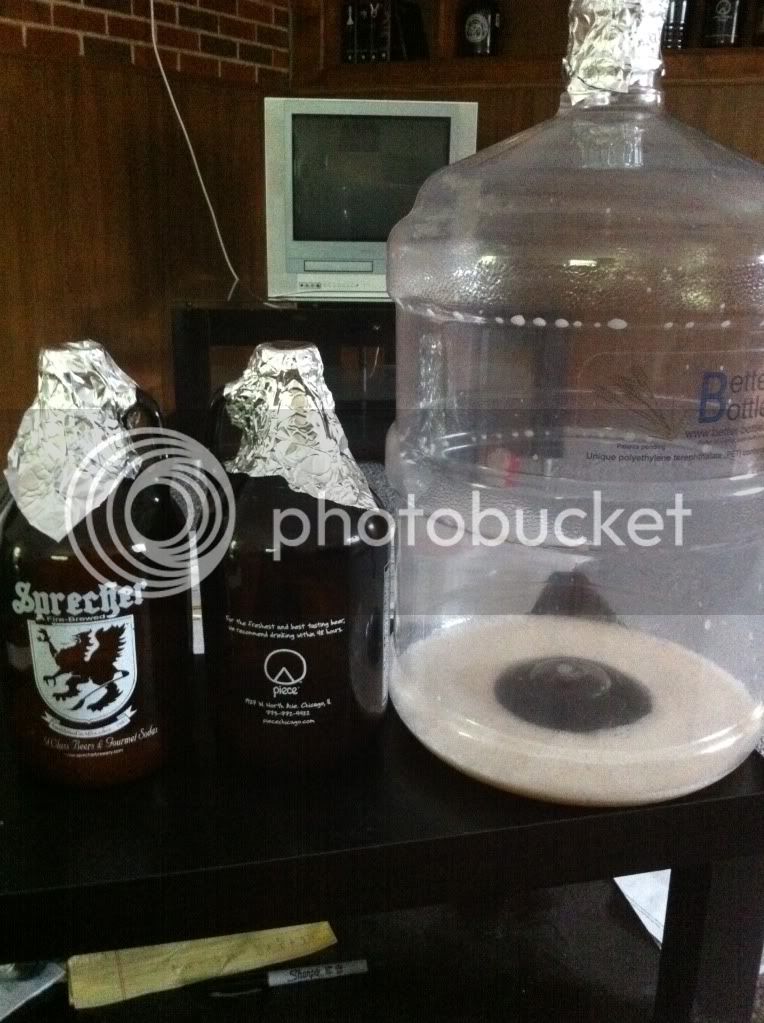
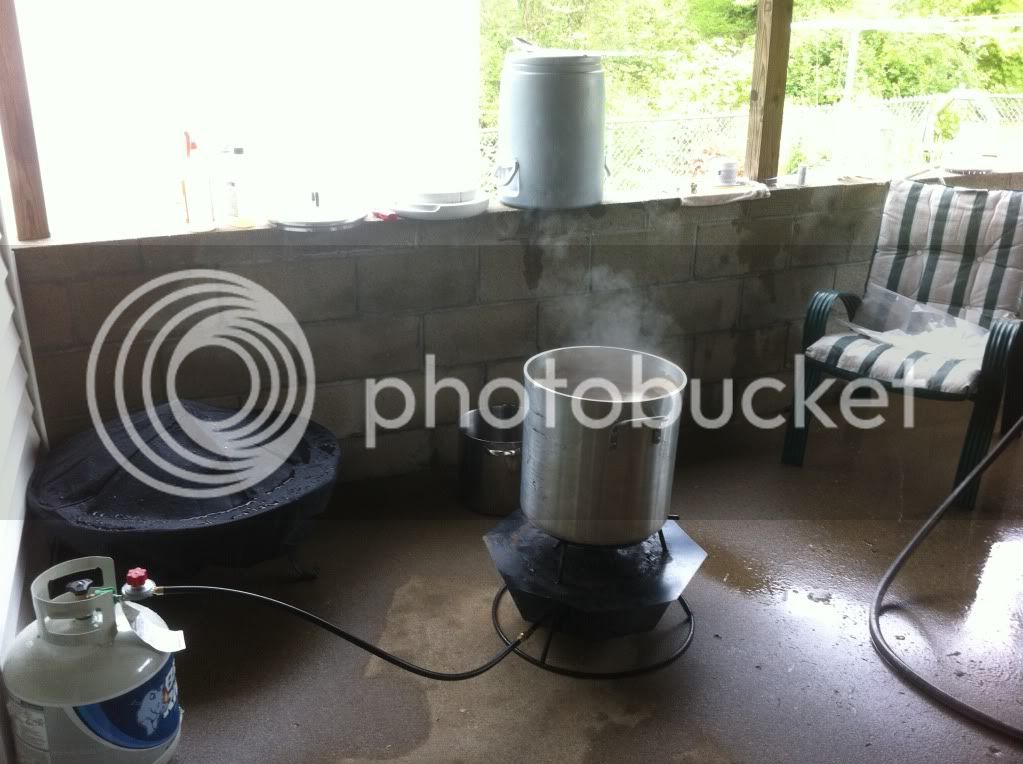
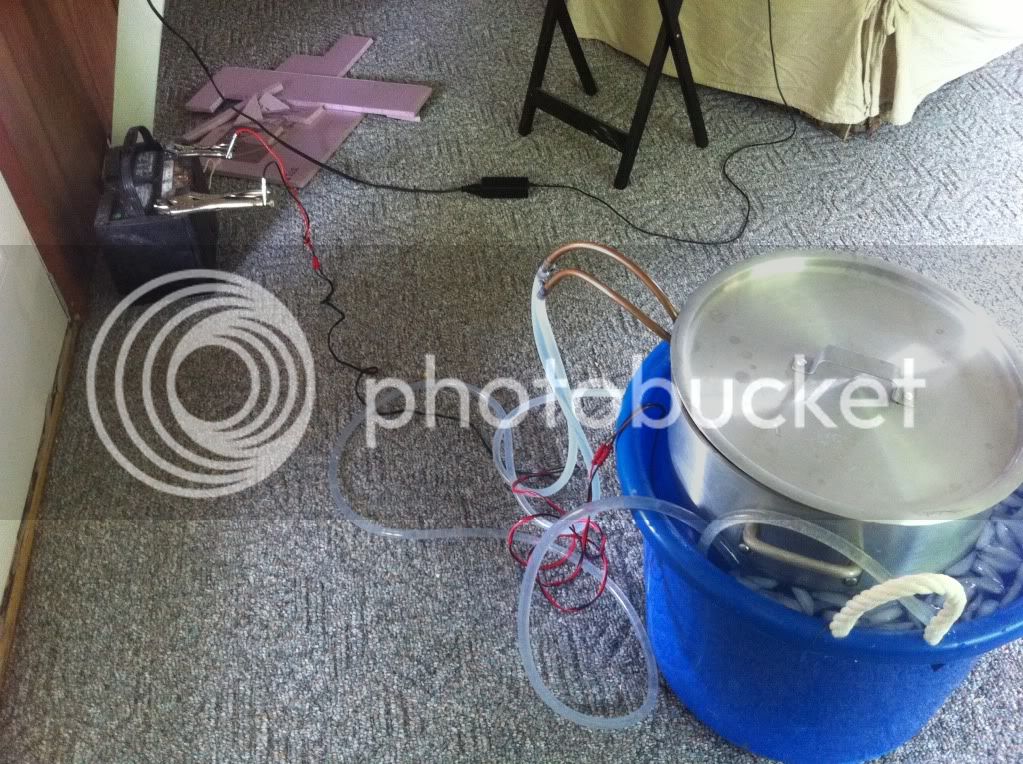
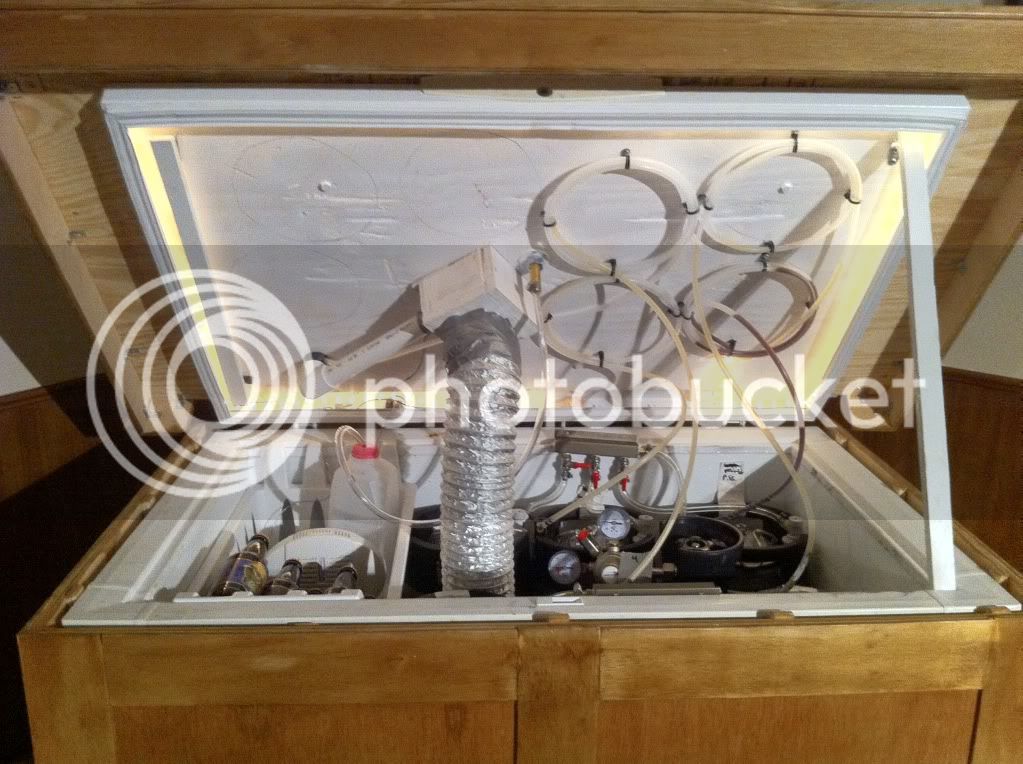
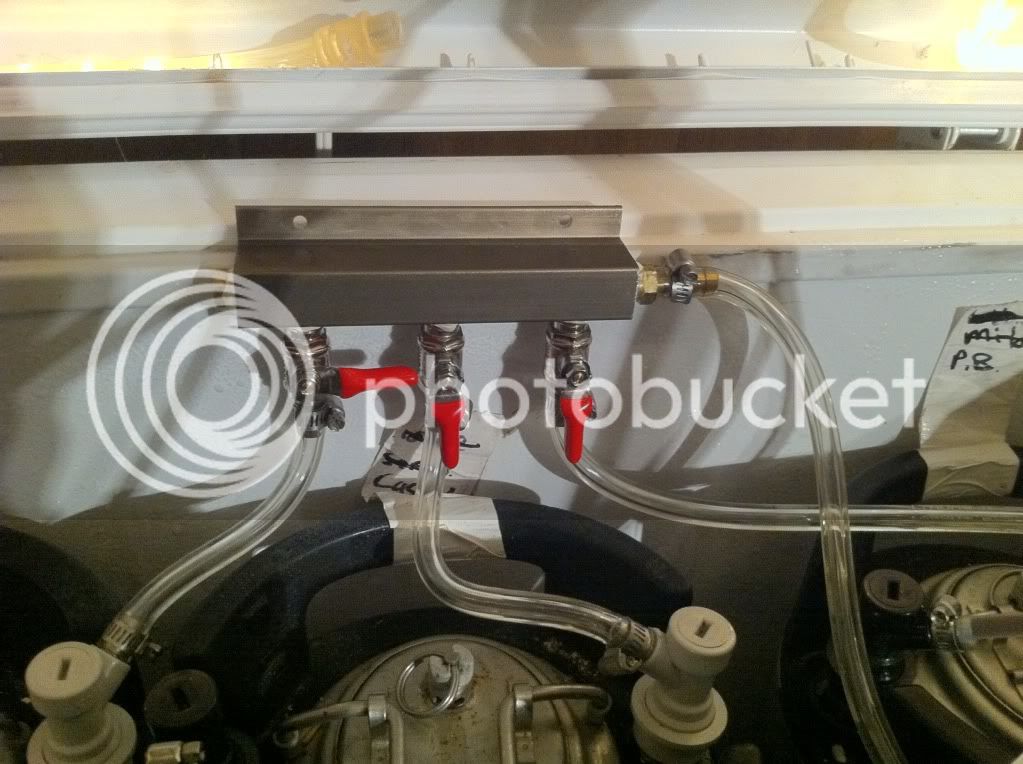
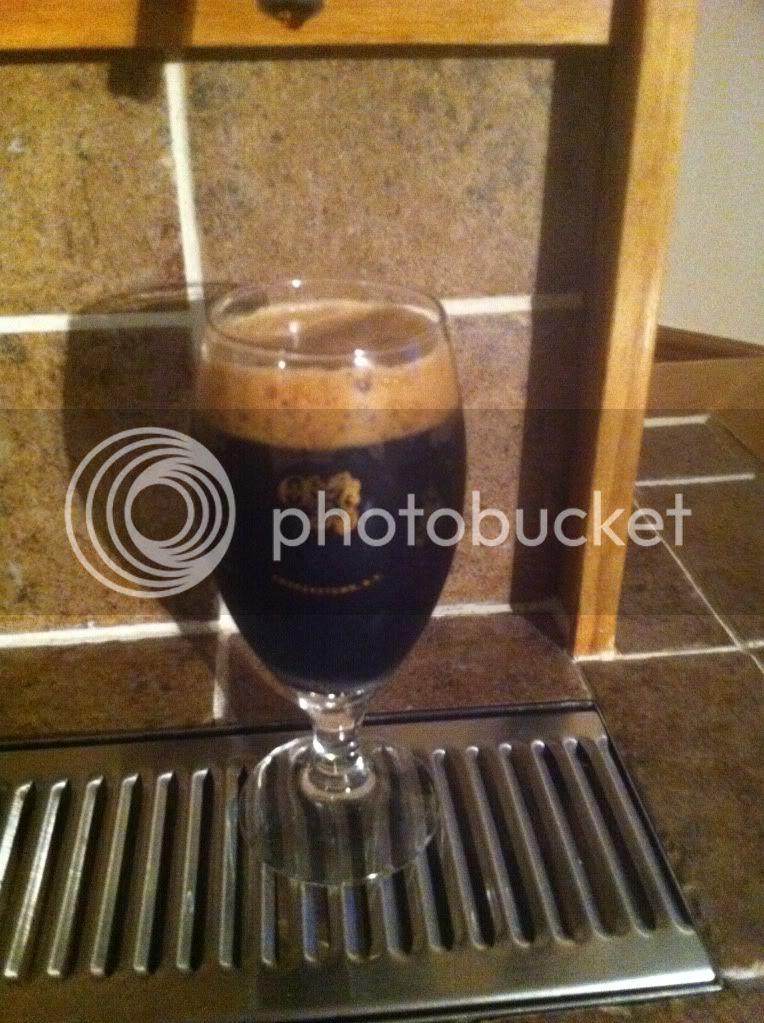
I started this morning by moving all my fermenting beers into kegs and getting them hooked up to CO2. The peanut butter stout had a huge oil slick on top, I believe I was able to leave most, if not all, of it behind when I transferred. It had a huge peanut butter aroma, can't wait to try this.

PeanutButterStout-2.jpg


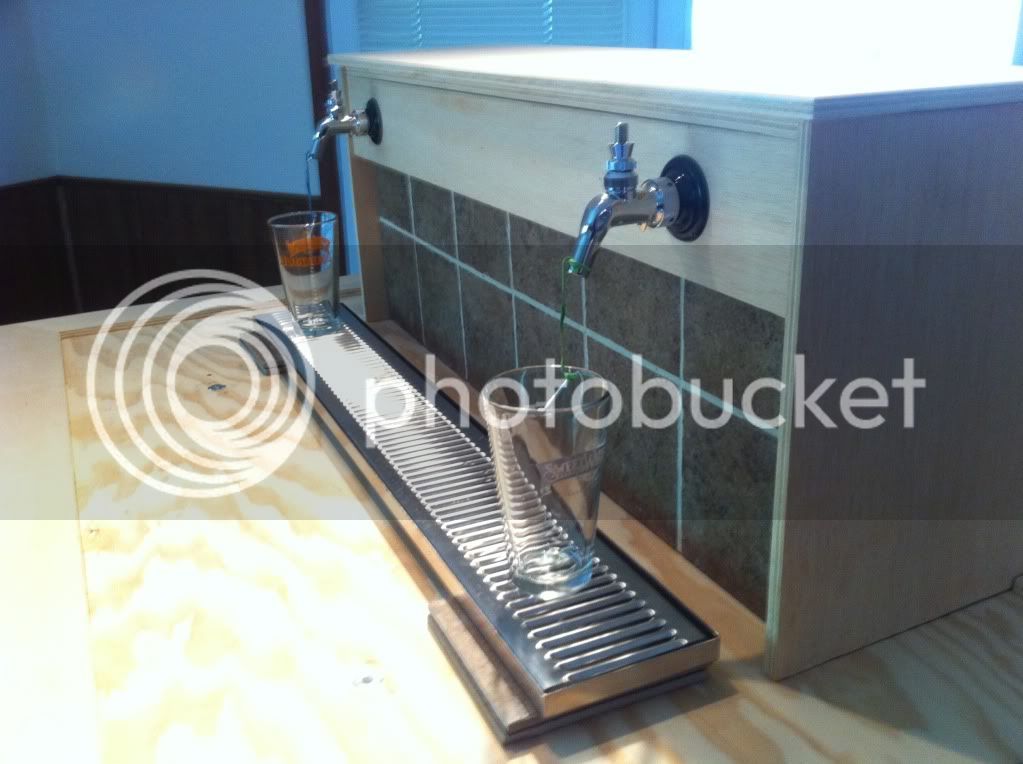
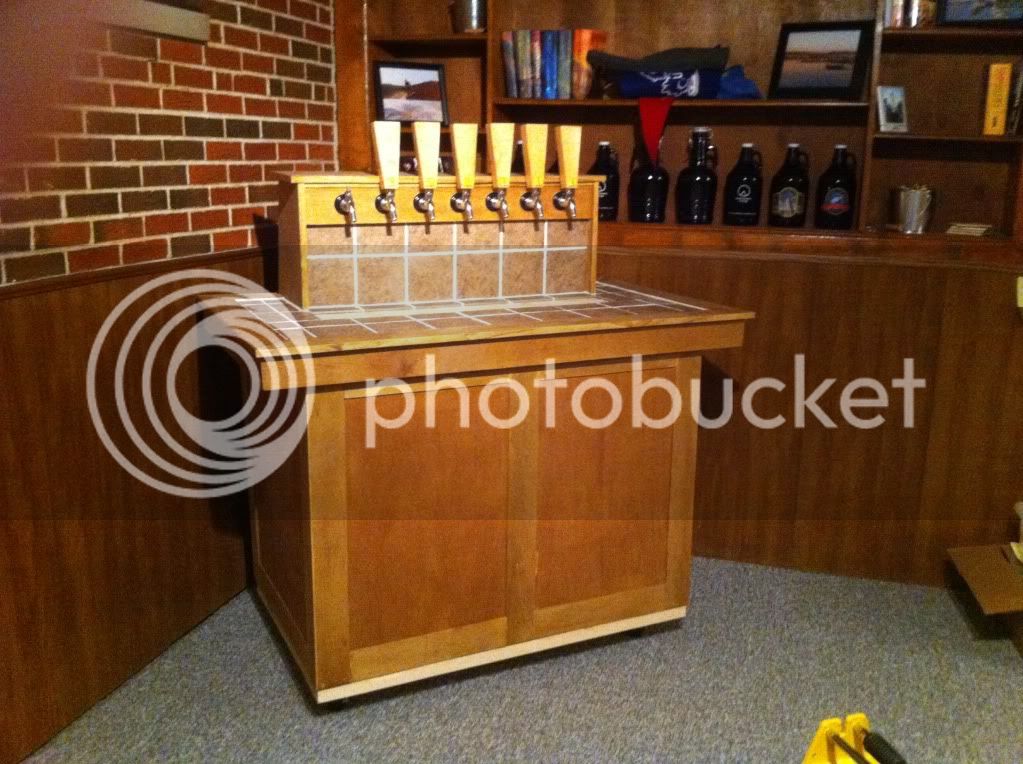
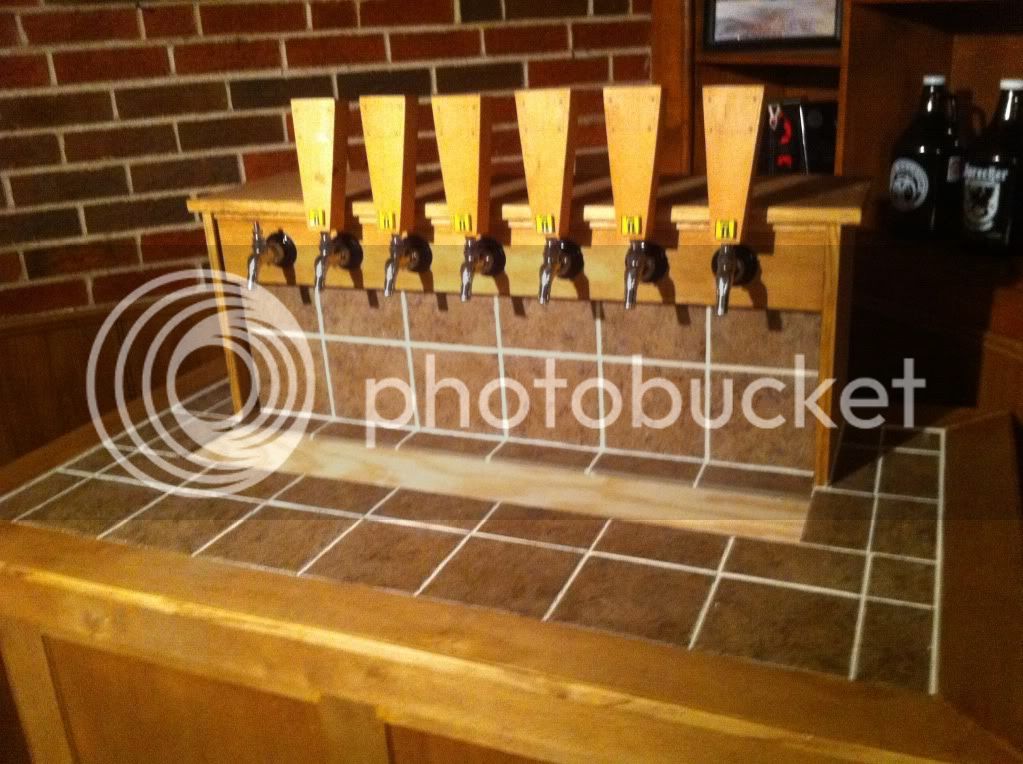
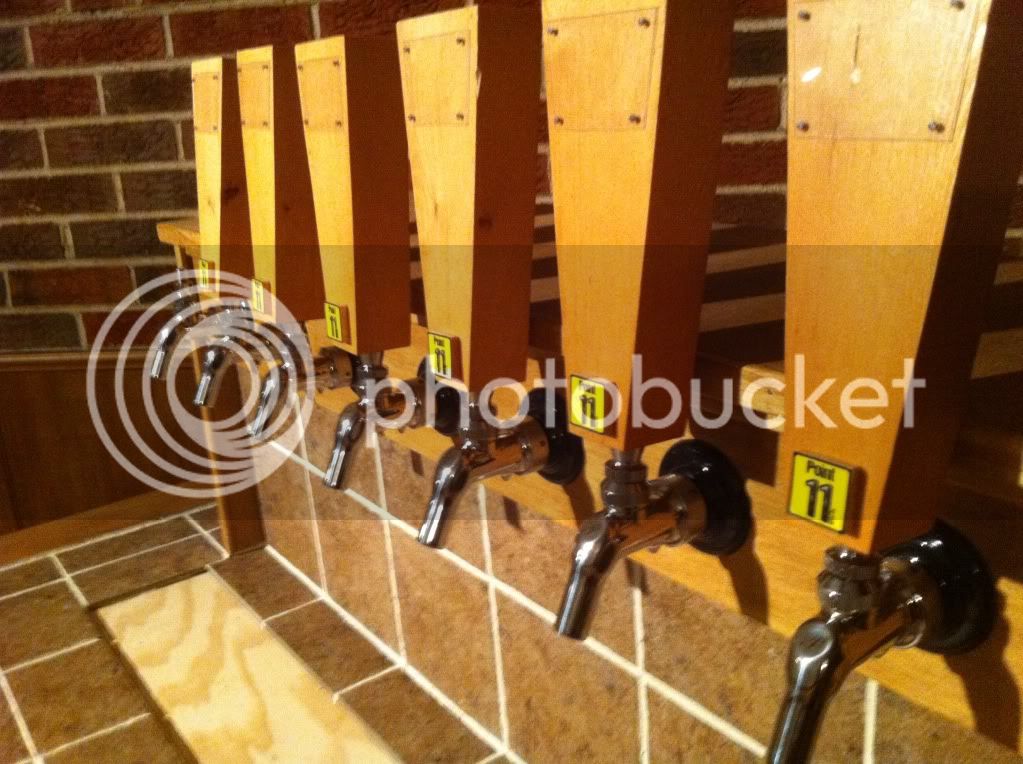
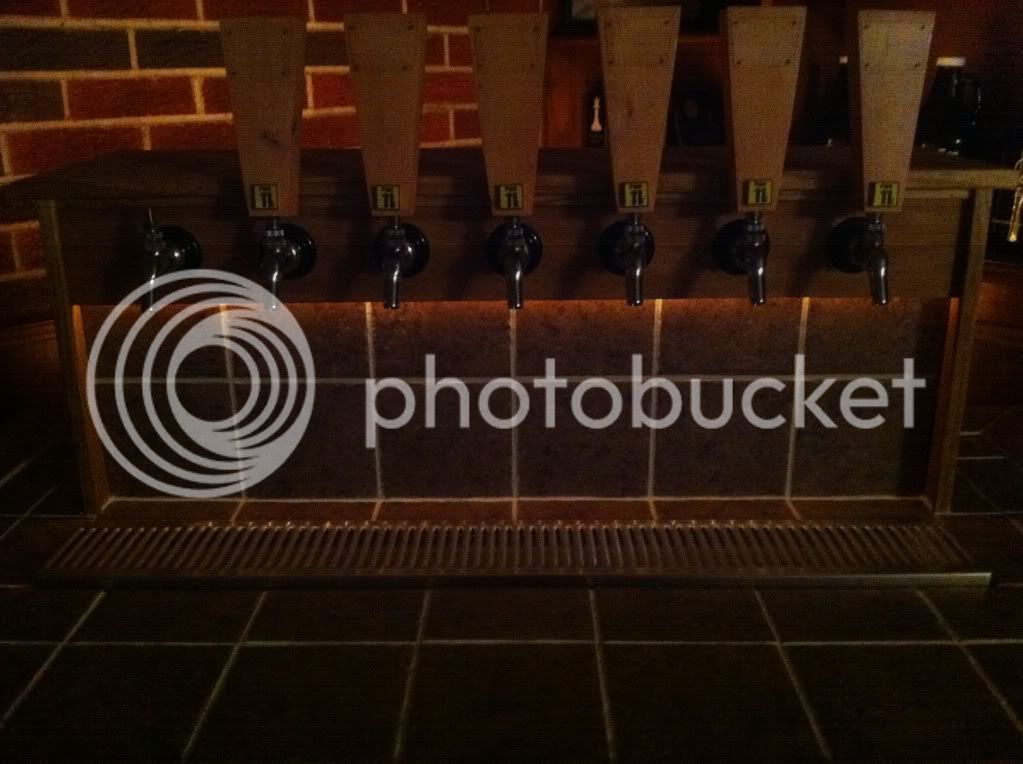
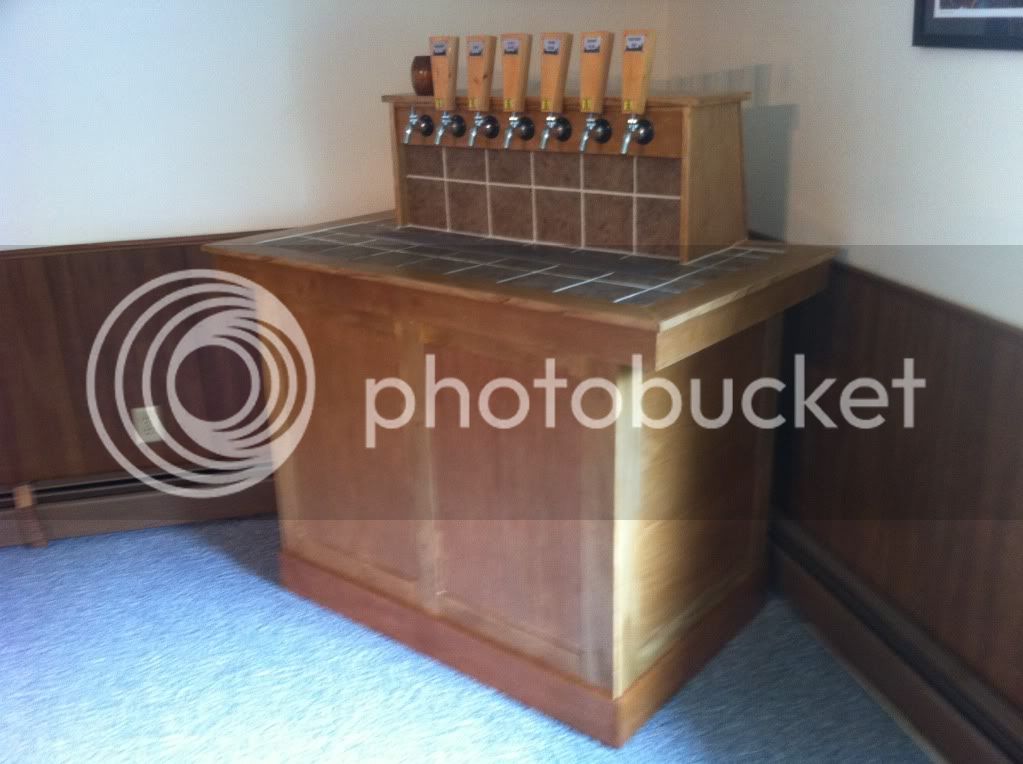
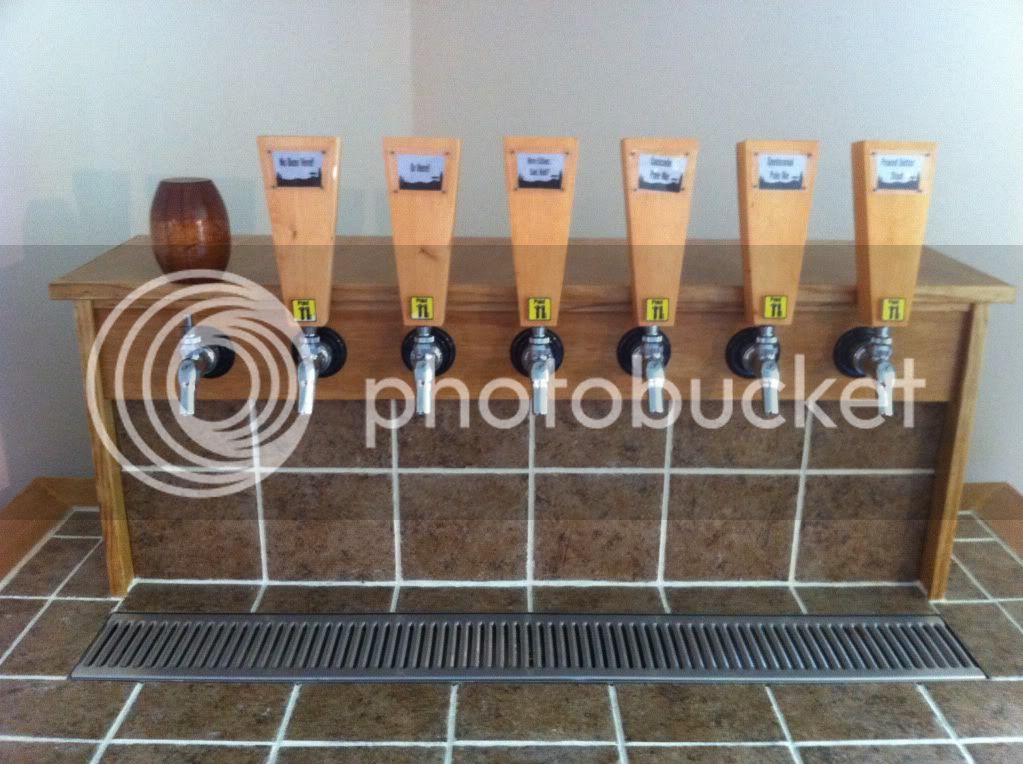
I got everything measured and figured out exactly where I wanted my drip tray so I could cut and lay my tile.

Kegerator-14.jpg


Kegerator-15.jpg


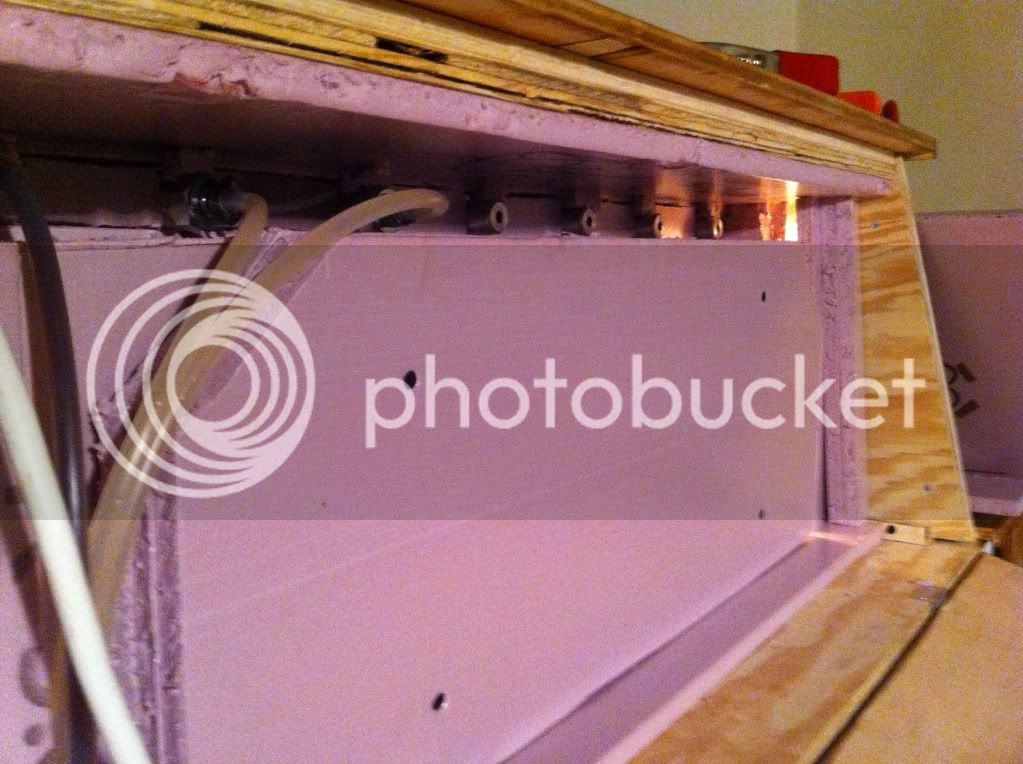
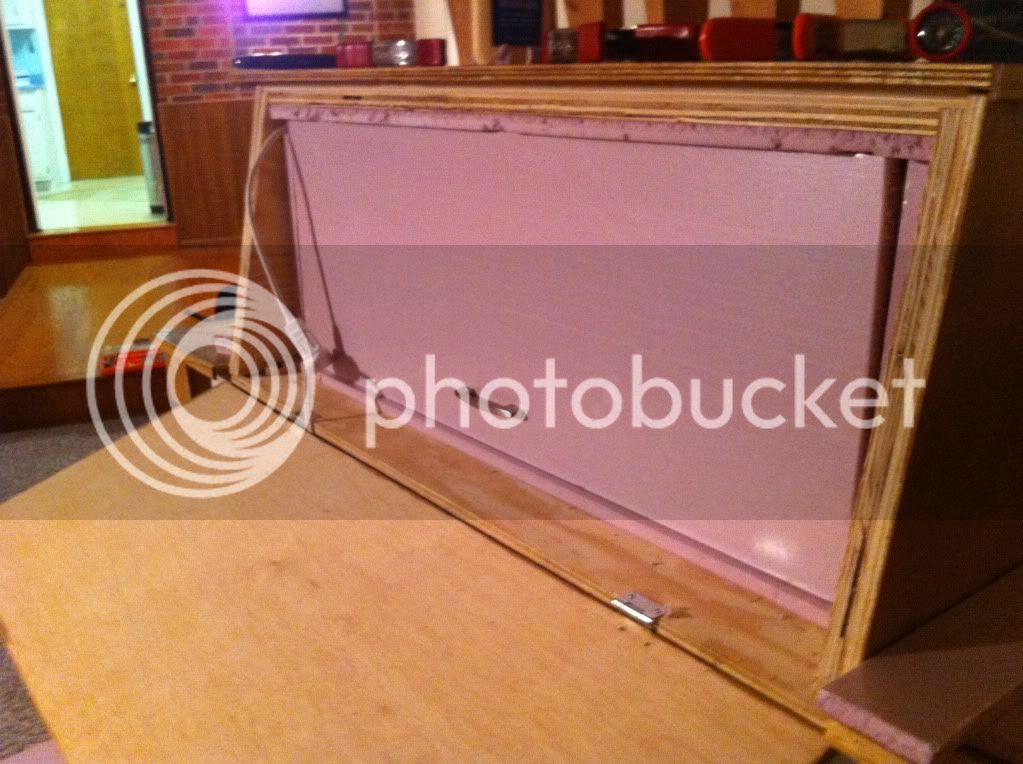
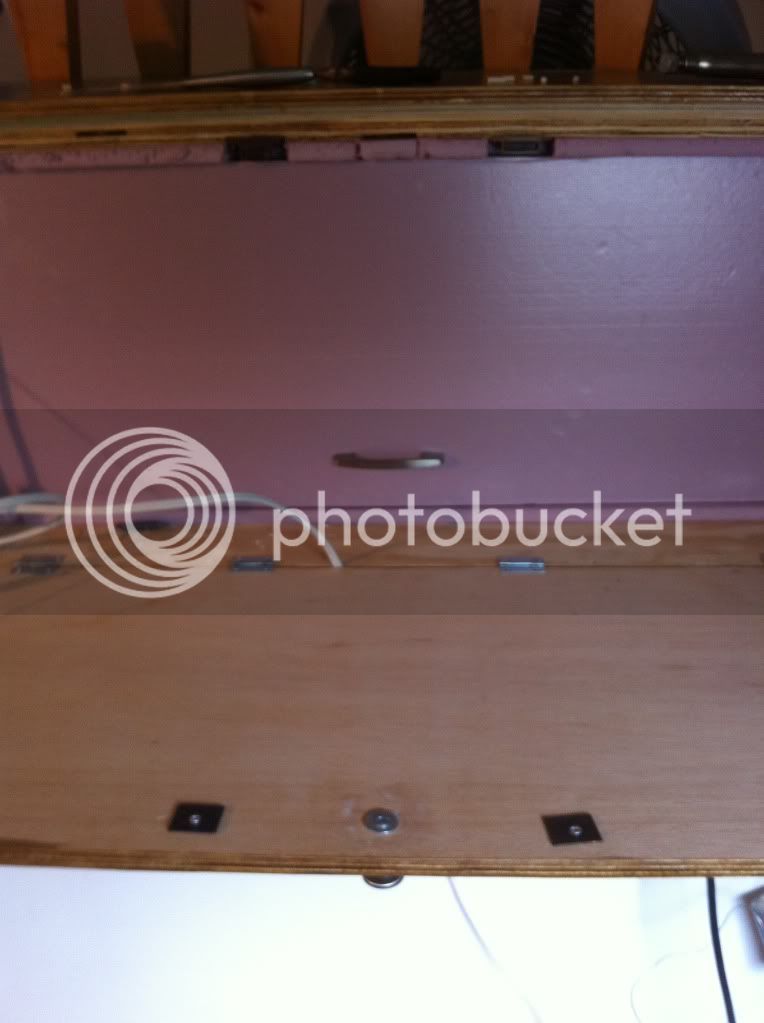
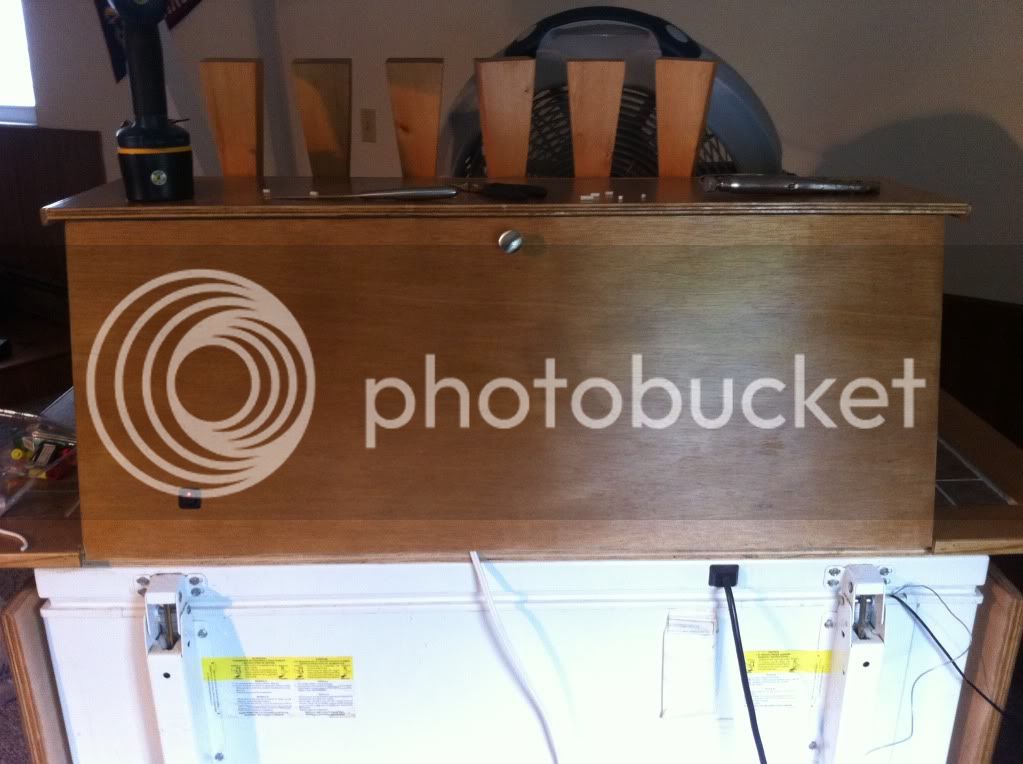
Then a mini disaster hit. I was lifting the lid in order to screw in the back pieces of the skirt and I forgot that the coffin was not attached yet. It went off the back end and the top piece was ripped out. I had to disassemble the whole thing and replace the top pieces then put it back together. Luckily the two perlicks that were attached seemed to be fine and the tile survived. After a few choice words and two hours I got it fixed.

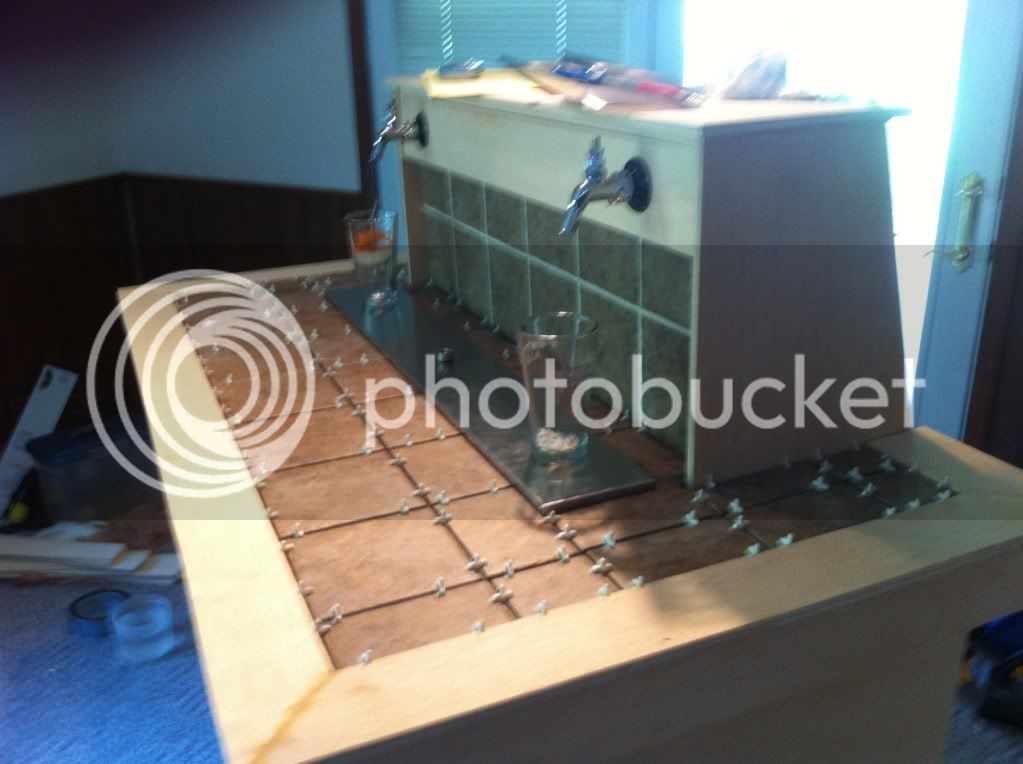
After that I got trim pieces cut and put on all of my borders. I also stuck some wood putty in my joints to cover up my woodworking shortcomings.

Kegerator-16.jpg


I was very happy with how the tile come together, my drip tray fits perfectly.

After that it was a few hours of grouting, staining and assembling the hardware.

Kegerator-17.jpg


Kegerator-18.jpg


Kegerator-19.jpg


Kegerator-20.jpg


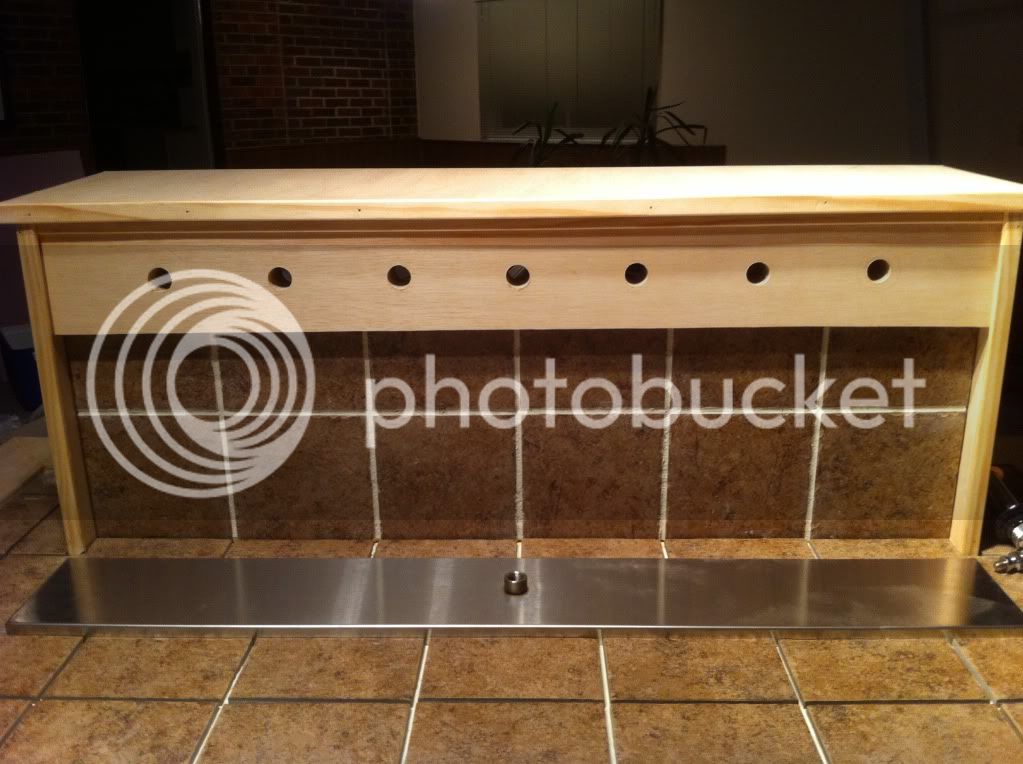
I still need to put a coat of varnish on, sink the drip tray so it is level with the tile, seal the grout and install the base skirt, but at least it's presentable to the public now.
 
Great work! I like those tap handles- custom? Kyle

Yep, cut them out of an old 2x6 I had and put some Plexiglas on it so I can change out the labels. The seventh tap is going to be a dedicated root beer tap, I can't decide if I want to make another tap handle or have something different for it.
 
I brewed up my wheat today, nothing too special, just our favorite out of the 15 or so that we've brewed.

Brewing-2.jpg


It hasn't stopped raining for a week and my hops are loving it. The cascade is around 3 feet and the centennial has about 6 shoots that have broken ground.

Hops-Cascade-3.jpg


Hops-Centennial-3.jpg
 
I got both starters going this morning for my maibock and oktoberfest that I'll be doing next week. Starting small, 2 vials of WL 833 and 2 of WL 820 into 600ml. I'll step both of them up over the next few days. I need 4.5L for the oktoberfest and 11L for the maibock. 11 seems huge!

Brewing-3.jpg
 
I spent the evening switching between shaking my starters and working on the insulation on the coffin. The german bock yeast smells great, I'm ready to get it fermenting.

I used rigid insulation for the coffin. I glued the top piece, but was able to cut it tight enough so the rest of the pieces I can just wedge in, in case I need to take them out. My beers are pouring with a lot of foam so now I really need to get my fan installed.

Kegerator-22.jpg


Kegerator-23.jpg
 
Big brew day today. It was my first time doing a double brew, it was exhausting but fun. I brewed an oktoberfest and a maibock, it was also my first time brewing a lager.

Brewing-4.jpg


The maibock OG was 1.070, and I just barely had enough room in my mash tun.

Brewing-6.jpg


I cooled the wort to 70 pretty quickly using my immersion chiller. The plan was to then hook up a submersible pump and recirculate with ice water. That plan didn't really work. I could have sworn I had a 13 volt transformer but I could not find it this morning so I was forced to go redneck and pull the battery out of my car to power the pump. After getting it hooked up, it had almost no flow through the chiller. It pumped great when it wasn't hooked up to the chiller but I guess since the chiller inner diameter is much smaller than the hose on the pump it just didn't have enough torque to push water through with any force. I let it go for 30 minutes and it only dropped to 60 so I ended up just putting both brews in bottling buckets and sticking them in my fermentation fridge. I'll cool them down to 45 tonight and rack them to fermenters tomorrow and pitch the yeast.

Brewing-7.jpg


I've done a little work on the keezer, but nothing major. My 2 SMaSH beers are pouring with a ton of foam and CO2 is coming out of solution in the lines. I'm not sure why or what to do about it, pretty frustrating. The peanut butter stout pours great and it has the same length of line and same pressure.

I think I am going to have to bag the stir plates for the time being. I felt the sides of the keezer the other day and it is really getting hot, and it's cycling more that I think it should. So I think I'm going to take out the freezer and put in a cooling system similar to Jester's using the 2 muffin fans I was going to use for my stir plates. I wonder if that will pull enough air to cool the sides???
 
Both my lagers are going great, the maibock is bubbling like an ale and the oktoberfest is slowly chugging along. I'm surprised they took off so quickly, I think it was about 12 hours after pitching that the airlocks started bubbling.

I was able to get a few odds and ends done on the keezer today. I had the back door of the coffin put on and hinged but not attached at the top and I opened the lid and the door came ripping off it's hinges. So I reinforced with another pair of hinges and some string to make sure that doesn't happen again. I also put on a couple of cabinet magnets to hold it closed and a knob for opening.

Kegerator-26.jpg


Kegerator-24.jpg


I also wired an LED rocker switch into my rope lights so I can easily flip them on and off. I ran the rest of the strand of rope lights, after they go under the taps, down into the freezer and around the lid since I took out the original freezer liner and light. More pictures on that later once I get it cleaned up a little.

Kegerator-25.jpg
 
The outside of the keezer is 99% finished. I got the base board trim cut and stained. I was going to screw it in place but it looks just fine just resting on the floor, and I can easily take it off when I need to move the keezer. I also put in a recess for the drip tray so it's level and drilled a hole for the drain. Right now the drain isn't attached to anything, but I'm thinking catheter bag, that way my keezer will never have to go to the bathroom.

Kegerator-28.jpg


My wife carved a sweet little replica of a barrel that I'm going to use as my root beer tap handle. I just need to rust a few tin sheets and attach them and then figure out some sort of root beer label to go on the barrel and it will be done.

Kegerator-29.jpg
 
This looks great! Very clean build. I'm about to start mine, and am wondering how tall you made the coffin?
 
Thanks. The top of the coffin is 15 inches tall total, it sits 14.5" above the tile. That puts the bottom of my taps at 10". I originally planned for the taps to be at 11" but logistically 10 worked out better, after pouring a few beers I would have preferred 11 though.
 
Began building the base tonight. Are your spacers 1/2 inch, meaning you have a 1/2 space between the freezer and plywood exterior?
 
I got some good work time on the keezer the last two days. Just a couple of small things left and it will be 100% done.

I rusted a few pieces tin and tacked them on the root beer tap handle with a few finishing nails. I'd like to find an old school looking root beer sign to put on it, but was unsuccessful with a quick google search so I guess that will have to wait.

Kegerator-34.jpg


The inside looks great now. I originally wanted to put gas shocks on to help with the lid weight but that is going to have to wait until I have some money to spare. For now I just put a couple legs on the lid with hinges. I also put a few magnets so the legs stay folded up when I want to shut the lid. It's hard to tell from the pics, but the rope lighting fit great in the lip of the lid and lights up the freezer great.

Kegerator-30.jpg


I spray painted the inside for looks and to help keep some of the moisture out of the lid. Also finally got the beer lines organized so it doesn't look like a gigantic yarn ball.

Kegerator-31.jpg


I love the co2 distributors, no more 19 splitters going everywhere! And the lines are actually the right length, woohoo!

Kegerator-32.jpg


The most difficult thing was installing the fan. I finally decided to build a box for it and attach it to the lid. I used a dryer hose to draw the cold air from the bottom of the freezer. After trying several things I finally settled on the dryer hose, partly because it's flexible and doesn't kink when I shut the lid, but mostly because it looks so dang classy. PVC pipe goes from the fan box and hooks directly to the coffin. I also hooked up the drip tray to a milk jug until I can get a catheter bag, it will do for now.

Kegerator-33.jpg


The only thing left to do is run 3 more beer lines, just waiting on the tubing to come.
 
I'm moving back to the States in about 10 months and after looking at your posts I just have to say that I am indeed jealous beyond belief.

Very nicely done!
 
For those of you who are curious, I thought I'd review the peanut butter stout I brewed. It was brewed 8 weeks ago, kegged 10 days after that.

It has a nice head on it when poured but it recedes quickly and remains a thin head until the beer is gone. I would say that this is on par for most of my beers and I don't think that the peanut butter oil hurt my head retention that much.

PeanutButterStout-3.jpg


The aroma is a peanut butter explosion which is exactly what I was looking for. Originally it had a hot alcohol type flavor, not sure where this came from because it is only 4.5 % ABV. That flavor is gone now.

The peanut butter is mostly in the after taste and it's not strong at all, just a hint of peanut butter. If I didn't know it was in there, I'm not sure I would pick it out on taste alone. I added some peanut butter extract, 5 drops per 12 oz, and this helped the peanut butter flavor. It now comes through in the main beer as well as the after taste.

I used Jamil's sweet stout recipe, I have never brewed this before and now I wish I would have done a split batch with the peanut butter only in half so I could compare.

Overall, it's a good drinkable beer, but I usually only have 1 pint. I'm not sure if I will brew this again, I may try it in a brown porter or nut brown instead.
 
The power has been out all day and while my fermentation fridge usually works great, it doesn't do such a good job when the power is out. So I put my strawberry blonde in a swamp cooler and used the opportunity to build a 2x4 base for my fermentors and run my wires through the drain hole in the fridge so I don't have to run them through the door anymore. It looks a lot cleaner and is much easier to load and unload my fermentors.

FermentationChamber-2.jpg


FermentationChamber-3.jpg
 
Back
Top