Solutions for leaking DIY mash tun

Homebrew Talk - Beer, Wine, Mead, & Cider Brewing Discussion Forum

Help Support Homebrew Talk - Beer, Wine, Mead, & Cider Brewing Discussion Forum:

This site may earn a commission from merchant affiliate links, including eBay, Amazon, and others.

hbajwa

Member
Joined
May 18, 2020
Messages
8
Reaction score
5
I tried to make a DIY mash tun from a rectangular plastic picnic basket. I made the hole but realized the wall is too thick to fit the nut and washer. I was only able to fit the rubber ring and bazooka screen adapter. The ring certainly has a bigger diameter than the adapter.
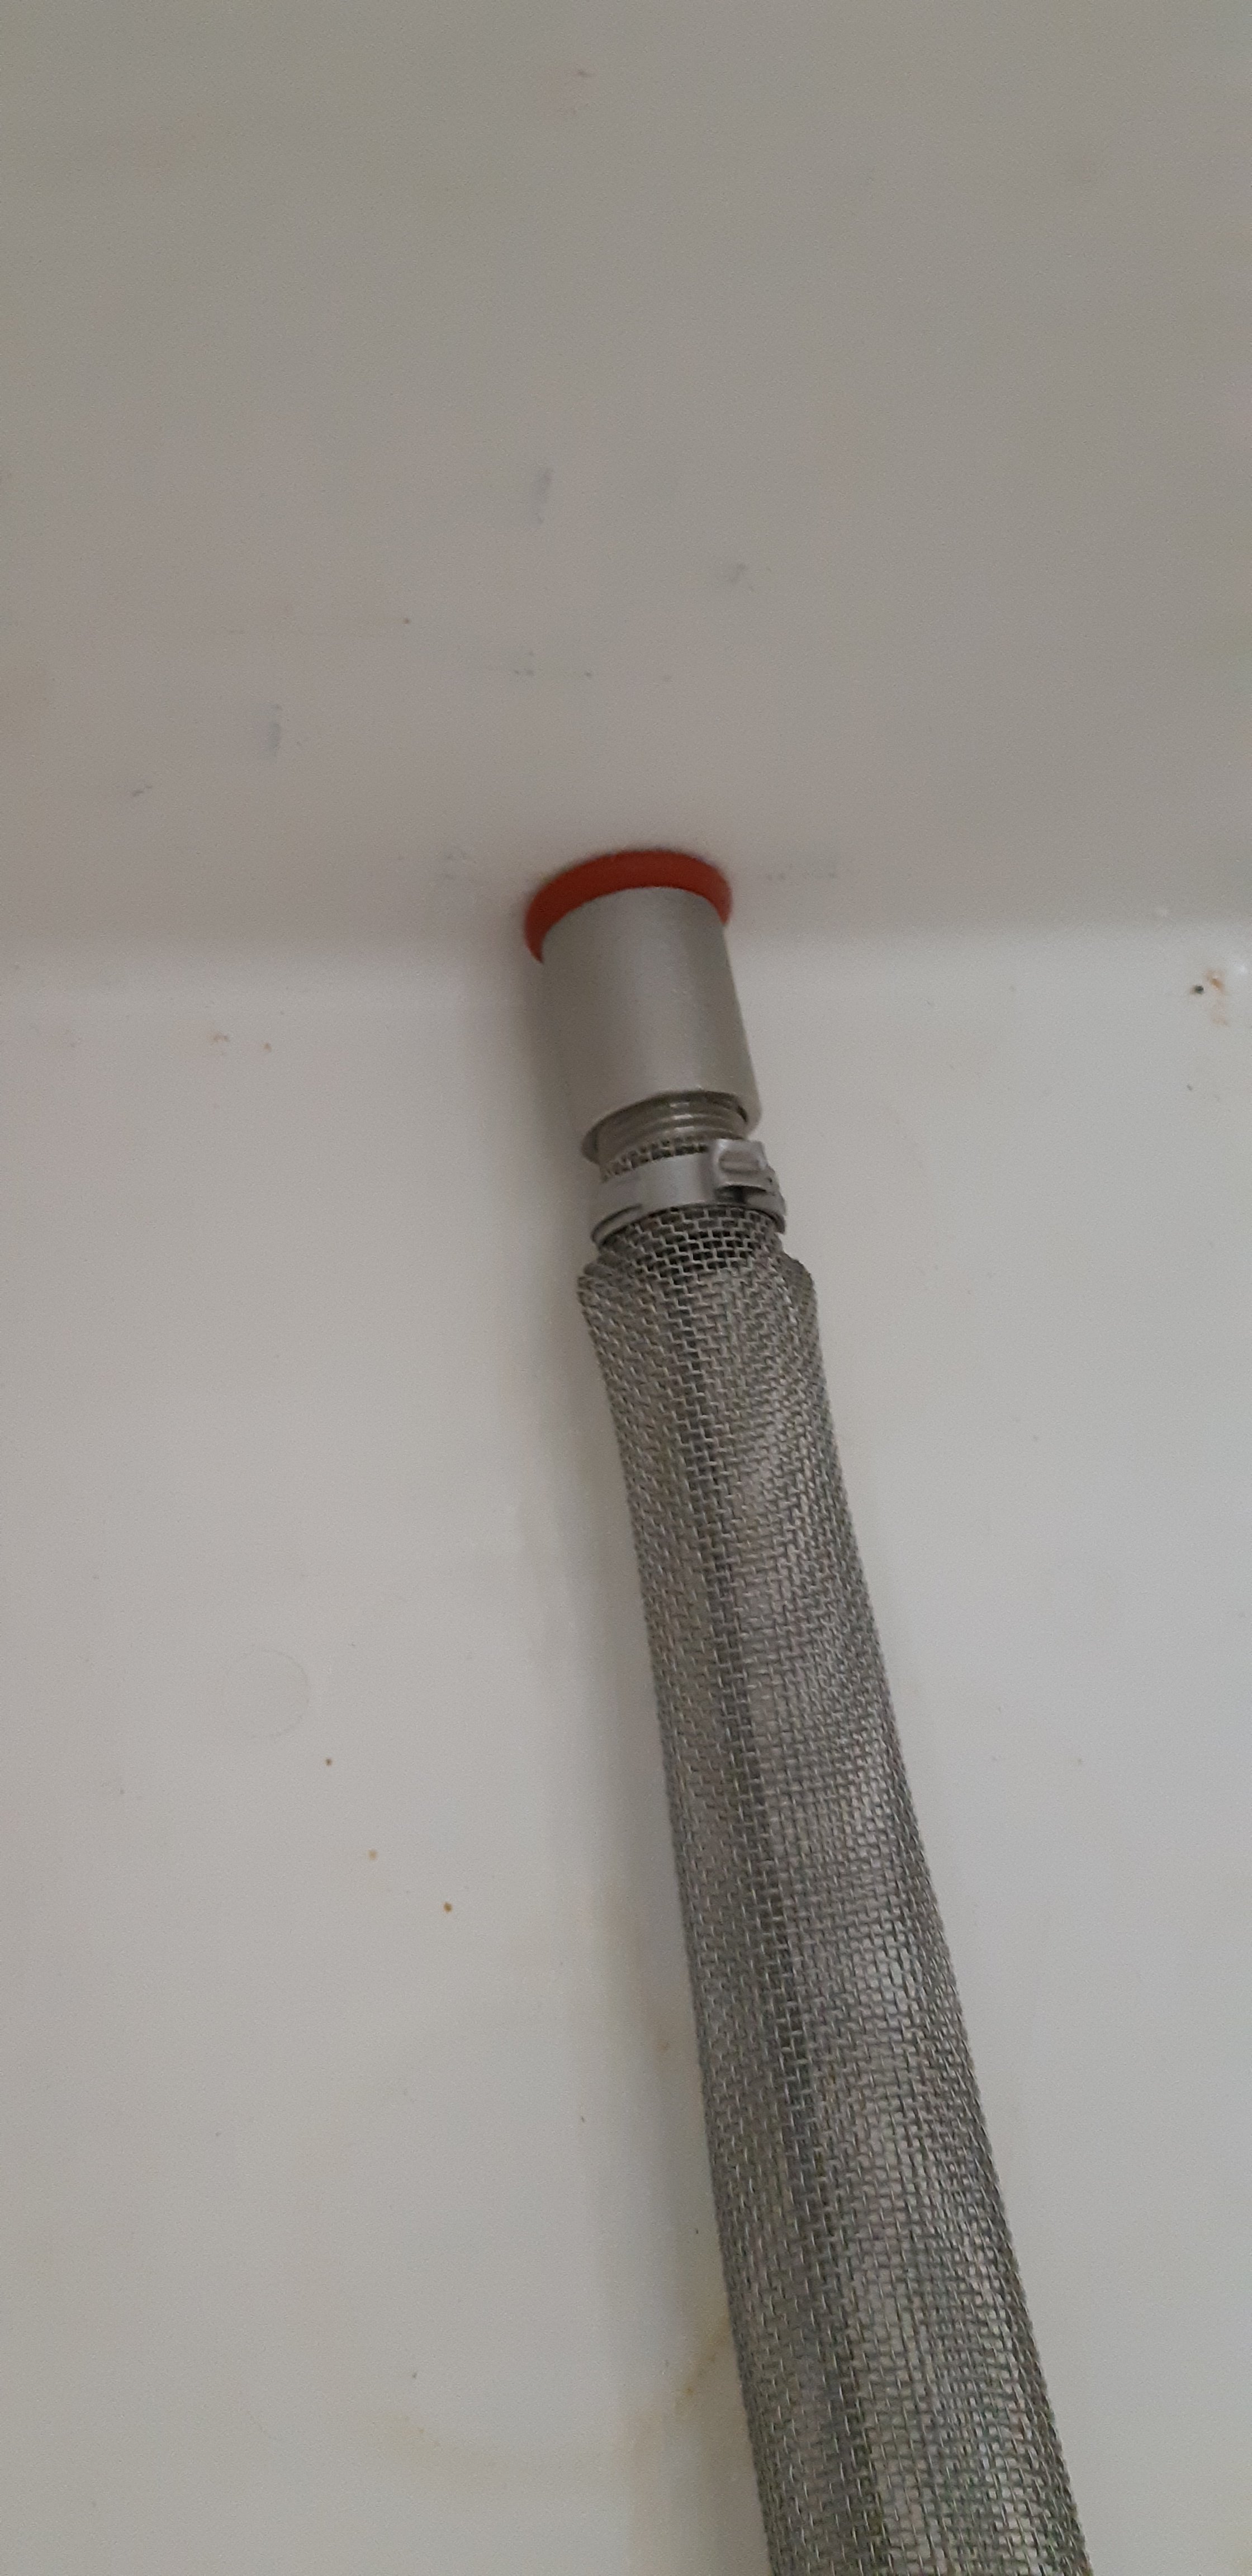
20210625_214137.jpg

The outside looks like this and i see a few gaps around the valve's nut.
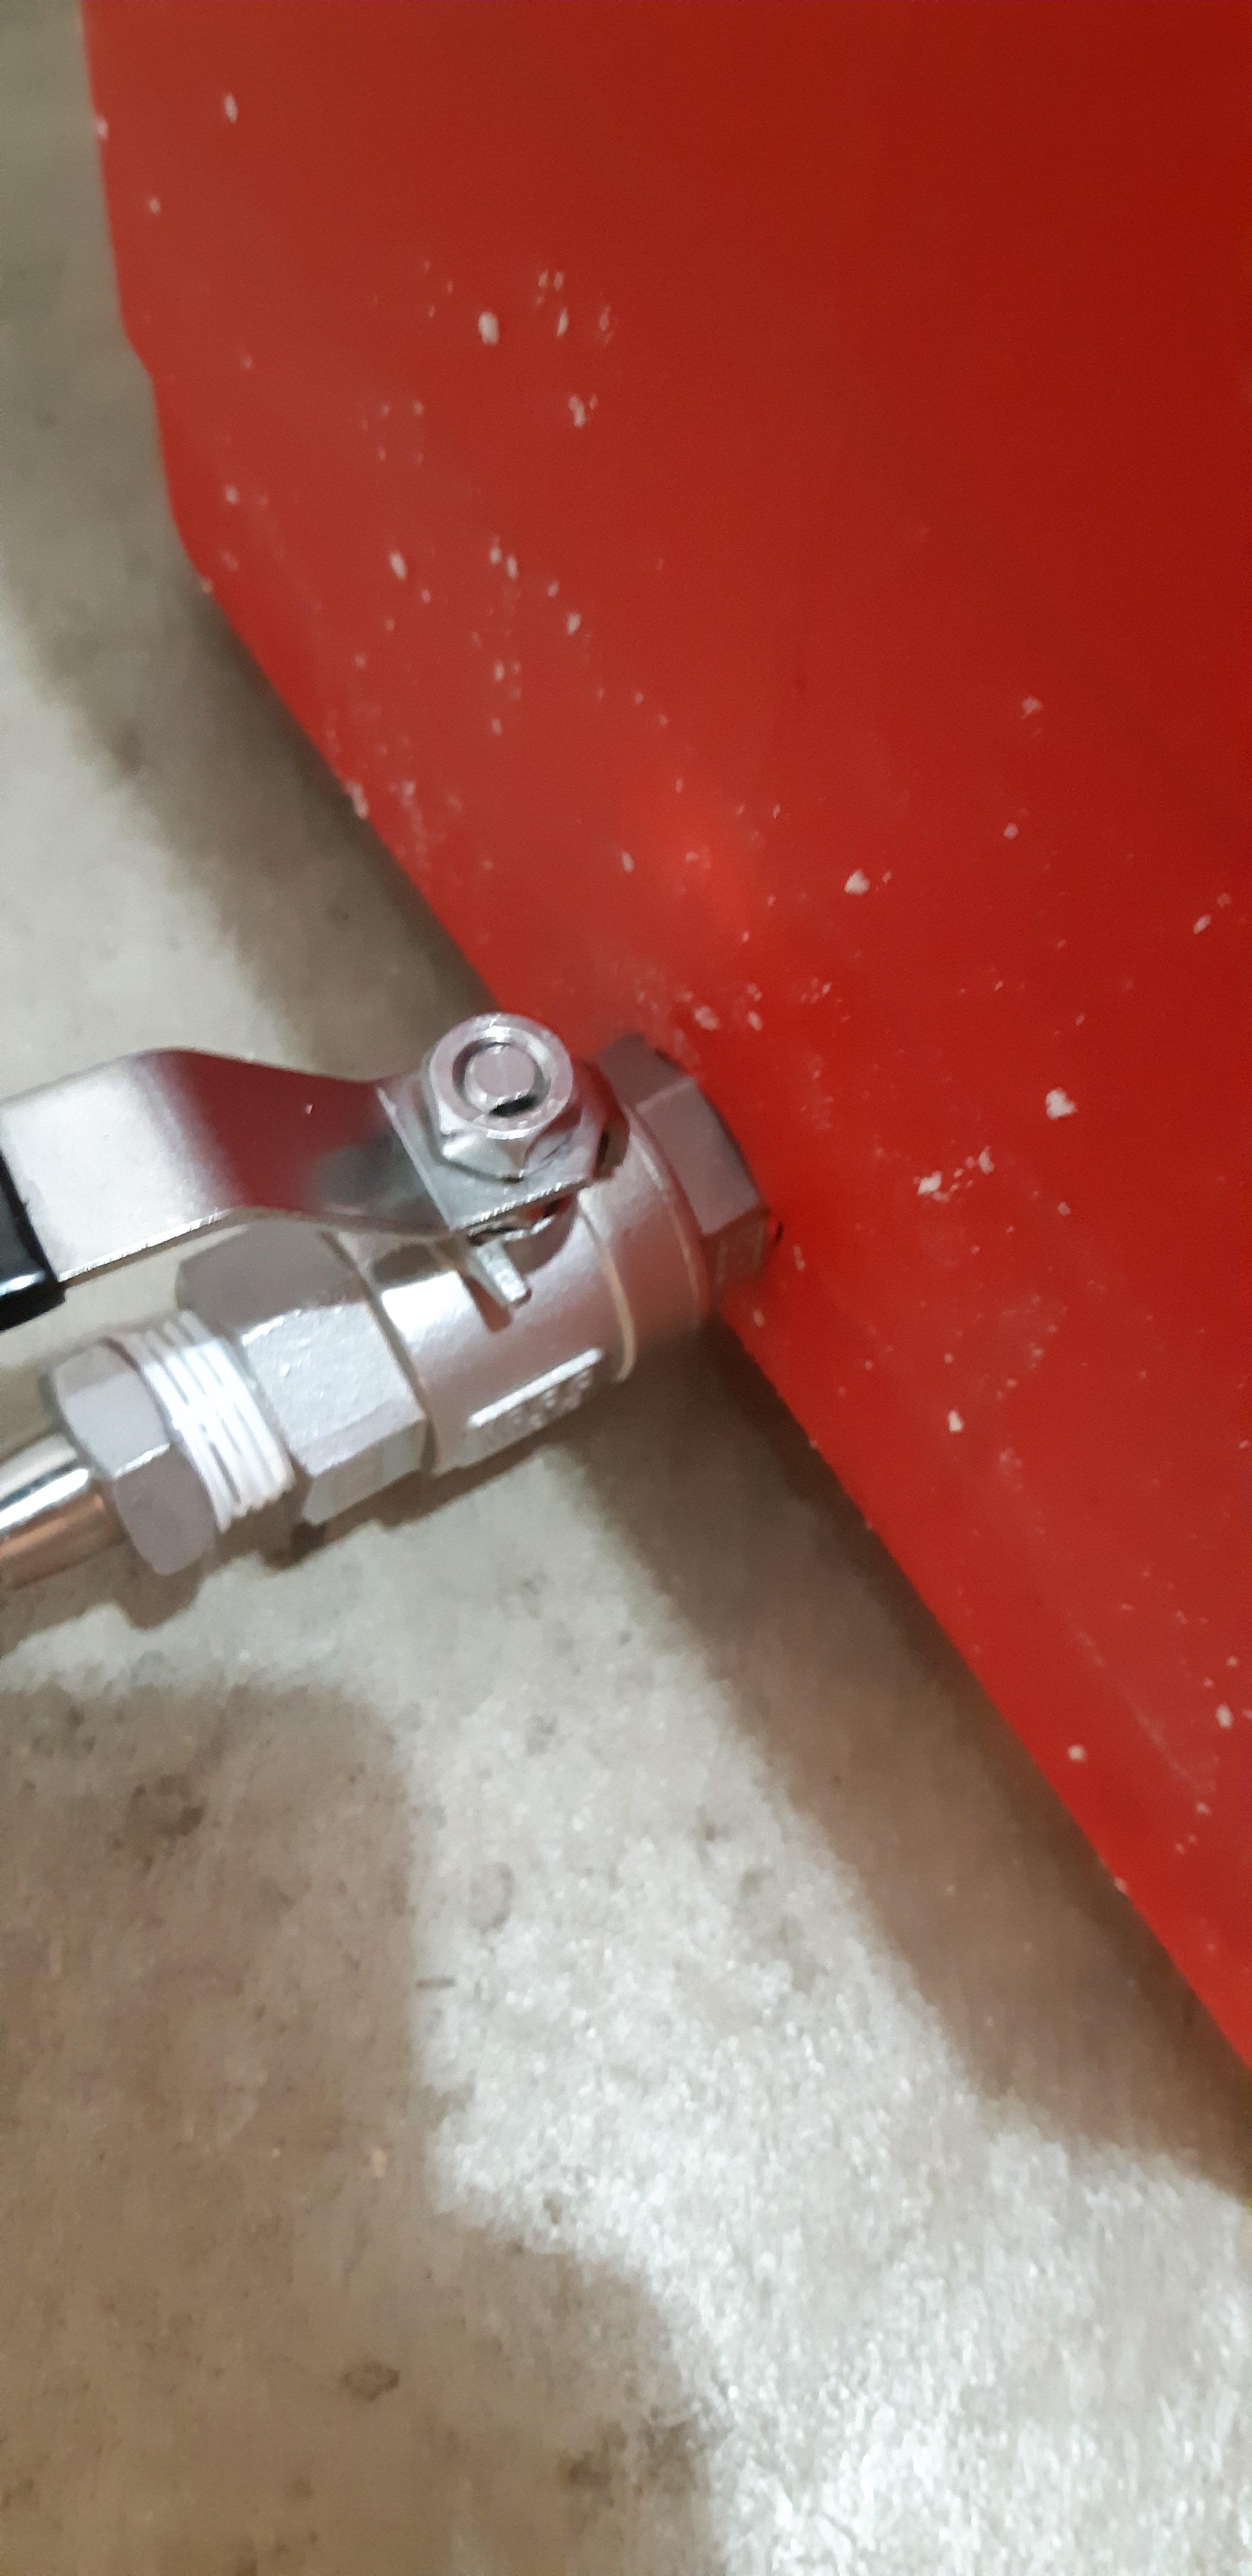
20210625_214226.jpg

I realize this is bad. I tested it with water too and it leaks. This was an old one that i already had. What do you suggest i do before buying another plastic cooler?
 
I had the same problem with a round cooler. The leak was pretty slow, and I couldn't fix it, I ended up putting a pizza pan under it to catch the drips. I started BIAB, went to the mash tun, fly sparge and batch sparge and then went back to BIAB.
So just skip the mash tun, get a BIAB bag and mash in your kettle. For less than a price of a cooler, buy a 16 quart cheap pot for a dunk sparge after the mash is done. You can also go even cheaper and dunk sparge in a plastic bucket, but I heat the water in the side pot before the dunk sparge and then I can get the boil going a little quicker.
 
I hate these kinds of leaks. The trick is to think about the water path and how to seal it. A washer in the right spot might still leave enough thread to grab onto? But it still has to squish the o-ring onto the threads or you'll just leak underneath.

Another thing to remember is if the foam in the cooler wall separates it can collect water. So you can fix a leak but still think you have it as the wall area finishes draining, and vice versa - think you fixed it but it's just actually going into the wall.

And also as mentioned you might just scrap it and go a different route altogether ie. mash in the kettle! Though i totally understand if you have the drive to make this bugger work.
Yeah i had to resort to using the kettle as a mash tun with the bazooka screen. I hate how fast that thing losses heat because metal is very conductive. I put a lot of insulation around it but i still undershot the mash temp. So i had a three hour mash with boiling parts of it and adding back in.
 
Yeah longer bulkhead for sure. If the cooler ever falls apart, a converted 10 gallon pot works great with $25 Amazon false bottom. U do need extra heat for the strike water
 
Back
Top