Slanting Yeast (Photos and Instructions)

Homebrew Talk - Beer, Wine, Mead, & Cider Brewing Discussion Forum

Help Support Homebrew Talk - Beer, Wine, Mead, & Cider Brewing Discussion Forum:

This site may earn a commission from merchant affiliate links, including eBay, Amazon, and others.
Status
Not open for further replies.

Saccharomyces

Be good to your yeast...
HBT Supporter
Joined
Jun 17, 2008
Messages
5,438
Reaction score
166
Location
Pflugerville, Texas
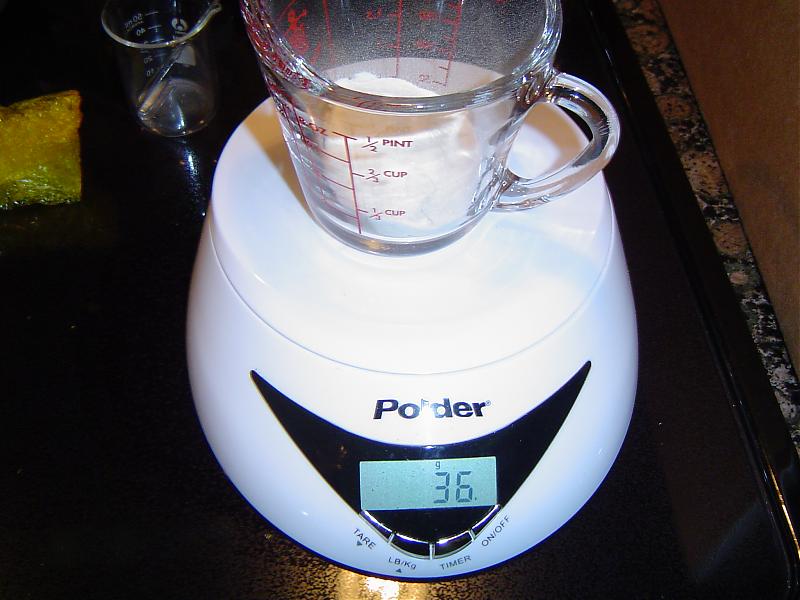
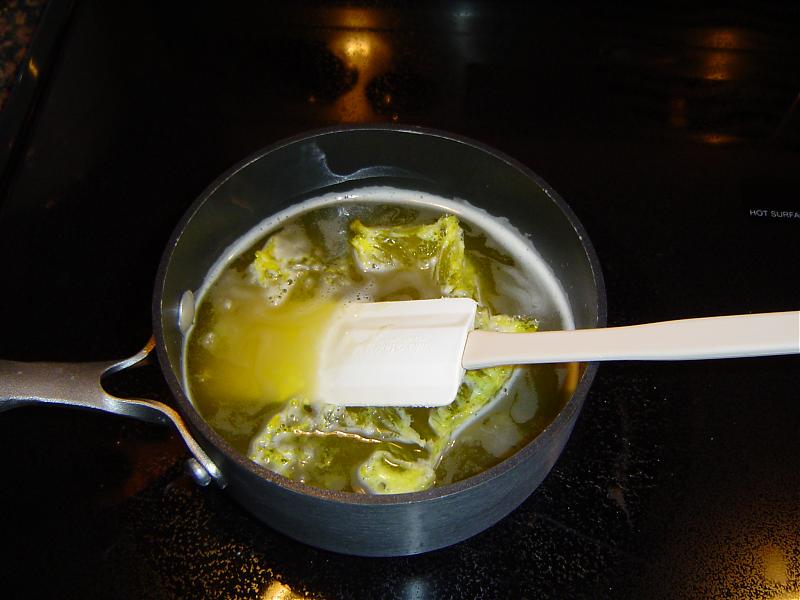
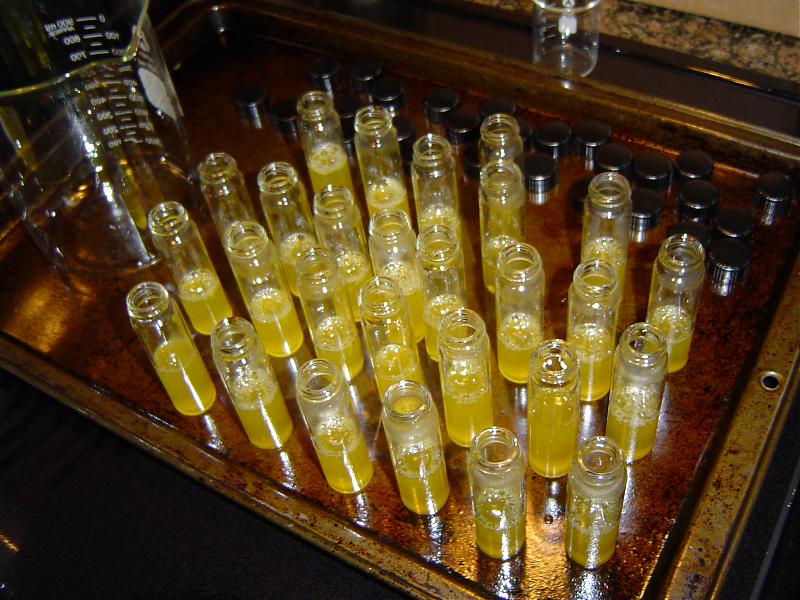
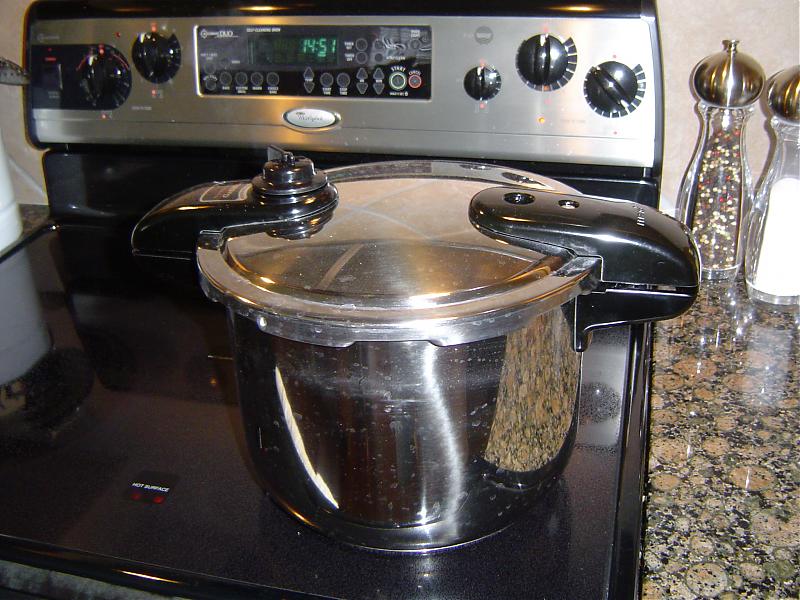
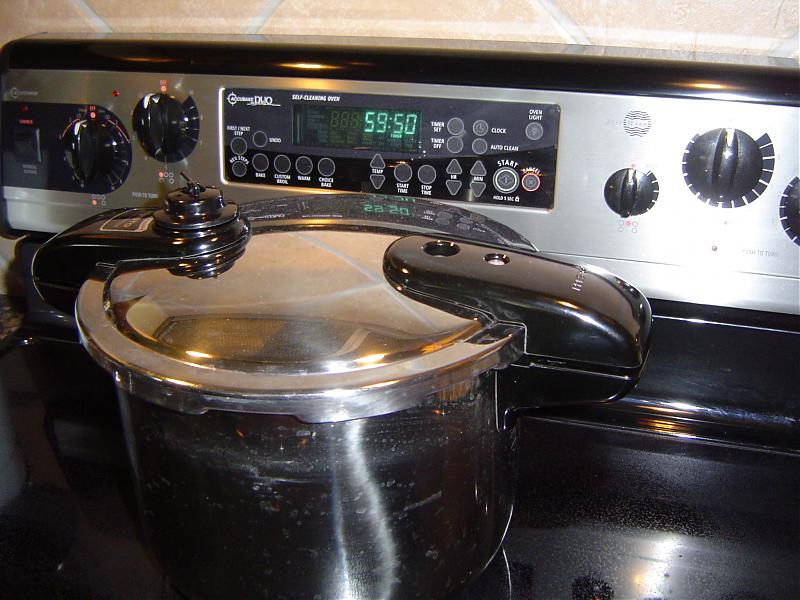
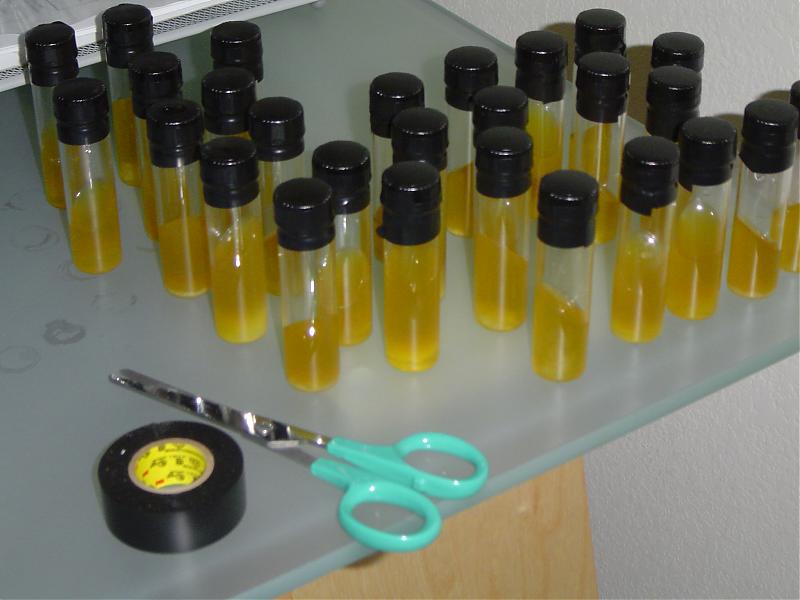
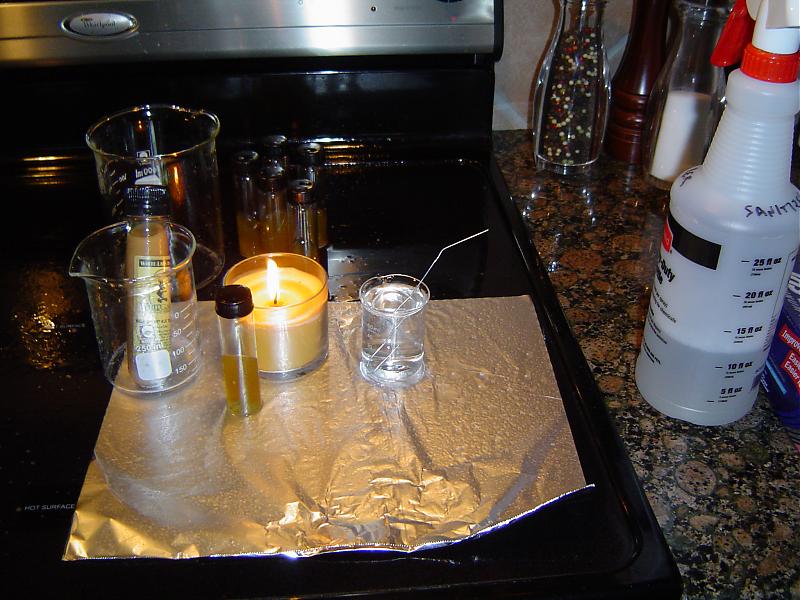
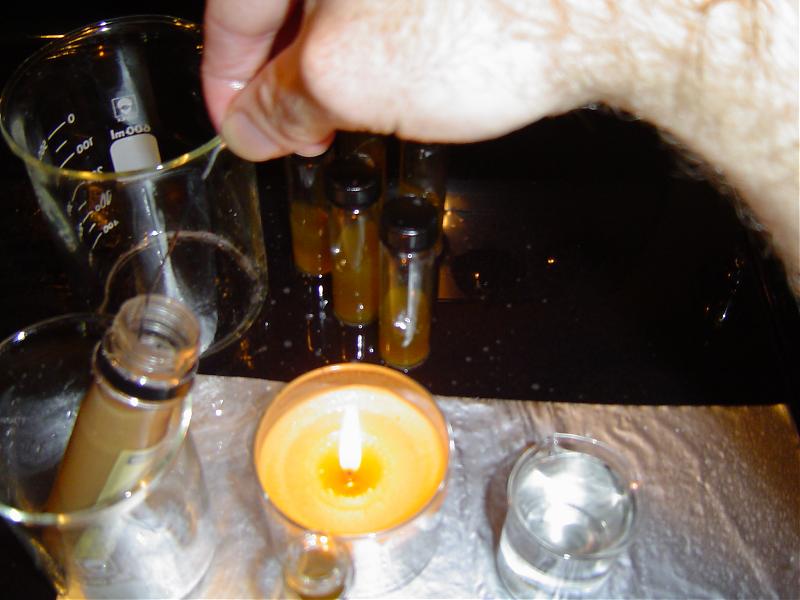
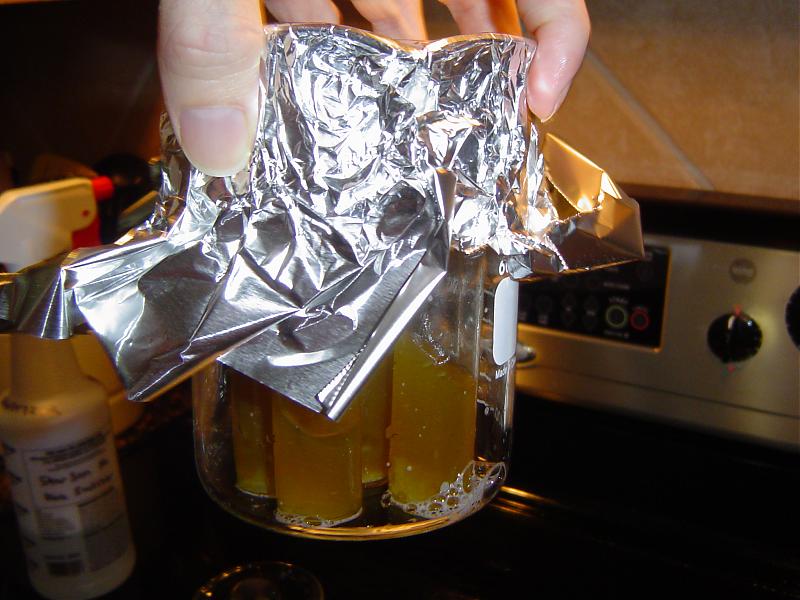
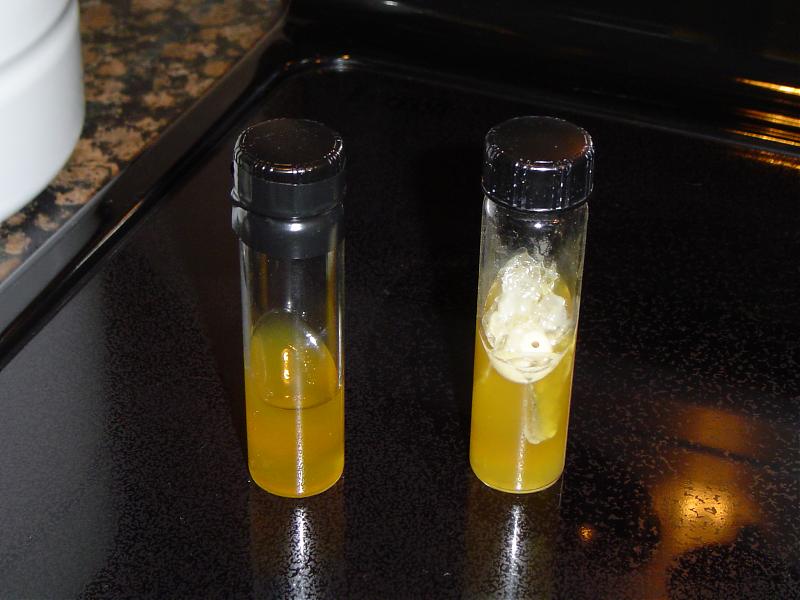
There has been plenty of discussion of yeast slanting in various threads, and I know there are other slanters here on the forums, but I have not seen a definitive thread which walks through the process step by step. So, last time I prepared some slants I took some photos and decided to post a tutorial here.

Although it is an advanced technique, yeast slanting has some advantages. You can share yeast strains easily by exchanging slants. Each yeast culture you buy can be used to make 25 batches or so without re-using yeast. You can save platinum/seasonal yeast strains for use year-round. You can harvest yeast from a brew buddy's starter to add to your library. Or if you go to the trouble of bottle harvesting yeast you can save it for future use. As long as you are very careful with sanitation while handling yeast slants, the risk of a contaminated batch is very low -- especially if you compare this technique to re-using yeast from prior fermentations.

I didn't make up all this stuff myself. There are some good resources out there on the web, so be sure to check them out as well before you get started. To name a few good ones:

Making Plates Slants - German Brewing Techniques
Yeast/Culturing - Brewiki
Culturing Yeast and Using Slants
Yeast Propagation and Maintenance - Principles and Practices
 
You will need some equipment:

  • A pressure cooker, 8 quarts or larger
  • A small pan (unless you are a cave man, I'm sure you already have one)
  • Filtered or bottled water
  • Dry malt extract
  • Vials. I use the 24mL vials from Cynmar, stock no. 115-27910.
  • Beakers. I purchased the set from Cynmar, stock no. 115-20035.
    An extra 500mL and/or 1000mL beaker would be handy as well depending on
    the size of your pressure cooker.
  • Large paper clips, half straightened
  • Agar agar. You can find this in an Asian market or in the Asian section of
    a large grocery. If you can't find agar agar you can use plain gelatin.
  • 250mL flask
  • 1L and/or 2L flask
  • Stir plate
  • Small and medium size stir bars
  • A digital scale
  • A measuring cup
  • A small funnel suitable for filling your vials
  • Aluminum foil
  • Electrical tape
  • Scissors
  • A small box such as a shoe box
  • Sanitizer
  • Candle
  • Lighter
  • Half-pint canning jars for canning sterile starter wort (optional)

View attachment 12594
 

Attachments

  • dsc01784.jpg
    dsc01784.jpg
    89.3 KB · Views: 1,997
Measure out 35g of DME and about 400mL of water. Combine in the pan along with half a bar of agar agar (2.5 grams) and heat gently while stirring until the agar agar and DME are fully dissolved. It isn't necessary to boil it, it gets boiled later in the pressure cooker.

View attachment 12595
View attachment 12596

Pour the mixture into the 500mL beaker and fill each vial one third to one half full using the funnel (it's hot, so you may want to use gloves). You should have enough wort to fill 25-30 vials. I will use 5-6 vials per yeast strain, so this is enough for five strains. As you can see I did this on a baking sheet so I would have easier cleanup for spillage.

View attachment 12597
View attachment 12598

Cap each vial and loosen the cap one half turn. Place the vials inside the large beakers so they are snug -- you don't want them to tip over in the pressure cooker. Use empty vials to fill any empty space in the beakers. It's not a bad idea to keep some empty sterile vials on hand for collecting some yeast from a buddy's yeast starter which you can take home and slant later (I'll get to that topic in a bit). Make sure the cap is loose on the empties too. You don't want them to explode.

Cover the beakers with foil and place them in the pressure cooker. Add about 1L of water, or enough to get at least 1" in the bottom. You definitely do NOT want to end up running your pressure cooker dry or your equipment will be toast.

View attachment 12599

Gently bring the pressure cooker up to temperature. You can start on high but once the water starts boiling I recommend backing off on the heat so you don't overpressurize it by accident. Once the cooker hits 12psi set a timer for 15 minutes.
 

Attachments

  • dsc01785.jpg
    dsc01785.jpg
    58.7 KB · Views: 1,727
  • dsc01786.jpg
    dsc01786.jpg
    48.8 KB · Views: 1,705
  • dsc01788.jpg
    dsc01788.jpg
    58.9 KB · Views: 1,754
  • dsc01789.jpg
    dsc01789.jpg
    90.9 KB · Views: 1,775
  • dsc01790.jpg
    dsc01790.jpg
    73.5 KB · Views: 1,735
View attachment 12600

After 15 minutes at 12psi, carefully slide the pressure cooker off the hot burner and set a timer for one hour to allow it to cool. Do not move it, open the valve, or use a water bath -- if you do, you will cause the vials to boil over as the pressure drops too rapidly. We don't want that to happen! Let it cool for one hour.

View attachment 12601

After the pressure cooker has cooled for one hour carefully open the cooker. With clean and sanitized hands, on a clean and sanitized counter top, carefully remove the glass vials, screw them shut, and tape the lids with electrical tape so they won't dry out. Place them in a cardboard box (such as a shoebox) and prop it at a 45 degree angle (so they slant!) for 24 hours or until they set. Then you can store them in zip bags in a dark, cool closet until ready for use. They are sterile so they should last indefinitely.

View attachment 12602
 

Attachments

  • dsc01791.jpg
    dsc01791.jpg
    88.6 KB · Views: 1,600
  • dsc01793.jpg
    dsc01793.jpg
    74.4 KB · Views: 1,636
  • dsc01794.jpg
    dsc01794.jpg
    45.7 KB · Views: 1,684
Do this when you have fresh yeast on hand, and are ready to make a starter for a batch.

Clean and sanitize your work area as well as your hands. A spray bottle of sanitizer works great for this. Shut off the A/C, close windows, turn off fans. The goal is to eliminate any drafts. Setup your candle and light it. The candle is a flame source to sterilize the paper clip. It does double duty by providing a hot updraft in your work area so dust doesn't (hopefully) settle into your open slants as you work.

Fill the 50mL beaker with sanitizer (I use Star San because it keeps for about a month, any no-rinse sanitizer will do, as long as it is chlorine free). Place the paper clip inside the beaker to hold it. Remove the tape from 5-6 vials, make sure the lids are tight, and dip them in sanitizer. Sit them to the side of your work area. Setup a beaker large enough to hold the yeast package as you work near the flame. Open your yeast package and place it in the beaker so it won't fall over. Place a piece of sanitized foil next to the flame to hold your caps as you work. Now you are ready to slant.

View attachment 12638

Grab a slant, unscrew the cap, and place it on the foil (open side down). Keeping the slant near the flame as you work, grab the paper clip and remove it from the sanitizer. Run it through the flame a few times to sterilize it, and dip it back in the sanitizer to cool it off.

View attachment 12639

Now dip the clip into the yeast package, and then into the slant 4-5 times. Drop the clip back into the sanitizer to free up your hand, and screw the cap on. Sit the vial to the side. Repeat for the remaining vials.

View attachment 12640
View attachment 12641

When you are finished slanting make your starter with the yeast package as usual.

To incubate, unscrew each cap a half turn (don't forget to do this!!) and place the vials in a sanitized beaker. Cover it with aluminum foil and place in a warm, dark place for 7-10 days.

View attachment 12642

After the slants have incubated, screw the caps shut (don't forget clean sanitized hands again!), and re-seal them with electrical tape. Examine each slant carefully. There should be white streaks of yeast throughout the slant. If there is any discoloration, wash and store the vial for re-use -- I have only had one contaminated slant so far, and it was obviously green with mold so I tossed it. Store the slants in the coldest part of your refrigerator. Don't forget to label the vials! I use masking tape and a marker, and label each one with the strain code and name. It is a good idea to date them also if you think you will be keeping your slants for a long time.

When the yeast turns brown, it is time to re-slant. Most yeast will keep for over a year on slants.
 

Attachments

  • dsc01795.jpg
    dsc01795.jpg
    82.4 KB · Views: 1,732
  • dsc01796.jpg
    dsc01796.jpg
    63.7 KB · Views: 1,718
  • dsc01797.jpg
    dsc01797.jpg
    51.2 KB · Views: 1,722
  • dsc01798.jpg
    dsc01798.jpg
    68.7 KB · Views: 1,712
  • dsc01799.jpg
    dsc01799.jpg
    70.9 KB · Views: 1,701
This process takes 2-3 days with a stir plate. If you don't have a stir plate (craziness!) I would allow two days for each step. At a minimum you will need pure O2 from a stone if you don't have a stir plate, given the large number of generations the yeast will have to reproduce to grow from 1M cells to 100B+ cells.

On the left is a 'blank' slant. On the right is a slant which has been incubated for nine days. Notice the creamy white yeast all over the slant. This is what a healthy slant looks like:

View attachment 12861

Remove the slant from the refrigerator and leave it out for a few hours to warm to room temperature so you don't temperature shock the yeast. I like to use pre-canned wort for the first step because it's sterile, but other folks have done OK with just boiled DME. You need 1 cup of wort either way, so if you are using DME the vial can warm up while you make your wort and let it cool.

Remove the tape from the vial, make sure the lid is tight, and drop the vial in sanitizer before opening. With the sanitized small funnel, add a bit of wort to the vial. Re-cap, shake, and dump into a sanitized 250mL flask. Repeat to get all the yeasties out. Drop in your stir bar (if it isn't already in the flask), and add the remaining wort to the flask.

Cover the flask with sanitized aluminum foil and let it ride on the stir plate for 24-36 hours. When it's ready to step up you will know because the wort will look like chocolate milk rather than wort -- that's healthy yeast cells in there!

Being careful not to drop in the stir bar, decant your small starter into a 1L or 2L flask depending on batch size and gravity. Add enough fresh wort for the volume of starter required. 24 more hours on the stir plate and it will be ready to pitch, or you can refrigerate/decant after 48 hours if you wish. I pitch the whole thing into the fermenter right off of the plate. Typical lag time is about 2-3 hours!
 

Attachments

  • dsc01802.jpg
    dsc01802.jpg
    56.4 KB · Views: 1,759
Harvesting from a starter

You can harvest yeast from a brew buddy's starter using a stainless steel baster and an empty sterile vile (told ya those come in handy!). These can be had for $10 from Amazon.com, I didn't have any luck at the local kitchen stores. Clean and sanitize the baster like you have never cleaned anything before, or nuke it in the pressure cooker before use... the risk of contamination is very real! Using the baster, suck up a little bit of the yeast cake from the bottom of the finished yeast starter, and put it in a sterile vial. Cap and tape up the vial for transport home. You can then inoculate slants with it. This procedure is not recommended if the yeast is not first generation due to the risk of contamination -- you want to harvest yeast that came from a pure culture so you have a pure culture every time you build up yeast from the slant.

Re-slanting

This is easy. When you use your last slant (or next to last?), or the yeast get old, just dip your paper clip into the slant and innoculate fresh slants. Then use the parent slant to build up a starter. It really is that easy.

You will know when it's time to re-slant your yeast if it gets old, as the yeast will turn the color of putty as they use up their glycogen reserves. This can take 6-18 months depending on the yeast strain and the conditions in your refrigerator. If the yeast reaches the color of peanut butter, it is dead and the slant should be discarded.
 
Status
Not open for further replies.
Back
Top