Show me how you guys are taking care of this crap!

Homebrew Talk - Beer, Wine, Mead, & Cider Brewing Discussion Forum

Help Support Homebrew Talk - Beer, Wine, Mead, & Cider Brewing Discussion Forum:

This site may earn a commission from merchant affiliate links, including eBay, Amazon, and others.

slayer021175666

Well-Known Member
Joined
Sep 24, 2020
Messages
561
Reaction score
254
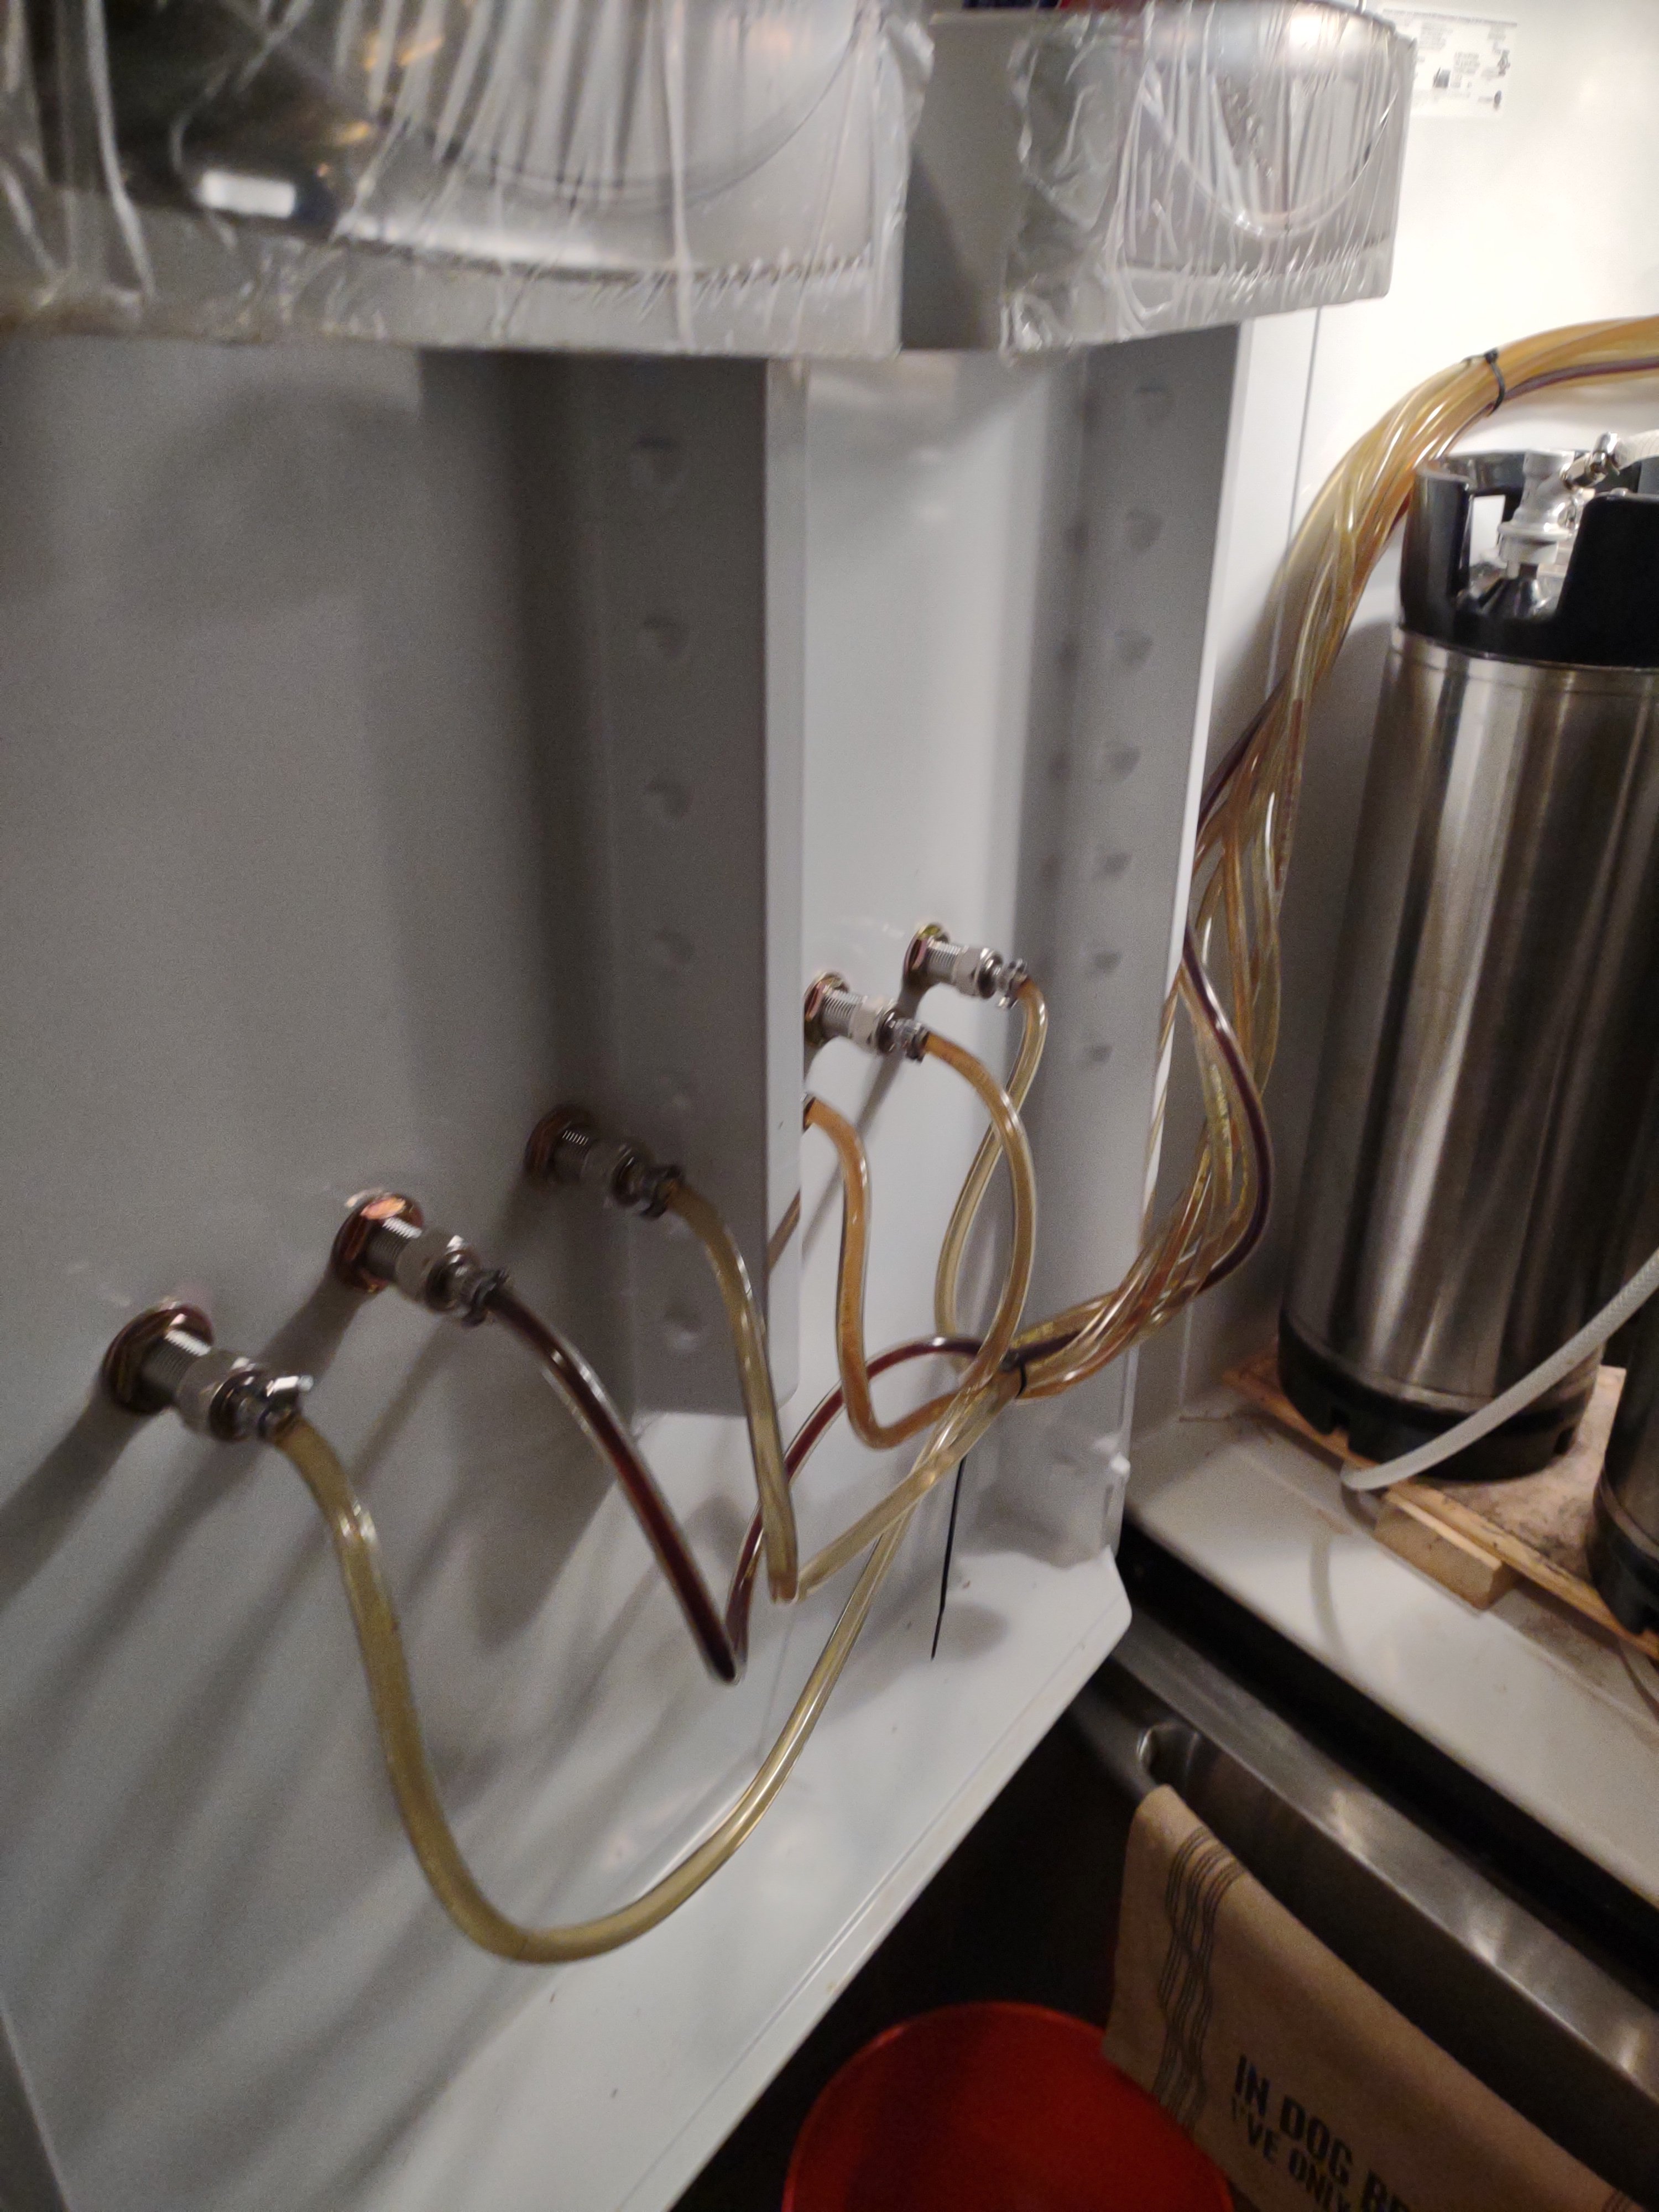
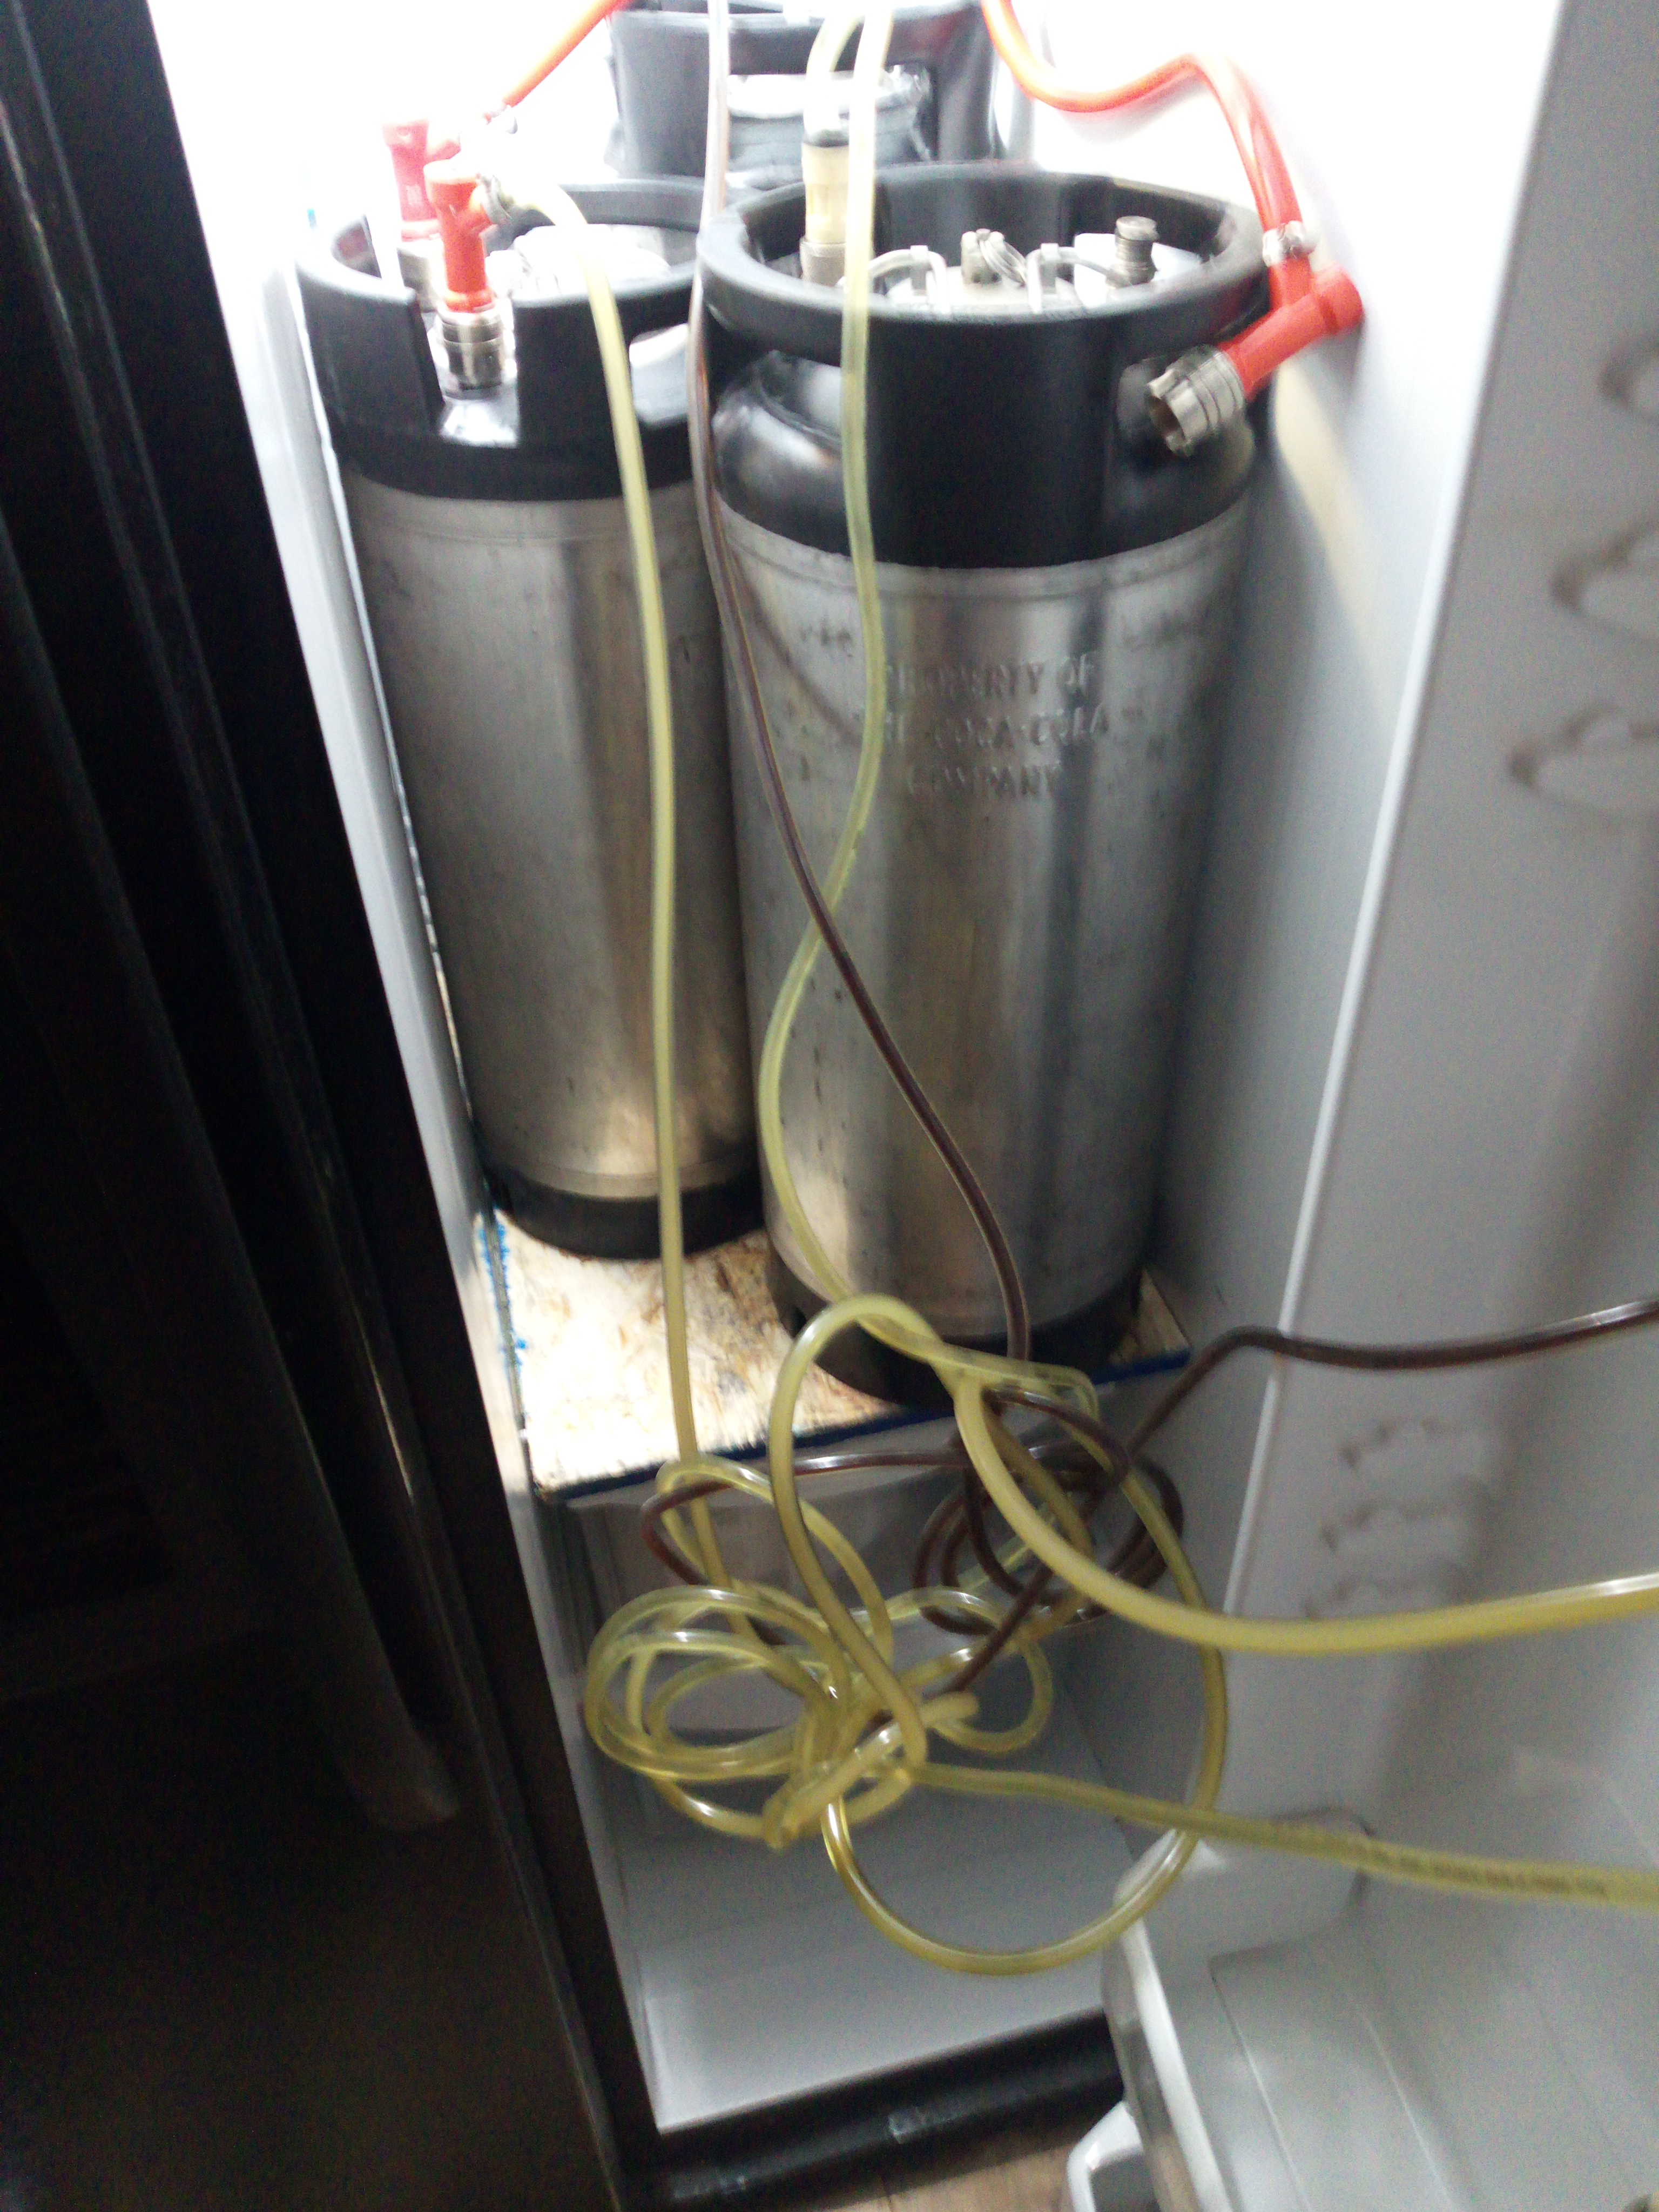
So, for quite a while I've had this tangled ball of hoses hanging here and at first it was rather neat but as I moved kegs around, it got all tangled to hell and gone. Tell me how you guys are taking care of this and give me some ideas. If you can, post some pictures. That would be cool.
Thanks!
 

Attachments

  • IMG_20220210_190028_597.jpg
    IMG_20220210_190028_597.jpg
    3.9 MB · Views: 88
I saw a variation where each keg's line was coiled and velcro-tied on top of the keg.

That's what I do, but - it's still not great. It's just to give me some line length so I don't pour foam. But it looks like I have a slightly bigger frig (2 kegs side by side w/ ~ 3 or 4 inches on each side) and so there's room for it. I just realized I might be lucky that way.
 
I just coil the beer lines, leaving a long enough “tail” on each coil so that each position in the fridge has a dedicated liquid line. The coils sit on top of the kegs. The only time anything gets moved is when I’m swapping an empty keg for a new one.
1644547360044.jpeg
 
I've always coiled the slack inside the top keg rubbers, nestling the flow meters I use. That worked well when I was running 12 feet of 3/16" ID Bevlex 200 solid PVC, and works even better running 6 feet of 4mm ID EVABarrier line...

View attachment 759055

Cheers!


MAN, you gotta stop bragging, and cock smacking people....there are some mere mortals here!

i don't have a pic, i used to bundle my two tap line up with bailing wire and hang them in a small drill hole in the fridge door, with enough slack so the door can still open.....
 
Geez, day_trippr! You got a problem, for sure! Friggin, techno-alcoholico! Must be a caffeine junkie too! So badass. What a keezer!
 
I've always coiled the slack inside the top keg rubbers, nestling the flow meters I use. That worked well when I was running 12 feet of 3/16" ID Bevlex 200 solid PVC, and works even better running 6 feet of 4mm ID EVABarrier line...

View attachment 759055

Cheers!
Thanks! Every time my girlfriend starts complaining about me doing/buying something for brewing I am going to show her this to calm her down. :D
 
Last edited:
Am I doing something wrong? I have a 2 tap kegerator with a tower on top. I don’t have anything coiled up. The liquid lines come out of the tower and straight down, probably less than 3 feet total length. My CO2 bottle sits on a shelf in the back inside that its made to sit on. My CO2 lines go from the regulator to a 2 input/output manifold with cutoffs and from there a short run to the kegs. I have enough slack to be able to pull a keg out and sit it on the floor in front of the kegerator. Again, nothing coiled. Why the coils?

886612D4-9D2C-4E7F-916A-0D7BFE84169C.jpeg

ED3C1A93-7690-479D-84FE-D0456DCD425F.jpeg
 
I just unhook all my lines and lay them neatly to the side while I move kegs in and out. Then place them neatly back in place.
 
One could do like bwible and use pressure compensating taps. I have a simpler system and use these:

https://www.morebeer.com/products/inline-flow-control-compensator.html
I like the fact they are adjustable for different brews and levels of carbonation.

Or stick with the tried & true collection of long tubes, neatly bundled or not.
I don’t know about pressure compensating. I know they are front sealing Perlick taps because I paid extra for that upgrade when I bought the kegerator. They are not the flow control adjustable ones.

i was legitimately asking why people are putting on long hoses with coils. I don’t get any excess foaming or anything the way mine is set up. I was wondering if I’m missing something.

I was under impression that the Perlicks were pressure compensated, though maybe not adjustable. Unless you have excessive foaming when you pour, your taps have solved the problem some people solve with long, measured amounts of tubing.
 
The long liquid lines are to create enough back pressure to keep the C02 in solution all the way to the glass. The rule of thumb is 1 ft per psi. Since most folks carb to around 10-12 psi (the typical chart pressure for most beer styles, served a few degrees either side of 40°) that’s how long the lines end up. Without some other form of pressure compensation the long beer lines are the easiest way to balance a draft system.
 
The long liquid lines are to create enough back pressure to keep the C02 in solution all the way to the glass. The rule of thumb is 1 ft per psi. Since most folks carb to around 10-12 psi (the typical chart pressure for most beer styles, served a few degrees either side of 40°) that’s how long the lines end up. Without some other form of pressure compensation the long beer lines are the easiest way to balance a draft system.
Yes! It's all about keg balancing. In my case, it would cost at least $100 bill to have those regulators on three kegs. Or, you can do what I did and have 30 ft of small diameter tubing for about $5. :mischievous:
 
The long liquid lines are to create enough back pressure to keep the C02 in solution all the way to the glass. The rule of thumb is 1 ft per psi. Since most folks carb to around 10-12 psi (the typical chart pressure for most beer styles, served a few degrees either side of 40°) that’s how long the lines end up. Without some other form of pressure compensation the long beer lines are the easiest way to balance a draft system.
Thank you. This is the first time I ever heard this. Mine came with those short lines. I may have cut a foot off or something like that but I know it didn’t come with 10-12 foot of beverage lines.
 
I just coil the beer lines, leaving a long enough “tail” on each coil so that each position in the fridge has a dedicated liquid line. The coils sit on top of the kegs. The only time anything gets moved is when I’m swapping an empty keg for a new one.
View attachment 759053
Is that a bottle of Ayinger Maibock I spy with mine eye?
 
I've always coiled the slack inside the top keg rubbers, nestling the flow meters I use. That worked well when I was running 12 feet of 3/16" ID Bevlex 200 solid PVC, and works even better running 6 feet of 4mm ID EVABarrier line...

View attachment 759055

Cheers!
Wow. Just.... wow! Goals right there...
 
Thank you. This is the first time I ever heard this. Mine came with those short lines. I may have cut a foot off or something like that but I know it didn’t come with 10-12 foot of beverage lines.

I'm not sure how you are avoiding excess foam with such short lines unless you are running really low pressure and carbonation levels, or if the ID of your lines is smaller than it looks. I have a similar kegerator to yours, and had a lot of foam with the stock 5' lines at 12psi and 38F. I saw a dramatic reduction in foam after replacing them with 10 to 12 foot 3/16 ID lines. Now I use 6.5 foot EVAbarrier 4mm ID line, which performs about the same as the 10' 3/16 lines.
 
Another reference I heard at a homebrew con seminar was you want your pint glass to fill in about 8-10 seconds. I keep my keezer really cold (35F) and I've iterated my way between pressure at the regulator inside my keezer, and length of 4mm ID EvaBarrier lines. It took a lot of tweaks, but I have about 6 ft of line, I don't get excess foaming, I like the carbonation level, and I fill my pint glass in about 10 seconds. I also did some strategic positioning with an air circulation fan to blow right on the long 6" shanks that stick inside the keezer collar. That has kept them within 2 degrees of the temperature at the keg midpoint level.
 
Off topic....

How do you like those Kegland keg disconnects? Worth considering?

I haven’t used them enough to have a really strong opinion just yet but..worth mentioning.

The poppets do indeed look a bit beefier which Kegland also mentions in their video.

My assumption is that these will be slightly less likely to clog due to not being constricted as much by the tiny passage common in most flare disconnects.

I think..being able to service these by hand will be a little more convenient than the standard type, but that remains to be seen. It isn’t like taking out a screwdriver takes up that much time.

One thing I’ve noticed is that not as much line is necessary to insert into these Kegland ball locks vs the add on connectors. Only a matter of mm, but??

I definitely like the 90 degree bend now, vs standard ball locks + connector. I had that with the stainless connectors I had as well, but those were pricey to get enough for all the kegs in the kegerator! I needed to get 2 more pairs, but going this route was definitely more cost effective at least short term. Hopefully long term too!
 
Back
Top