Hello home brewers! I have been following a few different forums over the last couple of years and never actually joined one until now. Countless hours spent reading and staring at pictures collecting thoughts and ideas as to the direction I would like to take my brewery in. My current Equipment setup has worked very well thus far however the location could use some work. brewing in a basement corner has been acceptable until now. A few days ago I was getting ready to bottle up a breakfast porter and needed to get 4 cases of bottle sanitized before my buddy showed up to lend a hand. At 8 a.m. I headed downstairs wanting to get a jump start on things and decided to take a peek at my ferms. 62 degrees... I was aware of a temperature drop over the previous night but this level of offset between the upstairs (72) and the basement is way to much. Seeing as the wife and I had been talking about possibly finishing our basement this was the motivation I needed to get the ball rolling. After 2 days worth of discussion on the topic I now have the green light and would like to share the process with you fine people!
This is the first time I have ever done a build log on anything so let me know if im going overboard on my posts or if you want more pictures, info, steps, anything at all. I have some experience doing this type of work and will be happy to advise anyone who is thinking about doing a finished space as well.
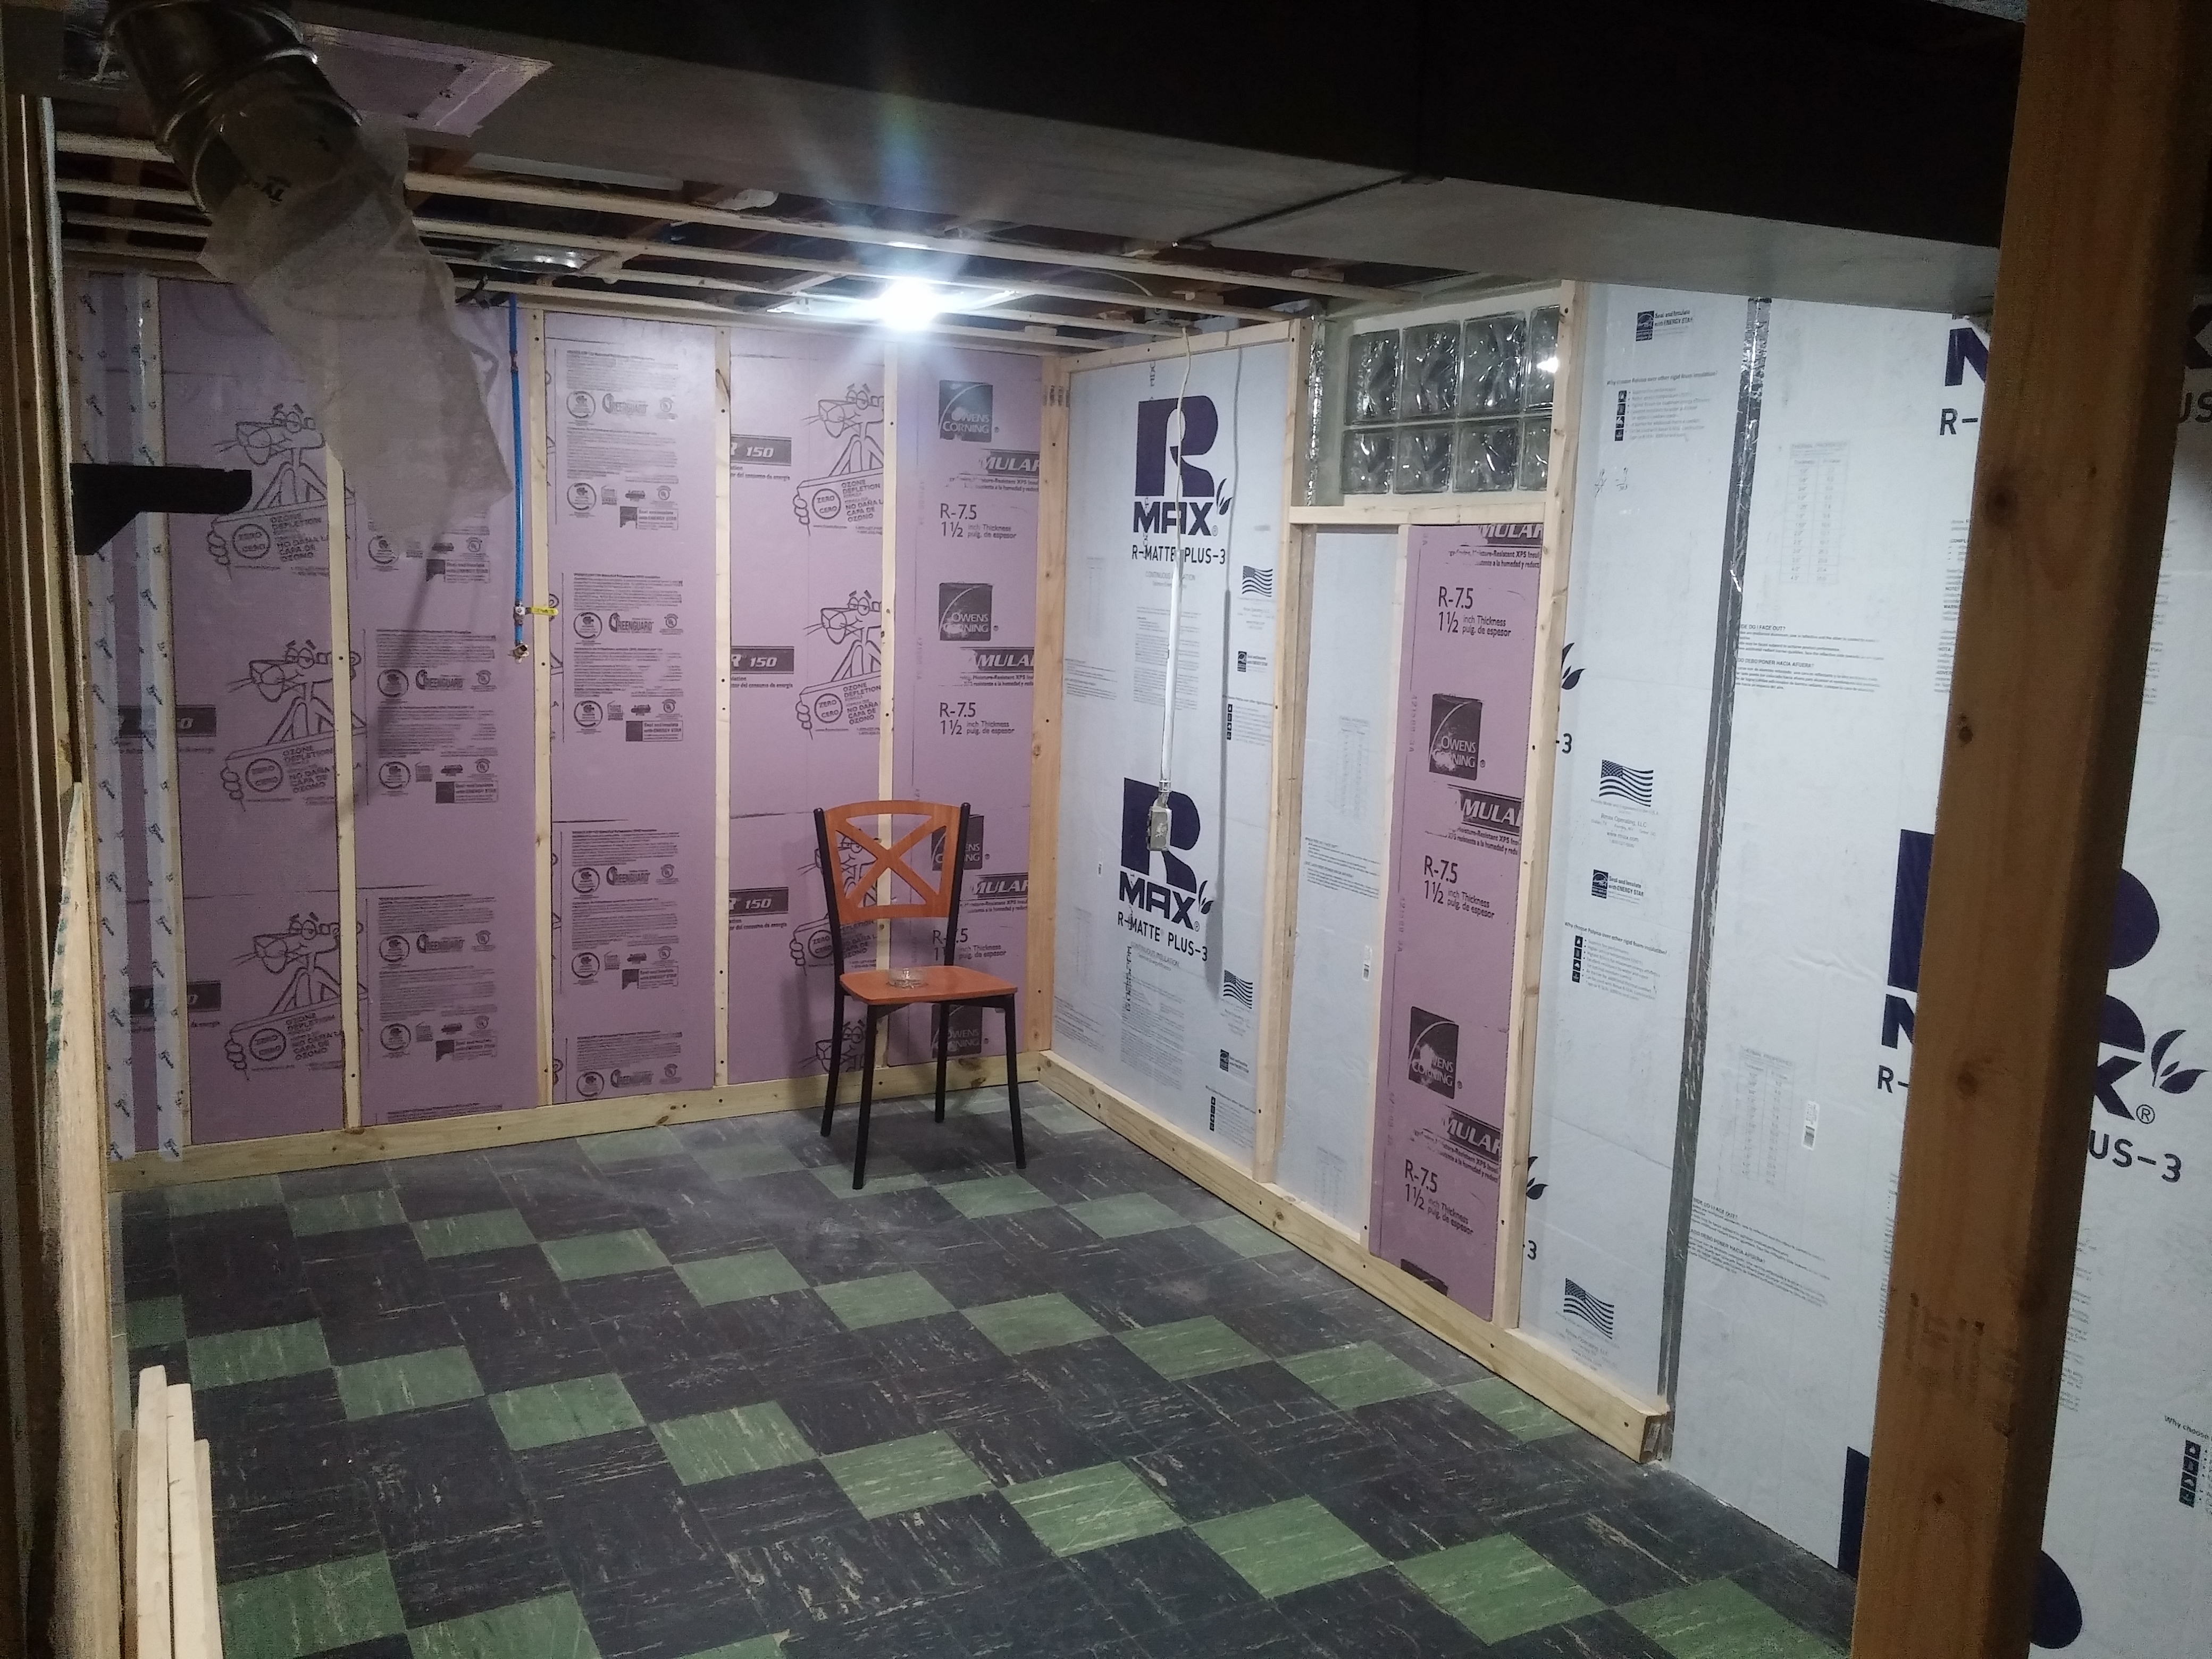
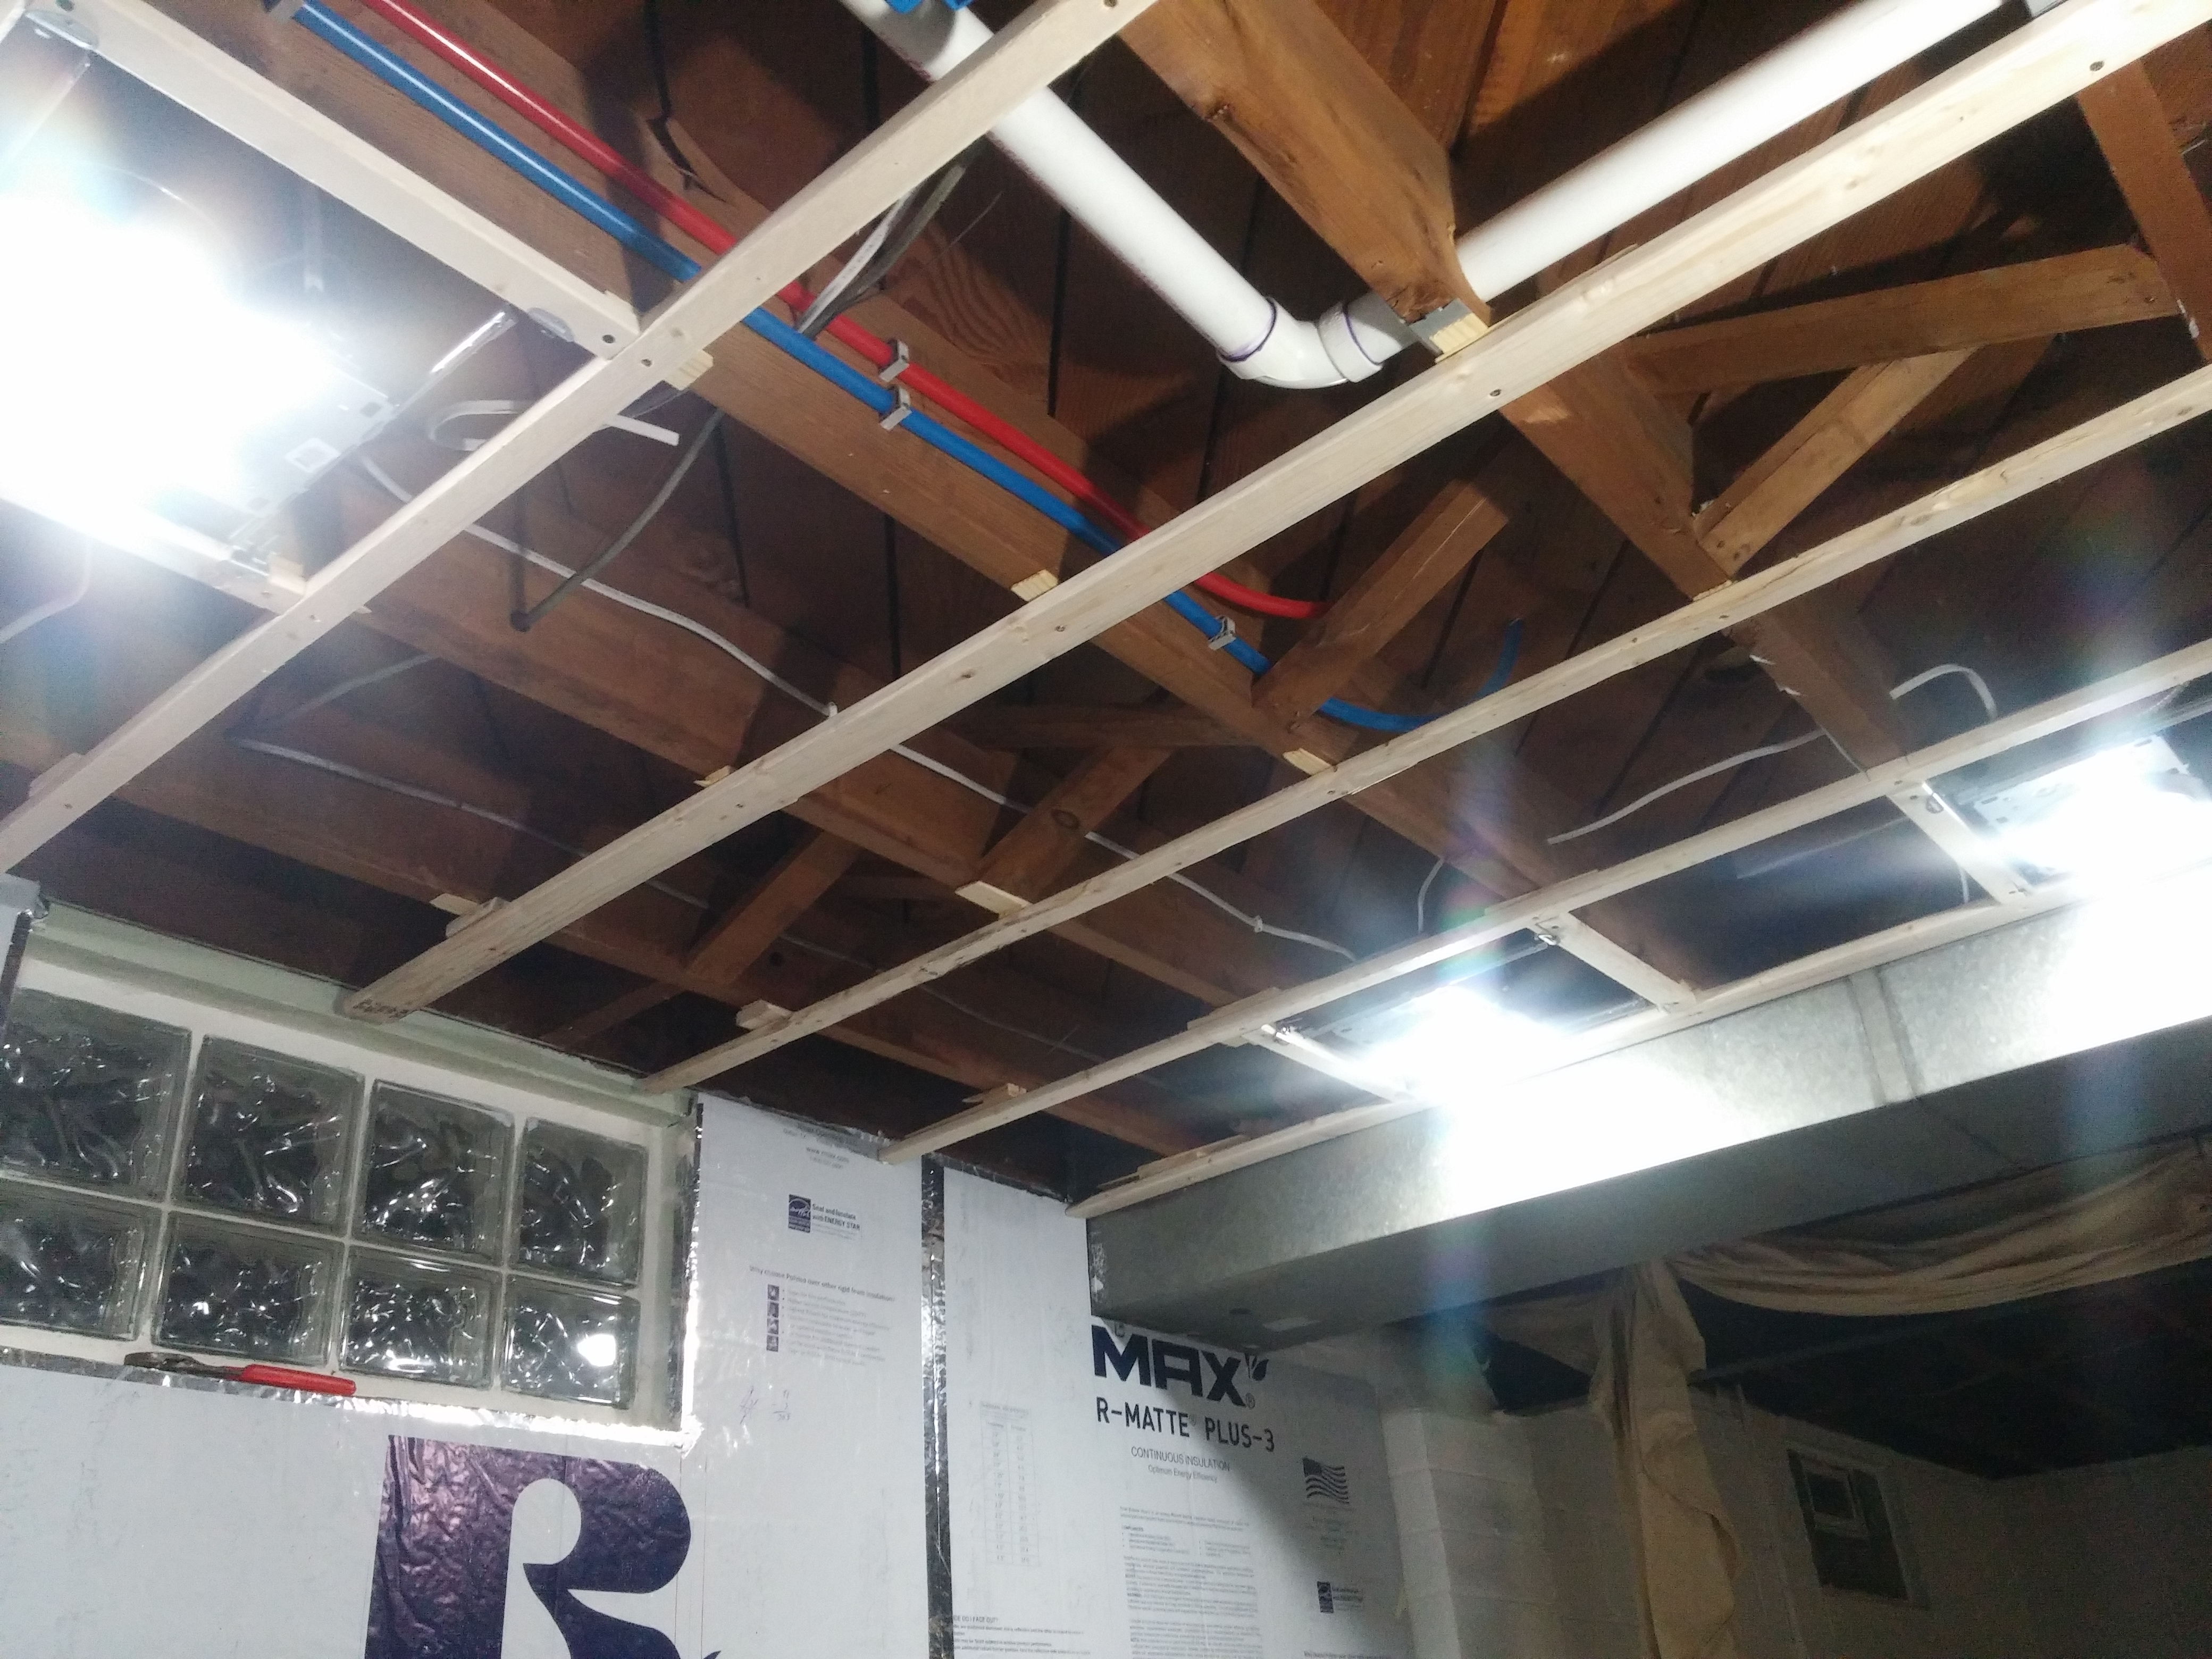
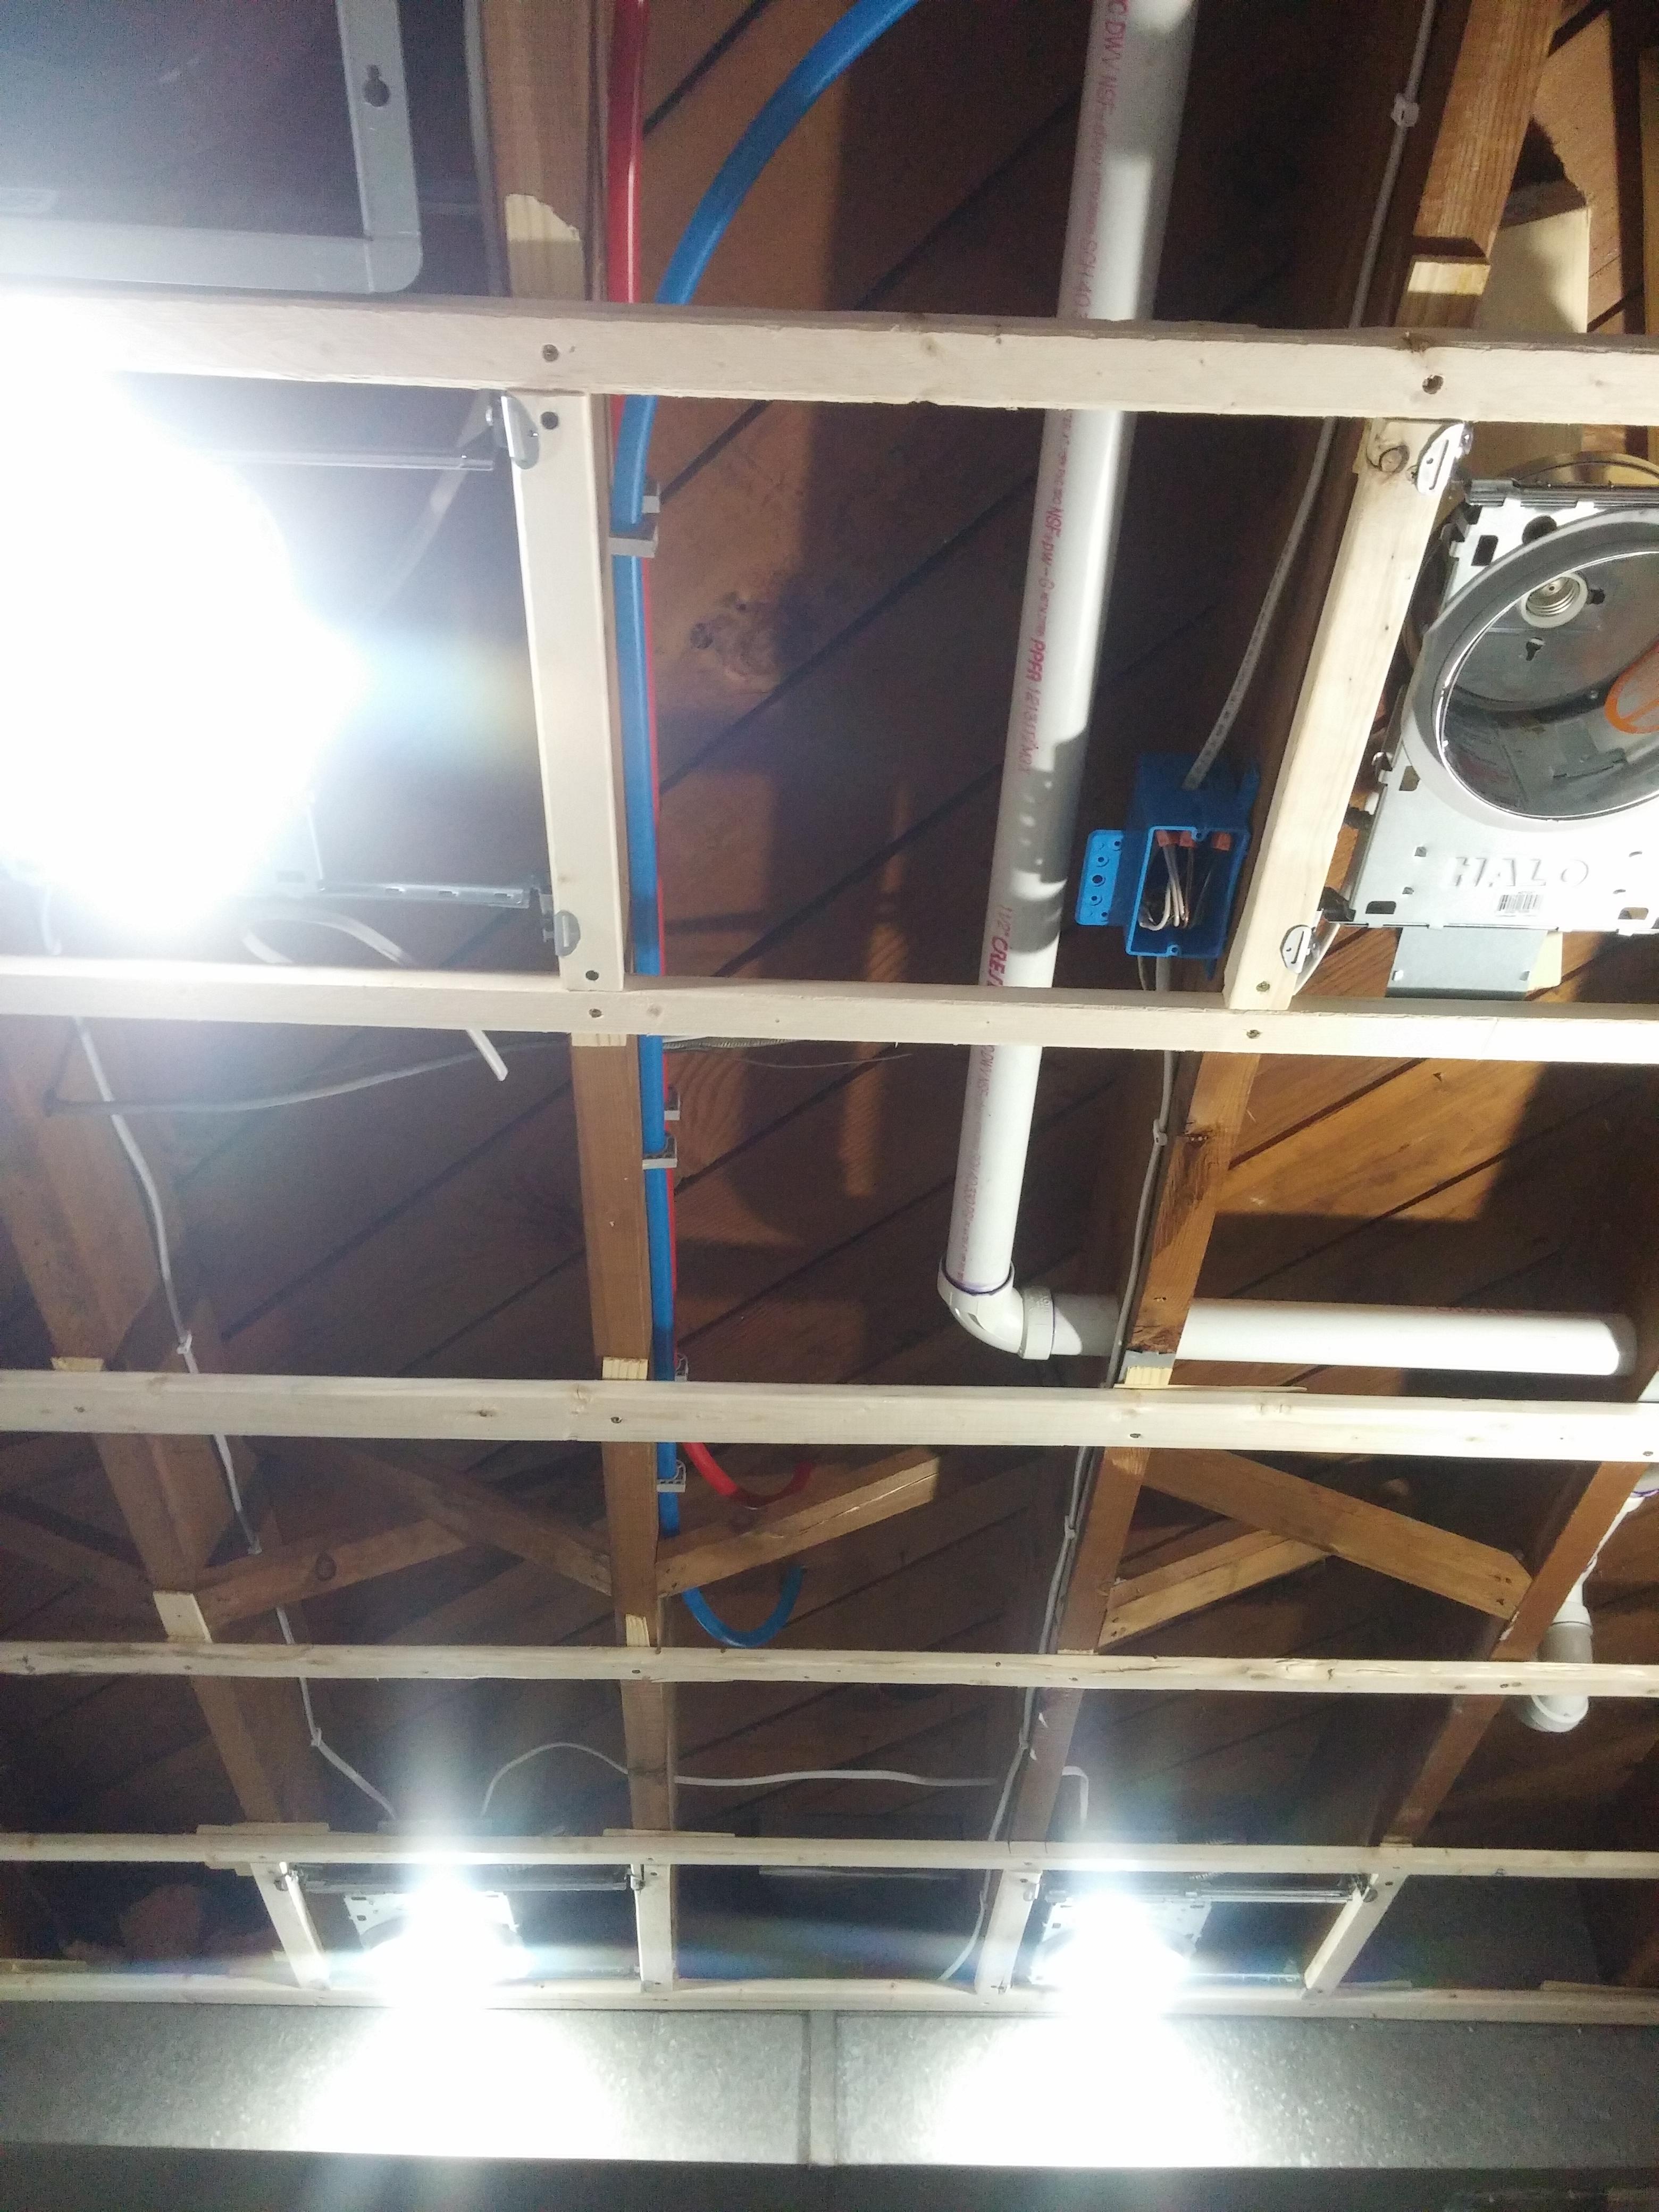
The space I'm working with is 8x12 with an 80 inch ceiling and an I beam and cold air return running along one of the 8 foot sides (this wall will be the entrance and the duct and beam will be boxed in). additionally we started building a half bath in the basement along the 12 foot side of this area (wish I hadn't now but oh well). I already had my brewery setup in this location and decided to keep using this space.
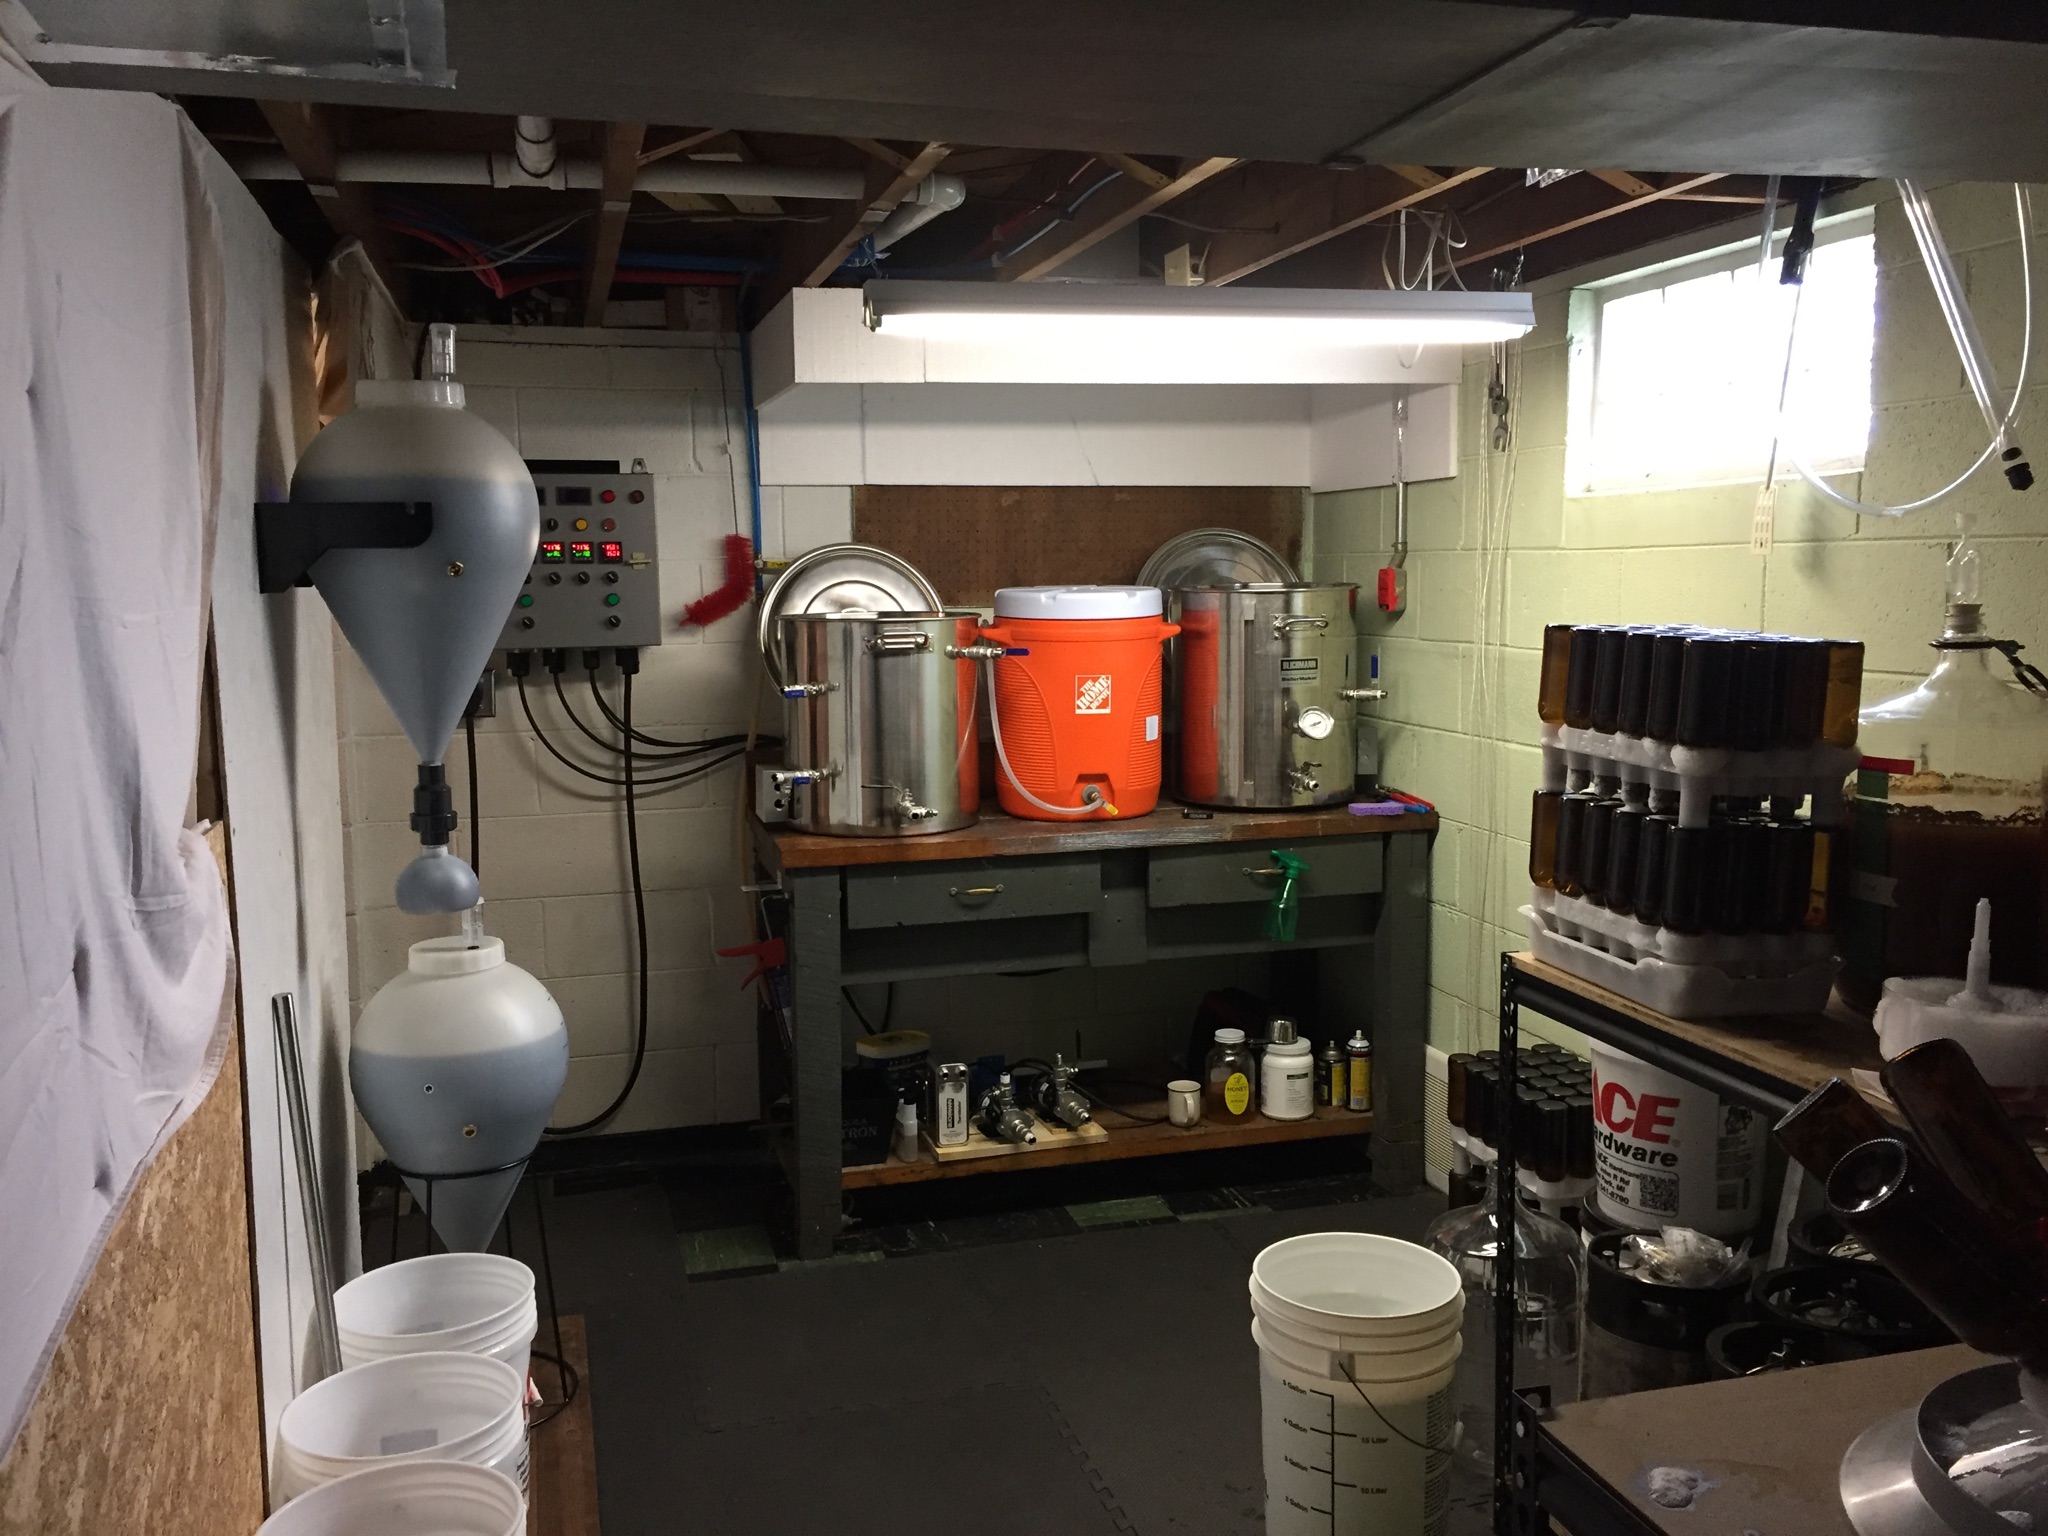
Brewery just prior to tear down
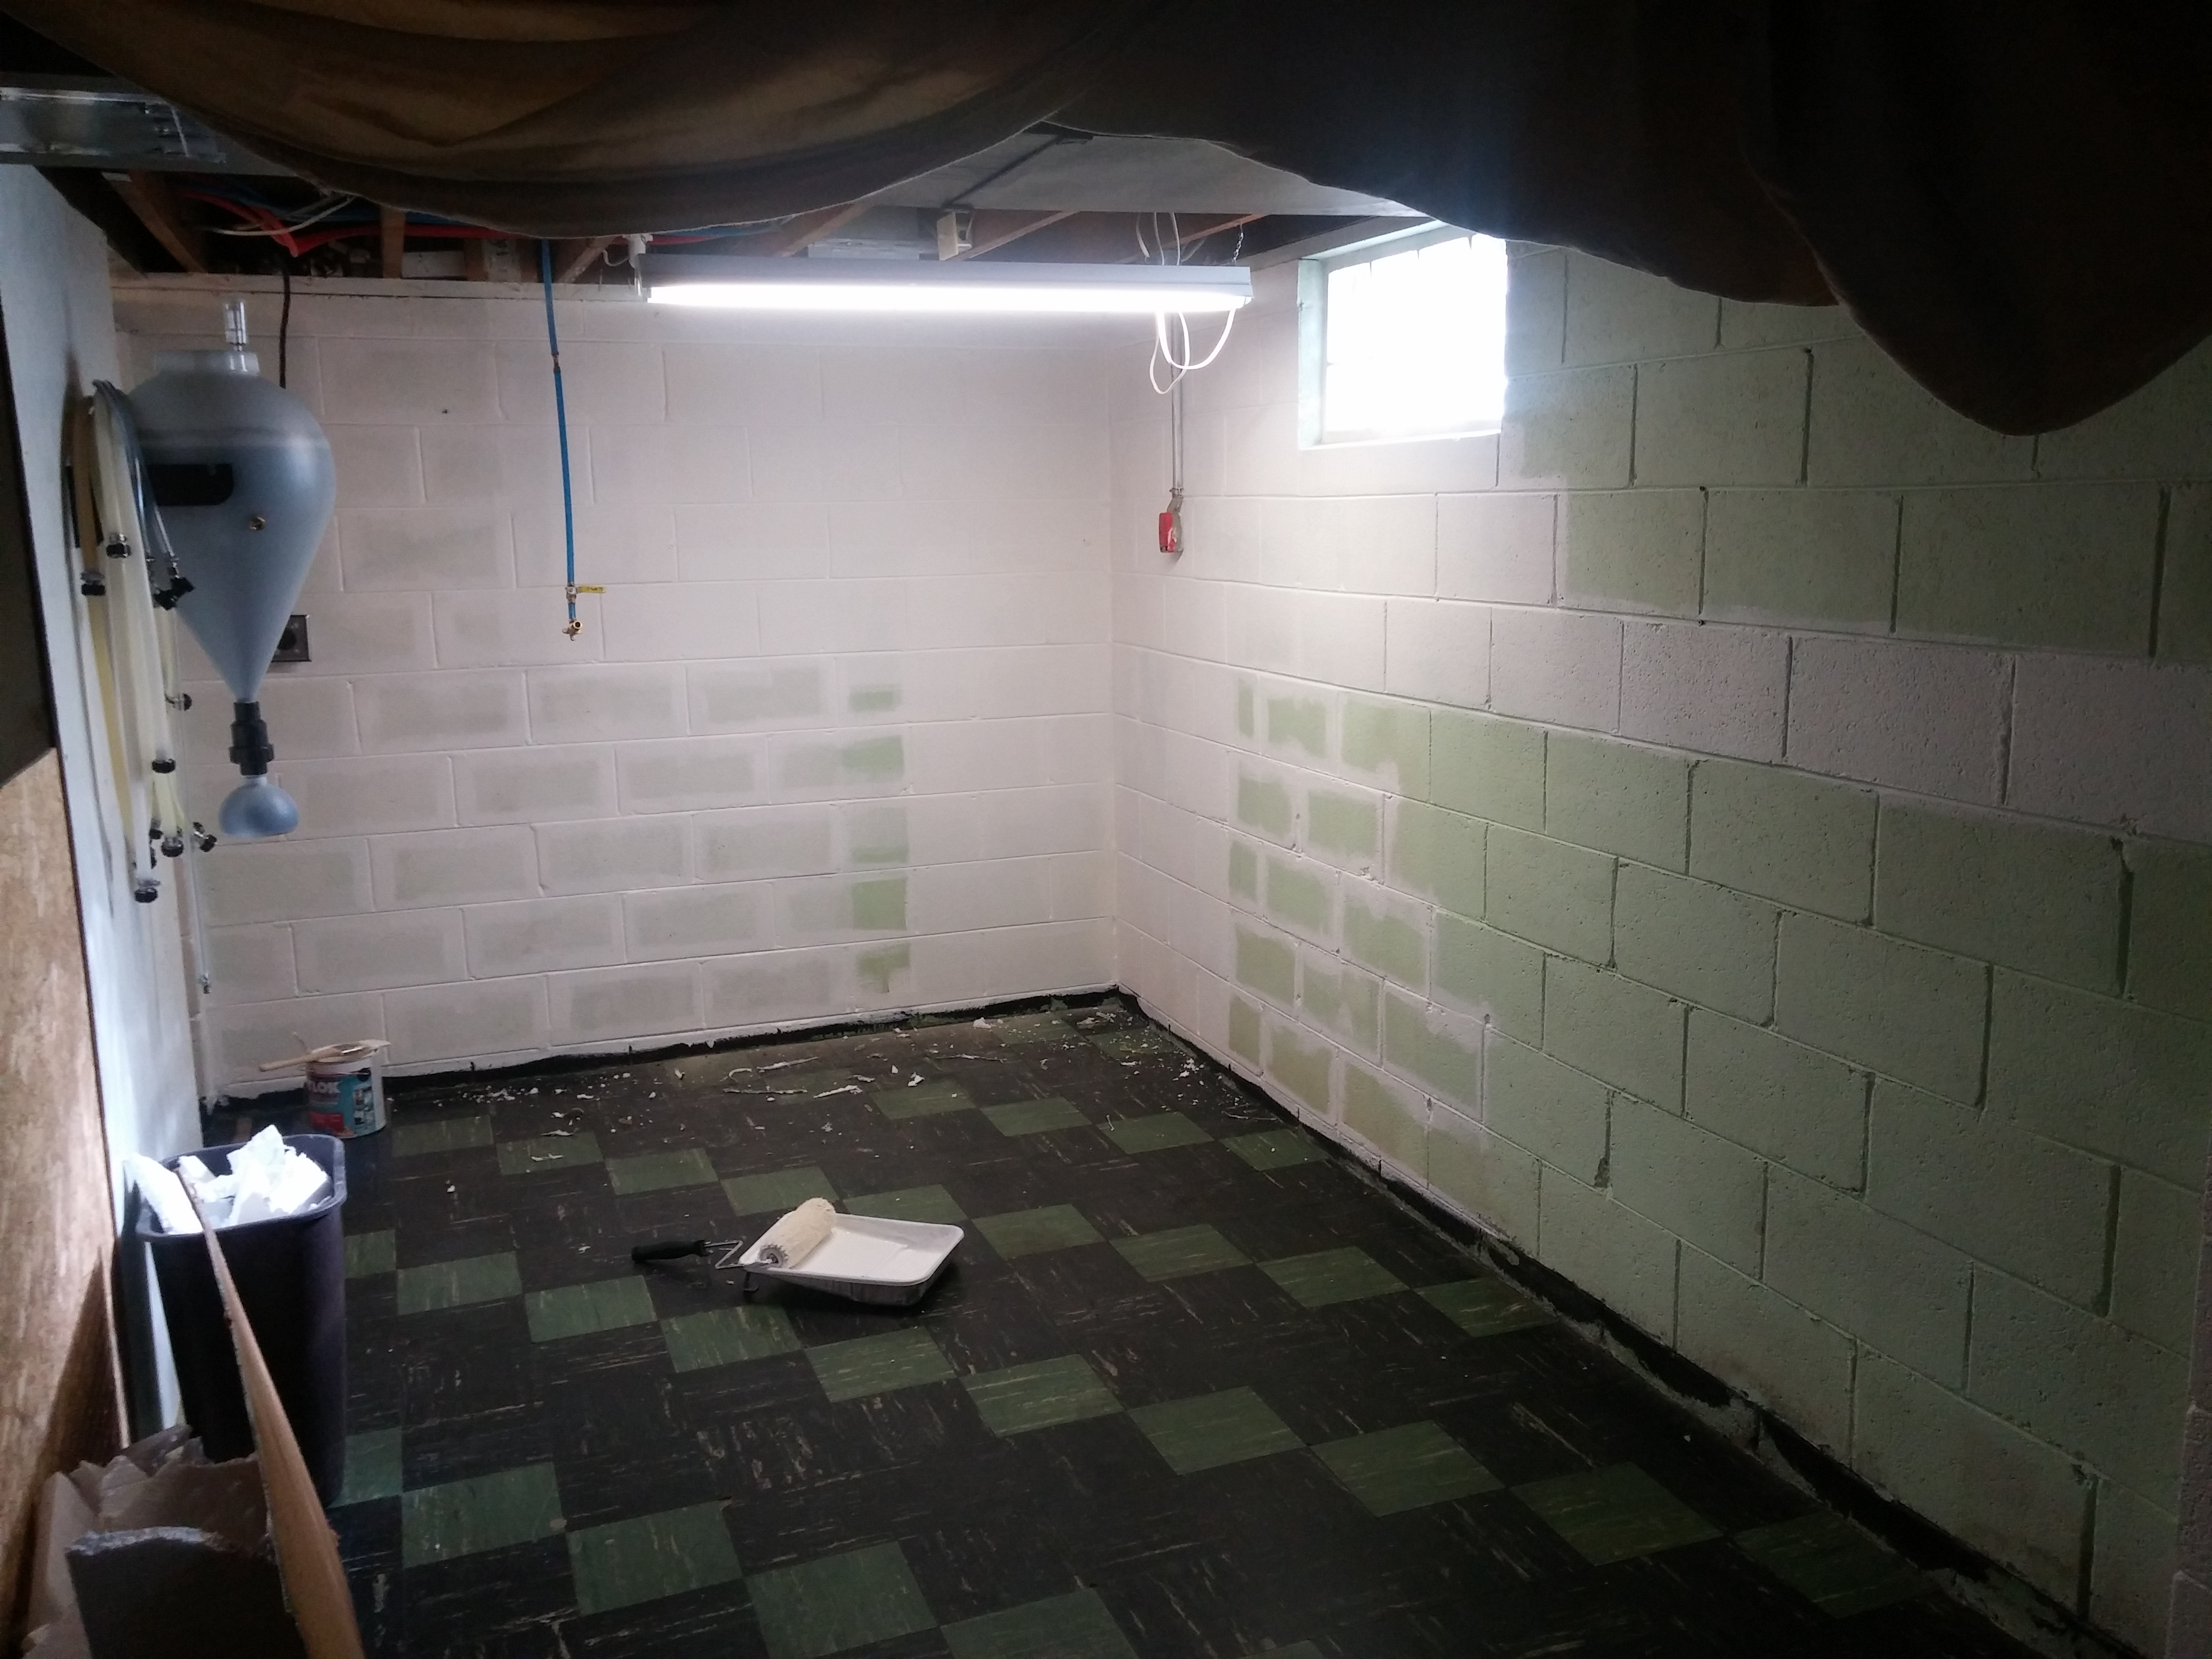
Removed all equipment and coating walls with Drylok extreme.

Two coats of Drylok finished and awaiting materials....
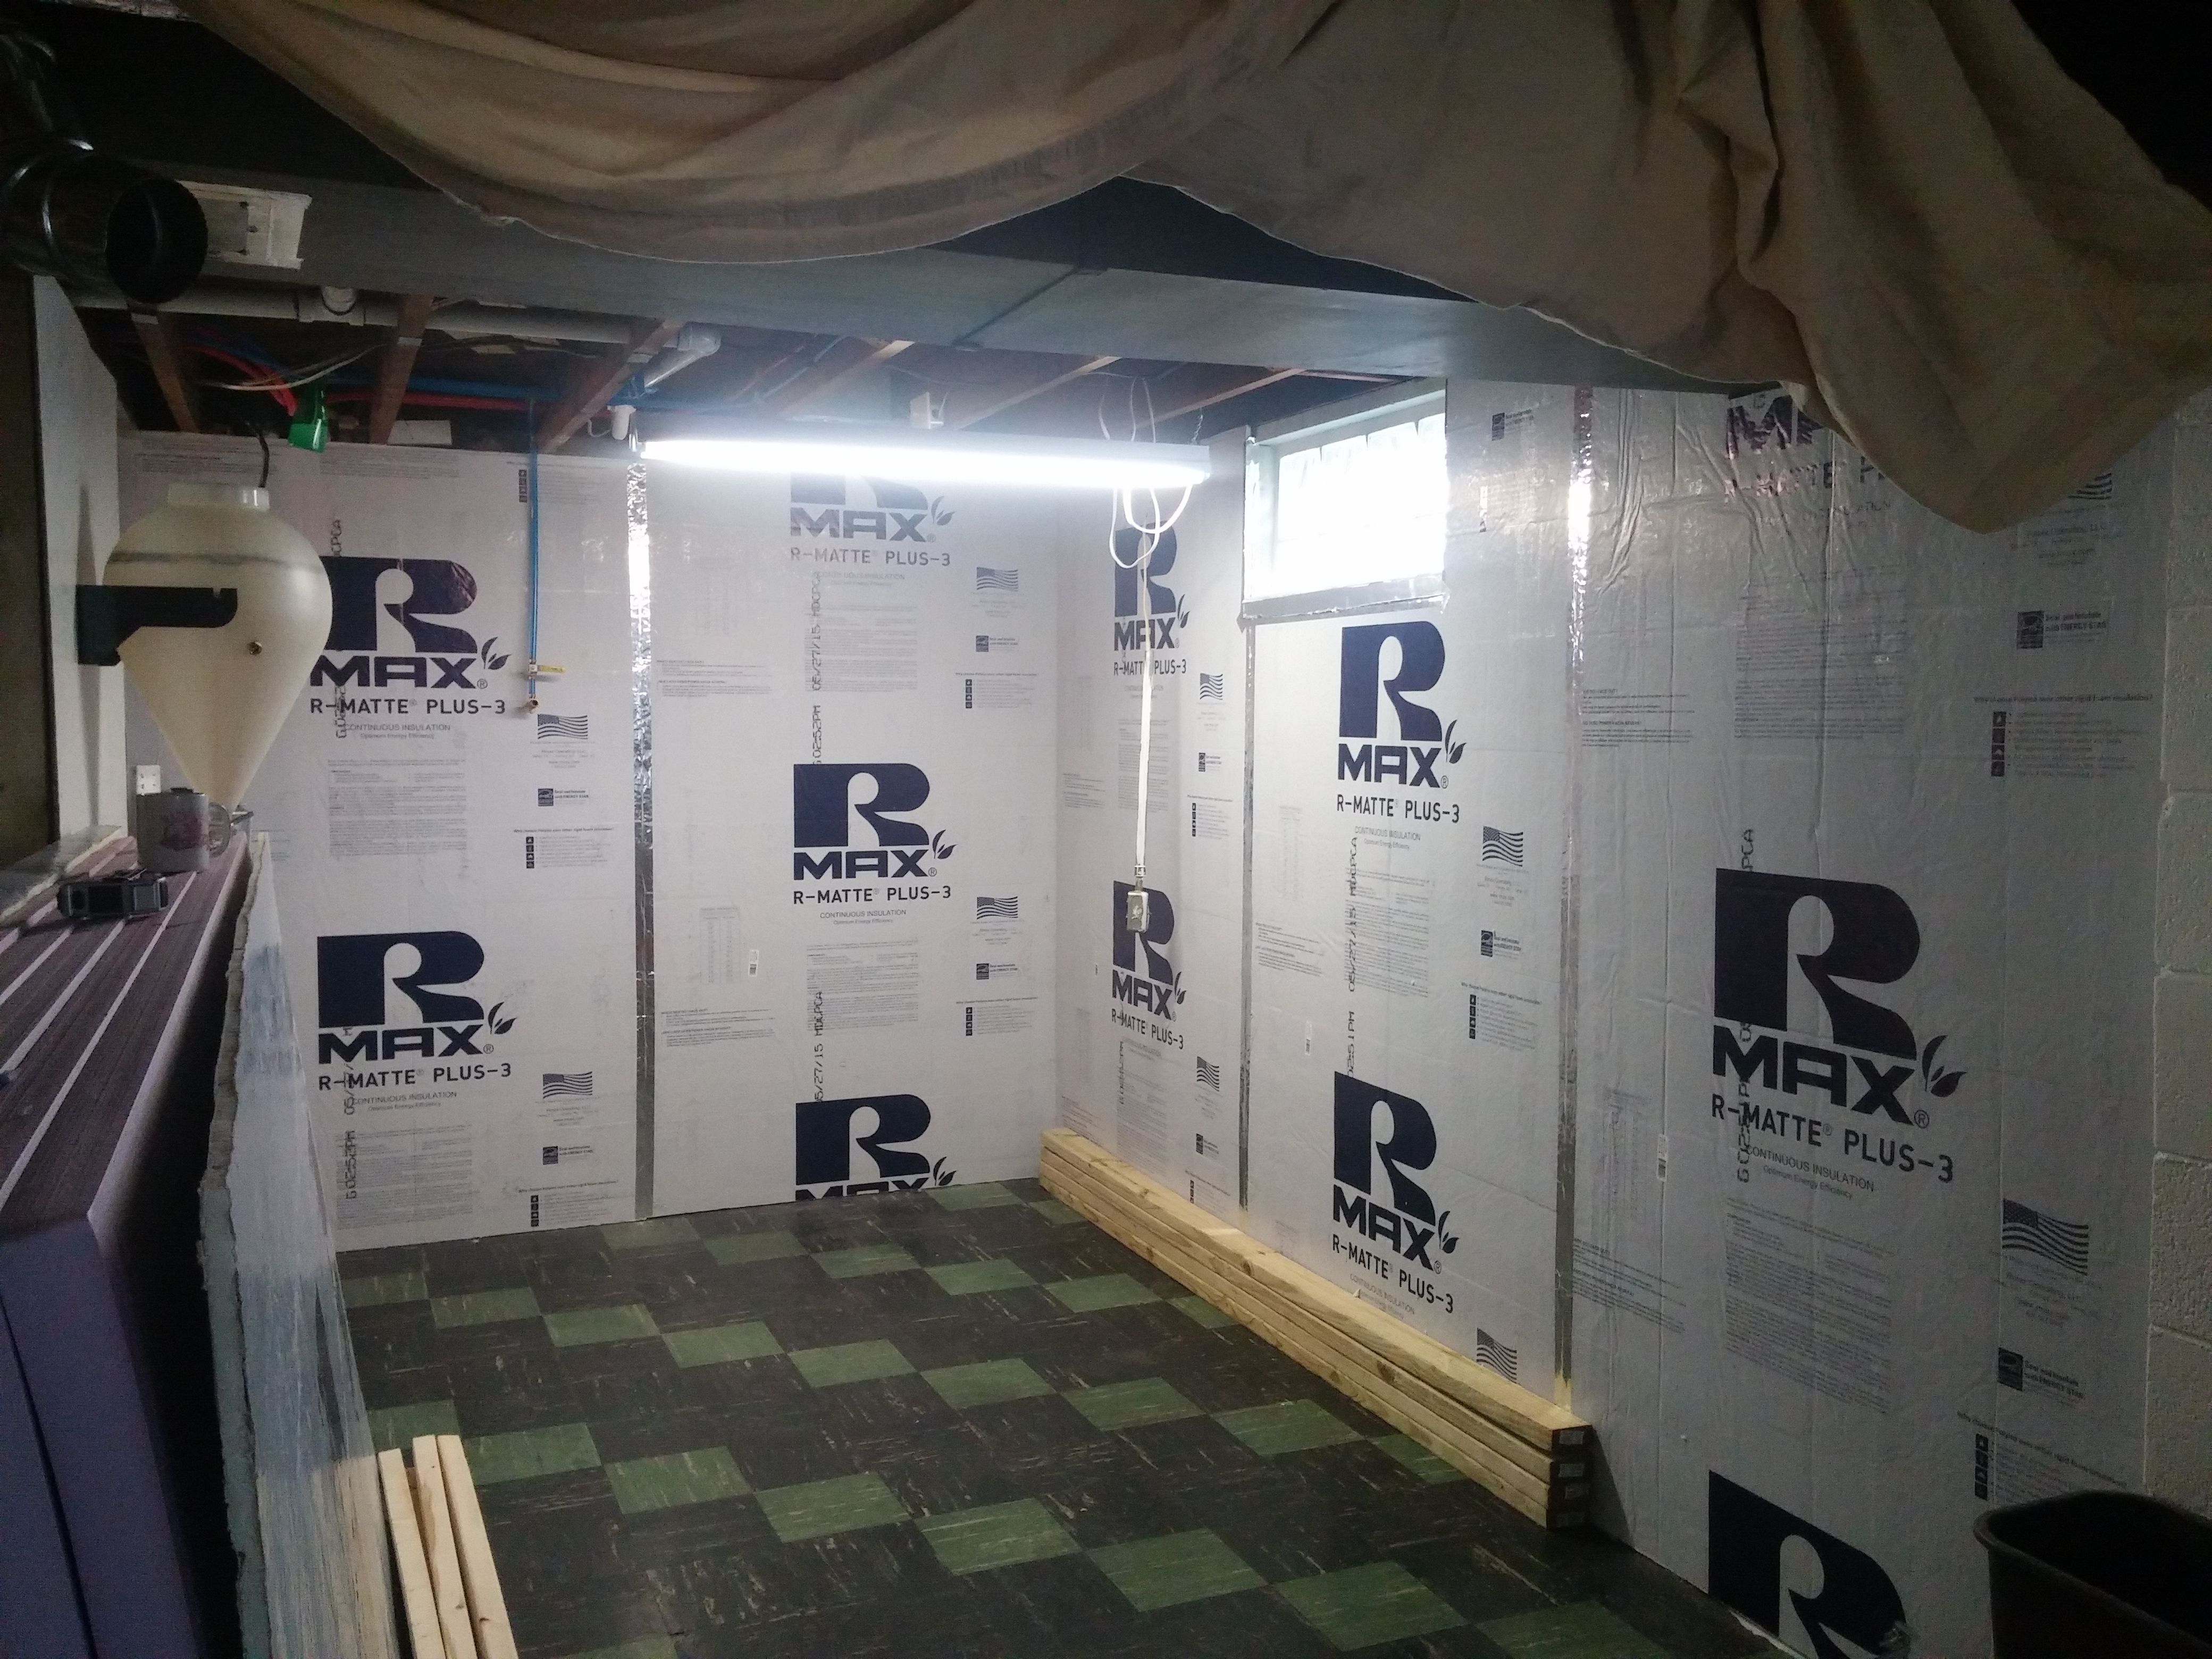
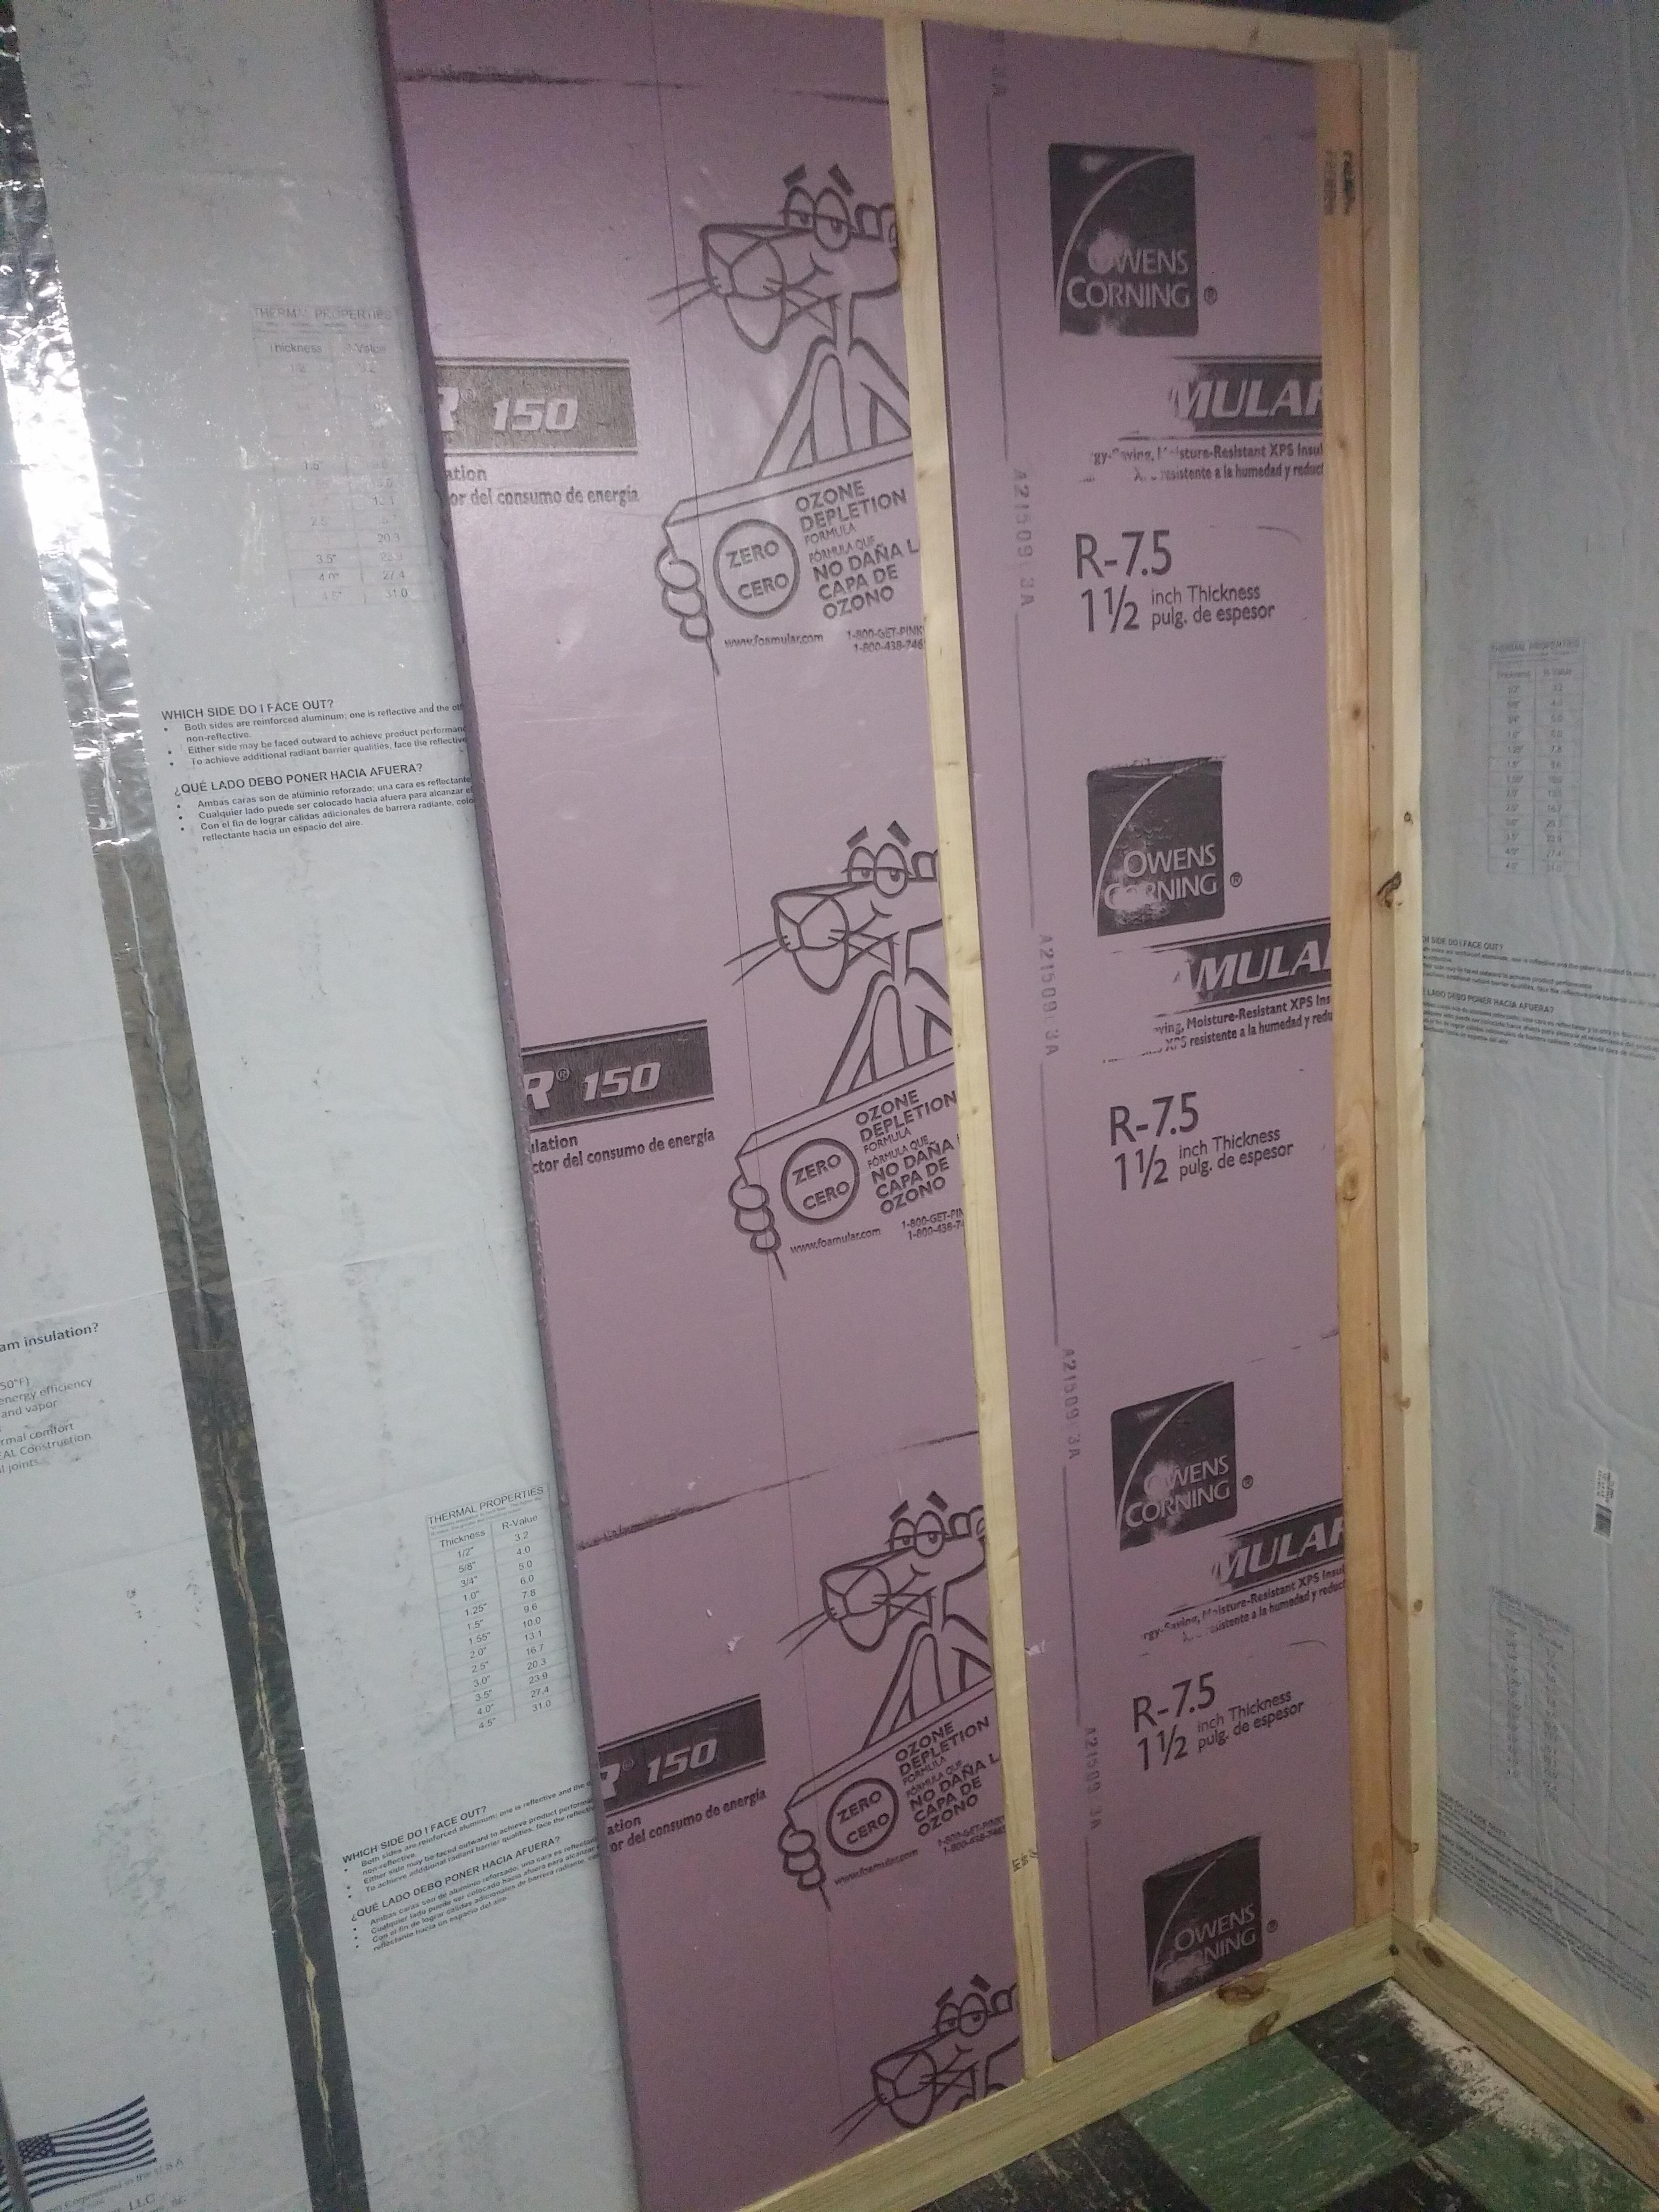
Installed the first layer if insulation and sealed all seams with aluminized tape. The insulation I used for the first layer is 1/2 inch Rmax R-Matte Plus-3 with an R value of 3.2
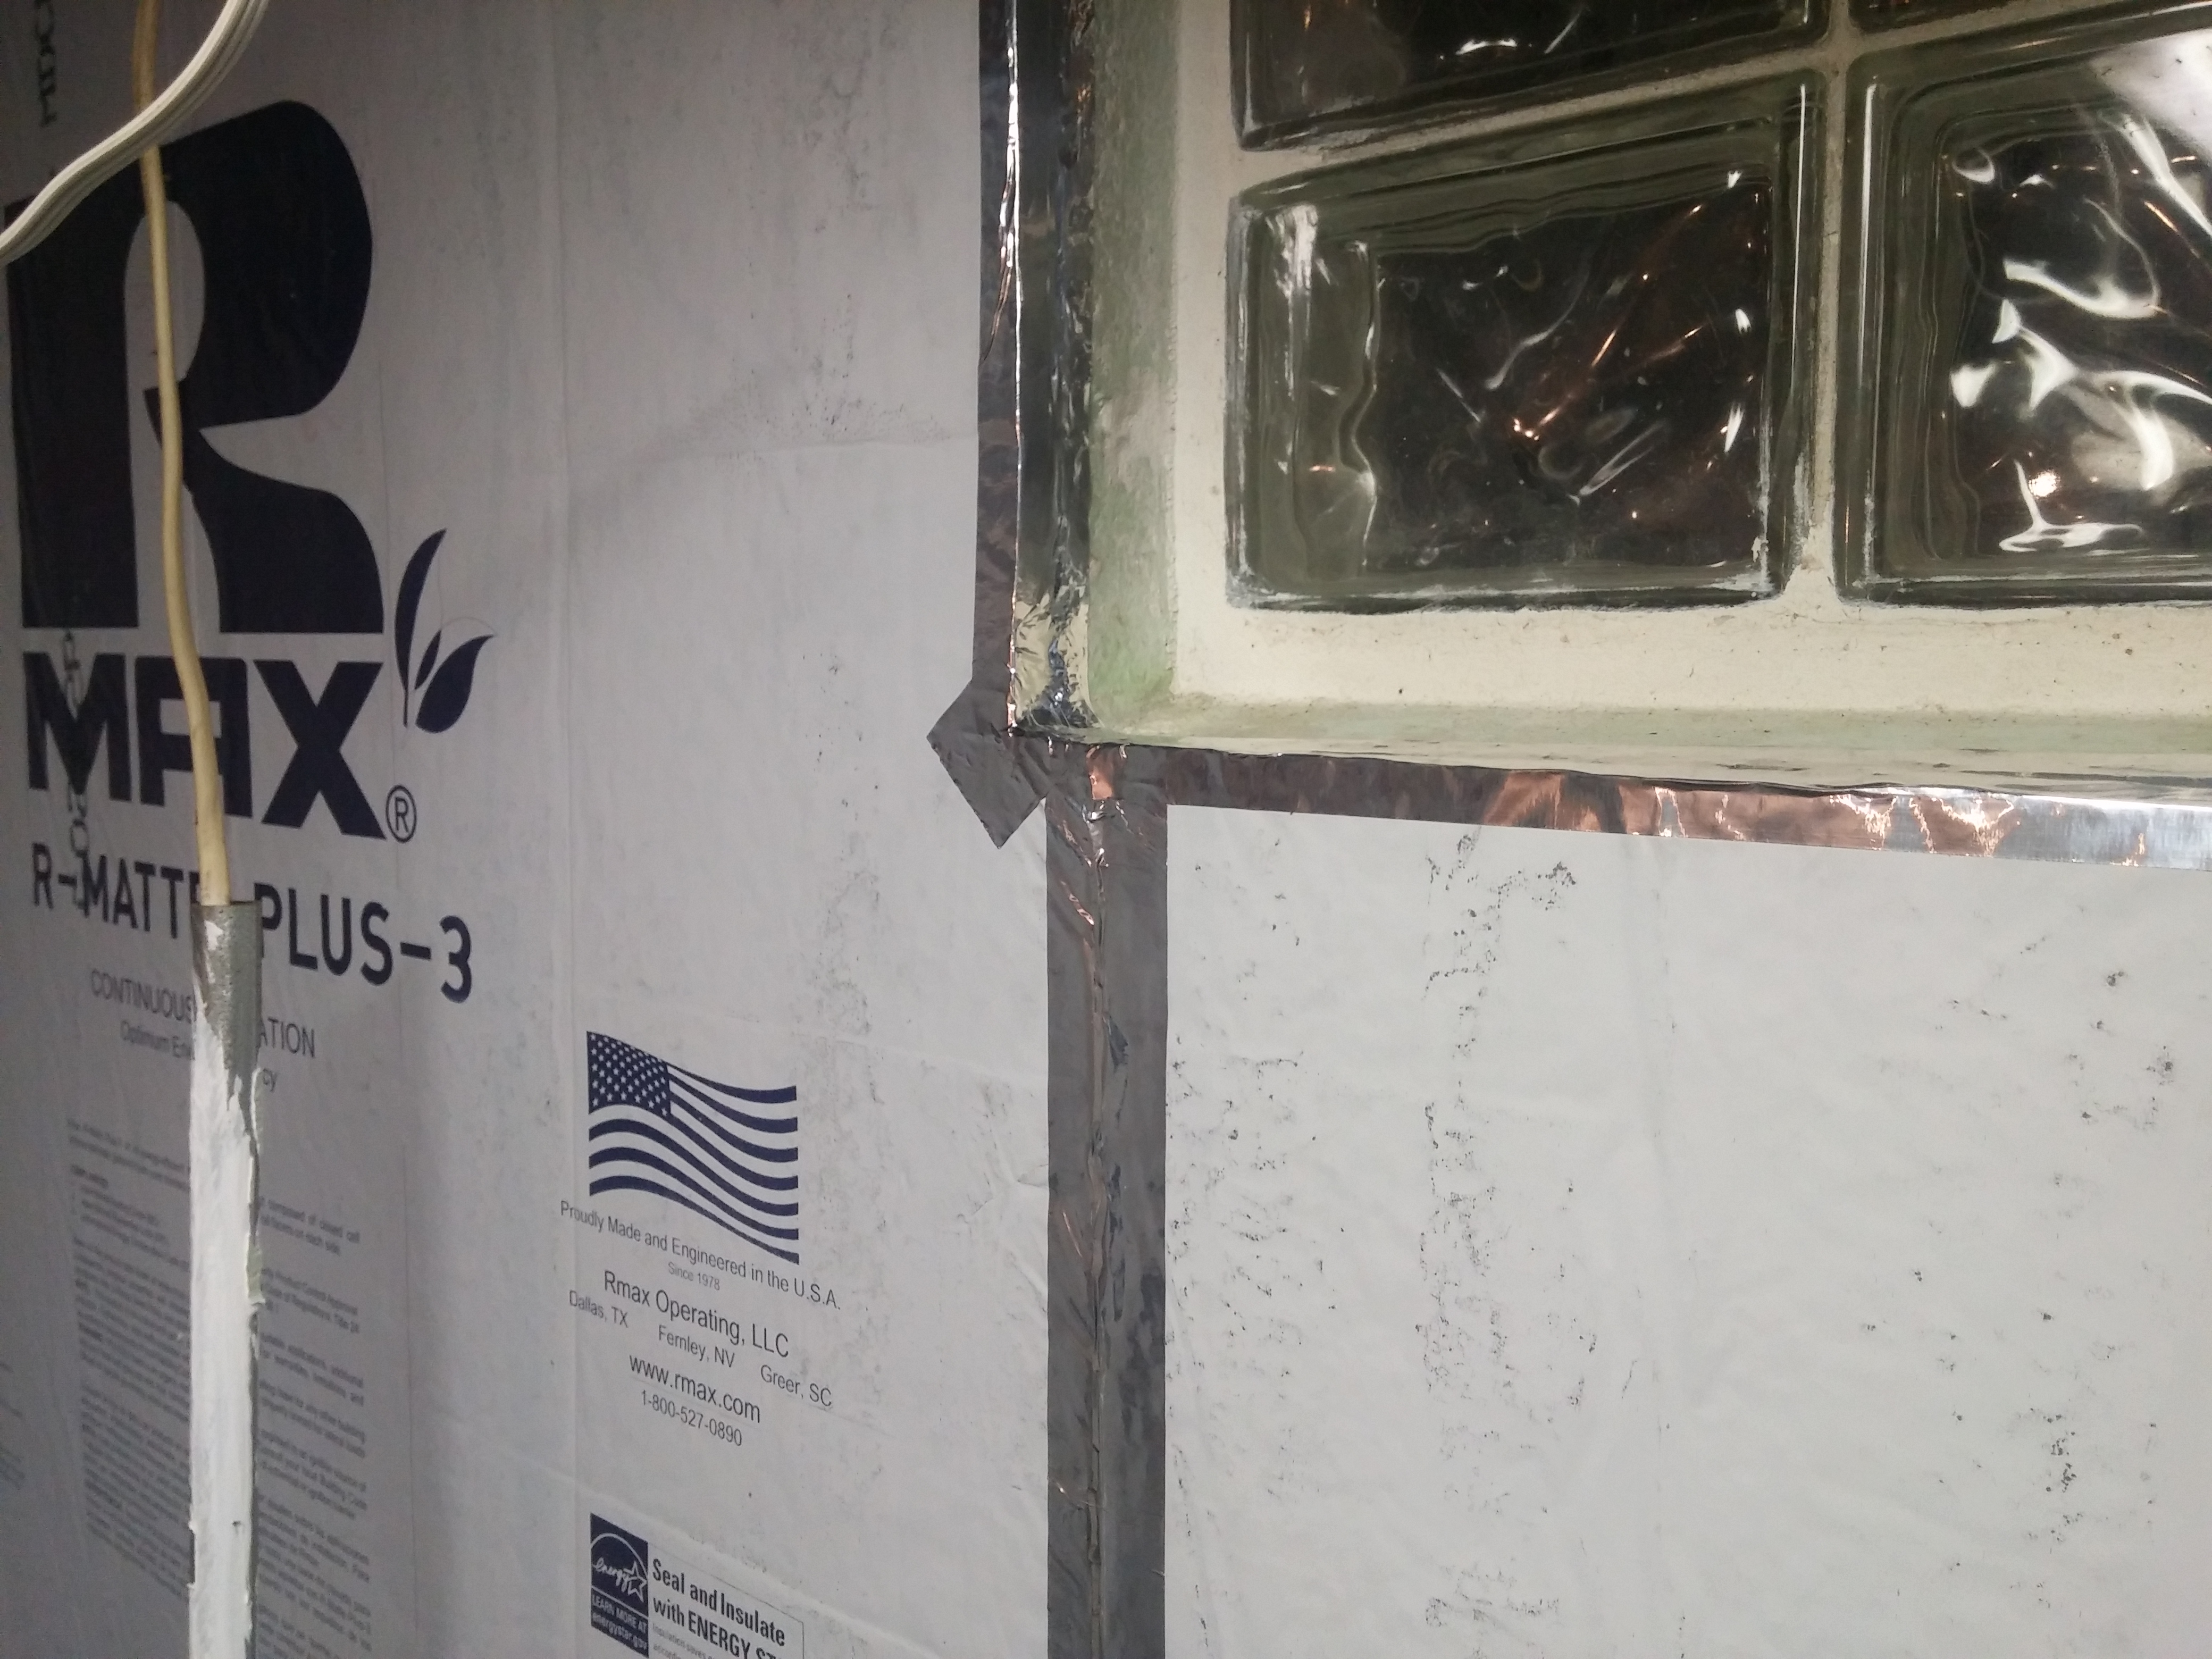
I chose to use aluminized tape on the joints and seams as it works perfectly with the aluminum bonded face on the Rmax Plus-3
This is the first time I have ever done a build log on anything so let me know if im going overboard on my posts or if you want more pictures, info, steps, anything at all. I have some experience doing this type of work and will be happy to advise anyone who is thinking about doing a finished space as well.
The space I'm working with is 8x12 with an 80 inch ceiling and an I beam and cold air return running along one of the 8 foot sides (this wall will be the entrance and the duct and beam will be boxed in). additionally we started building a half bath in the basement along the 12 foot side of this area (wish I hadn't now but oh well). I already had my brewery setup in this location and decided to keep using this space.
Brewery just prior to tear down
Removed all equipment and coating walls with Drylok extreme.
Two coats of Drylok finished and awaiting materials....
Installed the first layer if insulation and sealed all seams with aluminized tape. The insulation I used for the first layer is 1/2 inch Rmax R-Matte Plus-3 with an R value of 3.2
I chose to use aluminized tape on the joints and seams as it works perfectly with the aluminum bonded face on the Rmax Plus-3