This is my journey of converting an upright refrigerator to a kegerator. Both the fridge and the freezer will be used to house kegs and need to be the same temperature. I will update the thread as I do more to it.
DISCLAIMER: I will not guarantee any of my modifications will work on your model fridge. You could cut a freon line in yours even though I haven't so far. You will need some fairly basic tools, knowledge to use them, and at least have an understanding of electricity. I am not claiming this is the best way, only way, or even right way to do the tasks below. I am only showing how I did it.
Brand - GE
Model - TPX24PRYEWW
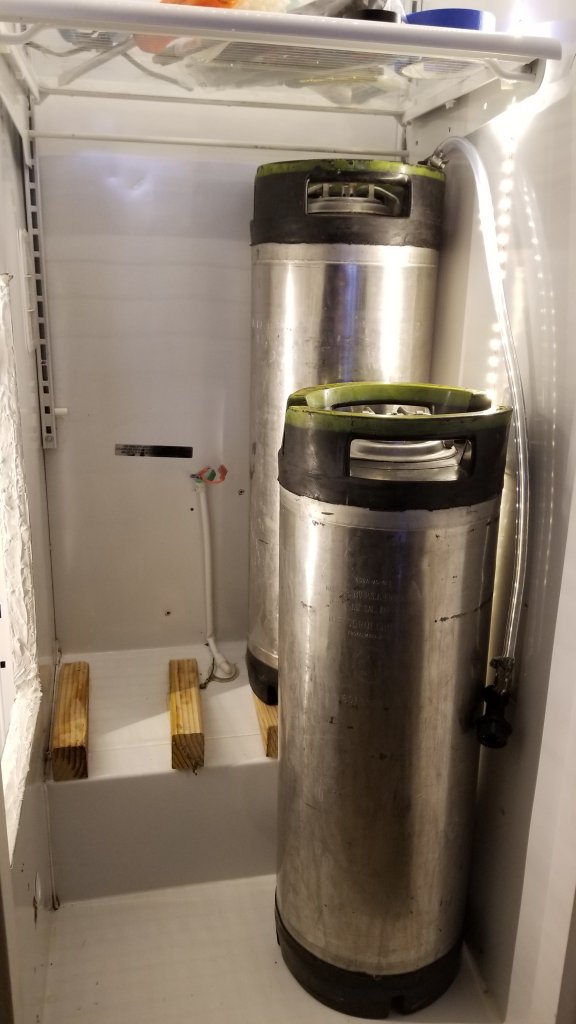
I have been thinking and planning a conversion out for awhile. My plan way to start with a 20ish cubic foot upright freezer. I scoured the market for a few months and was not having luck. They were either too expensive, had the cooling coils in the shelves, or people were unresponsive when I inquired. I found this fridge at a great price, and had some one going to the area with a pick up, so it worked out. I did go measure it before I bought it, and figured I could get at least 8 in here with minor modifications, and 8 taps is my final plan.
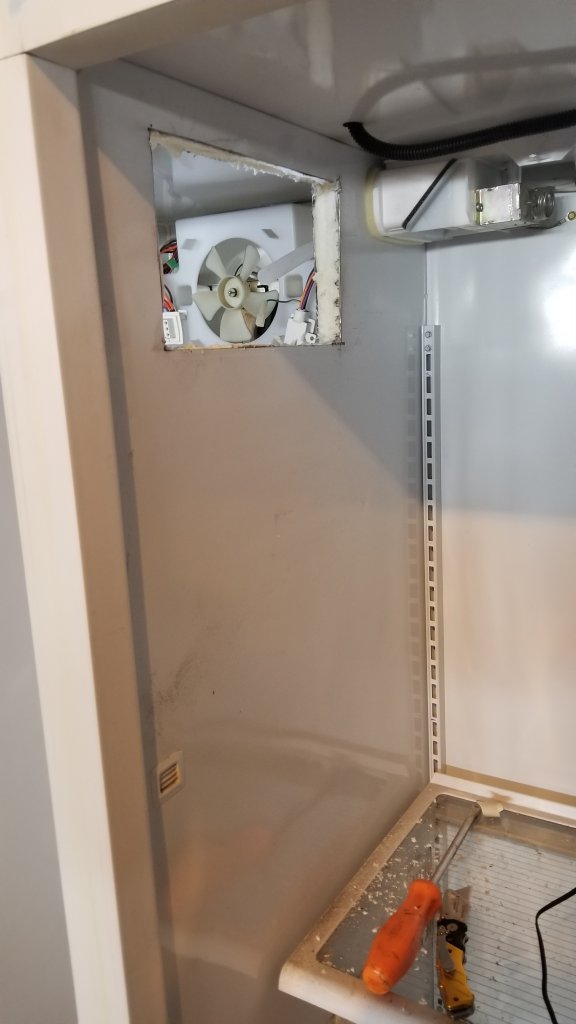
Here's the fridge before I started much. I did already have my STC-1000 started, but it's not wired in this picture. I'll get into that next...

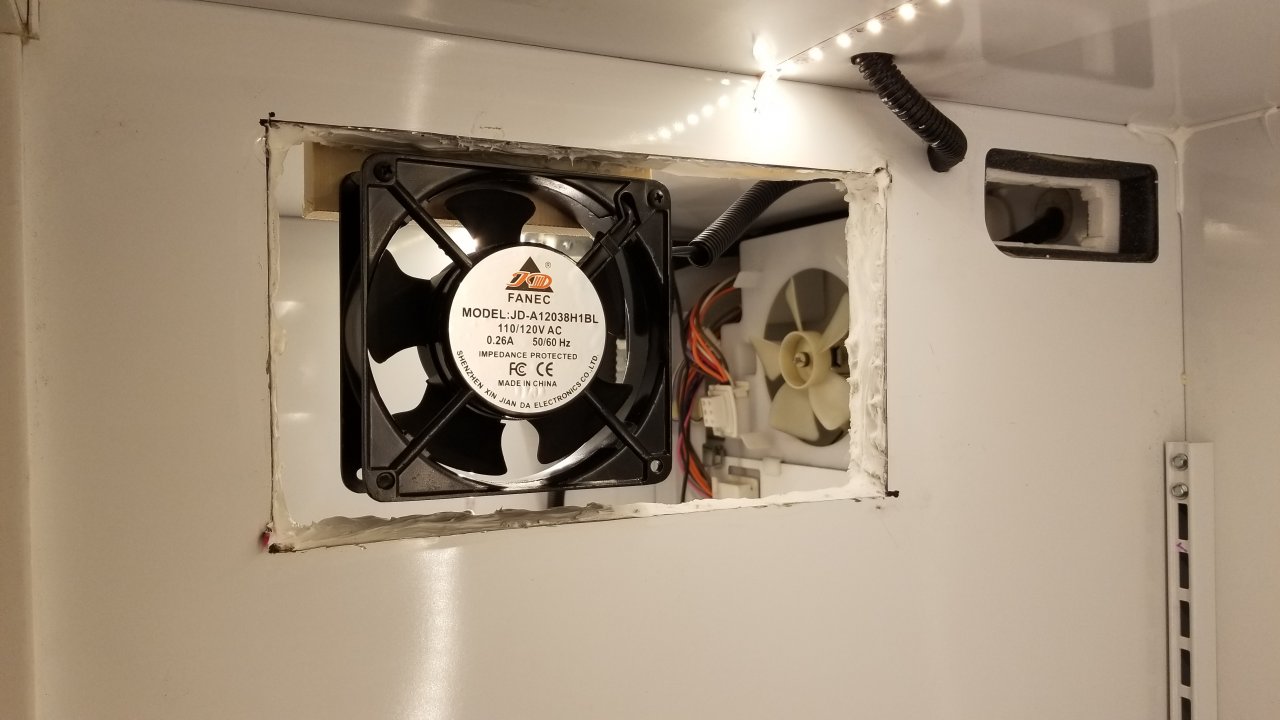
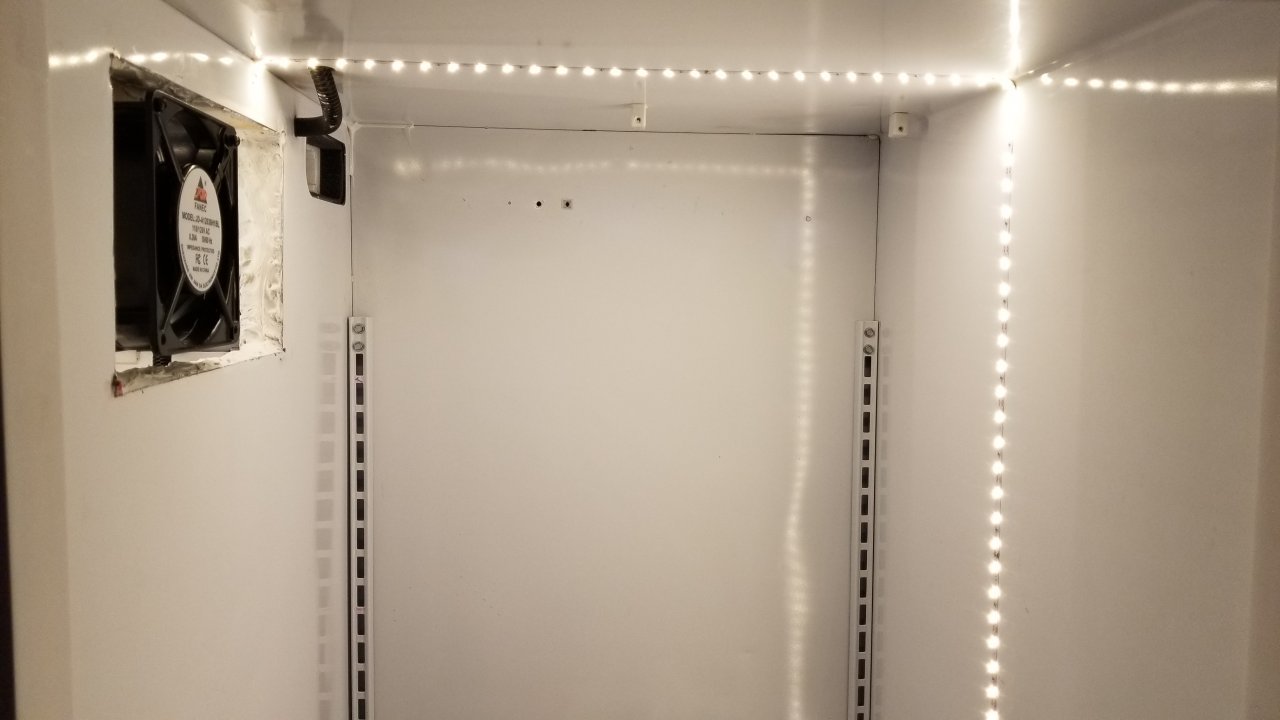
My plan all along was to use a ceramic heat emitter which I had purchased before the fridge. This will be going in my garage, so I will need to have a heat source. I also bought a fan to run all the time, and LED lights so I could see in there. If you haven't converted a fridge or freezer, remember you will not have the lights on unless the temp controller is on a cool cycle. I wanted indicator lights to make it easy for me to see whats going on. The fan and light are powered through a 3 way toggle switch. So only the fan or light can be on, not both. The terminal strips made it so much easier to wire everything and I didn't need a ton of wire nuts in there.
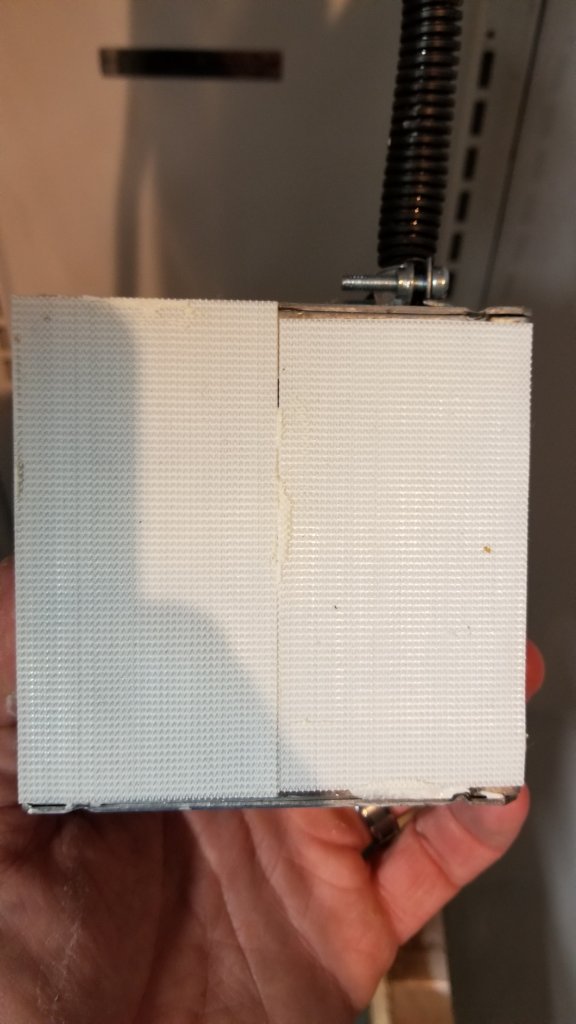
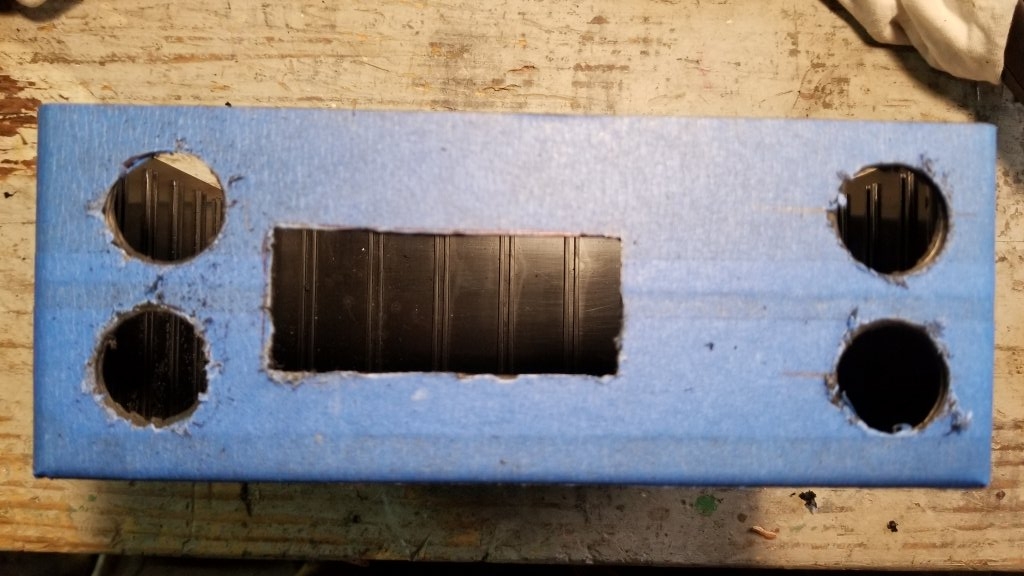
Here is the progression of the temp controller.
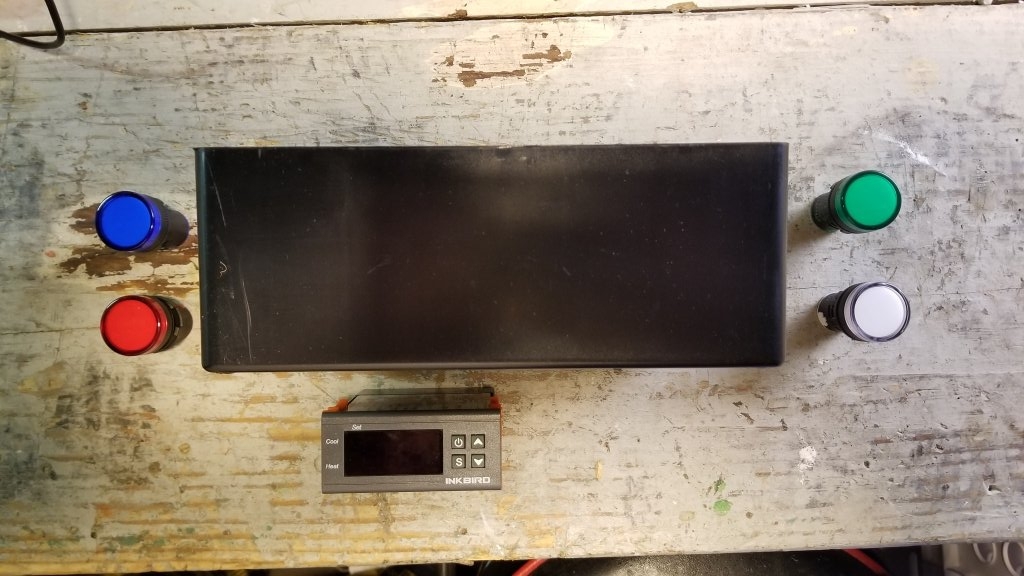
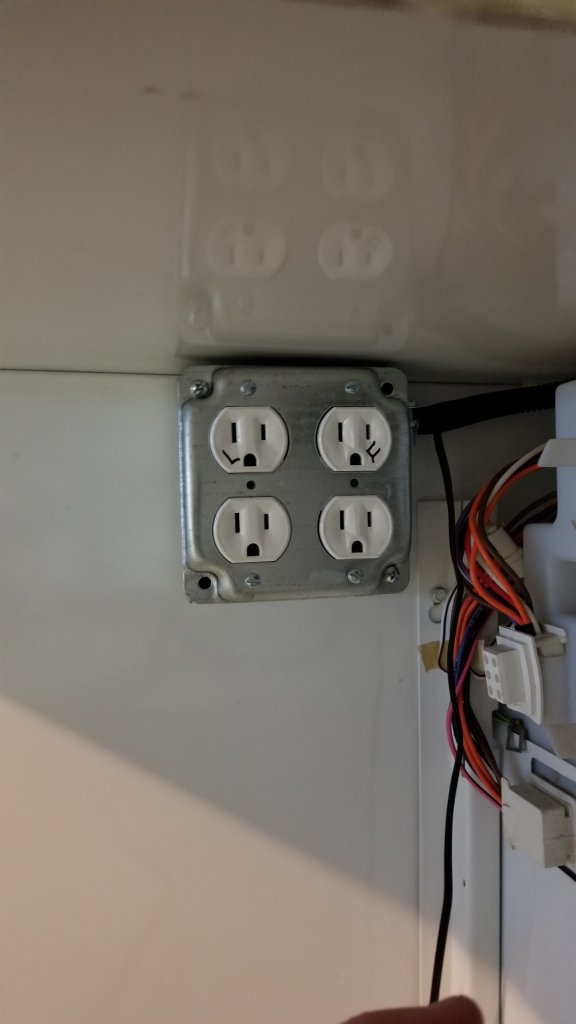
I didn't get to holes perfect, but they'll work. I didn't have the switch I was going to use yet.
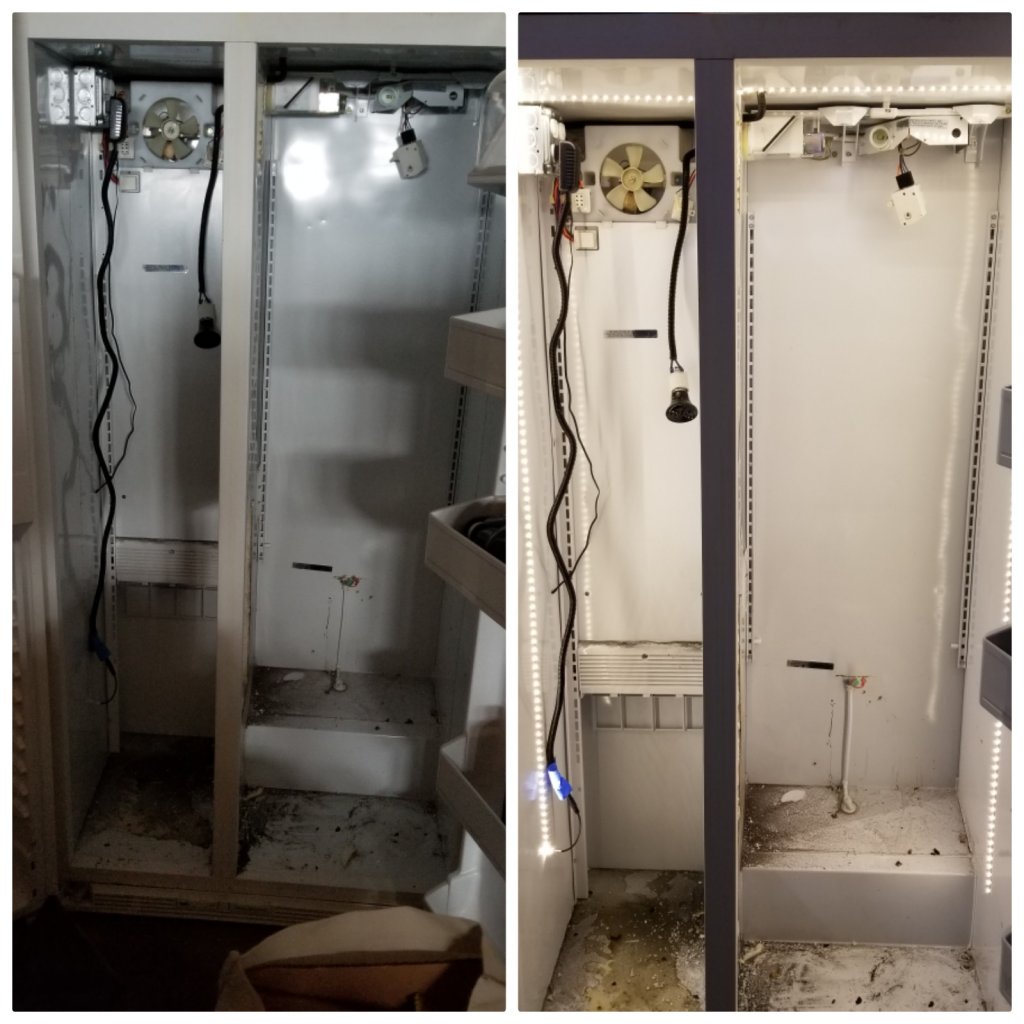
Inside all wired up


DISCLAIMER: I will not guarantee any of my modifications will work on your model fridge. You could cut a freon line in yours even though I haven't so far. You will need some fairly basic tools, knowledge to use them, and at least have an understanding of electricity. I am not claiming this is the best way, only way, or even right way to do the tasks below. I am only showing how I did it.
Brand - GE
Model - TPX24PRYEWW
I have been thinking and planning a conversion out for awhile. My plan way to start with a 20ish cubic foot upright freezer. I scoured the market for a few months and was not having luck. They were either too expensive, had the cooling coils in the shelves, or people were unresponsive when I inquired. I found this fridge at a great price, and had some one going to the area with a pick up, so it worked out. I did go measure it before I bought it, and figured I could get at least 8 in here with minor modifications, and 8 taps is my final plan.
Here's the fridge before I started much. I did already have my STC-1000 started, but it's not wired in this picture. I'll get into that next...
20180208_135033
Pretty much the starting line for the fridge. The STC-1000 is not yet wired at all.
My plan all along was to use a ceramic heat emitter which I had purchased before the fridge. This will be going in my garage, so I will need to have a heat source. I also bought a fan to run all the time, and LED lights so I could see in there. If you haven't converted a fridge or freezer, remember you will not have the lights on unless the temp controller is on a cool cycle. I wanted indicator lights to make it easy for me to see whats going on. The fan and light are powered through a 3 way toggle switch. So only the fan or light can be on, not both. The terminal strips made it so much easier to wire everything and I didn't need a ton of wire nuts in there.
Here is the progression of the temp controller.
I didn't get to holes perfect, but they'll work. I didn't have the switch I was going to use yet.
Inside all wired up
20180209_084628
Wiring inside project box for STC-1000 with indicator lights, toggle switch to control fan and...
Last edited: