Minimalist brewing that won't get one killed in the kitchen

Homebrew Talk - Beer, Wine, Mead, & Cider Brewing Discussion Forum

Help Support Homebrew Talk - Beer, Wine, Mead, & Cider Brewing Discussion Forum:

This site may earn a commission from merchant affiliate links, including eBay, Amazon, and others.

Elysium82

Well-Known Member
Joined
Apr 5, 2021
Messages
45
Reaction score
8
hey guys.

I'd like to brew (all-grain), but keep it simple (yet good enough so that my friends would envy my brew).

By simple I mean minimalistic so that I wouldn't have to dedicate a lot of room to the equipment/ingredients. I know there are a few blogs out there, but I was wondering if someone who has been brewing like this could point me in the right direction (ideally a place where they have documented there experience).

I assume I need a big enough pot. I need to calculate how much malt I could mash on the stove. This is where it gets daunting (already? :))

I just want to keep it simple, yet enjoy a good pint of my own beer.
 
How simple do you want and how small do you want? I'm just beginning with 1 gallon all grain kits. If you have a large stockpot and a stove with a burner that will heat it to a rolling boil, then the kit will have most everything else.

Five gallon batches and malt extracts were two of the main reasons I never brewed my own though wanting to ever since my late teens. When my son gave me a 1 gallon grain kit... the impossible became possible for me.
 
Hi, welcome to the forum! I too am minimalist. I usually brew 1.7-2 gallons, been doing this for many years now.

My biggest kettle is 4 gallons. I've brewed about 160 batches on my stove. I don't own a turkey fryer burner setup, never brewed in the garage, don't have a chiller, and don't want or need one at all. I have made a few 5 gallon and even 6 gallon batches on my stove by boiling in 4 different pots at the same time. But usually it all fits in my 4 or 2 gallon pots.

I either mash in the kettle (BIAB-style) or sometimes I use a more traditional small cooler with Bazooka. To be honest, I prefer the cooler, but I usually BIAB anyway. Both have their merits. Sometimes I might just flip a coin.

I often use 1-gallon pickle jars for fermentations. I also own a couple of 3-gallon glass carboys but they are too big for me when I split a batch between trying 2 different yeasts or whatever. A couple years ago I began fermenting in tall glass vases on an experimental basis. I like seeing the fermenting in that level of detail, and I like that the hydrostatic pressure is more similar to a larger batch process... but I don't enjoy lugging the vases around, and fear they could fall or break. I take extra precautions to hold them up and when moving around. Fortunately I am pretty careful. I also keep a few plastic buckets for various uses, including sanitizer, milling, transfers, etc.

I like having my own mill. For about 3 years, I used my blender to "mill" all my grains. It is tedious, but it definitely works just fine. I asked for a mill for Christmas and got one that way. It's really nice and doesn't take up much space at all. I don't want to go back to the blender. I would never have a LHBS mill the grains for me, much too unpredictable and low efficiency, they never crush well at all.

Beyond all this....

I grow my own hops, I use them in every batch for bittering. Cheap and effective. Alpha acid & bitterness have been consistent and predictable for many many years. I use hops kind of like the olden days, before people knew anything about "alpha acids"!

I don't fret too much over water and salt additions. If I want to reduce pH, I literally add a "glug" of vinegar to the mash. If I want to raise pH, I'll add 1/8 teaspoon baking soda or pickling lime. I buy distilled water quite often, but equally use tap water treated with Campden to remove chlorine. Play around with it a bit, but honestly I don't know that it makes as huge a difference as people say. I almost wish I didn't know enough about water to be dangerous, for all the help it's been (like none). I mainly try to keep an eye on mash pH to ensure it stays around 5.5-5.6... when I feel like it.

All of my supplies including grains and equipment take up a very small space in the corner of my basement, a shelf or two maybe 5 x 5 x 2 feet if I really tried to minimize. Don't need much more than that.

I love my refractometer too. I've learned to become an expert on its use, including post-fermentation. I can get it consistent with my hydrometer within 0.001. And no volume wasted to samples.

Smaller batches are great. I just got a 1-gallon uKeg Go. Otherwise bottling goes way quicker with smaller batch size. I microwave my priming sugar in a glass with a little water, no need to boil on the stove unless I feel like it or am making the occasional bigger batch.

So there's just a few ideas to toss around, if you're truly a minimalist like I know I am. Cheers.
 
You're going to want to a figure out what size batch you're making. Are you starting off with all new gear? Do you have a big stock pot you'd like to use? Will your stove bring your intended volume to a good boil in a reasonable amount of time?

Myself, I started with a 5gal pot my wife gifted me years ago for making turkey stock. To that, I added a 3G fermenter with the intent of packaging 2.5G. A corona mill, wilserbrewer bag, and a mini auto-siphon rounded out my basic brewing gear. A metric stainless steel ruler and a refractometer measure kettle volumes and gravities at various points in the brew day. An instant-read thermometer is absolutely necessary. All told this was about $100 in new gear.

I soon found that with a full volume mash I was limited by mash volume to less than ~1.060 if I wanted to keep my volume into the fermenter up. That's when I added a 5gal food-safe bucket for a room temp sparge. At the same time, my birthday had just passed so I put some gift money into a 5G fermenter. Back in December I brewed up a 3.6G 1.096 barleywine.

I've now cranked out a dozen or so batches 3.6-4G into the fermenter, typically 1.040-1.060. Pre-boil volume is my limiting factor which I push to a 1/2" or so from the rim. This requires a very close eye and I wouldn't try it with electric. Boilovers do happen.

For wort cooling, I put it in the sink and change out the water regularly. When it's down to about 100°, I put it in a spare freezer I use as a fermentation chamber controlled by an Inkbird. Come July, I'll likely lose the freezer to other more important purposes and I'll give kveik a try.

To recap:

Mill it.

20200811_133753.jpg


Bring strike water to temp, place bag in kettle.

20200811_202120.jpg


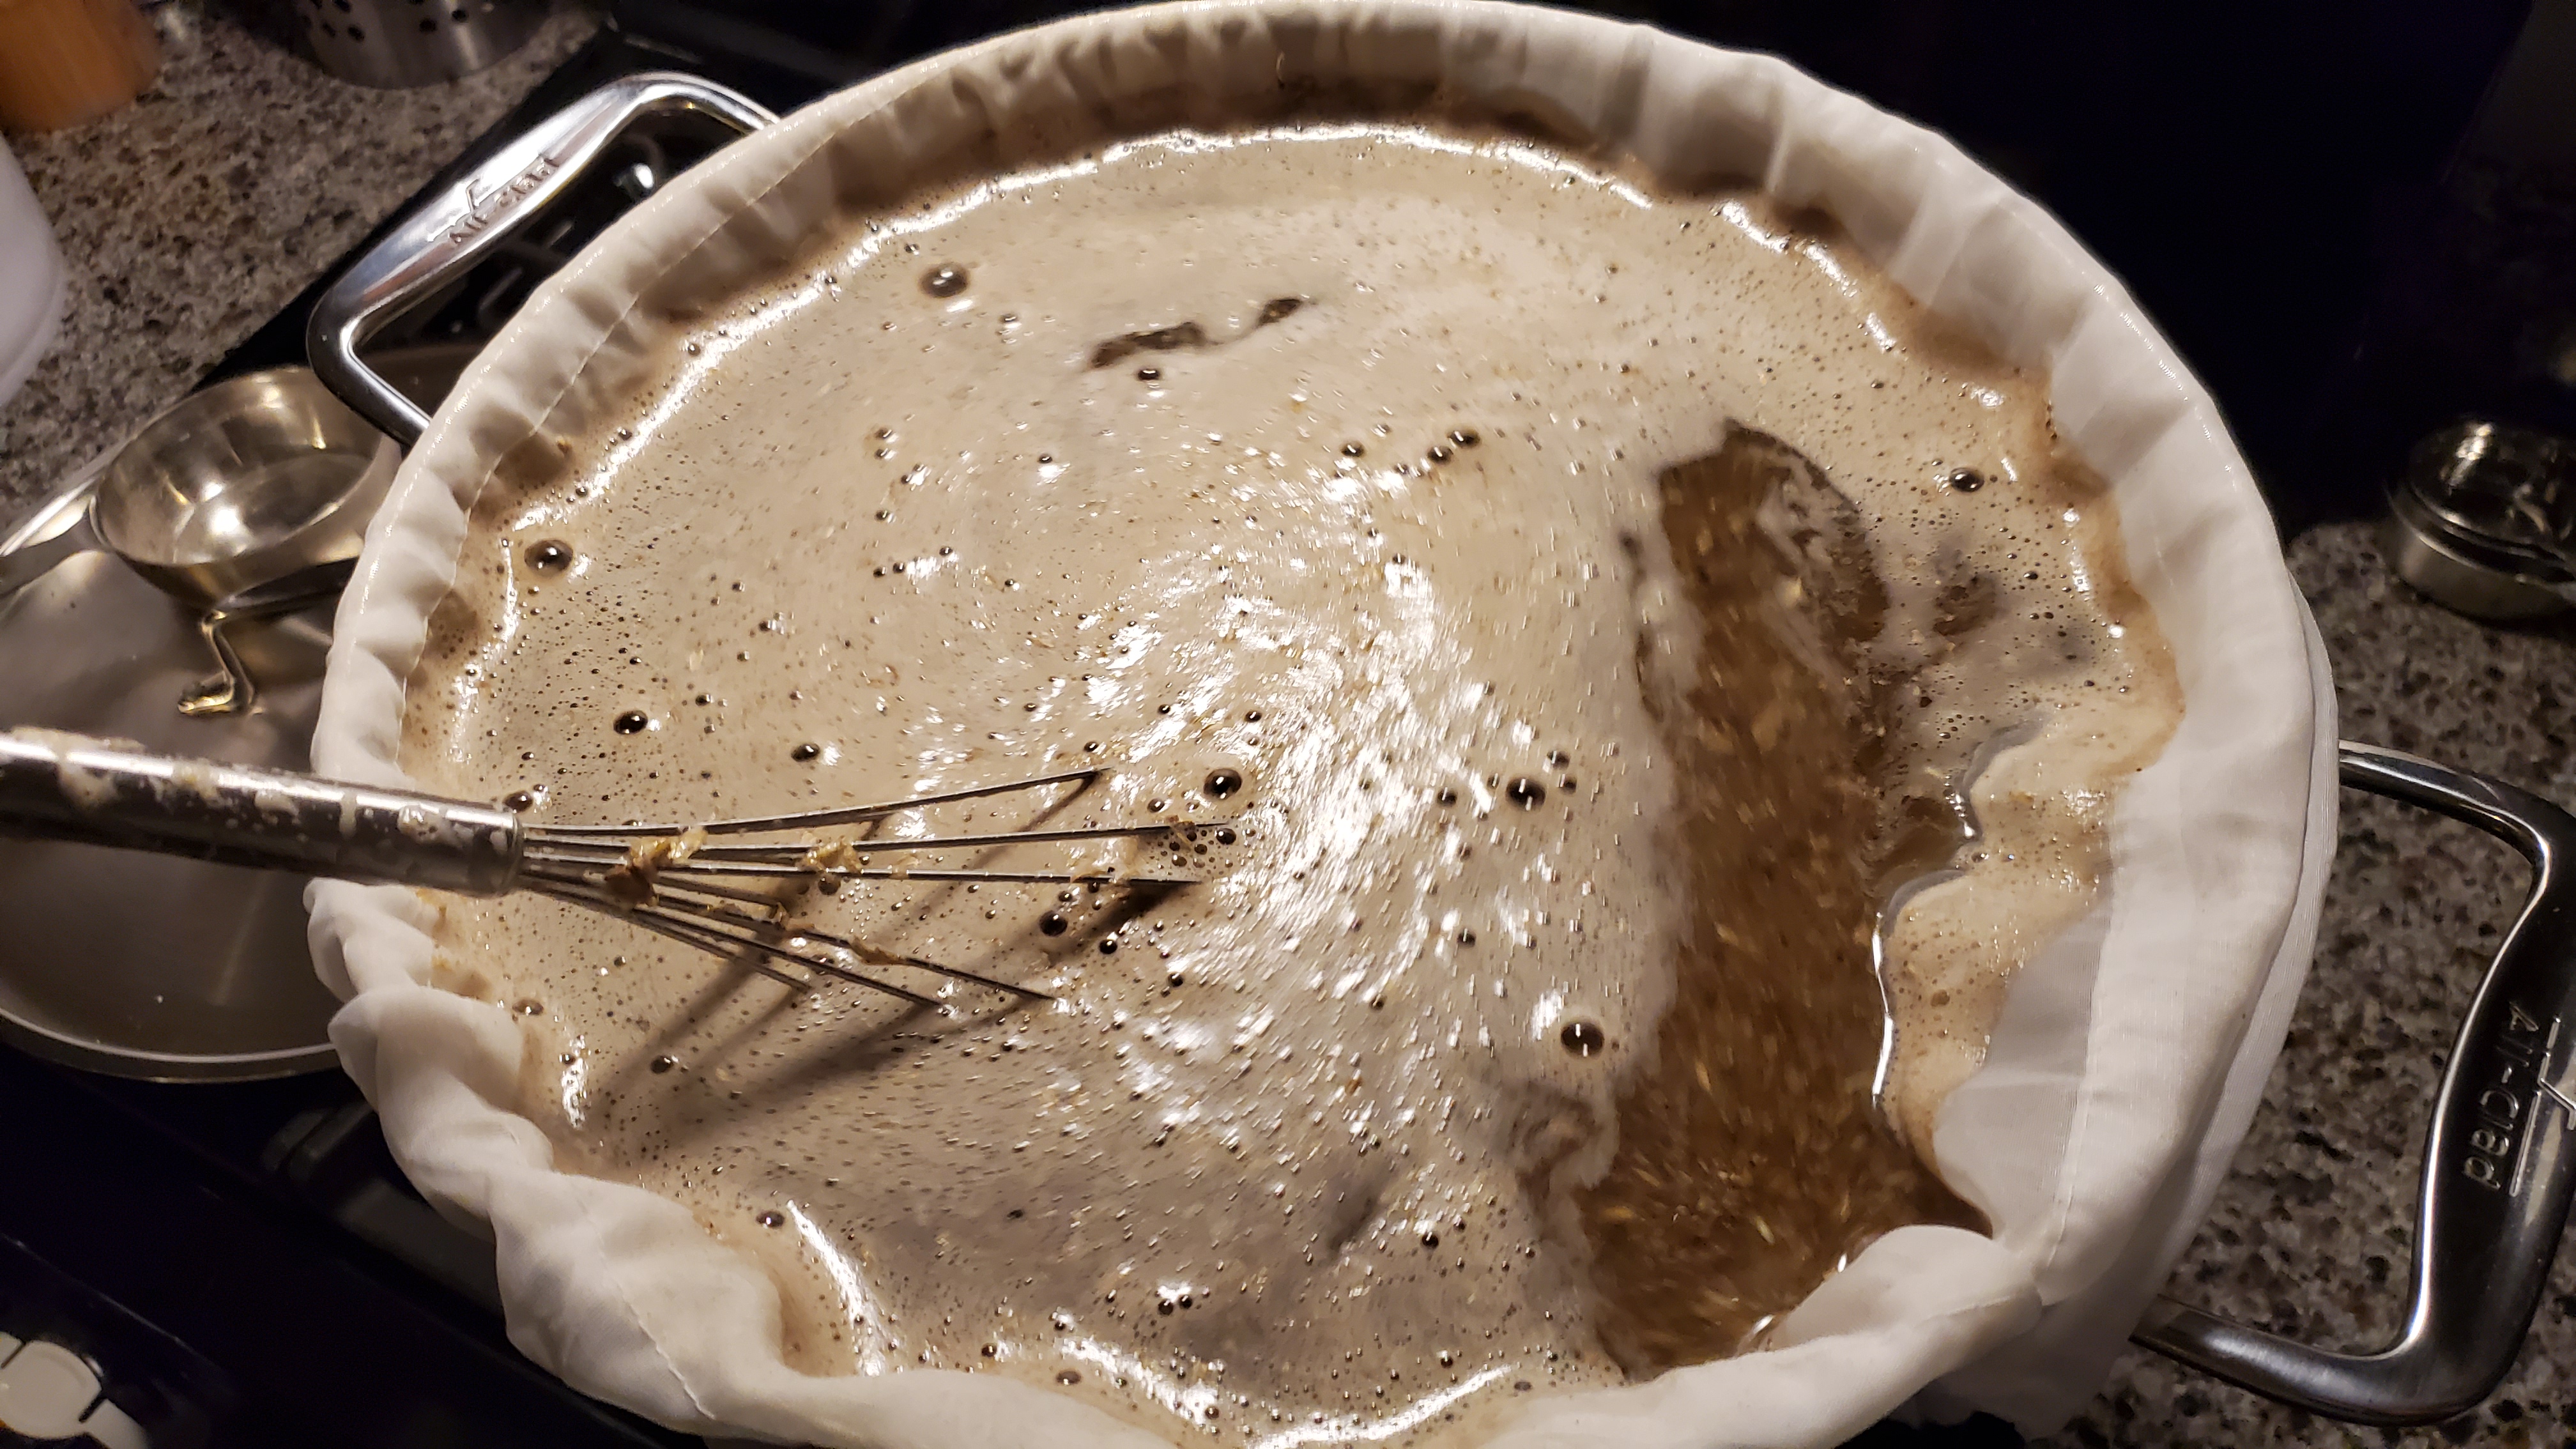
Mix grain in, be sure there's no dough balls.

20200811_202447.jpg


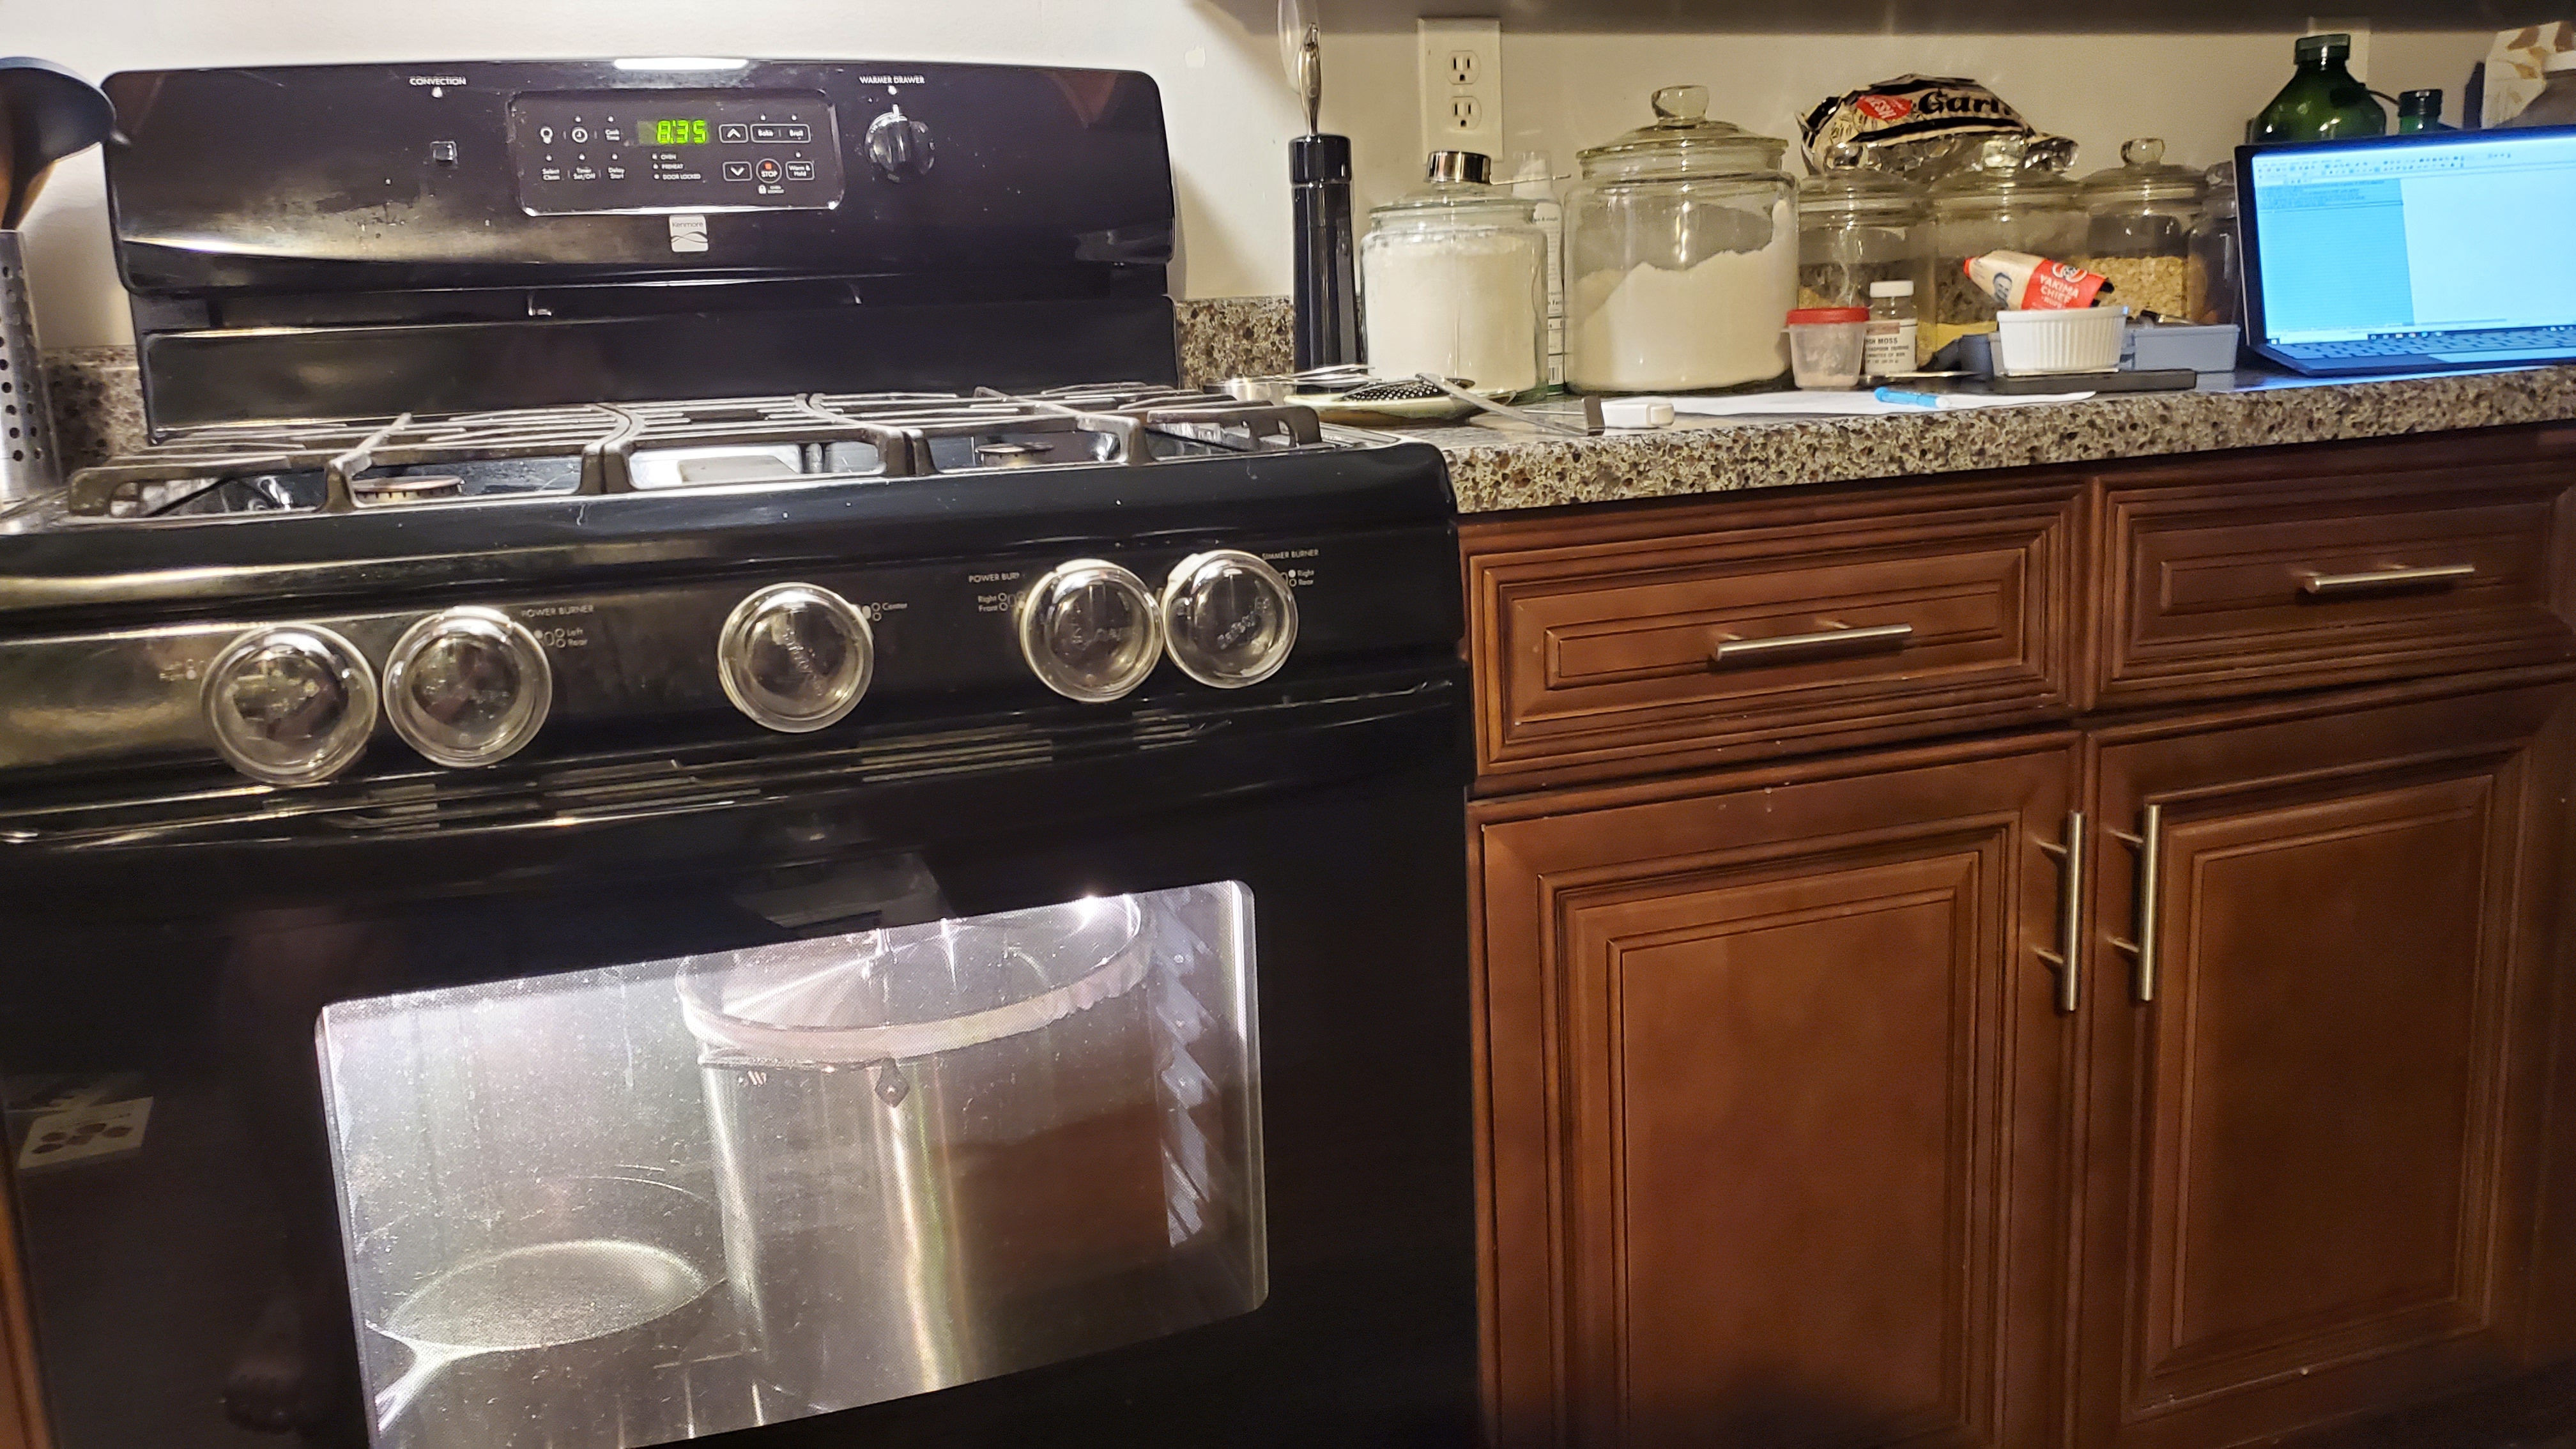
Cover and maintain temp. Either in a warmed, off oven or wrap with towels or blankets.

20200811_203611.jpg


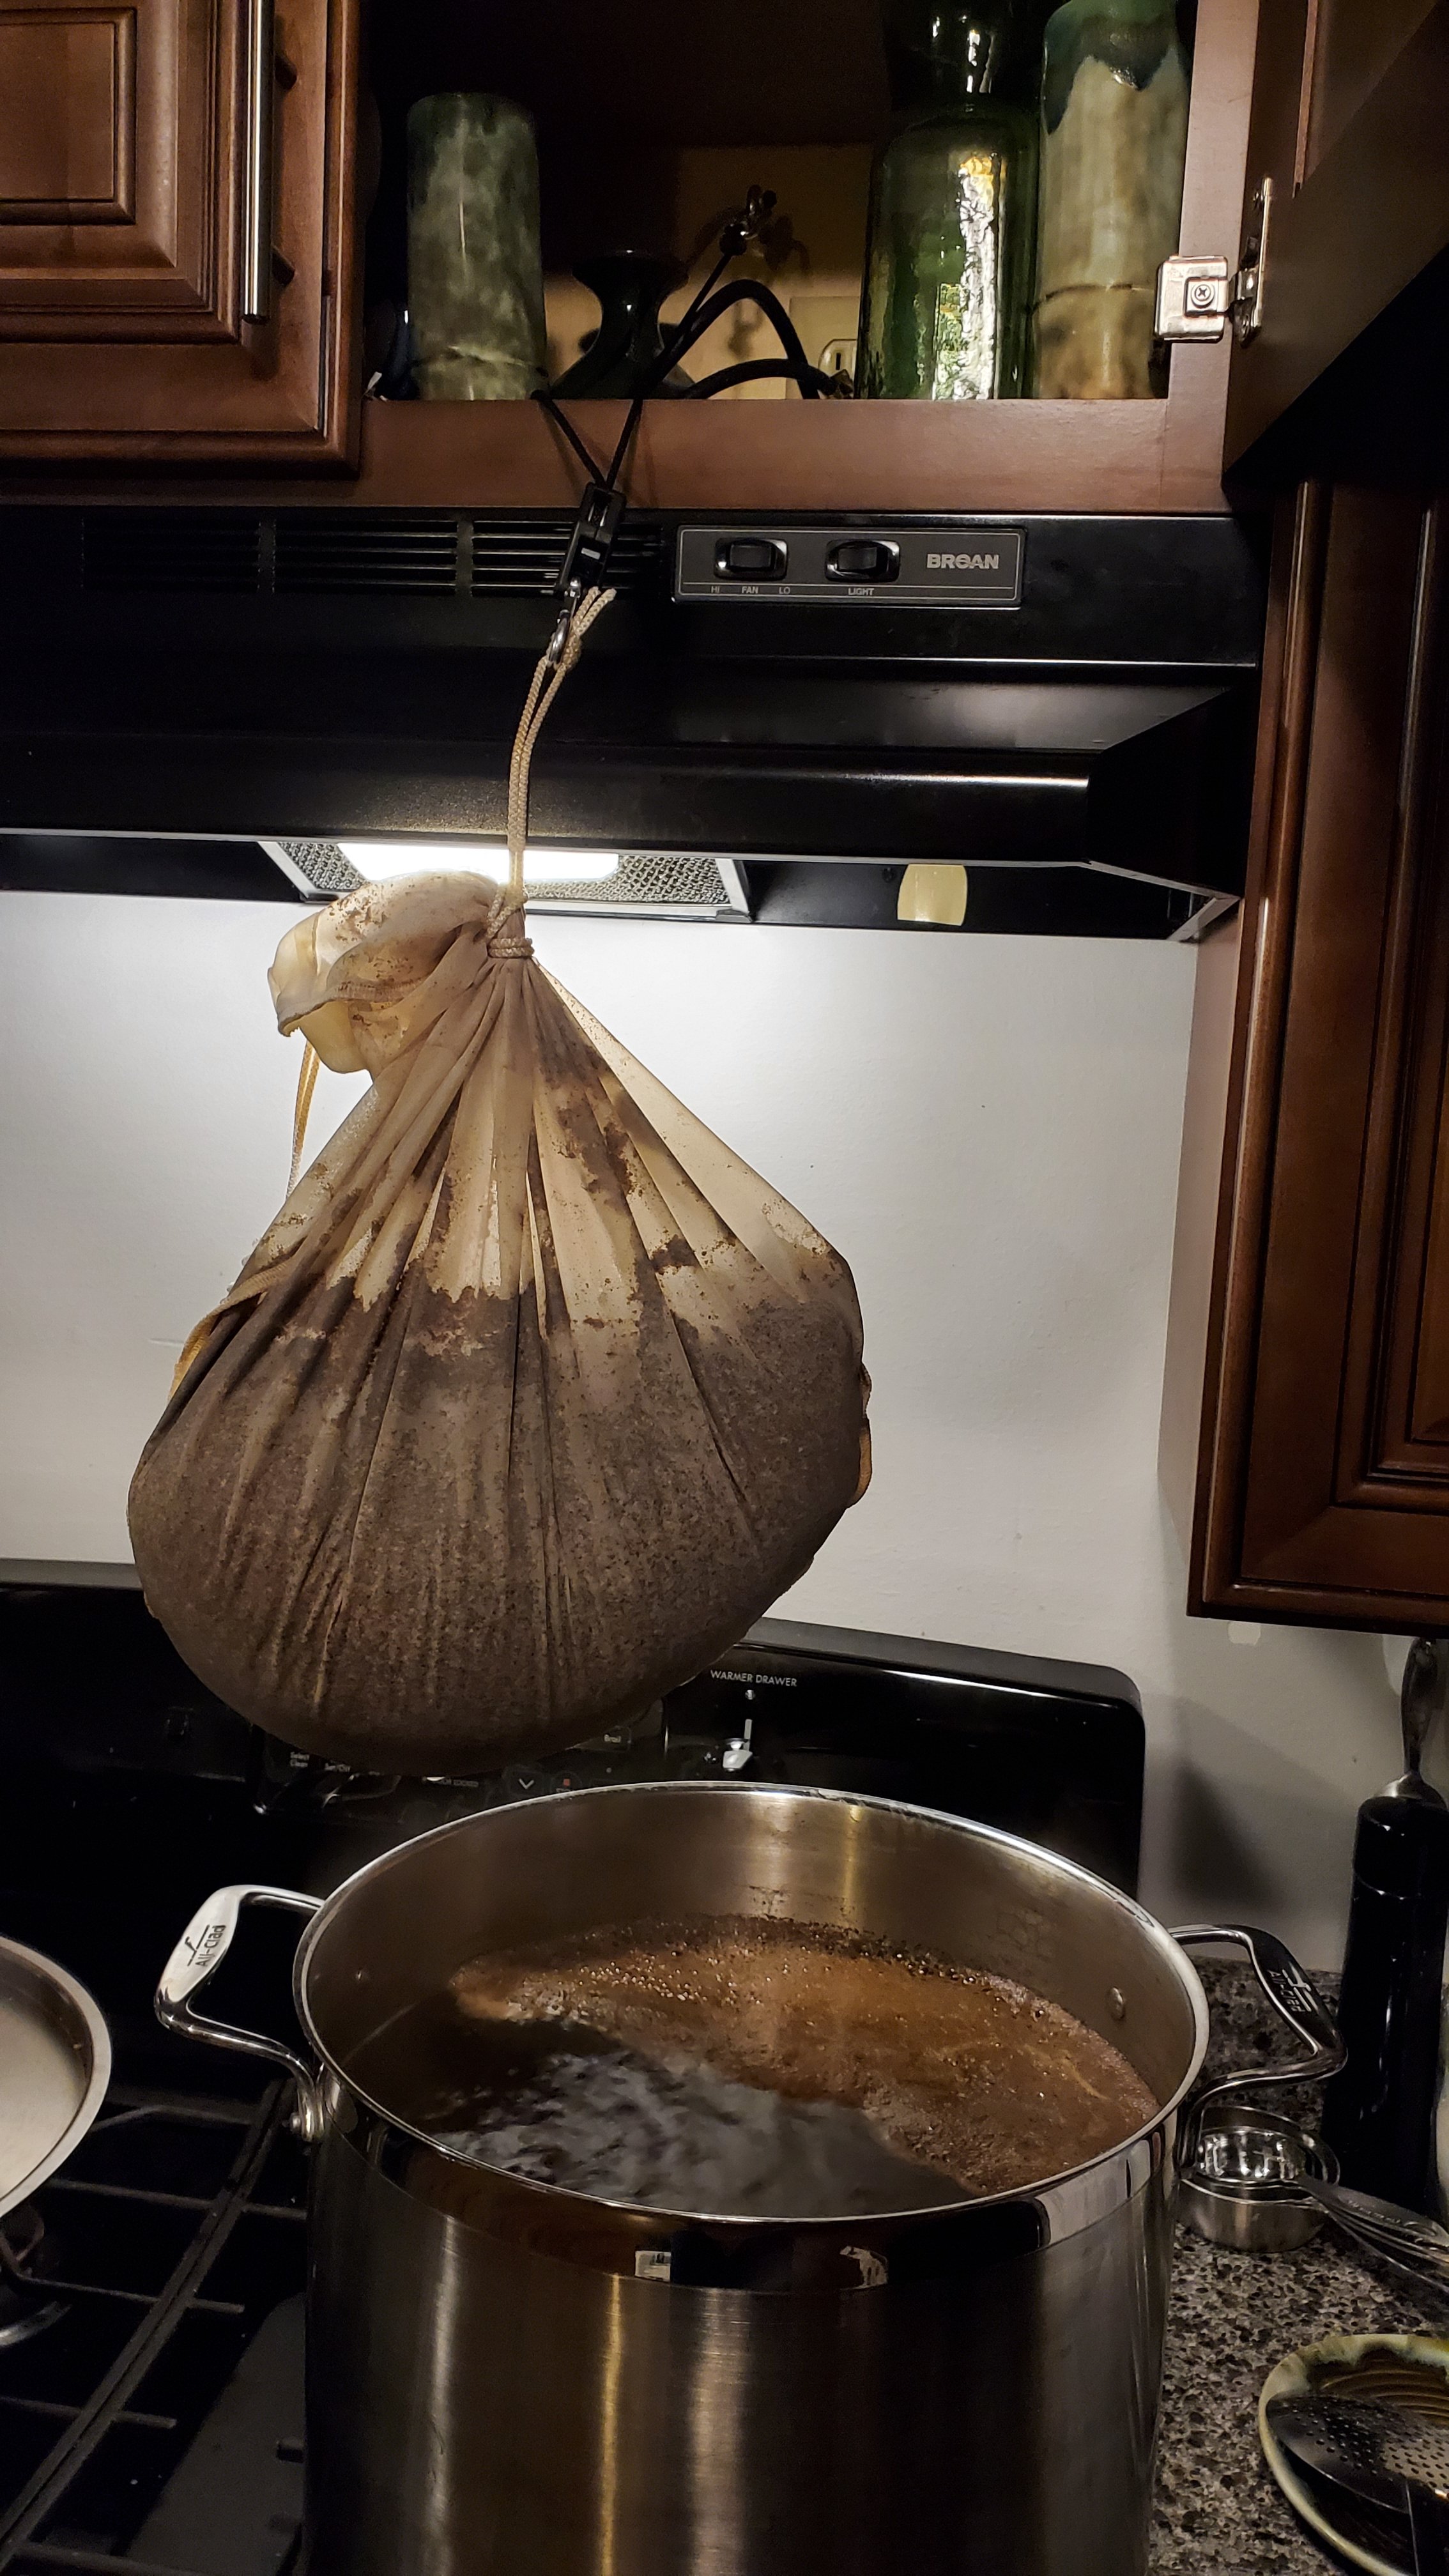
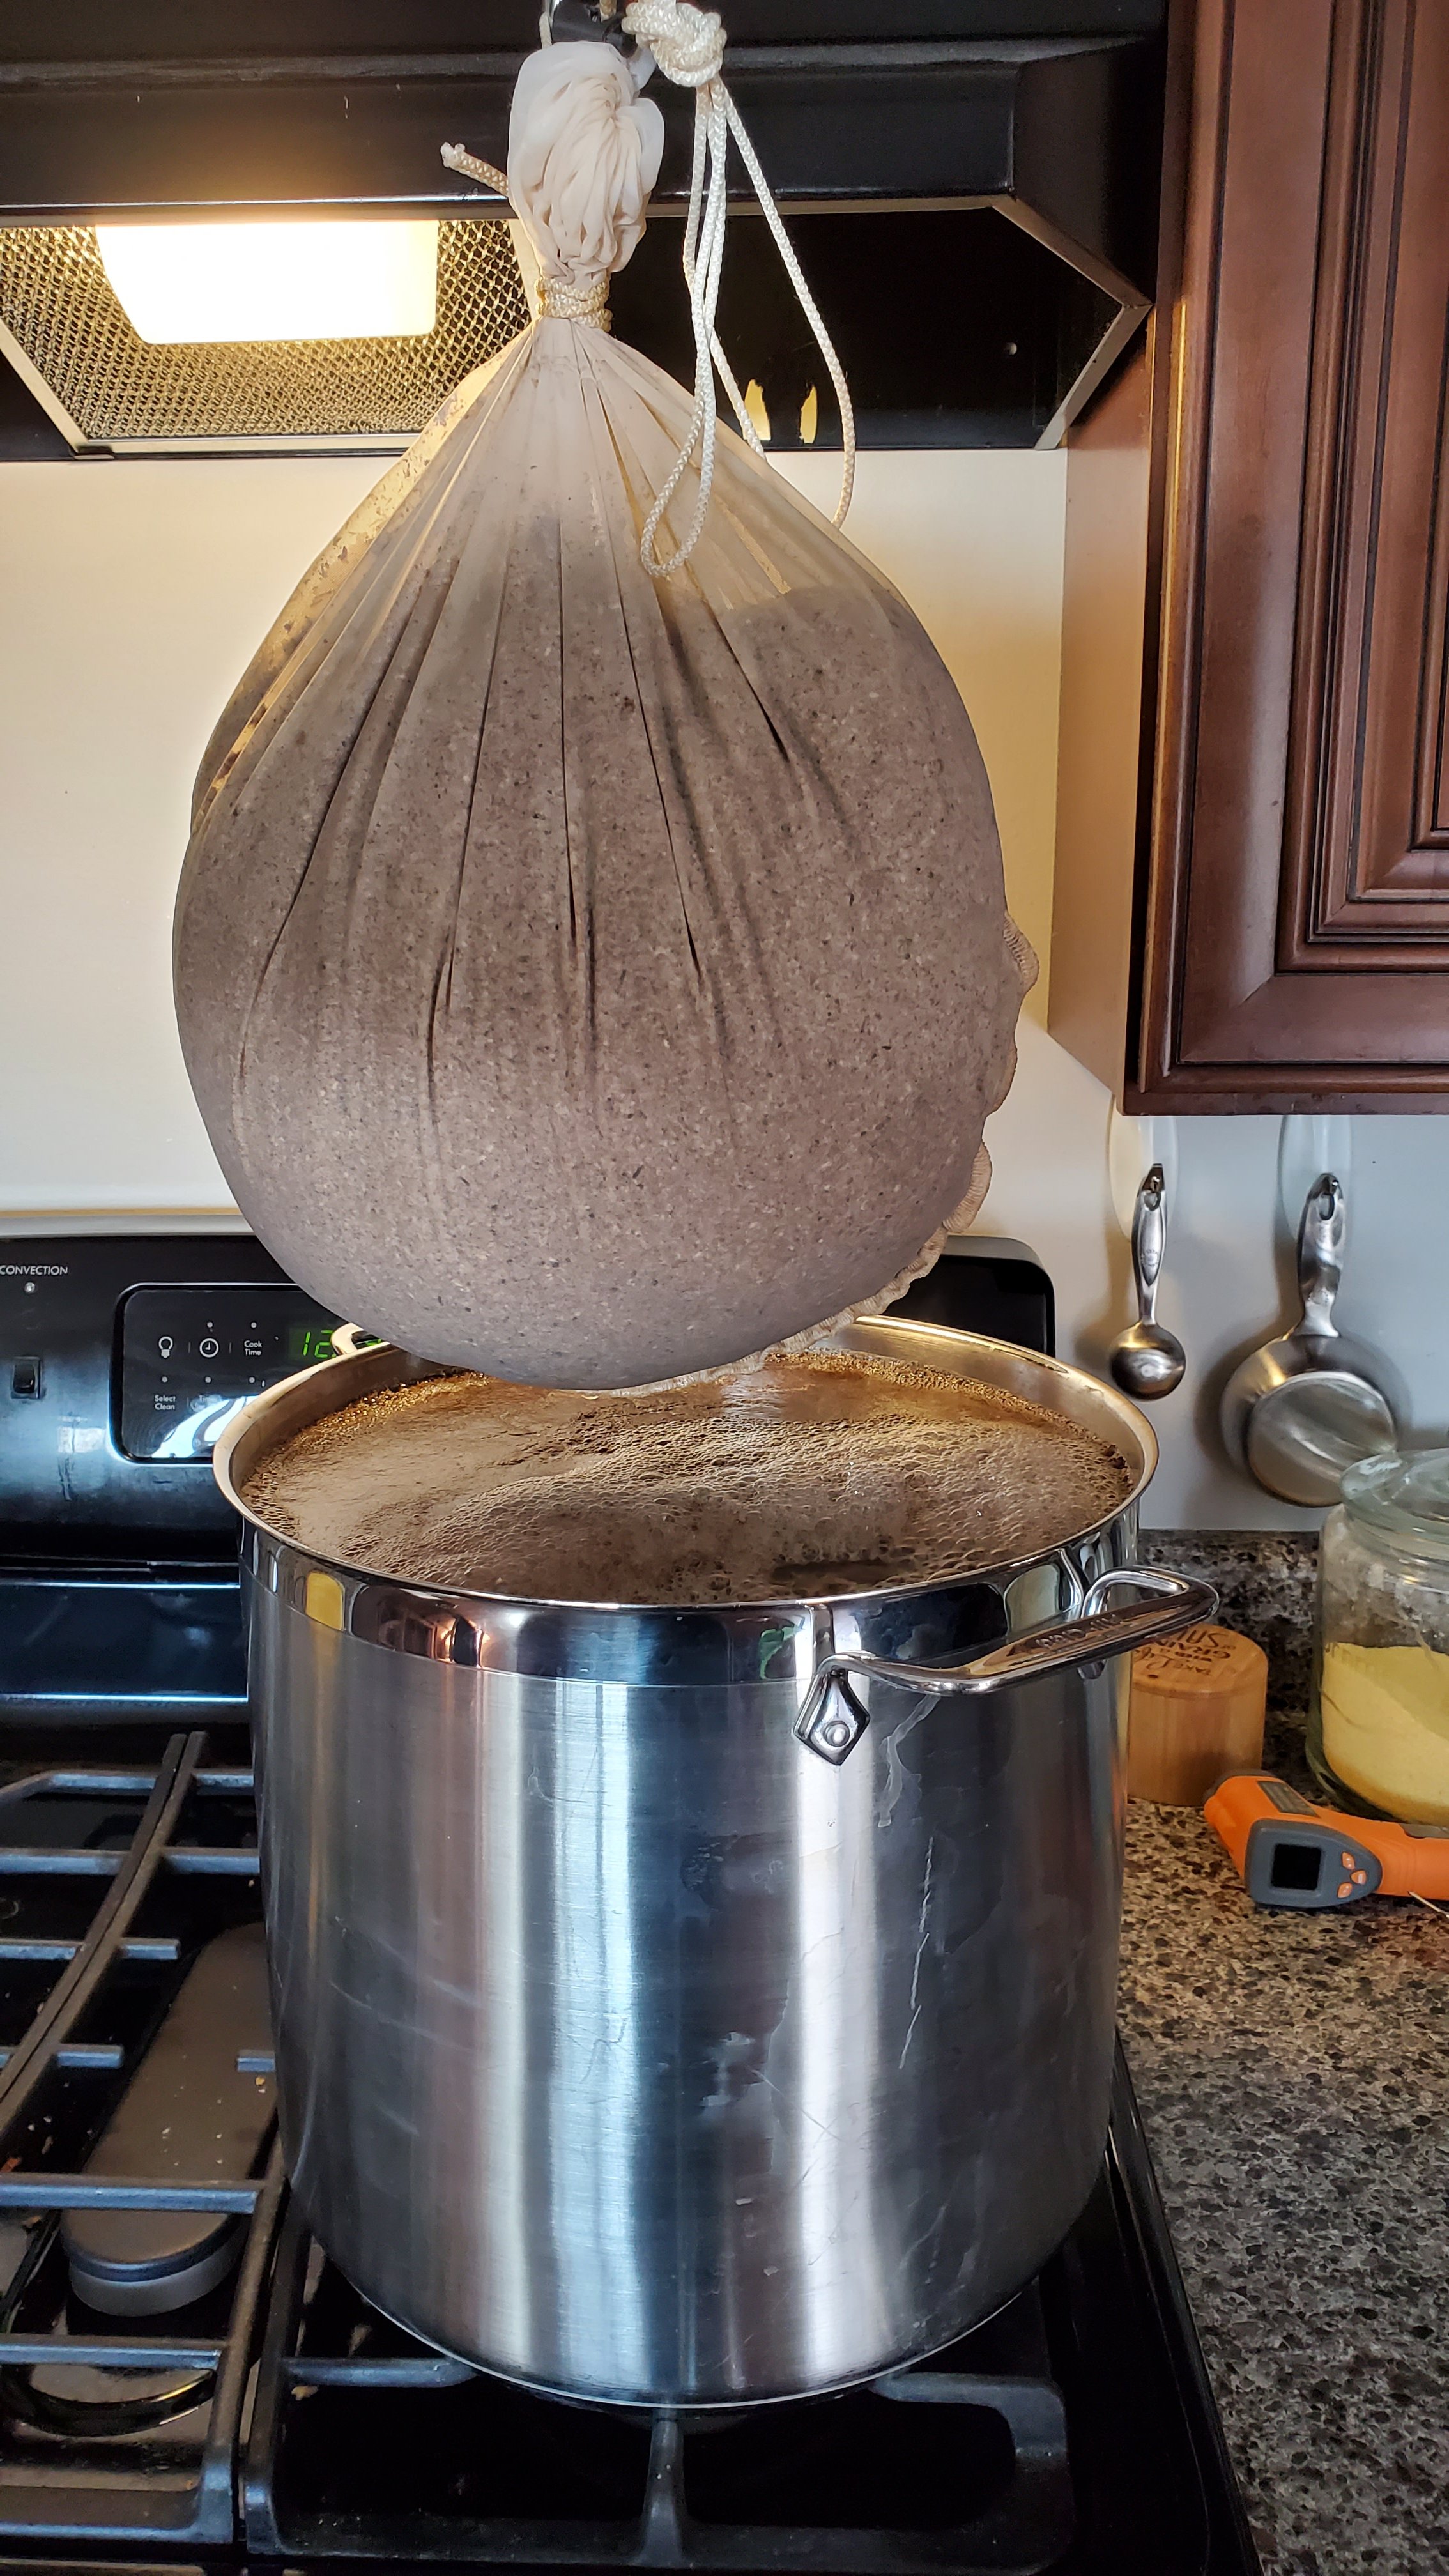
Pull the grain bag, let it drain.

20200811_220721.jpg


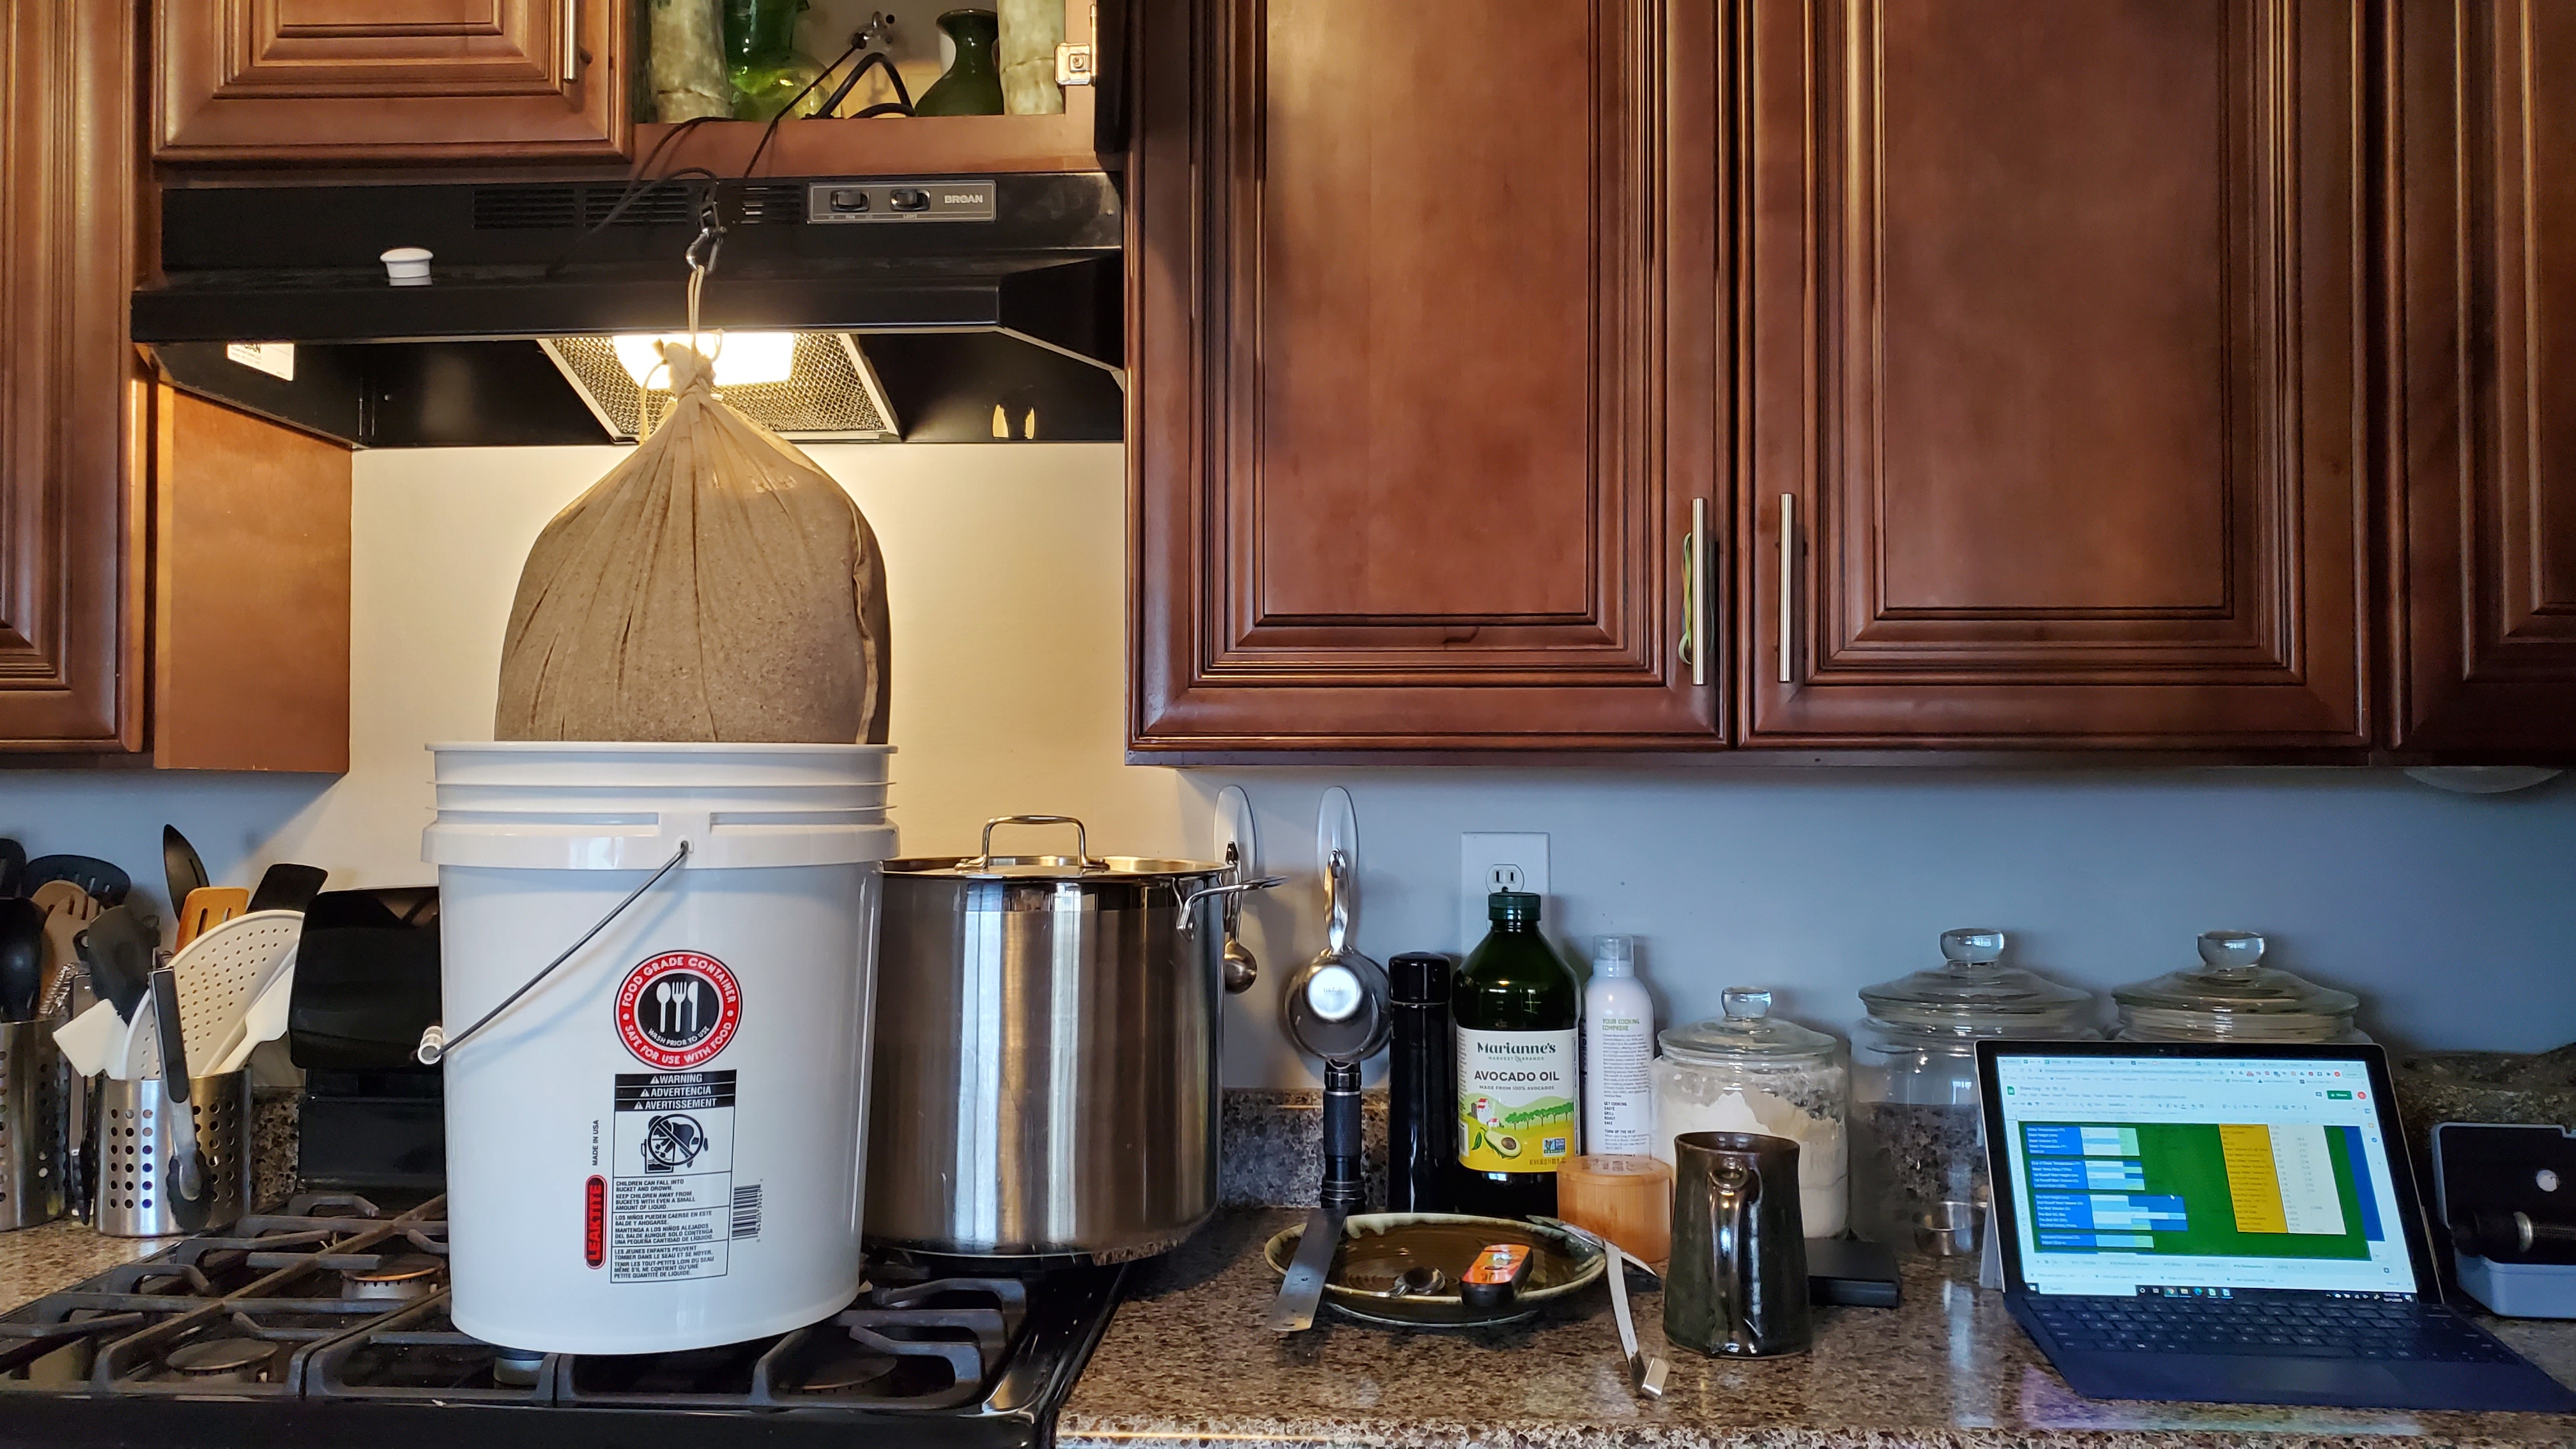
Maybe add a dunk sparge.

20201211_111353.jpg


On with the boil.

20210225_124938.jpg


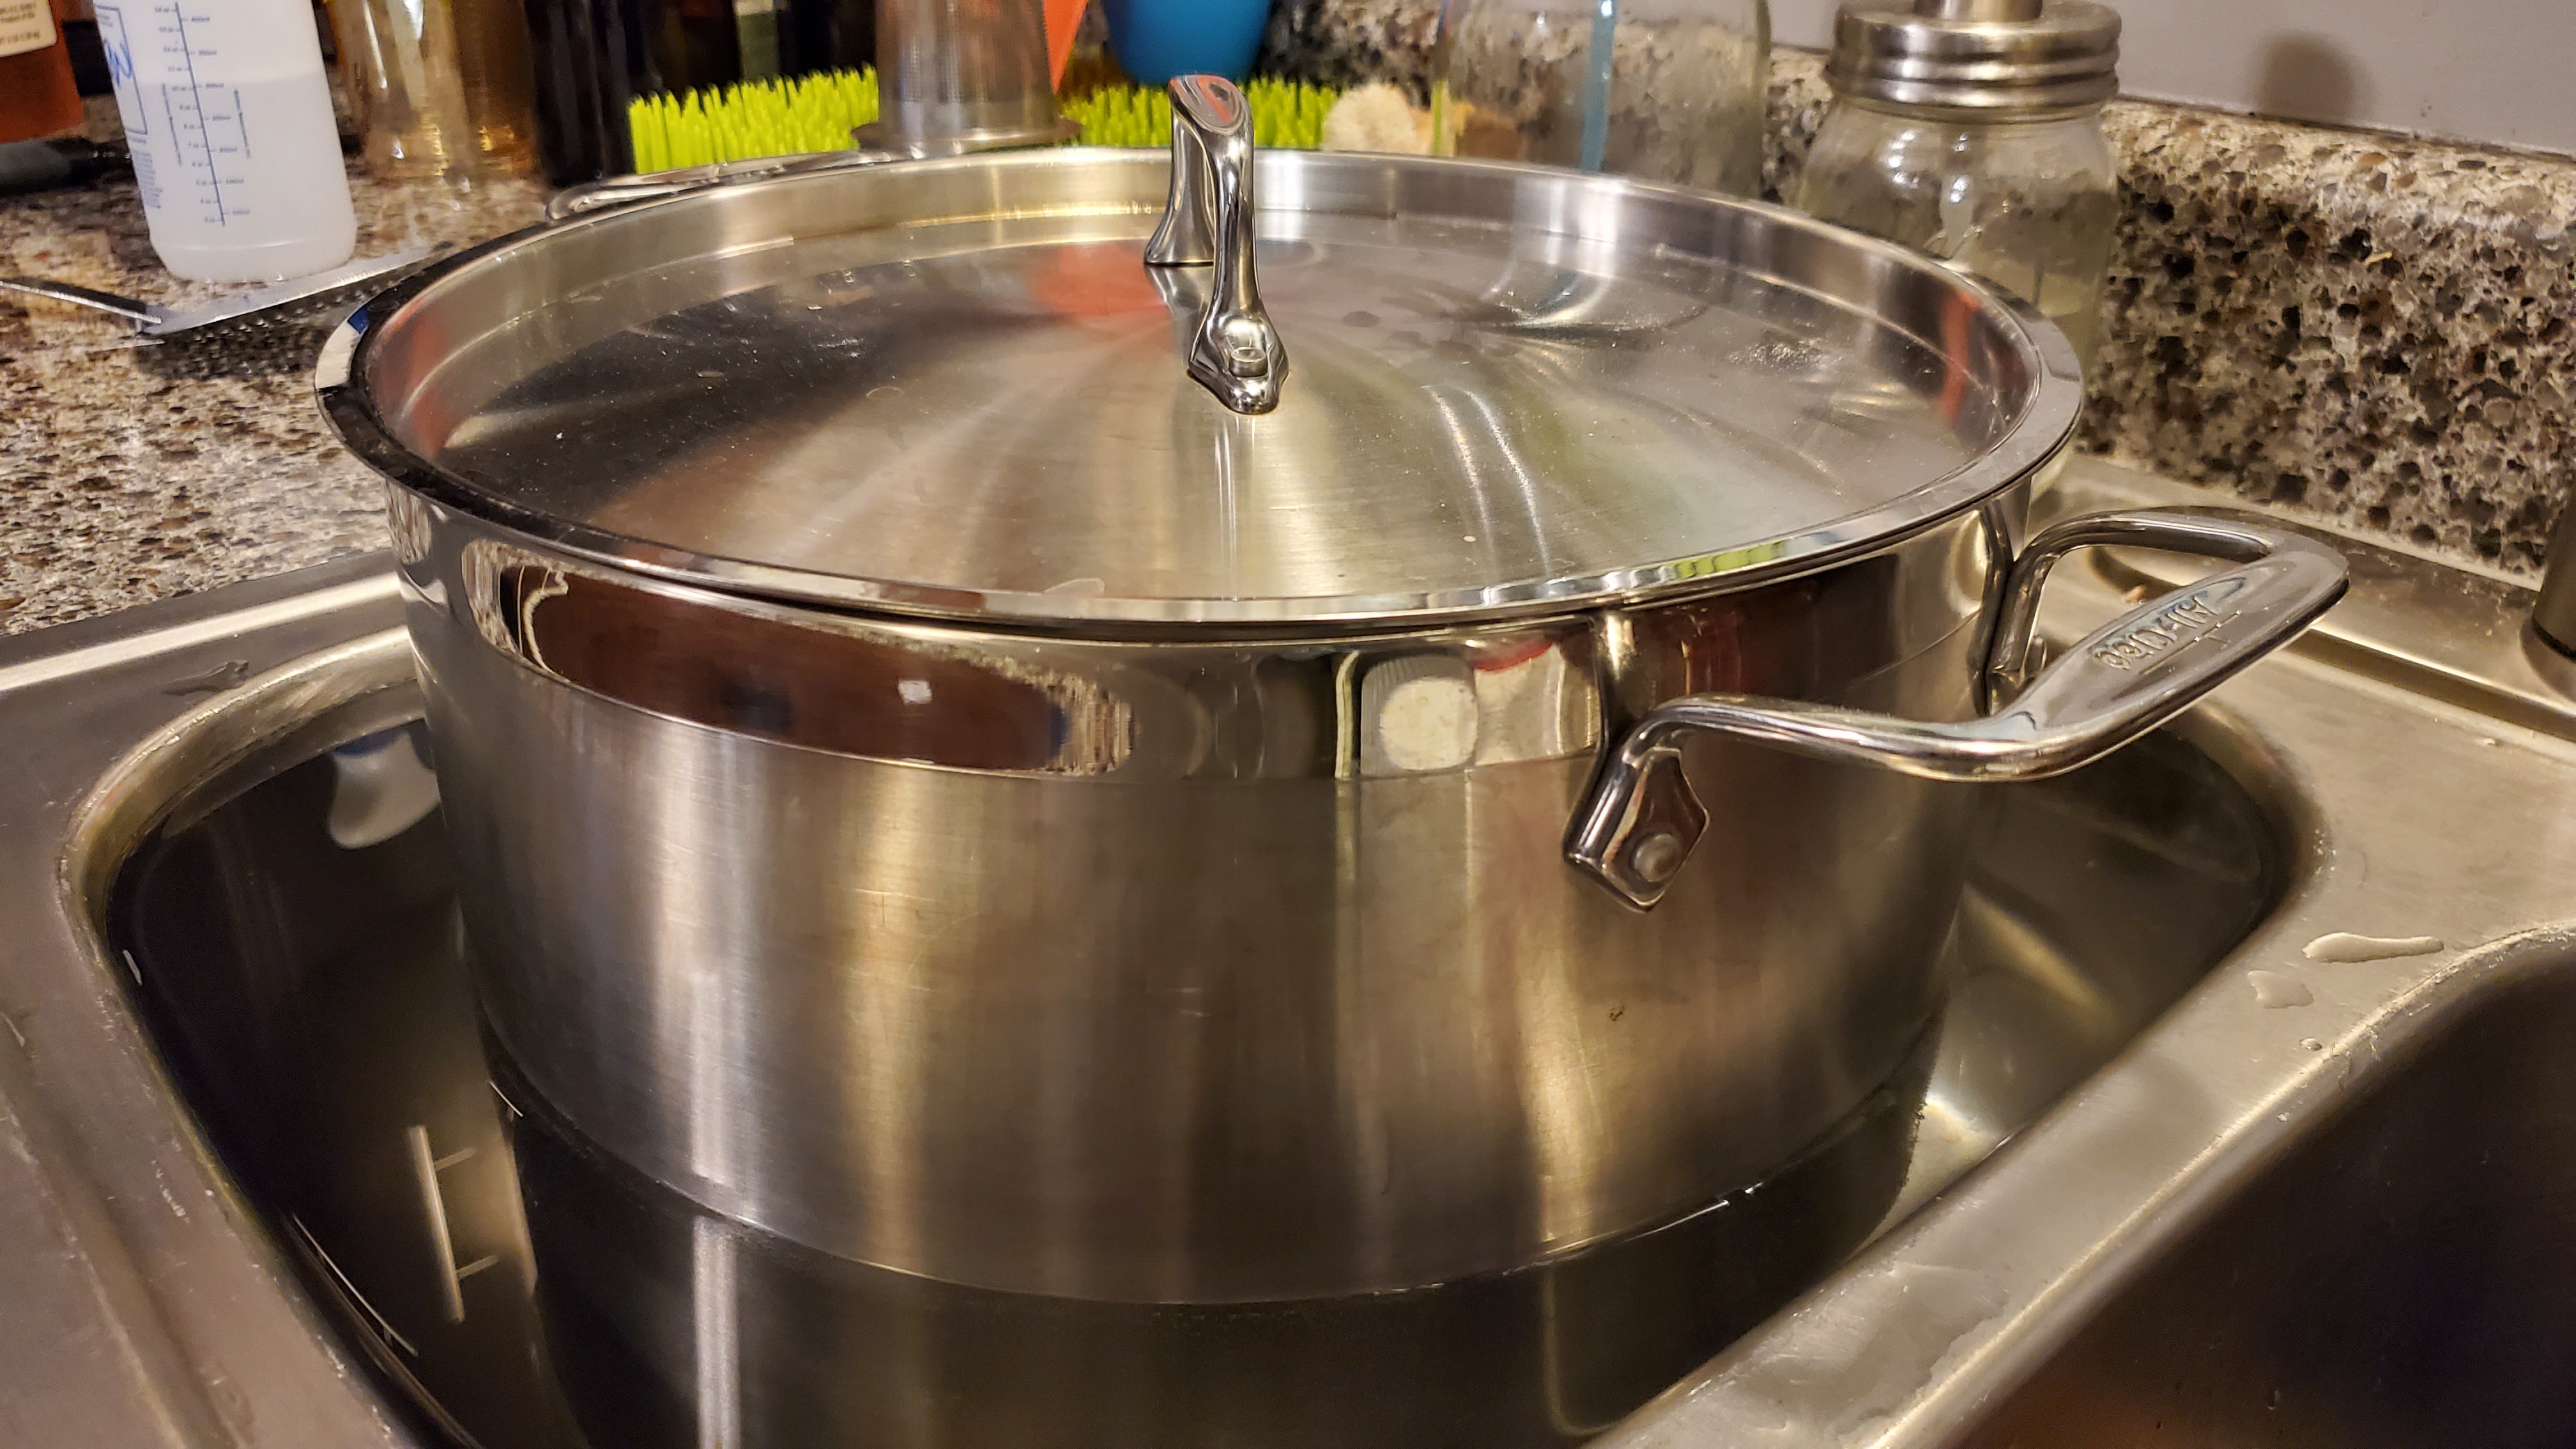
Bring it to the sink and cool.

20200811_232719.jpg


When cool, transfer to fermenter and pitch yeast.

20200812_100030.jpg
 
Last edited:
Right. Thanks a lot!

Would you chill the wort or at such a batch size it is really unnecessary?

You have to chill the wort somehow no matter what the batch size it so you can get it to the right temperature for the yeast. I usually brew in the winter and set the boil pot into a tub of water, then add snow for faster cooling. As the snow melts I just add more.

This time of year there is no snow so I would probably opt for "no chill" and just pour the wort into the plastic bucket fermenter, put the lid on, and set it outside overnight. A tub of water with some ice may be necessary to finish. NOTE: Do not pour boiling wort into your carboy, it will shatter. HDPE buckets are fine at boiling temp.
 
I'd like to brew (all-grain), but keep it simple
I assume I need a big enough pot. I need to calculate how much malt I could mash on the stove. This is where it gets daunting (already? :))
Stove top brewing - it's not daunting with the right resources. In addition to what @dmtaylor and @DBhomebrew suggested, take a look at this (link) (but just the first 6 posts) where the author says:
I use this method to do 5 gallon partial mashes and 2.5 gallon all grains

The books How to Brew, 4e and Speed Brewing (first two chapters talk about kegging 1.75 gal batches) may also be of interest.
 
Having started with traditional 5gallon, then switching to 1 gallon BIAB on the stove top, I’ve been 2.5 gallon for a few years now with (past the past 6 months) the anvil foundry 6.5.
I found temp control on small batches for the mash a bit of a chore. The eBIAB resolves that and I have just one nice looking pot. No bag either. The malt pipe is the bag.

it comes with the chiller. While not necessary I could not imaging brewing without being able to quickly drop temperature with a simple hookup to my kitchen sink. My guess is that after a few brews without one, and experiencing the frustration with getting wort to pitch temperature, you’ll understand.


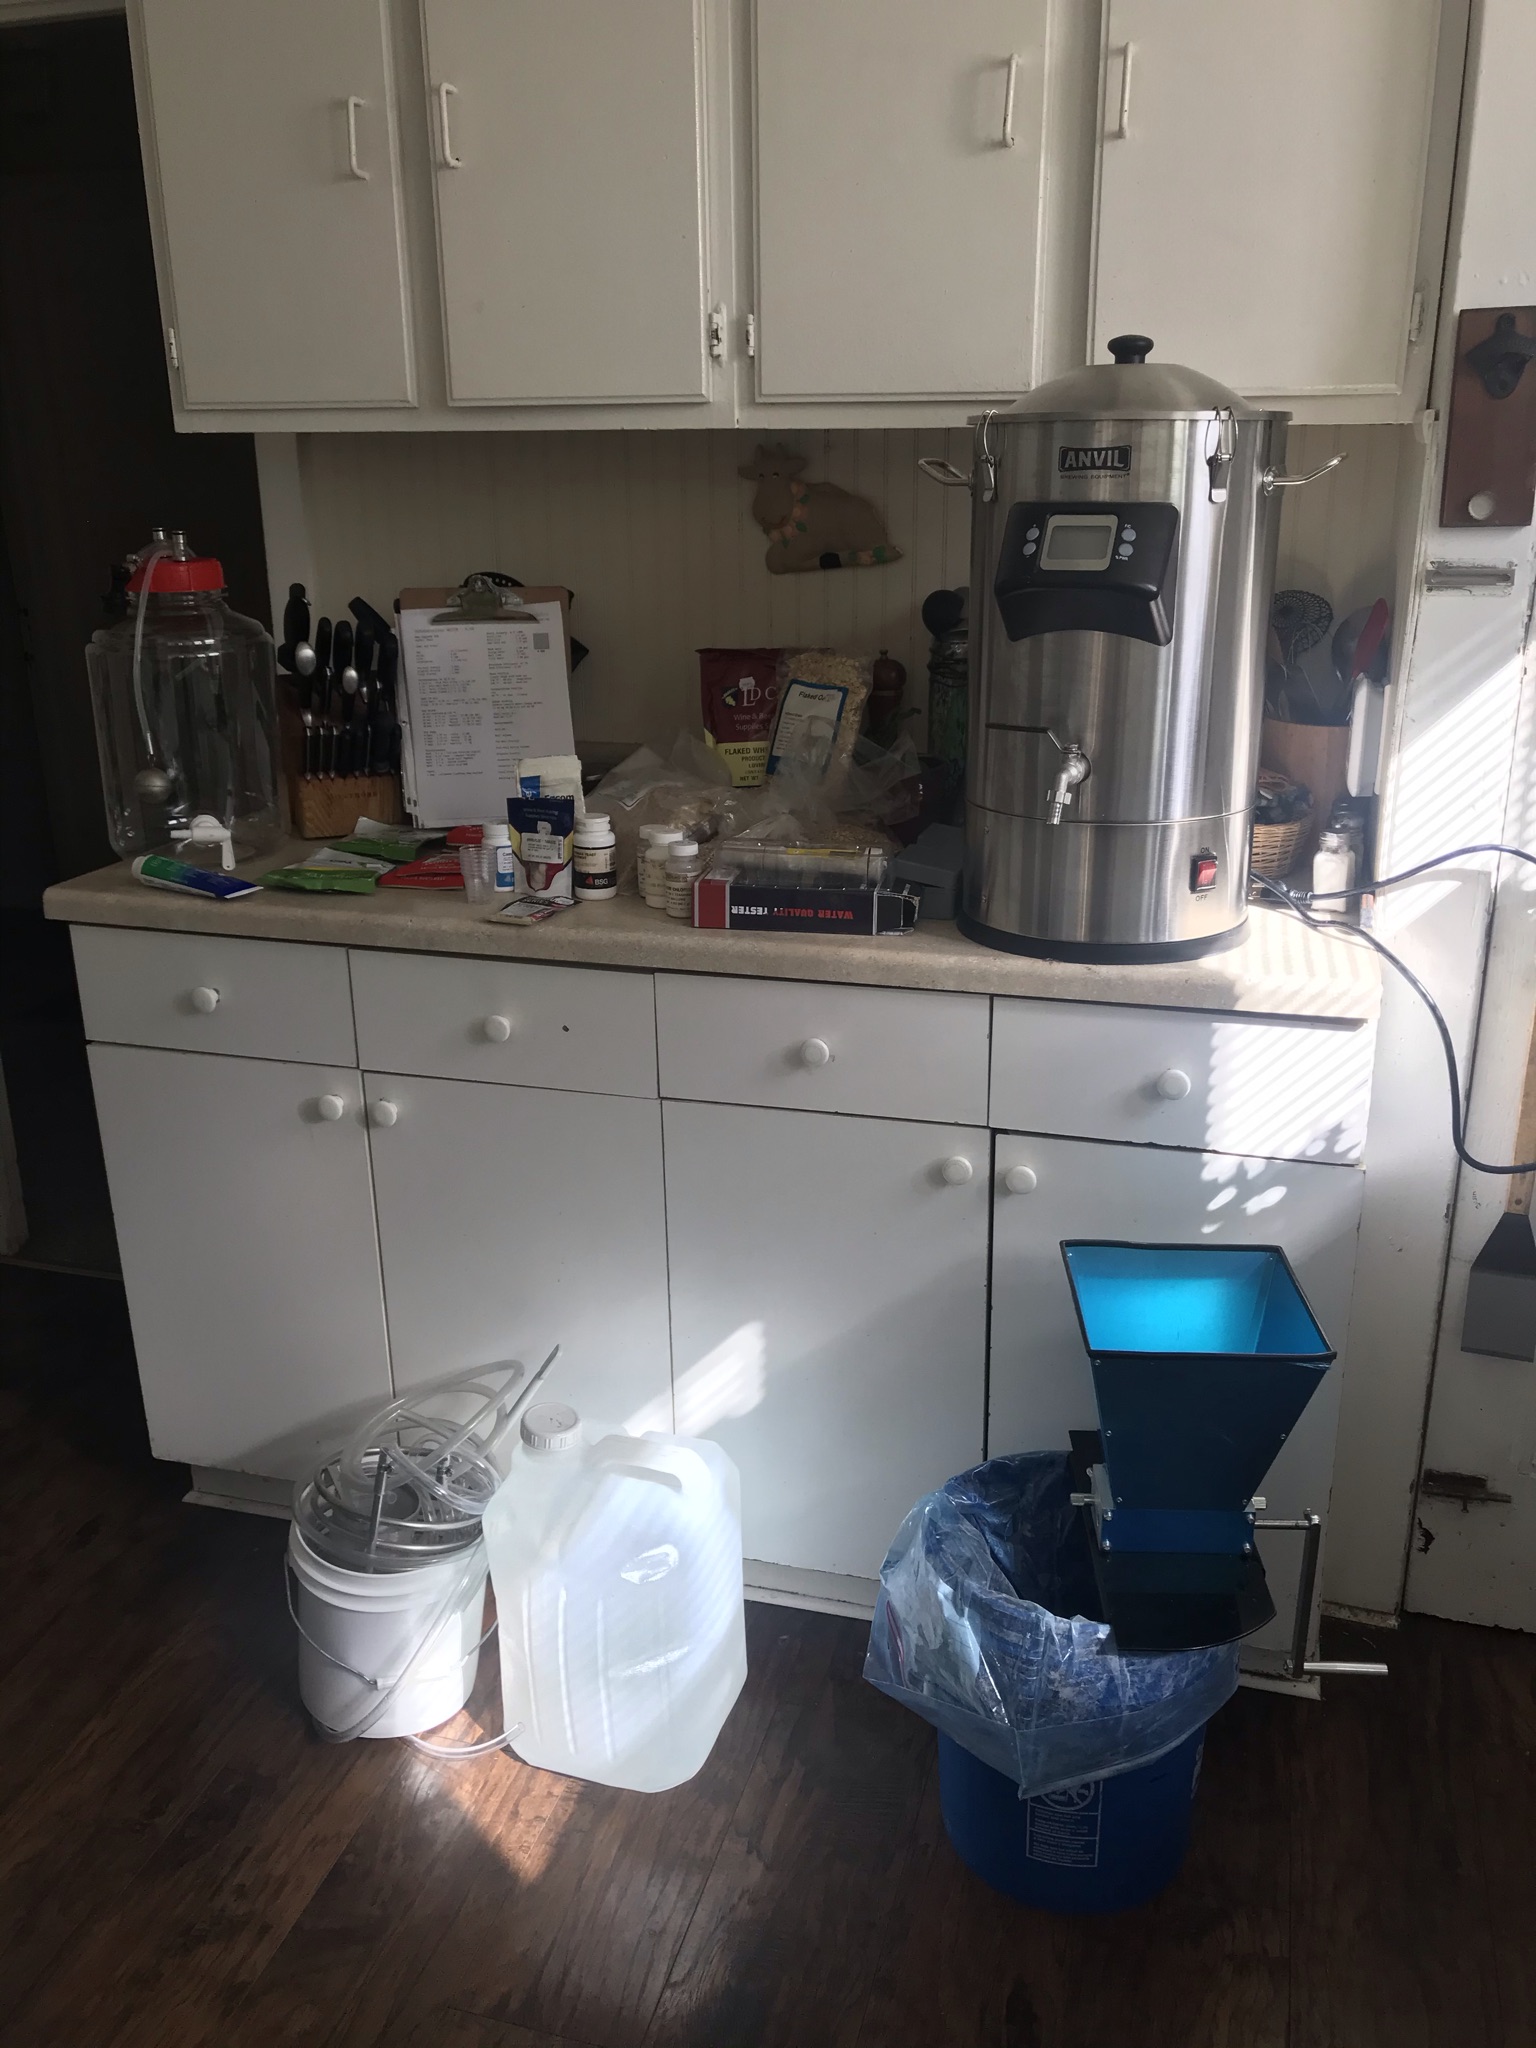
I brewed today. Here are two pics. My set up and my post brew gear absent the grain crusher. A grain mill isn’t required so long as you buy consistently milled grain. You can up your gain bill to account for lower efficiency. Of course if you get kits you are likely to end up with slightly lower ABV. Good beer still but many home brewers eventually want control of the grain crush.

So here my prep (you can ignore the jug of water if your tap is drinkable). I was experimenting today with a NEIPA other wise I use tap.


9A87AD46-DF97-4AB2-BA00-F9C12E192064.jpeg


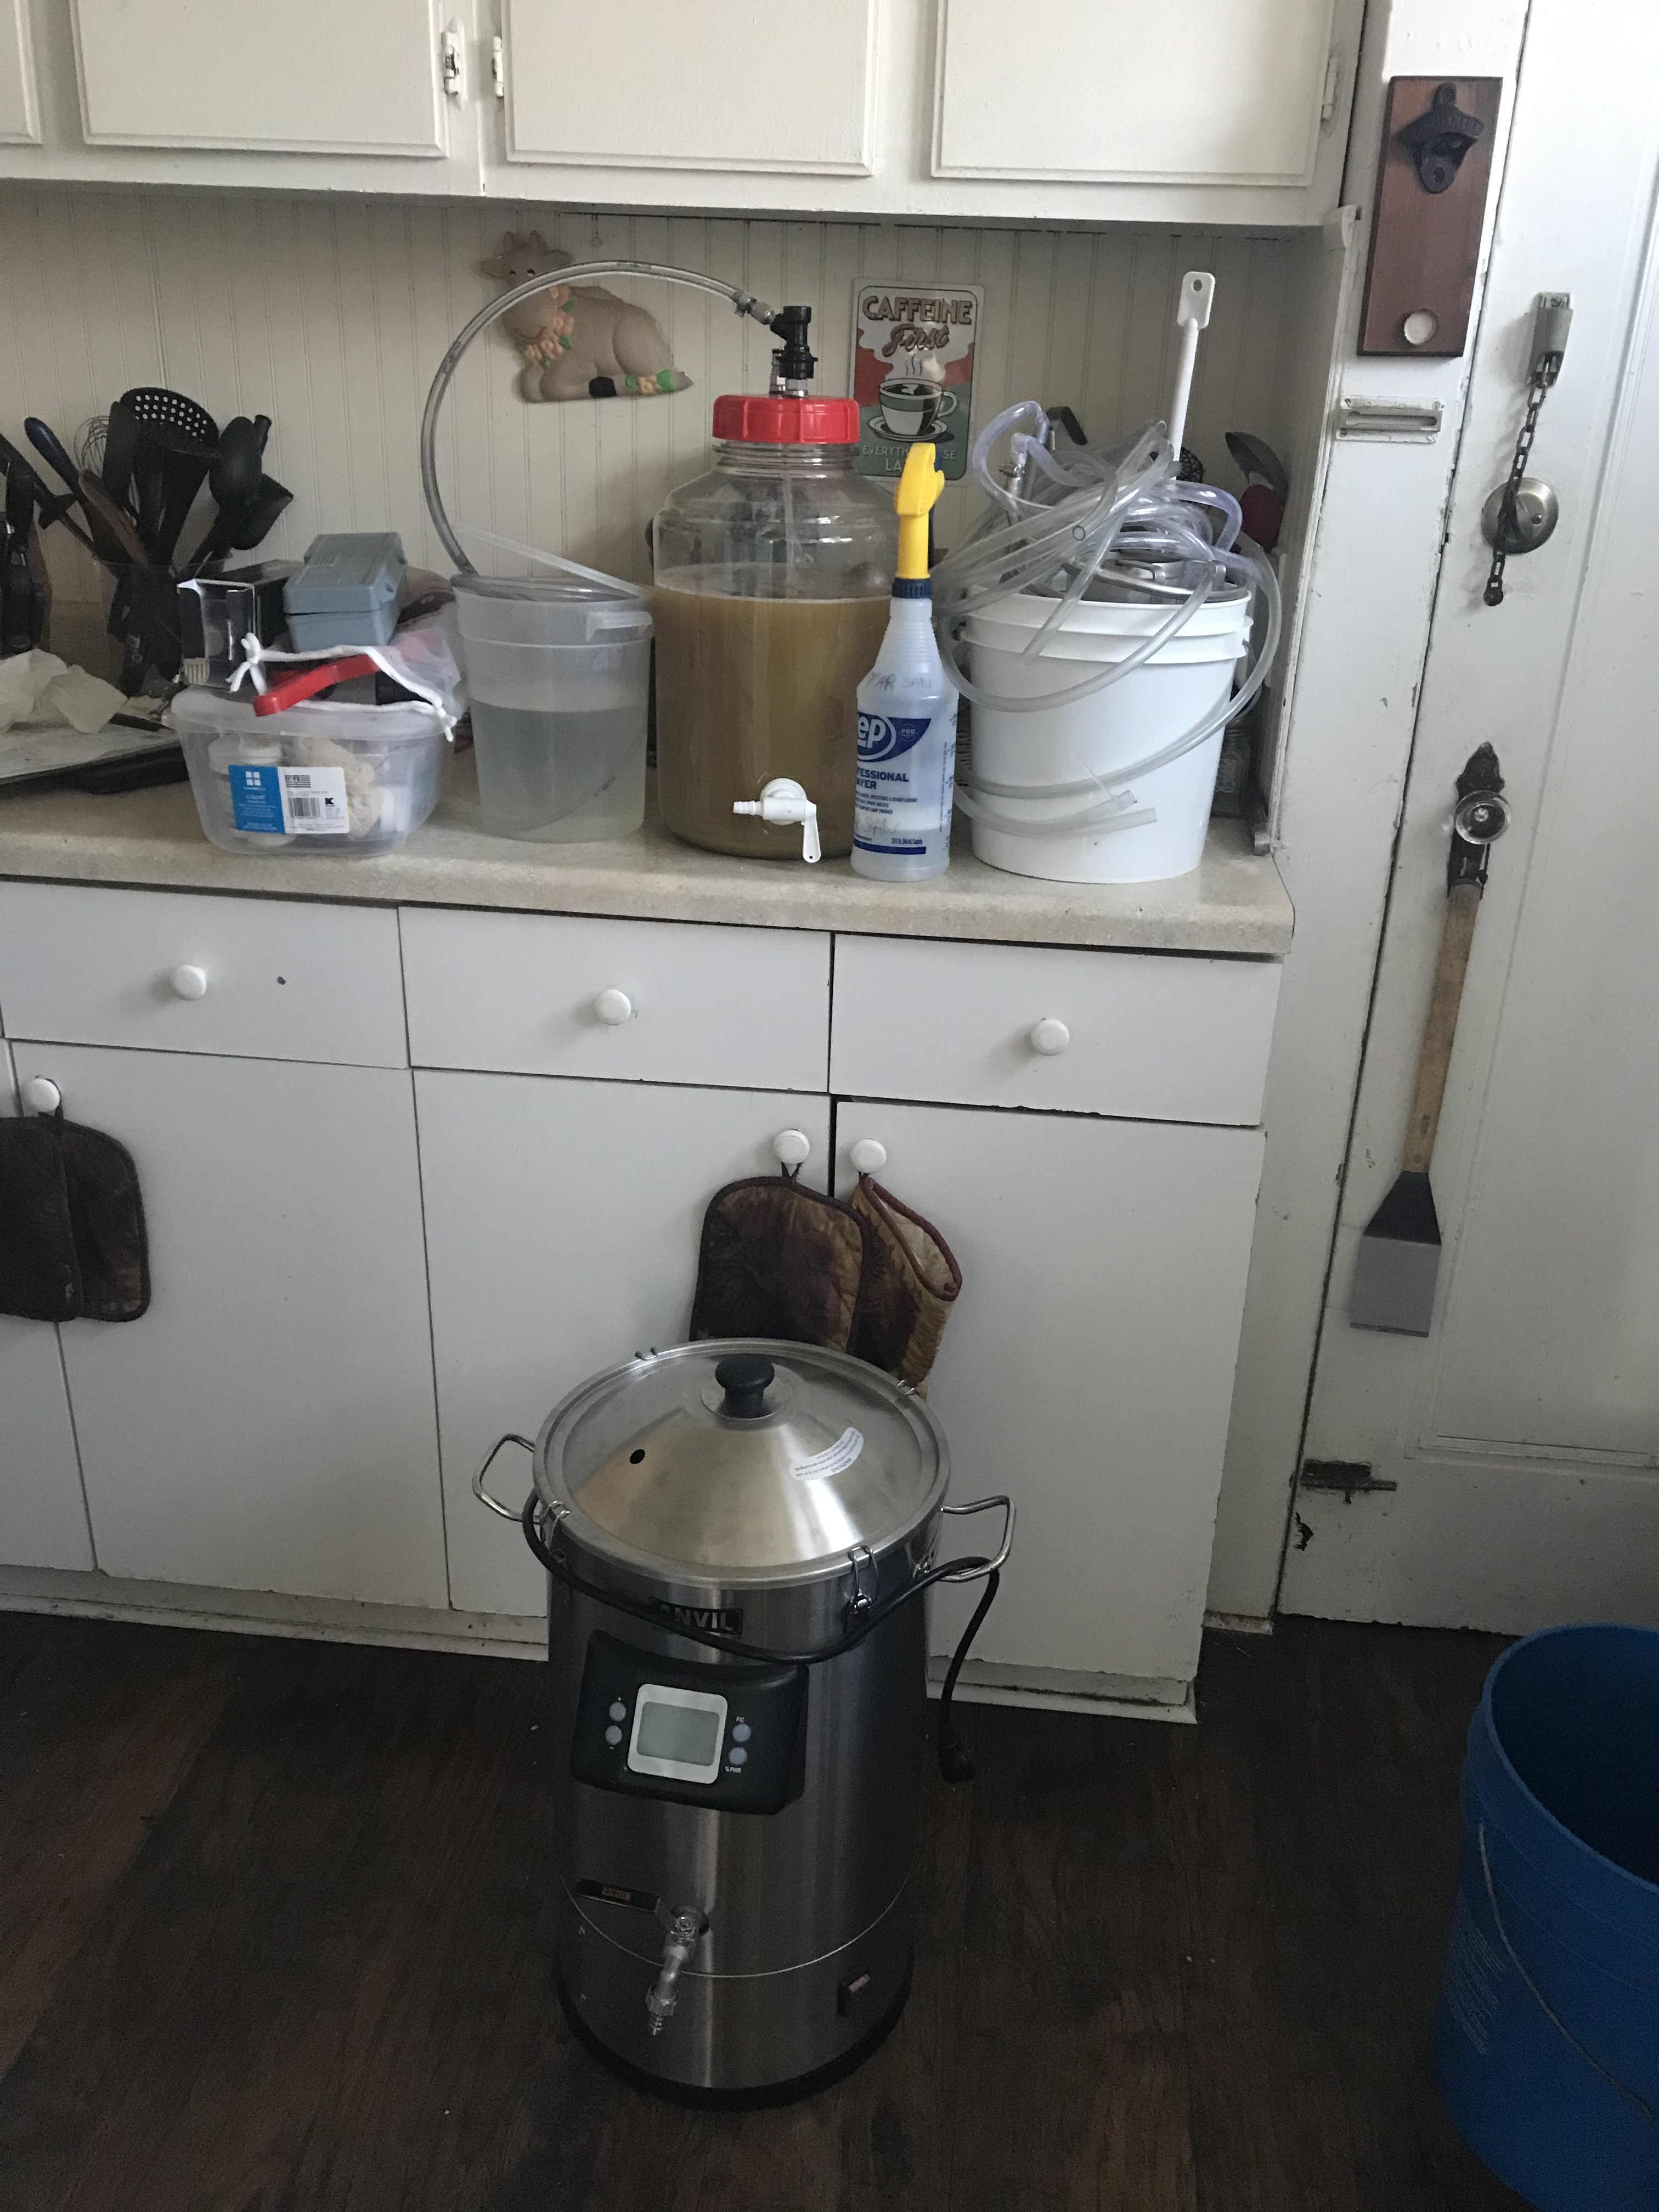
And this is everything going to the basement (aside from the grain mill which I had cleaned and put away earlier)
786242A0-0554-4933-BCAA-87AF8BC89BBE.jpeg


One area that is not part of a starter kit but may need to get addressed is fermentation temperature, especially if your room temp gets above the threshold for your yeast for producing off flavors. There are a number of options, but a mini fridge with a temperature controller is one often used solution. If you have a basement that is cool and you make ales you are ok. But at some point fermentation temperature becomes a limiting factor in what you can brew and how good it tastes.

This is my set up. I live in an apartment where space is limited and this is where I ended up over years of different iterations. Granted there an many ways to skin the same cat in homebrew, but i think this can give you a clear picture of one way to brew in a limited space.

feel free to ask questions.
 
Last edited:
Stove top brewing - it's not daunting with the right resources. In addition to what @dmtaylor and @DBhomebrew suggested, take a look at this (link) (but just the first 6 posts) where the author says:


The books How to Brew, 4e and Speed Brewing (first two chapters talk about kegging 1.75 gal batches) may also be of interest.

Speed Brewing. That was a big part of my journey into small batches. I still use it to make 1gal hard cider. She lives in Brooklyn where space is even tighter than my Long Island apartment. 2.5 gals is 20 pints and my speed for my desire to brew and my drinking habit. 20 pints lasts me about 4 weeks. Just about the right time for me to make another batch and age. Plus 2.5 is more forgiving and I can brew kits that well intentioned friends give me (I split them in half).
 
I do 10 to 12 liter batches, stovetop, biab, with no issues. Been doing it for years. A little over a case of beer per batch.

Five gallon kettle and fermenter are the biggest pieces of gear. Tubing, capper, brew bag, hydrometer, thermometer can all fit in your ferment or kettle.

I made a five gallon batch once last year, a Coopers Real Ale kit. After small batches for so long that was a LOT of beer to work through. It was good, just got boring. The last few bottles though were the best. I'd been told give it two months in the bottle. They were right.
 
I need to calculate how much malt I could mash on the stove. This is where it gets daunting (already? :))

I just want to keep it simple, yet enjoy a good pint of my own beer.
Use the "can I mash it" calculator, also the strike water calculator works great:

https://web.archive.org/web/20201111195637/https://www.rackers.org/calcs.shtml
I've downsized and simplified my brewing over the years, currently I use 2 cheap 4 gallon pots, mash in one, dunk sparge in the other, pull bag and use large colander to drain bag. Fire up both pots to get boil going faster and eventually combine everything. Shooting for 3.5 gallons in a 5 gallon carboy. Pots and a carboy don't take up too much space, but over the years I've accumulated 20+ carboys, 15+ kegs, 20+ buckets for grain storage, cases of empty bottles, more cases of full bottles of wine, cider and beer so a minimal brewing set up can take a large amount of space if you let it happen. If I could do it all over again I would have gone to kegs sooner, but its still nice to bottle some things.
 
Last edited:
Forgive me if this is off topic, but if you want a small footprint, buy kits. Once you start buying in bulk you will fill an entire closet with grains and a good part of any freezer with hops. A kit will give you exactly what you need, both grain and hops, can be purchased unmilled (in many cases), and you use it all up at one time. Just a thought. ps .. A five gallon kit will make 2 half batches.
 
Yeah for small footprint kits are best. You can brew 5 gallon batches with nothing more than a bucket with a tap. When you're done you can store all your crap in the bucket as well.

Regarding all grain or BIAB - I've done a no-boil, no-chill beer before. It took a while (it's not fast), but it worked. Beer tasted a bit green (I guess that was due to the no-boil part), but it worked.

I just mashed in a pot, and while the mash was going on I was boiling the hops in my sparge water. Sparged with the boiling hop tea, sealed and pitched yeast next morning. Worked just fine.
 
Hi,

Do you actually bottle straight from that fermenter?

Your setup looks superb. Well done!!!

Thanks.

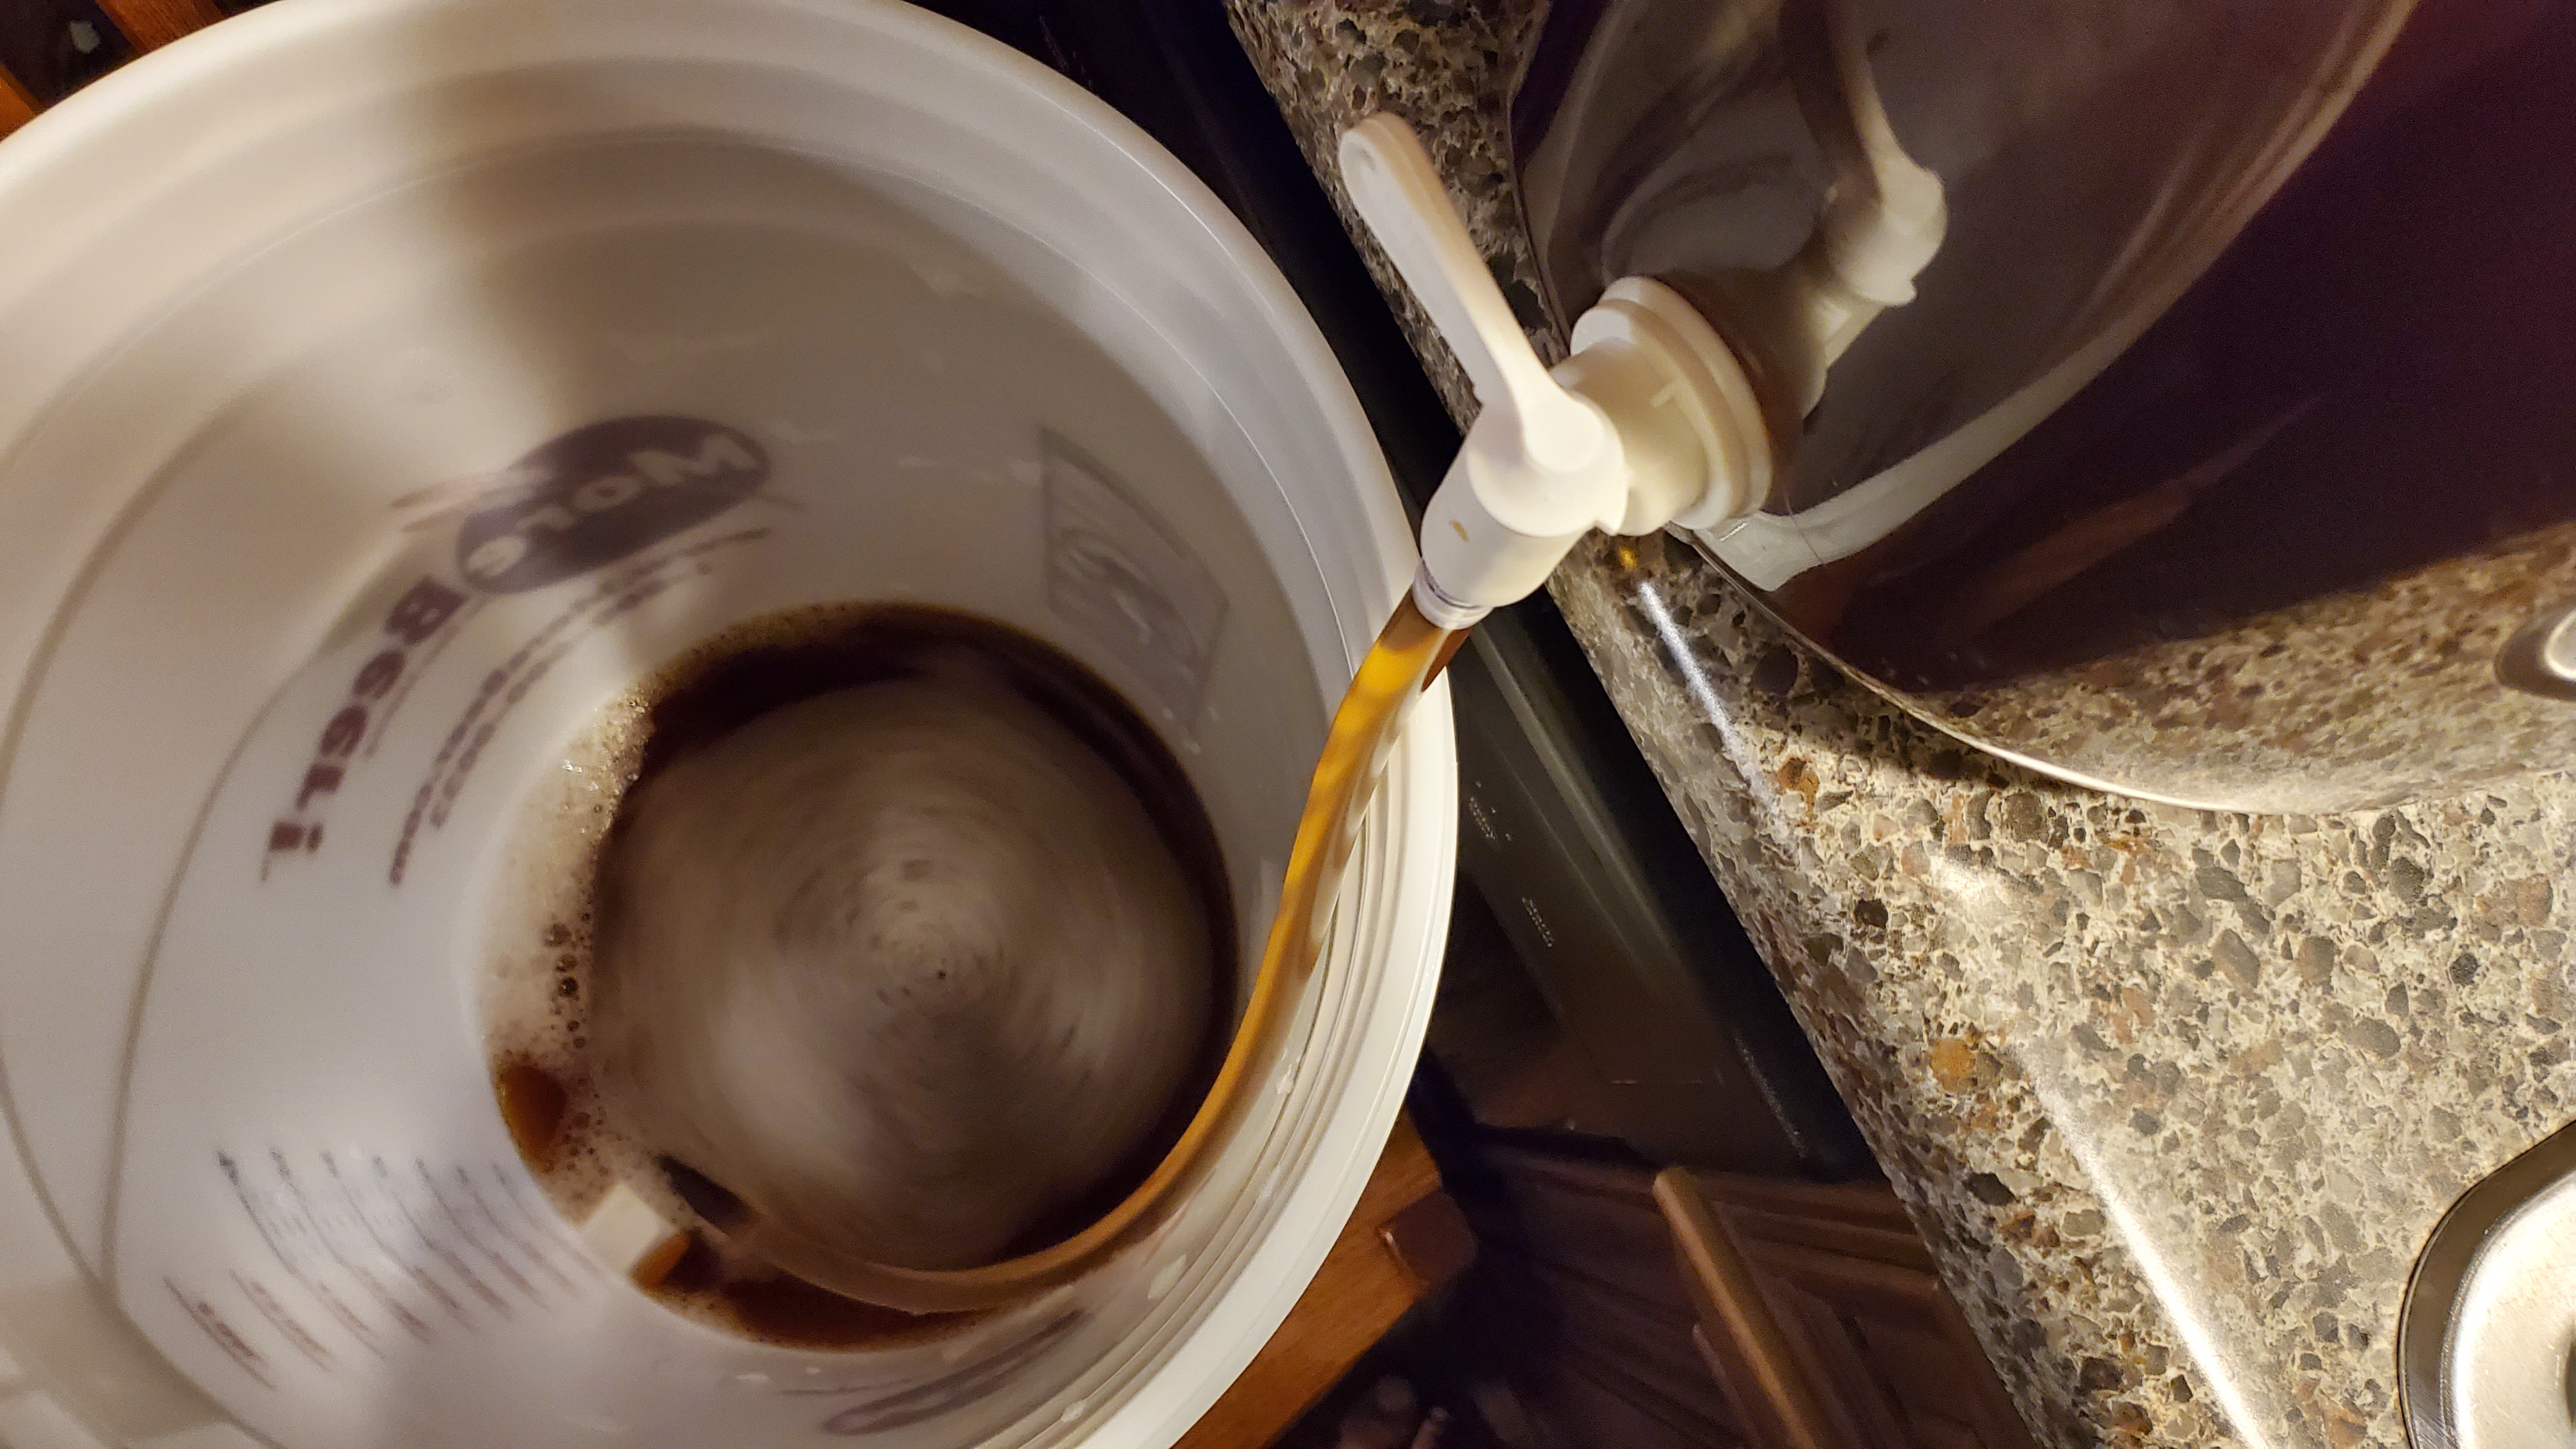
One could bottle from the fermenter dosing each bottle separately. I prefer to bulk prime in a bottling bucket.

With the same 3/8" tubing used on the auto-siphon pictured earlier, run it around the bottom of the bucket so the beer doesn't splash too much. Once there's a layer over the whole bottom I'll gently pour in my sugar solution. The continued swirling mixes the solution throughout. With this method, I have found very consistent carbonation levels over two dozen batches. Others have found inconsistent carb levels due to insufficient mixing and recommend gently stirring with a spoon.

20200725_210736.jpg


From there, I attach a bottling wand directly to the spigot and away we go.

To all of this, add cleaning and sanitizing. I rinse everything as soon as possible with moderately hot water so things don't have time to dry and get stubborn. Oxyclean Free is my workhorse cleanser. I store things after they airdry. StarSan in a spray bottle sanitizes everything just before use.

Oh, a bottle opener and a glass complete my kit.
 
First off, I would say that the smaller all-in-one electric setups would be a great place to jump in if $200-$300 is in your budget. I hear mixed info on how well a 120V system works for a full 5 gal batch, but it should be fine for a 2 to 3 gal batch. A setup like this would give flexibility to brew in a garage, bathroom, deck/patio...or in the kitchen.

I picked up equipment to support stovetop 2.5 gallon batches a few years ago (and also 5 gal batches split into 2 fermenters). Basically a 5 gal kettle, smaller bag and some 3 gal Fermonster fermenters (I had other items like a grain mill and immersion chiller). It really is a great size batch and makes entry into all-grain brewing easy. An extract brewer may just need to spend $15 for a bag to get started started. I recently put out some articles and a video on the topic, but my setup is not much different than some of the pictures above: Stovetop BIAB: The Best All-Grain Batch Size! | Cascades Homebrew

I keg most of my beers, but when I do bottle I prime individual bottles and bottle directly from the fermenter spigot.
 
would be a bit more elegant then BIAB for a small batch....just need to swap out the spigot with a ball valve....

I recently picked up one of those 2 gal coolers and my first batch using it is fermenting now. It is a pretty boring SMaSH (trying out my new bag of Rahr 2-Row and just bittered with Warrior). I use a medium sized grain bag to line the cooler. I just ignored the spigot and dumped the wort into my brew kettle. The lid of the kettle is not very well insulated, but my mash only dropped about 4F over an hour, which is fine with me.

WalMart sells some (rather thin) 3 gallon kettles for around $12, so of course I had to get a few of those. It is a great sized pot for 1 gal extract or all-grain batches.

IMG_3066.JPG
 
hey guys.

I'd like to brew (all-grain), but keep it simple (yet good enough so that my friends would envy my brew).

By simple I mean minimalistic so that I wouldn't have to dedicate a lot of room to the equipment/ingredients. I know there are a few blogs out there, but I was wondering if someone who has been brewing like this could point me in the right direction (ideally a place where they have documented there experience).

I assume I need a big enough pot. I need to calculate how much malt I could mash on the stove. This is where it gets daunting (already? :))

I just want to keep it simple, yet enjoy a good pint of my own beer.

To save on the primary fermenter head down to a booster juice or a smoothy shop and ask for some empty yogurt pails with lids they are about 2 or 3 gallon. Most places give them away prior to covid. They just need a wash and sanitize and add a hole for the air lock
 
+1 on the Anvil 6.5. It’s everything you need to brew small 2.5 or 3 gallon batches and it’s a small enough system that it works well on 120v, you don’t need a 240v outlet like larger electric systems. You just have to keep in mind it only has an 8 lb grain capacity. That’s fine for an average 2.5 or 3 gallon batch. You just won’t be making any barleywines or imperial stouts unless you add extract.

Outside of that, you just need fermenters, and your regular racking cane and hoses. Bottle capper if you want to bottle. I use a 5 gallon carboy for a primary and I have 3 gallon carboys I can age or settle or dry hop a batch in after that. I have glass ones because I’ve been using these since before lighter plastic ones like the Better Bottle or Fermonster were available. If I had it to do again now, I’d go with the plastic ones.

There are always extras you can buy that are nice to have. Cleaning brushes, etc.
 
Yeah for small footprint kits are best. You can brew 5 gallon batches with nothing more than a bucket with a tap. When you're done you can store all your crap in the bucket as well.

Regarding all grain or BIAB - I've done a no-boil, no-chill beer before. It took a while (it's not fast), but it worked. Beer tasted a bit green (I guess that was due to the no-boil part), but it worked.

I just mashed in a pot, and while the mash was going on I was boiling the hops in my sparge water. Sparged with the boiling hop tea, sealed and pitched yeast next morning. Worked just fine.
Forgive me if this is off topic, but if you want a small footprint, buy kits. Once you start buying in bulk you will fill an entire closet with grains and a good part of any freezer with hops. A kit will give you exactly what you need, both grain and hops, can be purchased unmilled (in many cases), and you use it all up at one time. Just a thought. ps .. A five gallon kit will make 2 half batches.

There is another option and that is buying a specific amount of grain from your LHBS (who will also mill it for you sparing the need for a mill, whose pros and cons were previously discussed). Kits will with be milled or whole so that’s a wash compared to a LHBS and if we are talking minimalists then the LHBS can sell exact amounts for small batch.

specialty grains come in 1lb packs which results in extra which I vacuum seal and store for another batch. Same with hops not being used in 1 oz increments. If space was critical, I could give away or toss adding a few dollars to the cost of the batch, but we are talking not much space and I enjoy creating batches that clear out the inventory.
 
Thanks.

One could bottle from the fermenter dosing each bottle separately. I prefer to bulk prime in a bottling bucket.

With the same 3/8" tubing used on the auto-siphon pictured earlier, run it around the bottom of the bucket so the beer doesn't splash too much. Once there's a layer over the whole bottom I'll gently pour in my sugar solution. The continued swirling mixes the solution throughout. With this method, I have found very consistent carbonation levels over two dozen batches. Others have found inconsistent carb levels due to insufficient mixing and recommend gently stirring with a spoon.

View attachment 724818

From there, I attach a bottling wand directly to the spigot and away we go.

To all of this, add cleaning and sanitizing. I rinse everything as soon as possible with moderately hot water so things don't have time to dry and get stubborn. Oxyclean Free is my workhorse cleanser. I store things after they airdry. StarSan in a spray bottle sanitizes everything just before use.

Oh, a bottle opener and a glass complete my kit.
attach a bottling wand directly to the spigot - genius!
 
attach a bottling wand directly to the spigot - genius!
Even better - get some food-grade hose (I have good silicone hose) and attach the hose to the spigot, and the wand to the other end. Now you can bottle straight in the crates - don't even have to hold the bottles. I just move the wand from the one bottle into the next.
 
Back
Top