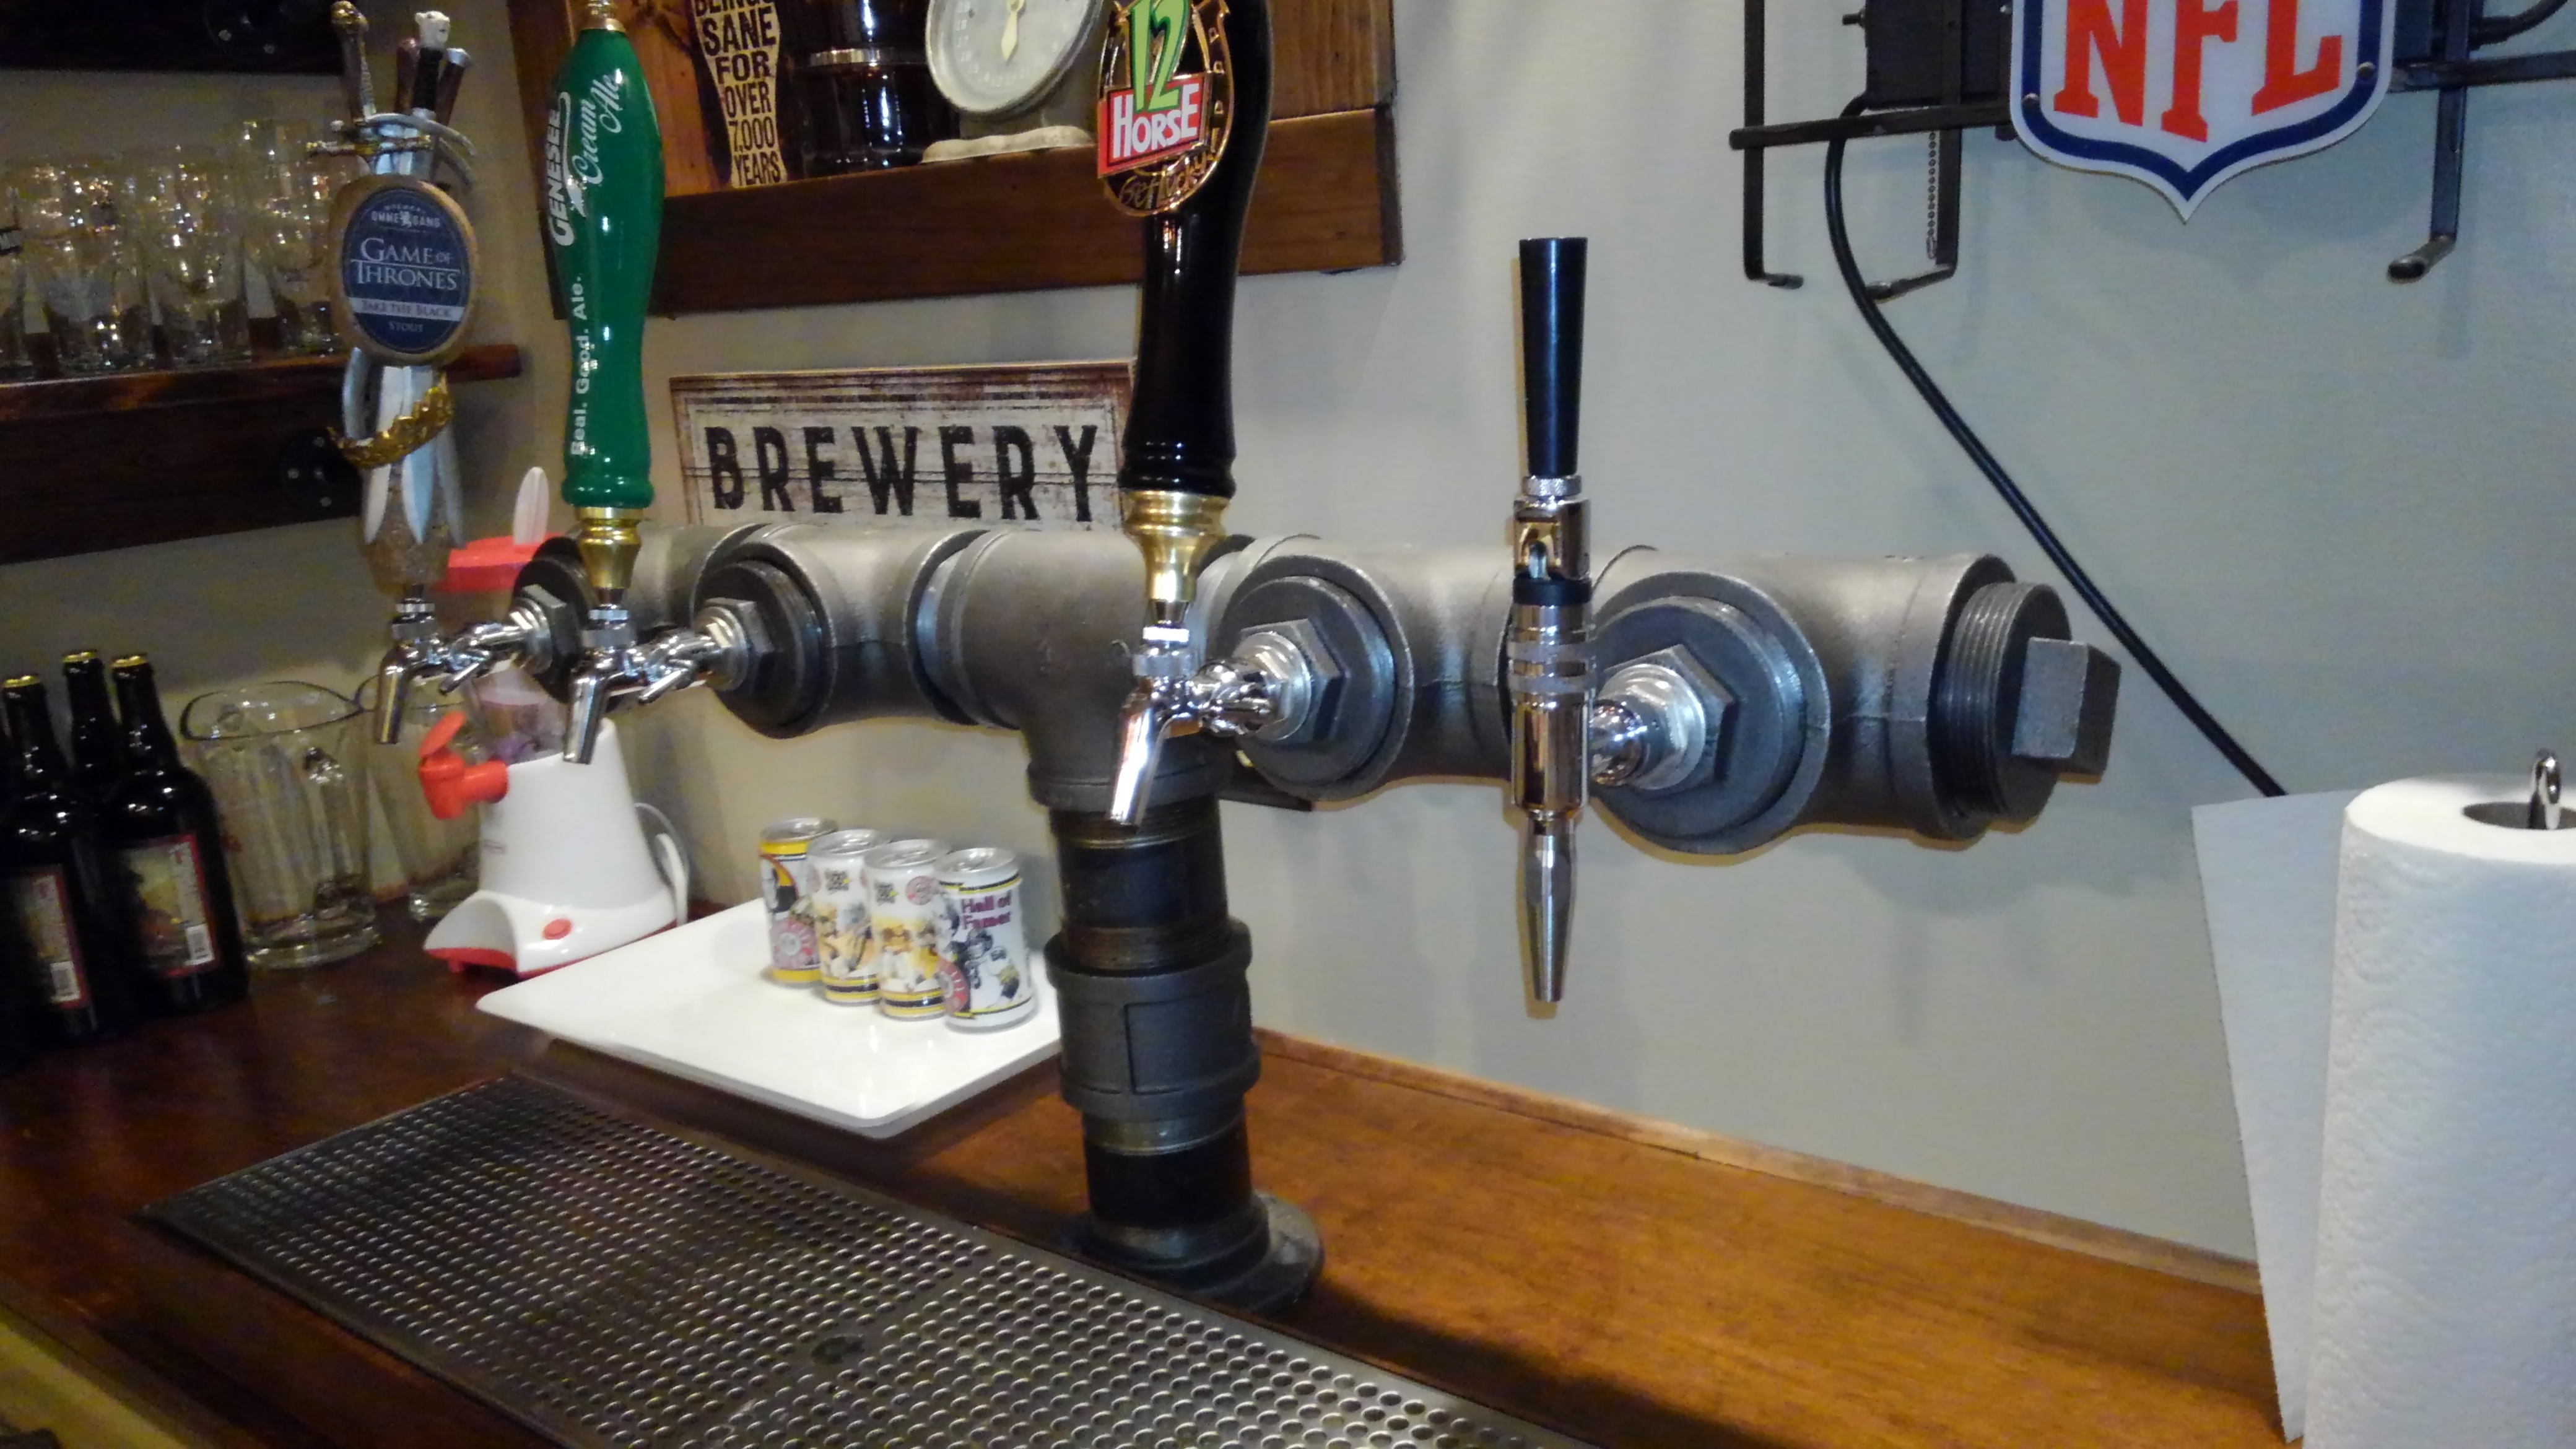
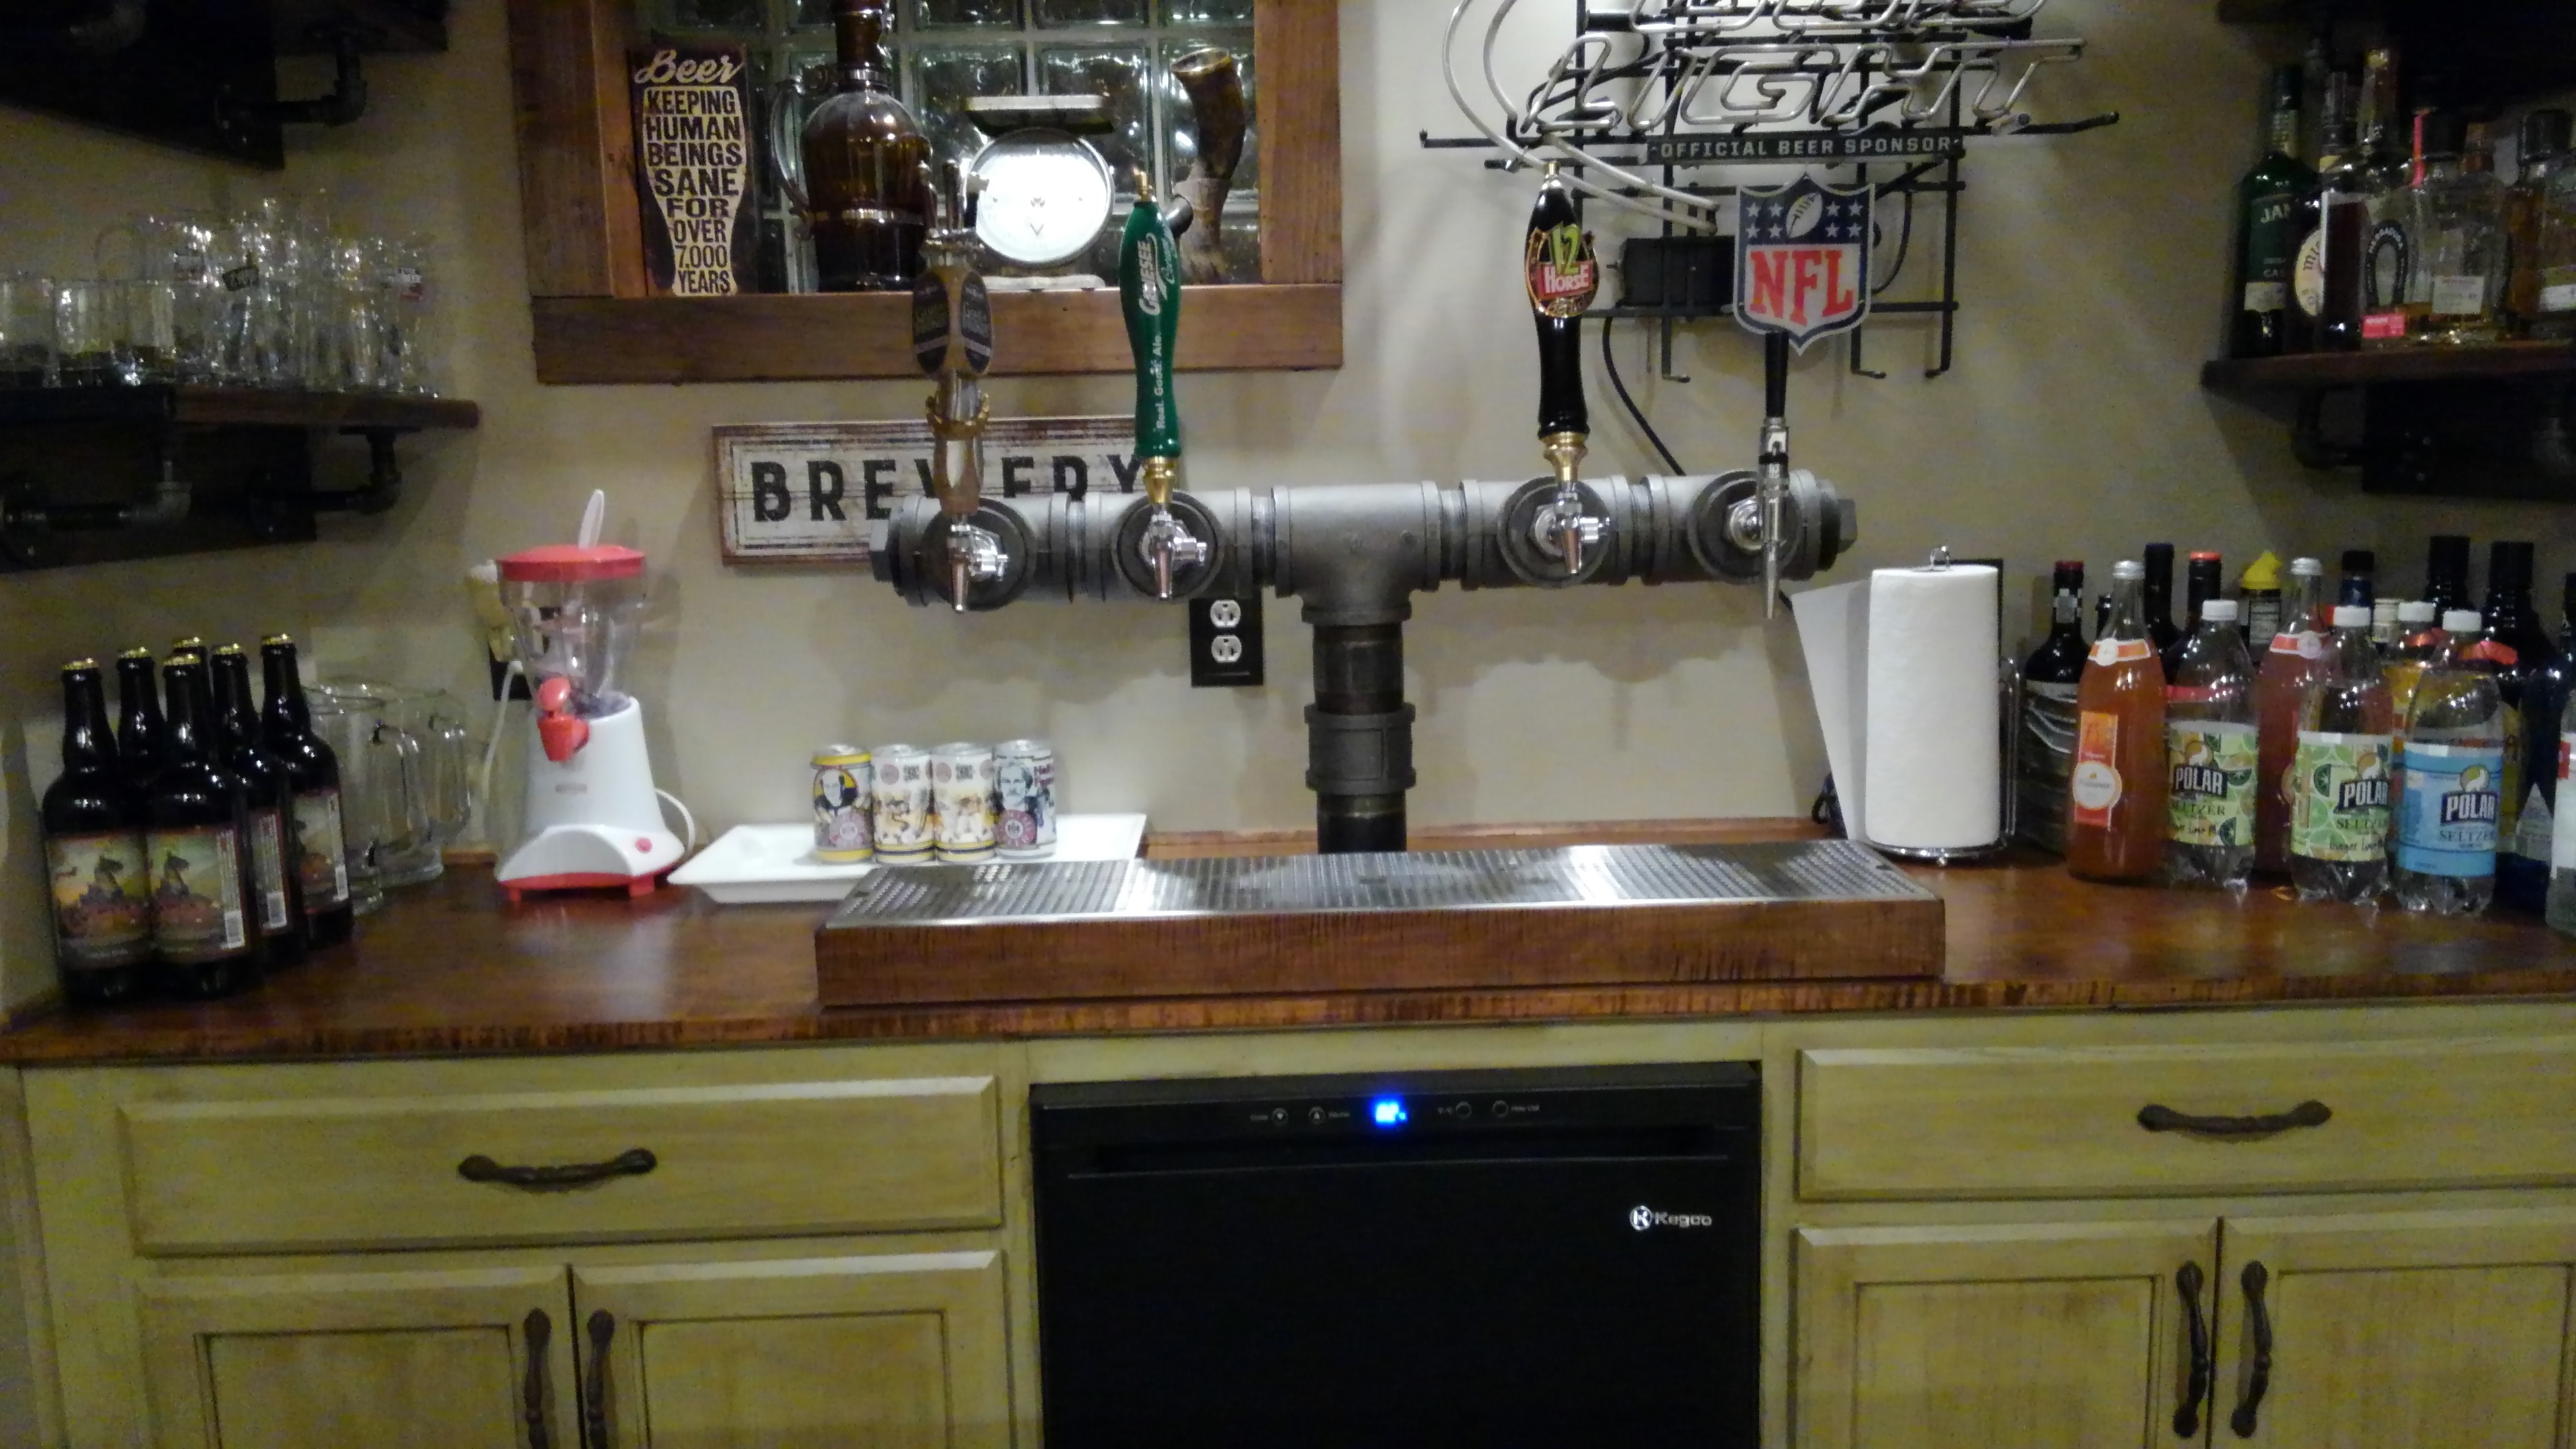
I've been working on a 4-tap black iron tower. It's made with 3" pipe and has a 2" PVC pipe running through it. I've got the thing built and insulated with foam, but I can't finish it.
I can't figure out how to attach the beer lines to the shank, and then attach to bushing to the tower. The bushing is threaded, so In order to attach the bushing I have to spin it on. That requires the beer line to be able to spin as well.
Originally I assumed that once I ran the beer line, I'd be able to attach the tubing to the faucet and spin the bushing. I thought the tubing would be able to spin freely inside the tower. This isn't the case. The tubing is pretty sticky and will not spin inside the tower.
Anyone know if the tubing will spin on the barb once I add a worm clamp to it? Can I add a little keg lube to the barb to make it easier to spin inside the tube?
I've thought of possibly using quick connects that are able to spin once engaged. I'd connect the lines, push them into the tower, and spin on the bushing. Hopefully the quick connects would spin freely.
So... how the hell do I attach this thing?


Last edited: