spittybug
Well-Known Member
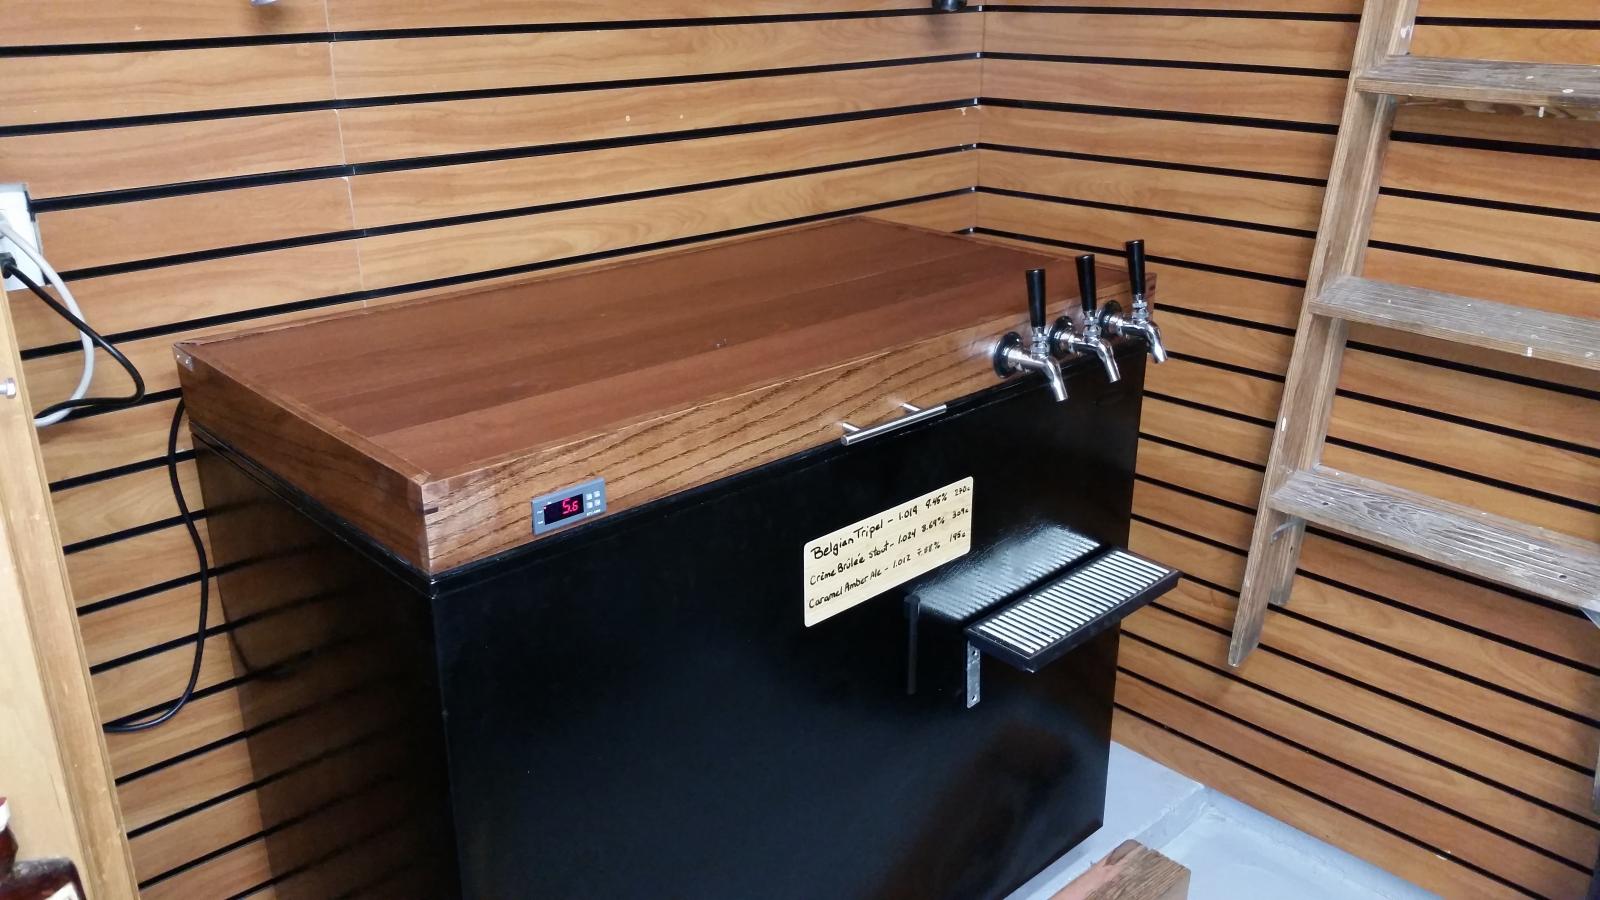
After much inspiration from other projects in this thread I built my new keezer top. I lucked out and found a 10.5 cuft Danby freezer on Craigslist. I removed the top and after one aborted prototype using PVC as a tap tower I went old school and built this top.
Originally designed to have absolutely no nails or screws, I had to breakdown and put corner braces inside my miters on the front and both inside and outside on the back ones. There is not only a lot of stress on those joints but my garage wall has slats that tend to "grab" the edge of the back when opening the top and this really stresses it.
The side rails are solid red oak I scooped up at the local Habitat for Humanity resale shop. I got 3 14' planks, ~8" wide, 1" nominal thickness for $5 apiece!!
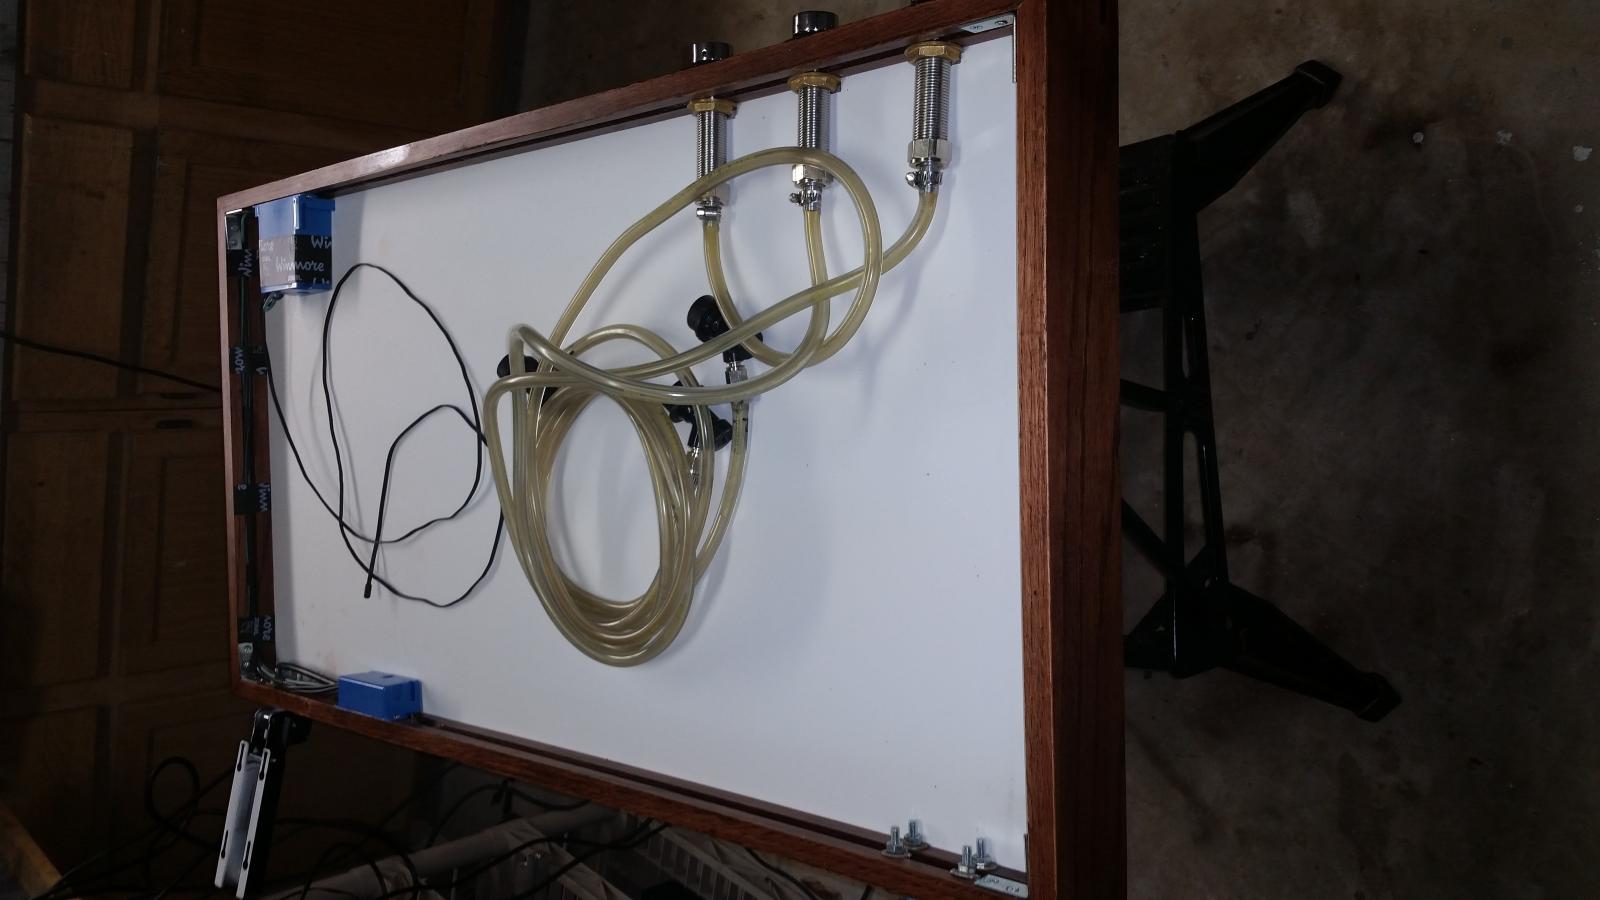
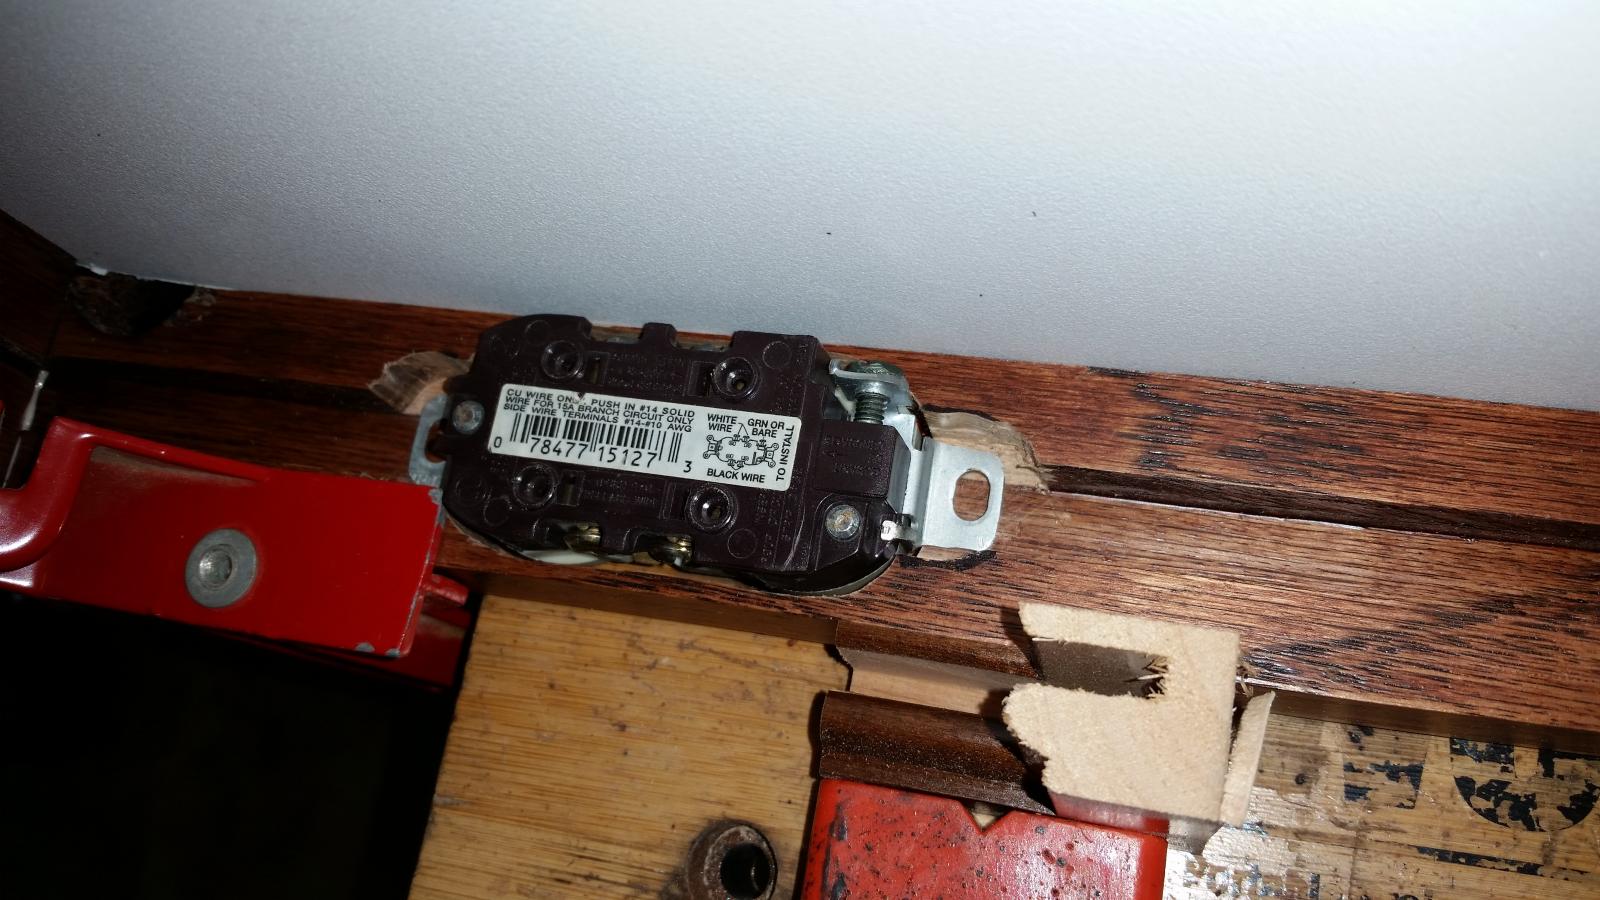
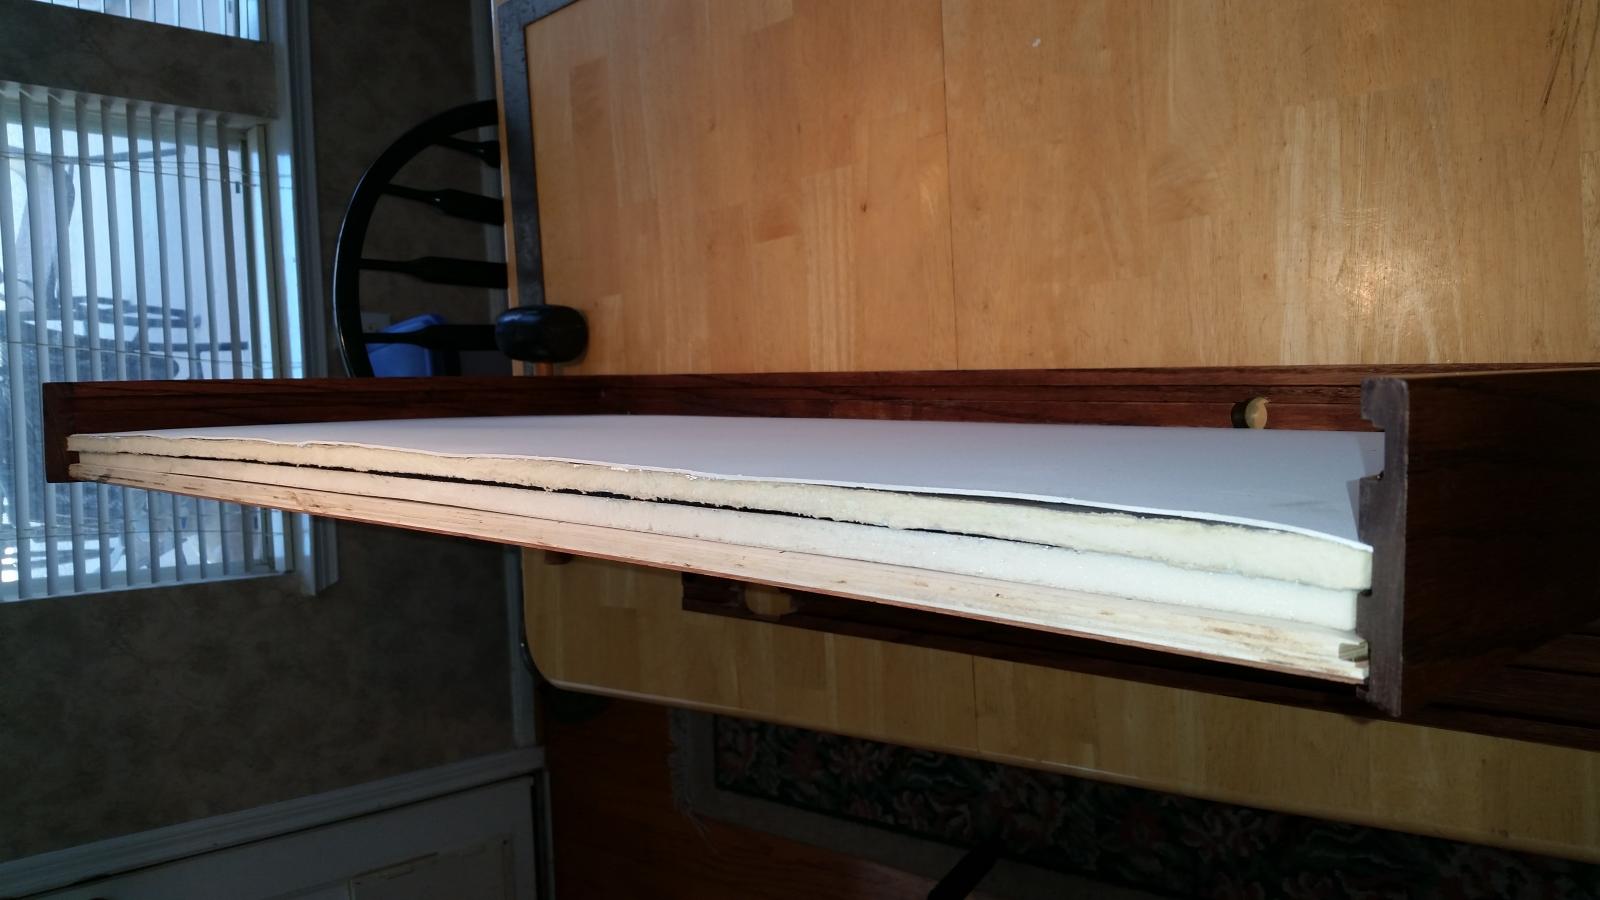
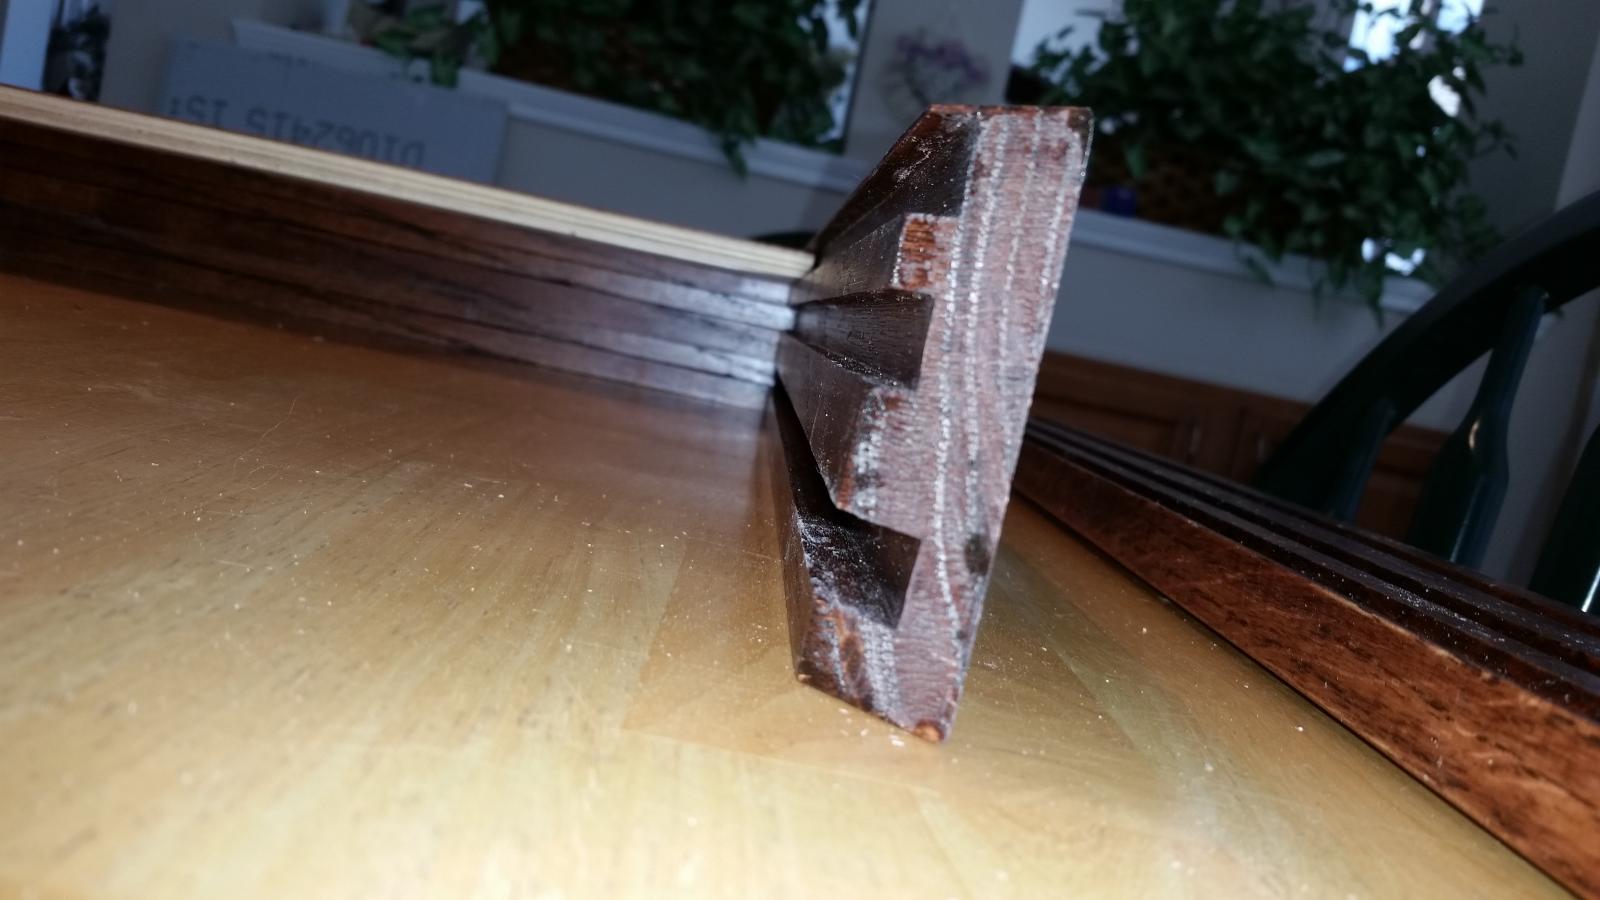
I put in dados for the top, the second layer of insulation (with the plastic head liner) and for an electrical cable conduit. I cut recesses for an electrical socket and for the controller. 3 tap holes are located at the end of the keezer out of the way of the kegs (it will hold at least 6). I didn't need the height of a collar but concluded I wanted taps on the front instead of a coffin, hence the whole lid construction. I assembled three sides and then slid in the top (prefinished hardwood flooring - also from Habitat), the two layers of foam insulation and the plastic top. Then I locked them in with the last rail. I used the foil backed rubbery pipe insulation tape on the interior of the rails.
Lessons learned:
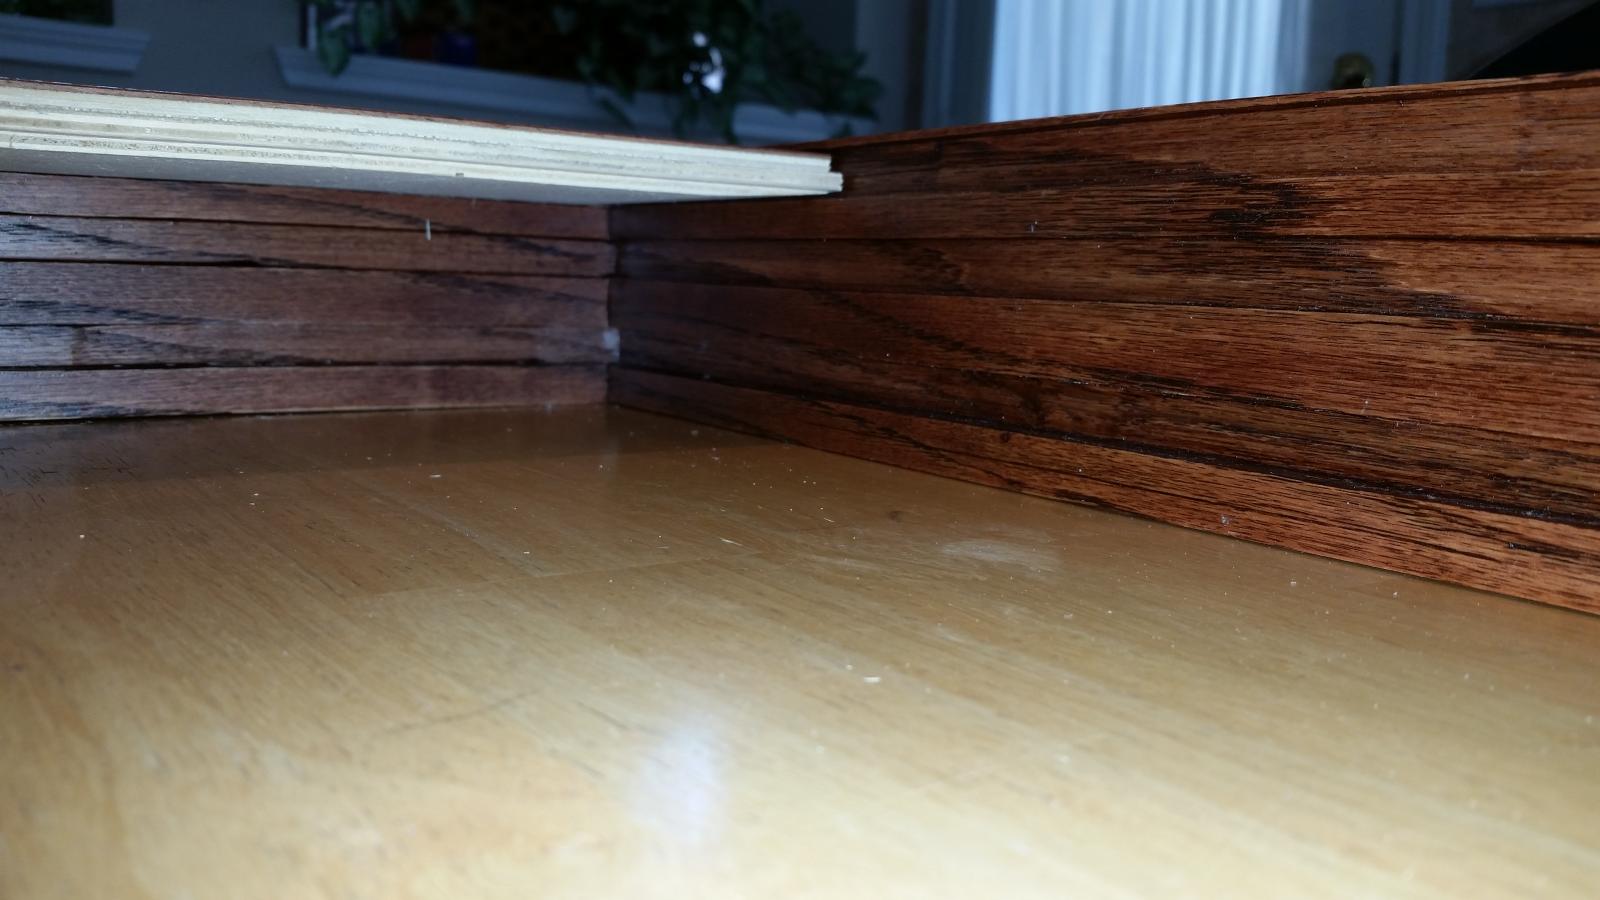
As I wanted to protect the wood, I prefinished the pieces before assembly. If you do this, you MUST re-sand the miters for the glue to penetrate properly. Knowing I wanted to therefore strengthen the joints, I keyed the front ones by cutting into the joint and inserting a contrasting wood key. I like this technique, but it's a pain to do without a biscuit joiner or a non-plunge type router. I did by hand and even after touching up the finish you can still see (pronounced by flash) a difference in the finish. Lastly, measure 3 times, cut once. My rails were perfect and then I sat back and marvelled at the hole I cut for the outlet......then realized it was right where one of the hinges goes.... ugh. That repair took a while...
Since I can reuse my top surface and insulation, I'm going to shortly remake a set of rails with dovetail corners, a thicker "lip" above the flooring surface and maybe a bit taller. I may be selective as to where the power cable groove runs since it isn't necessary all the way around.
Question: For now this will remain in the garage. One day I may want to enclose it to make nice furniture for the house. How does everyone handle the heat retention issue? My keezer gets very, very warm to the touch on its outside walls. It works very well and gets to temperature very quickly, but I certainly wouldn't want to encapsulate it and keep that heat from radiating away as intended. Does everyone use muffin fans or something?
**I just looked at the uploaded pictures and boy that flash REALLY makes the stain look bad at the corner. In person it is lighter, but no nearly so obvious as in the picture....


