Keezer Build

Homebrew Talk - Beer, Wine, Mead, & Cider Brewing Discussion Forum

Help Support Homebrew Talk - Beer, Wine, Mead, & Cider Brewing Discussion Forum:

This site may earn a commission from merchant affiliate links, including eBay, Amazon, and others.

Frock

Member
Joined
Aug 12, 2010
Messages
6
Reaction score
0
Location
VT
Since everyone loves a good keezer build, i figured i would post mine. Rather than go stand-alone keezer, i wanted a full bar built around the keezer. So after research i found a Fridgidair model freezer that was only 22" deep - thus the standard counter depth could be achieved.

Post 1: the start of the build.
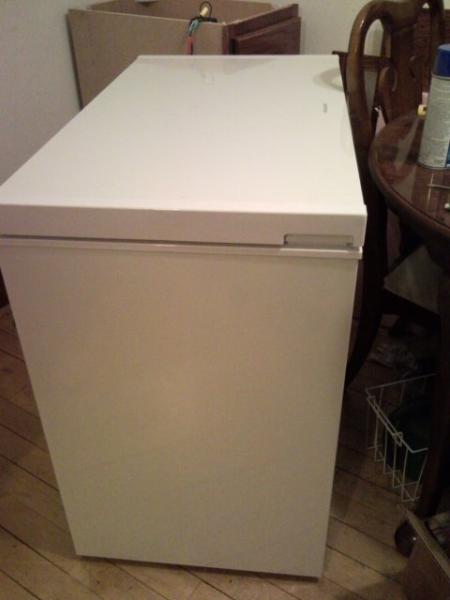
I used a standard 7.0 cu ftchest freezer: 229 from the local superstore

Purchased 2 of the 15" unfinished oak cabinets from the orange labeled box store. 2 for $70

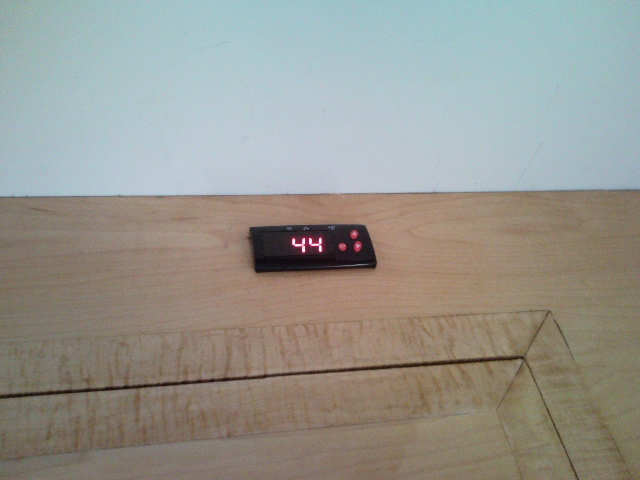
Purchased a Love temperature controller with thermistor. $75

Maple plywood for counter top and tap tower. 1sheet of top notch material AA for $85 (70 for the sheet good and 15 for lunch for a friend with a truck).

The collar was built from scrap lumber from the Local Orange labeled hardware box store. 50cents a side. Took about a month to collect enough.
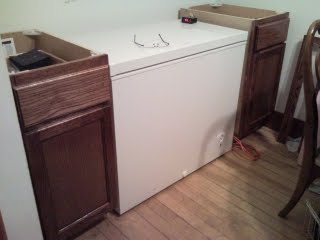
1.jpg


2.jpg


3.jpg


4.jpg


7.jpg
 
Post 2:
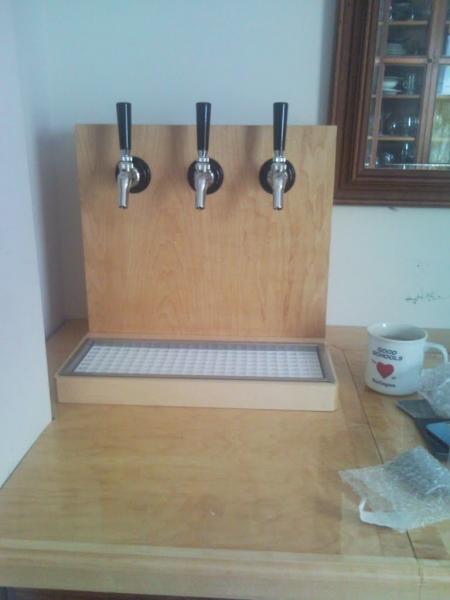
So, the tap tower was made from scrap material from the counter top.

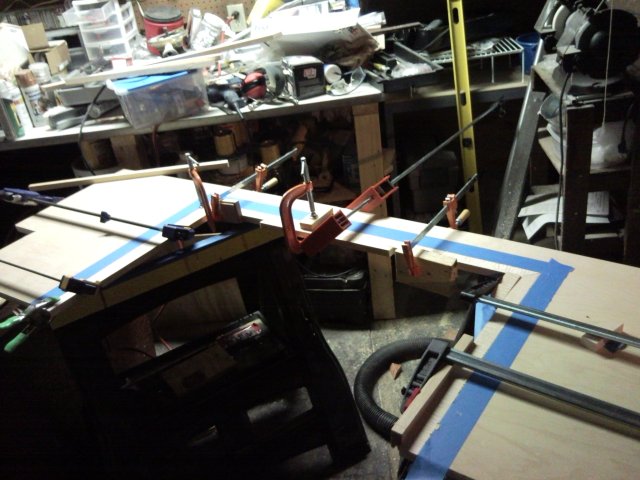
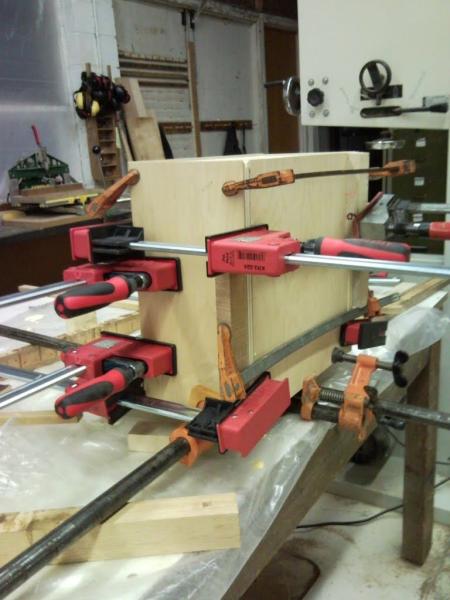
I finished the counter top in that Mirror Coat epoxy finish. I finished the tap tower in wipe on poly. The Tap Tower was built in a community wood shop - that for 100bucks rents out its shop for a month. They have planers, saws, routers, all the tools you need. Plus, usually there are experienced shop users who can help you along the way.

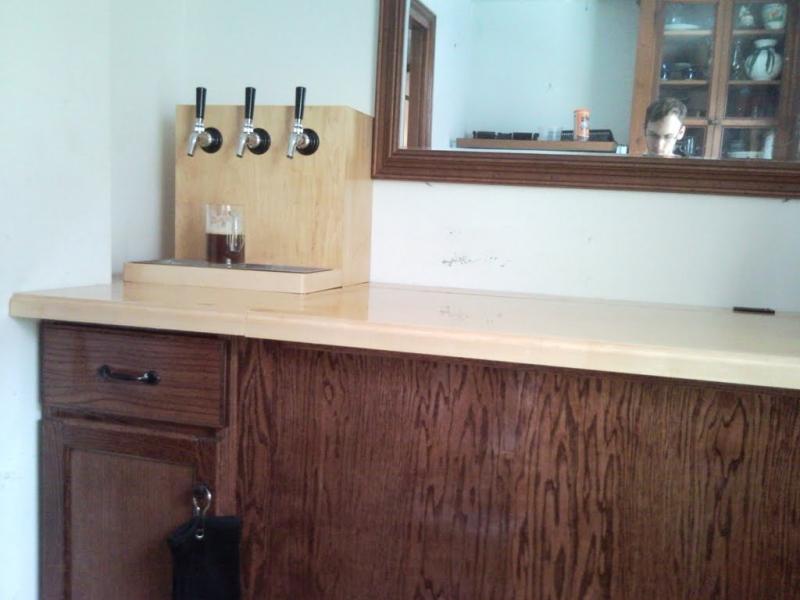
The tap tower was designed to be big enough for my tallest pint glass. Wide enough for 3 pint glasses at the same time, and sturdy enough to take a good beating on the tap handles.

I did take the time to cut all the ply at a 45degree angle to hide the plywood edges when the pieces were glued together.

And no - you can never use too many clamps.

9.jpg


SNC02504.jpg


SNC02511.jpg


SNC02512.jpg


SNC02524.jpg
 
Post 3:

As you can see the tubing is being held in PVC Pipe. The pipe provides some insulation properties to the surrounding atmosphere. I ran 5 lines in the pipe. 3 for beer and 2 were for spares or glycol cooling in the future.

SNC02665.jpg


SNC02669.jpg


SNC02713.jpg


SNC02716.jpg
 
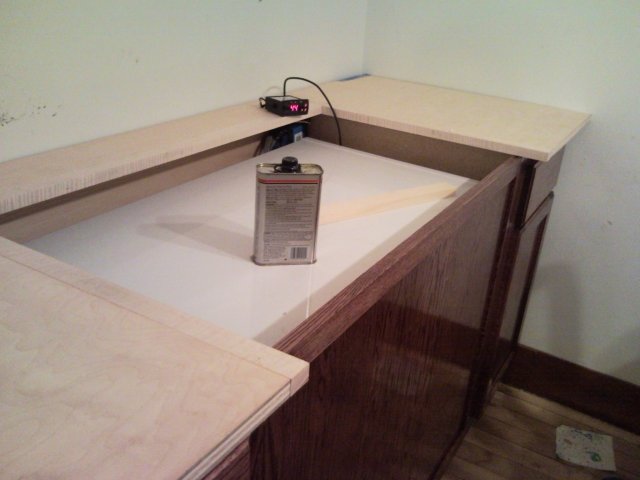
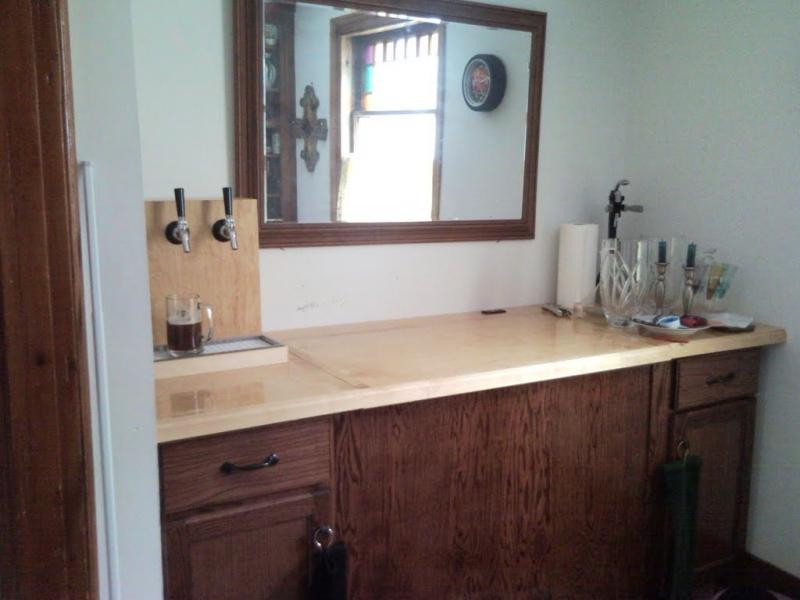
Lastly the finished product. I happened to build a nice panel to cover the freezer. The panel was pre-cut oak from the box store with a 1/4 inch thick oak veneer plywood. I stained it the same color as the cabinets and then finished the cabinets and panel with 4-5 coats of wipe on poly.

The finished product was a great custom built in. The cabinets on the side hold beer glasses, liquor, and other bar related things. The counter is 24 inches deep - b/c 1) its standard depth and 2) i had intended on using one of the laminate counters with built in back-splash that can be purchased from the box stores. But i changed my mind when i realized i didn't really want a laminate back-splash.

Also, since the standard counter height was about 4" taller than the freezer, i removed the freezer lid and hinges. I then build a collar that was 3.5" tall. Then i used 2x2 blocks cut to height to level and raise the freezer so that it just touched the bottom of the counter. Then i used 25lb rated cabinet hinges to make a lid. I caulked the collar to the freezer, screwed it to the existing hinge location and then put weather stripping around the collar so the counter/lid would form a nice seal. I was going to insulate, but got lazy.

Feel free to visit www.thebrewdoctors.com/gallery/galleryguide/dr-house-photos/built-in-keezer

for a more in-depth build writeup. Feel free to post any questions you might have. I will try to answer.

SNC02723.jpg


SNC02724.jpg


SNC02725.jpg
 
Oh yeah, a quick update - the wife and i decided to sell our home and move into a new home.

So, I had the floors re-finished and the keezer is, of course, built in. Therefore, the floors under the keezer were not re-finished. I had to leave the keezer behind.

Now, I know you are all thinking - what lucky new home owners. However, the day of closing on the final walk through, I quote:

New Owners: "This thing isn't attached to the wall or anything?"
Me: "No"
New Owners: "Then it can be moved?"
Me: "Not easily, but it is a free-standing bar."

5-10minutes later. We are walking out.
New owner to New Owner's Spouse: "See we can totally remove the bar and use that space"
 
Back
Top