Jig-free keggle cut

Homebrew Talk - Beer, Wine, Mead, & Cider Brewing Discussion Forum

Help Support Homebrew Talk - Beer, Wine, Mead, & Cider Brewing Discussion Forum:

This site may earn a commission from merchant affiliate links, including eBay, Amazon, and others.

Rick500

Well-Known Member
Joined
Jun 17, 2008
Messages
2,599
Reaction score
22
Location
KY
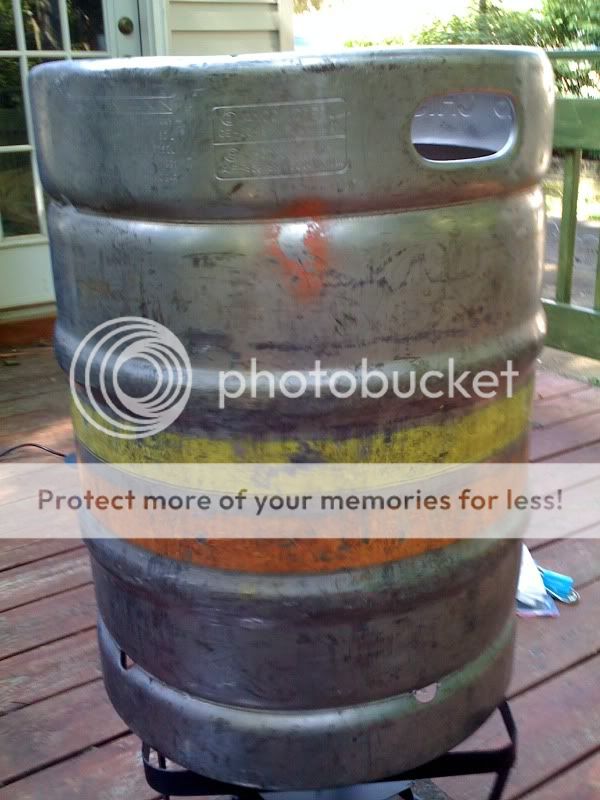
I posted several days ago wondering how to cut the top out of my British keg (with a strangely-shaped non-circular collar that wouldn't come off).

I finally figured out what I think is the best way, and it worked perfectly.

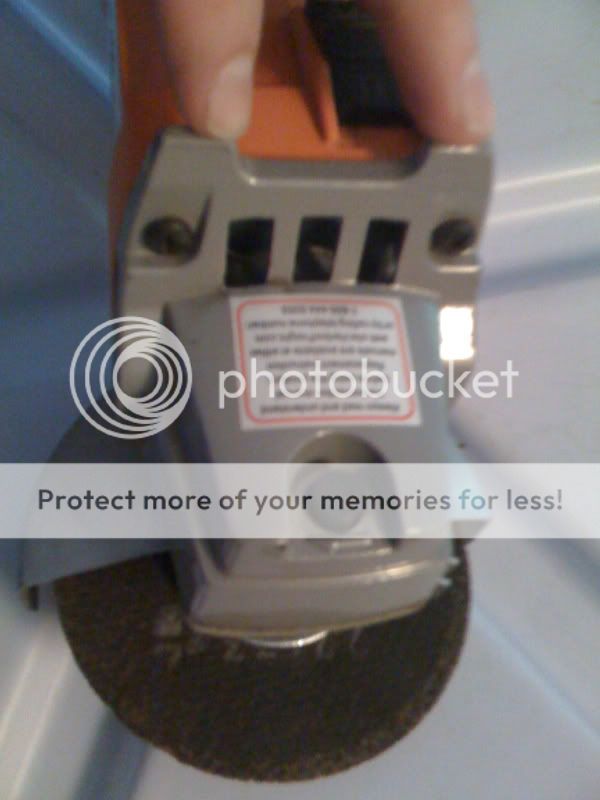
I just moved my 4" angle grinder's guard into a position where it would contact the inside rim of the keg in two places, as I moved the grinder around the inside perimeter of the keg. [Edit: My grinder also has a shape such that there is a definite flat spot to rest on the top of the keg so that it's at a consistent angle to the top of the keg.]

This should work with any keg, no jig required.

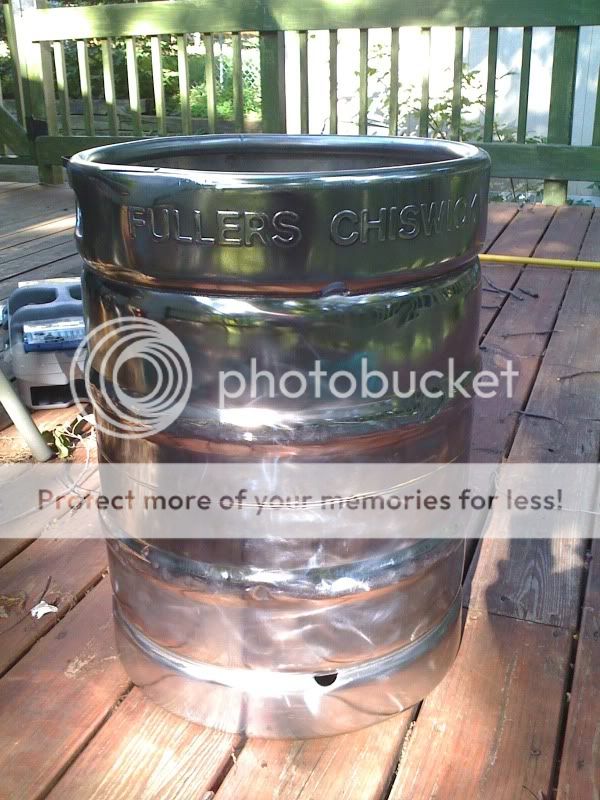
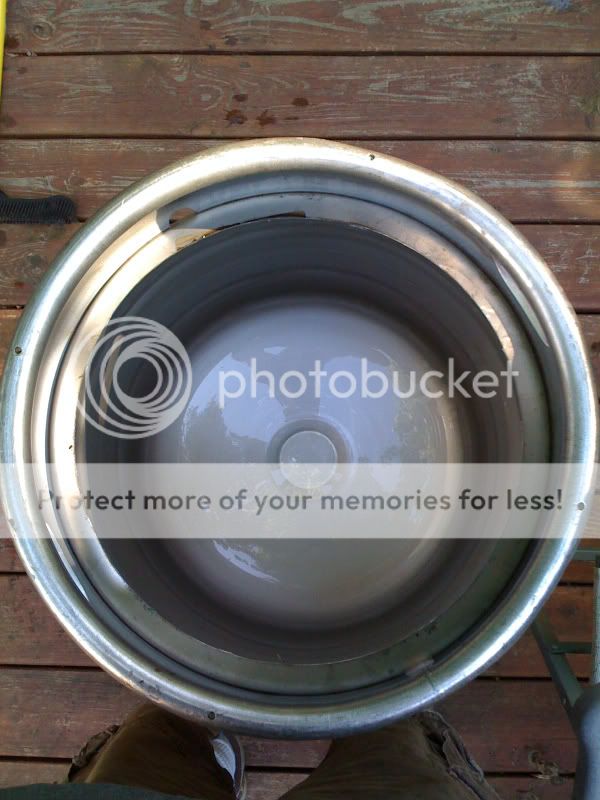
Here it is after cutting but before cleaning up the edge.

bf21c095.jpg


If anyone would like to see a pic or two demonstrating the placement of the grinder, let me know.
 
Yeah, i'll need to be doing this again soon, pics would be great!
 
Okay, in the first pic below, ignore where I'm pointing. Notice the position of the guard, so that one point on each side of the wheel will contact the inner keg rim. There's a black plastic button visible there in the lower part of the grey housing. The two points that are the ends of the upside-down U-shape surrounding that black button are the two points that contact the top of the keg and provide a positive indication of the grinder being held perpendicular to the top of the keg.

The second pic shows the position in which I held the grinder as I worked my way around the keg.

6ffa6f6e.jpg

ca00a49d.jpg


Be careful to hold on to the grinder with both hands, and stop and take a break when your hands get tired. It took me less than 10 minutes to cut the top out of the keg, but my hands needed a couple of breaks during that time.

Also, work around the keg in the opposite direction that the wheel is spinning. That will lessen the chance of the grinder getting away from you. Always position yourself so that if the grinder does escape your grip, you're not going to be in the way.
 
???? a sharpie and a face shield is all i need, not sure why people go to great lenghts to make jigs. its a 5 min job, but then, i do this sort of thing every day.
 
Absolutely understood, Bobby, and I would have built a copy of your jig had my keg not been of the variety it is. It makes perfect sense to build your jig if it'll work with the keg at hand.
 
...and she cleaned up real purty too. I followed Bobby_M's polishing guide. Thanks, Bobby! And you weren't kidding...that was a lot of work.

It probably could have used some more work, but after I got it to this point I was quickly losing the will to live and had to stop. :D Besides, it's already much prettier than the rest of my brewing junk.

Before:
iPhoneUpload.jpg


After:
iPhoneUpload-1.jpg
 
Damn! How long did it take? I can't seem to find the right parts for my little grinder. I bought all the parts to do this at Lowes then took them all back as the scrubby pad gator thingy didn't fit right. I think I bought a 4.5 and needed a 4" and when I went back there wasn't any and no one to help out.
 
If I had to guess, I'd say it probably took a couple hours.

I have the 4" grinder from Harbor Freight, but it takes 4.5" sanding and polishing pads if I remove the guard.
 
nice polishing job. I left mine in the swirl stage and actually happy I did because if it was super shiny like yours I would feel the need to keep it really clean. Washing my car once a year is about as much effort as I want to put out. LOL
 
Sorry for being a necromancer but I had a question about this method. In the first picture, you refer to using the points that your fingers are resting on to make contact with the keg to make sure you are holding it perpendicular. I am confused by this as it seems like they would not be touching the rim of the keg. I think I am not thinking about it correctly...
 
Sorry for being a necromancer but I had a question about this method. In the first picture, you refer to using the points that your fingers are resting on to make contact with the keg to make sure you are holding it perpendicular. I am confused by this as it seems like they would not be touching the rim of the keg. I think I am not thinking about it correctly...


I was thinking the same thing. Can you elaborate how it comes in contact?
 
Okay, in the first pic below, ignore where I'm pointing. Notice the position of the guard, so that one point on each side of the wheel will contact the inner keg rim. There's a black plastic button visible there in the lower part of the grey housing. The two points that are the ends of the upside-down U-shape surrounding that black button are the two points that contact the top of the keg and provide a positive indication of the grinder being held perpendicular to the top of the keg.


He actually said ignore that, and use the U shaped portion around the spindle mount.

Here's a pic...

6ffa6f6e.jpg
 
AHHH! Thanks! I didn't see that portion on the original pic. I know he said ignore and that is why I was confused. So those ride on the keg. Thank you!
 
Yeah, sorry for the confusing pic. The pic above has the arrows drawn pointing to the right points. :)
 
only problem with getting a perfect hole with this is if your keg has been dropped and you have a out of round keg. it will still cut your hole, but it won't be perfect circle.

-=Jason=-
 
Back
Top