
bentglasstube
New Member
Hello everyone, I am new to this forum and I just thought I'd share a quick DIY
project I did to replace the temperature controller on my kegerator.
I am planning on building a new kegerator from an old full size fridge so I
wanted to put a better controller in this to use as a fermentation chamber
once I get the new fridge set up.
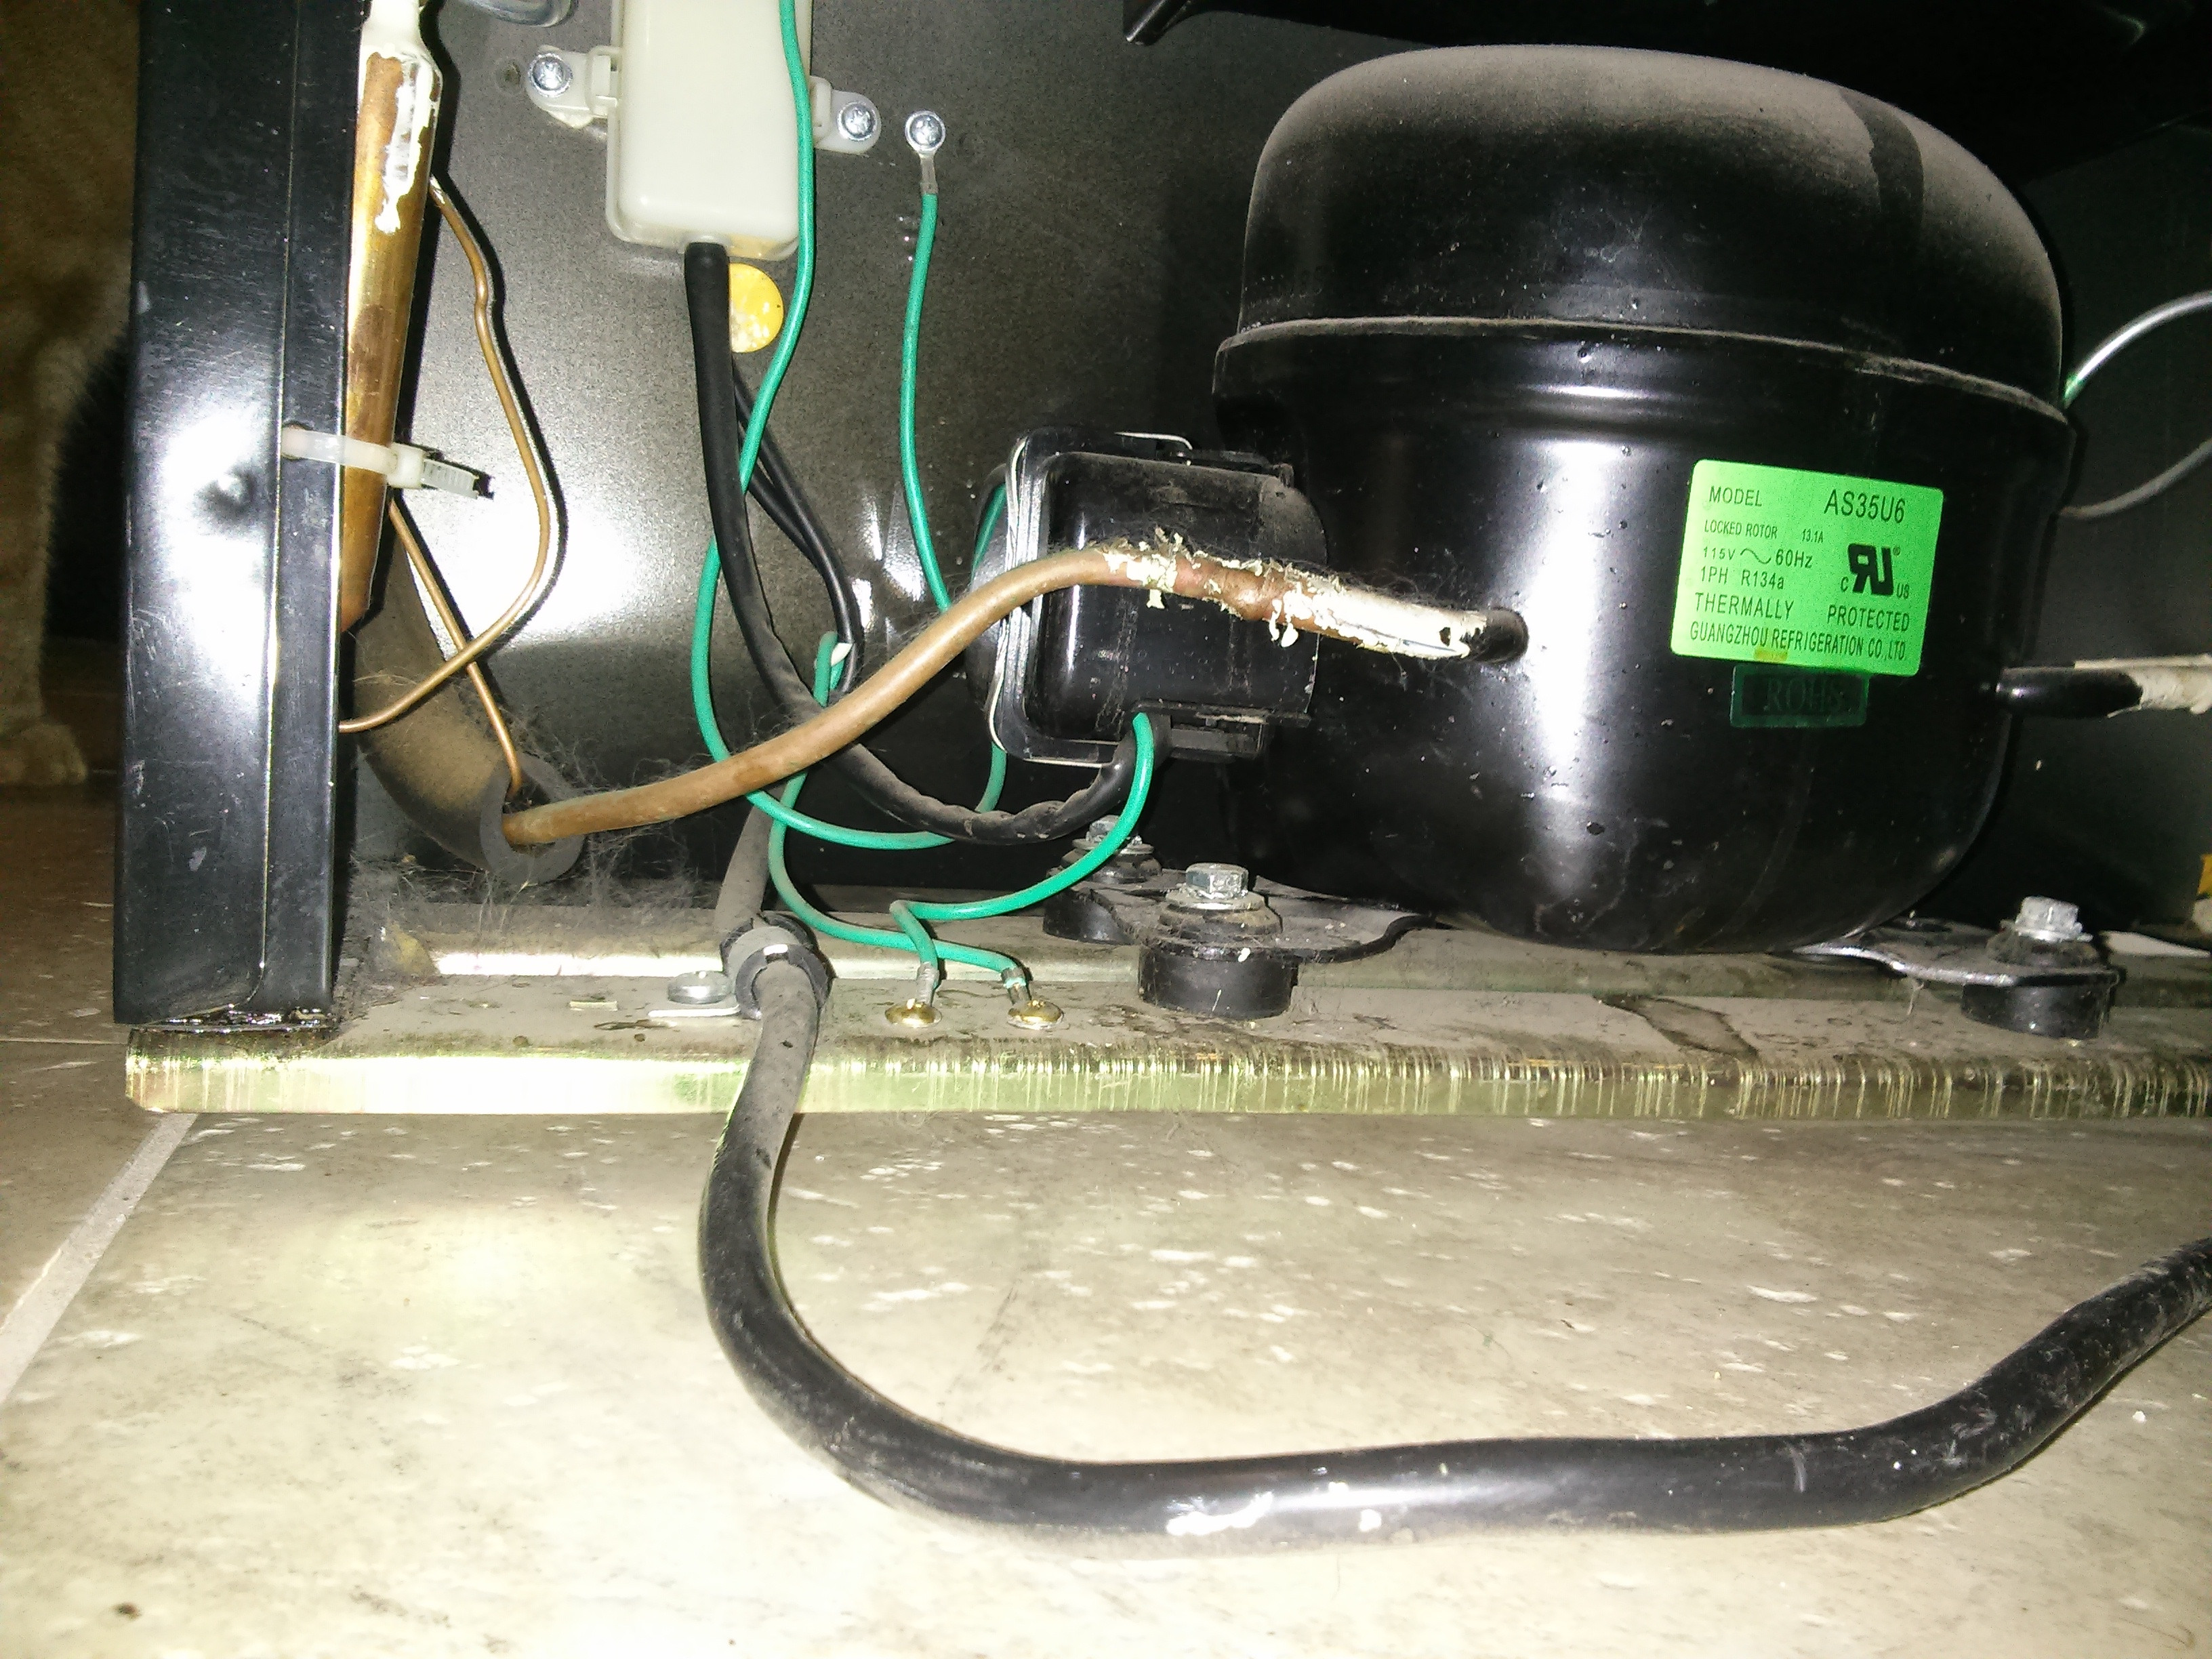
This is how the back was wired originally. The hot and neutral lines are fed
into the inside of the fridge where the existing "controller" closes them,
connecting the compressor. There is also a ground fed inside which is
connected to the chassis.
Since the STC-1000 I am using is made of plastic, I have no use for the ground
wire. As such, I have re-purposed it to act as the hot side of the compressor
circuit. I know this is not ideal since it is a green wire, but I did not want
to have to drill holes and run a new wire into the fridge for such a minor
project.
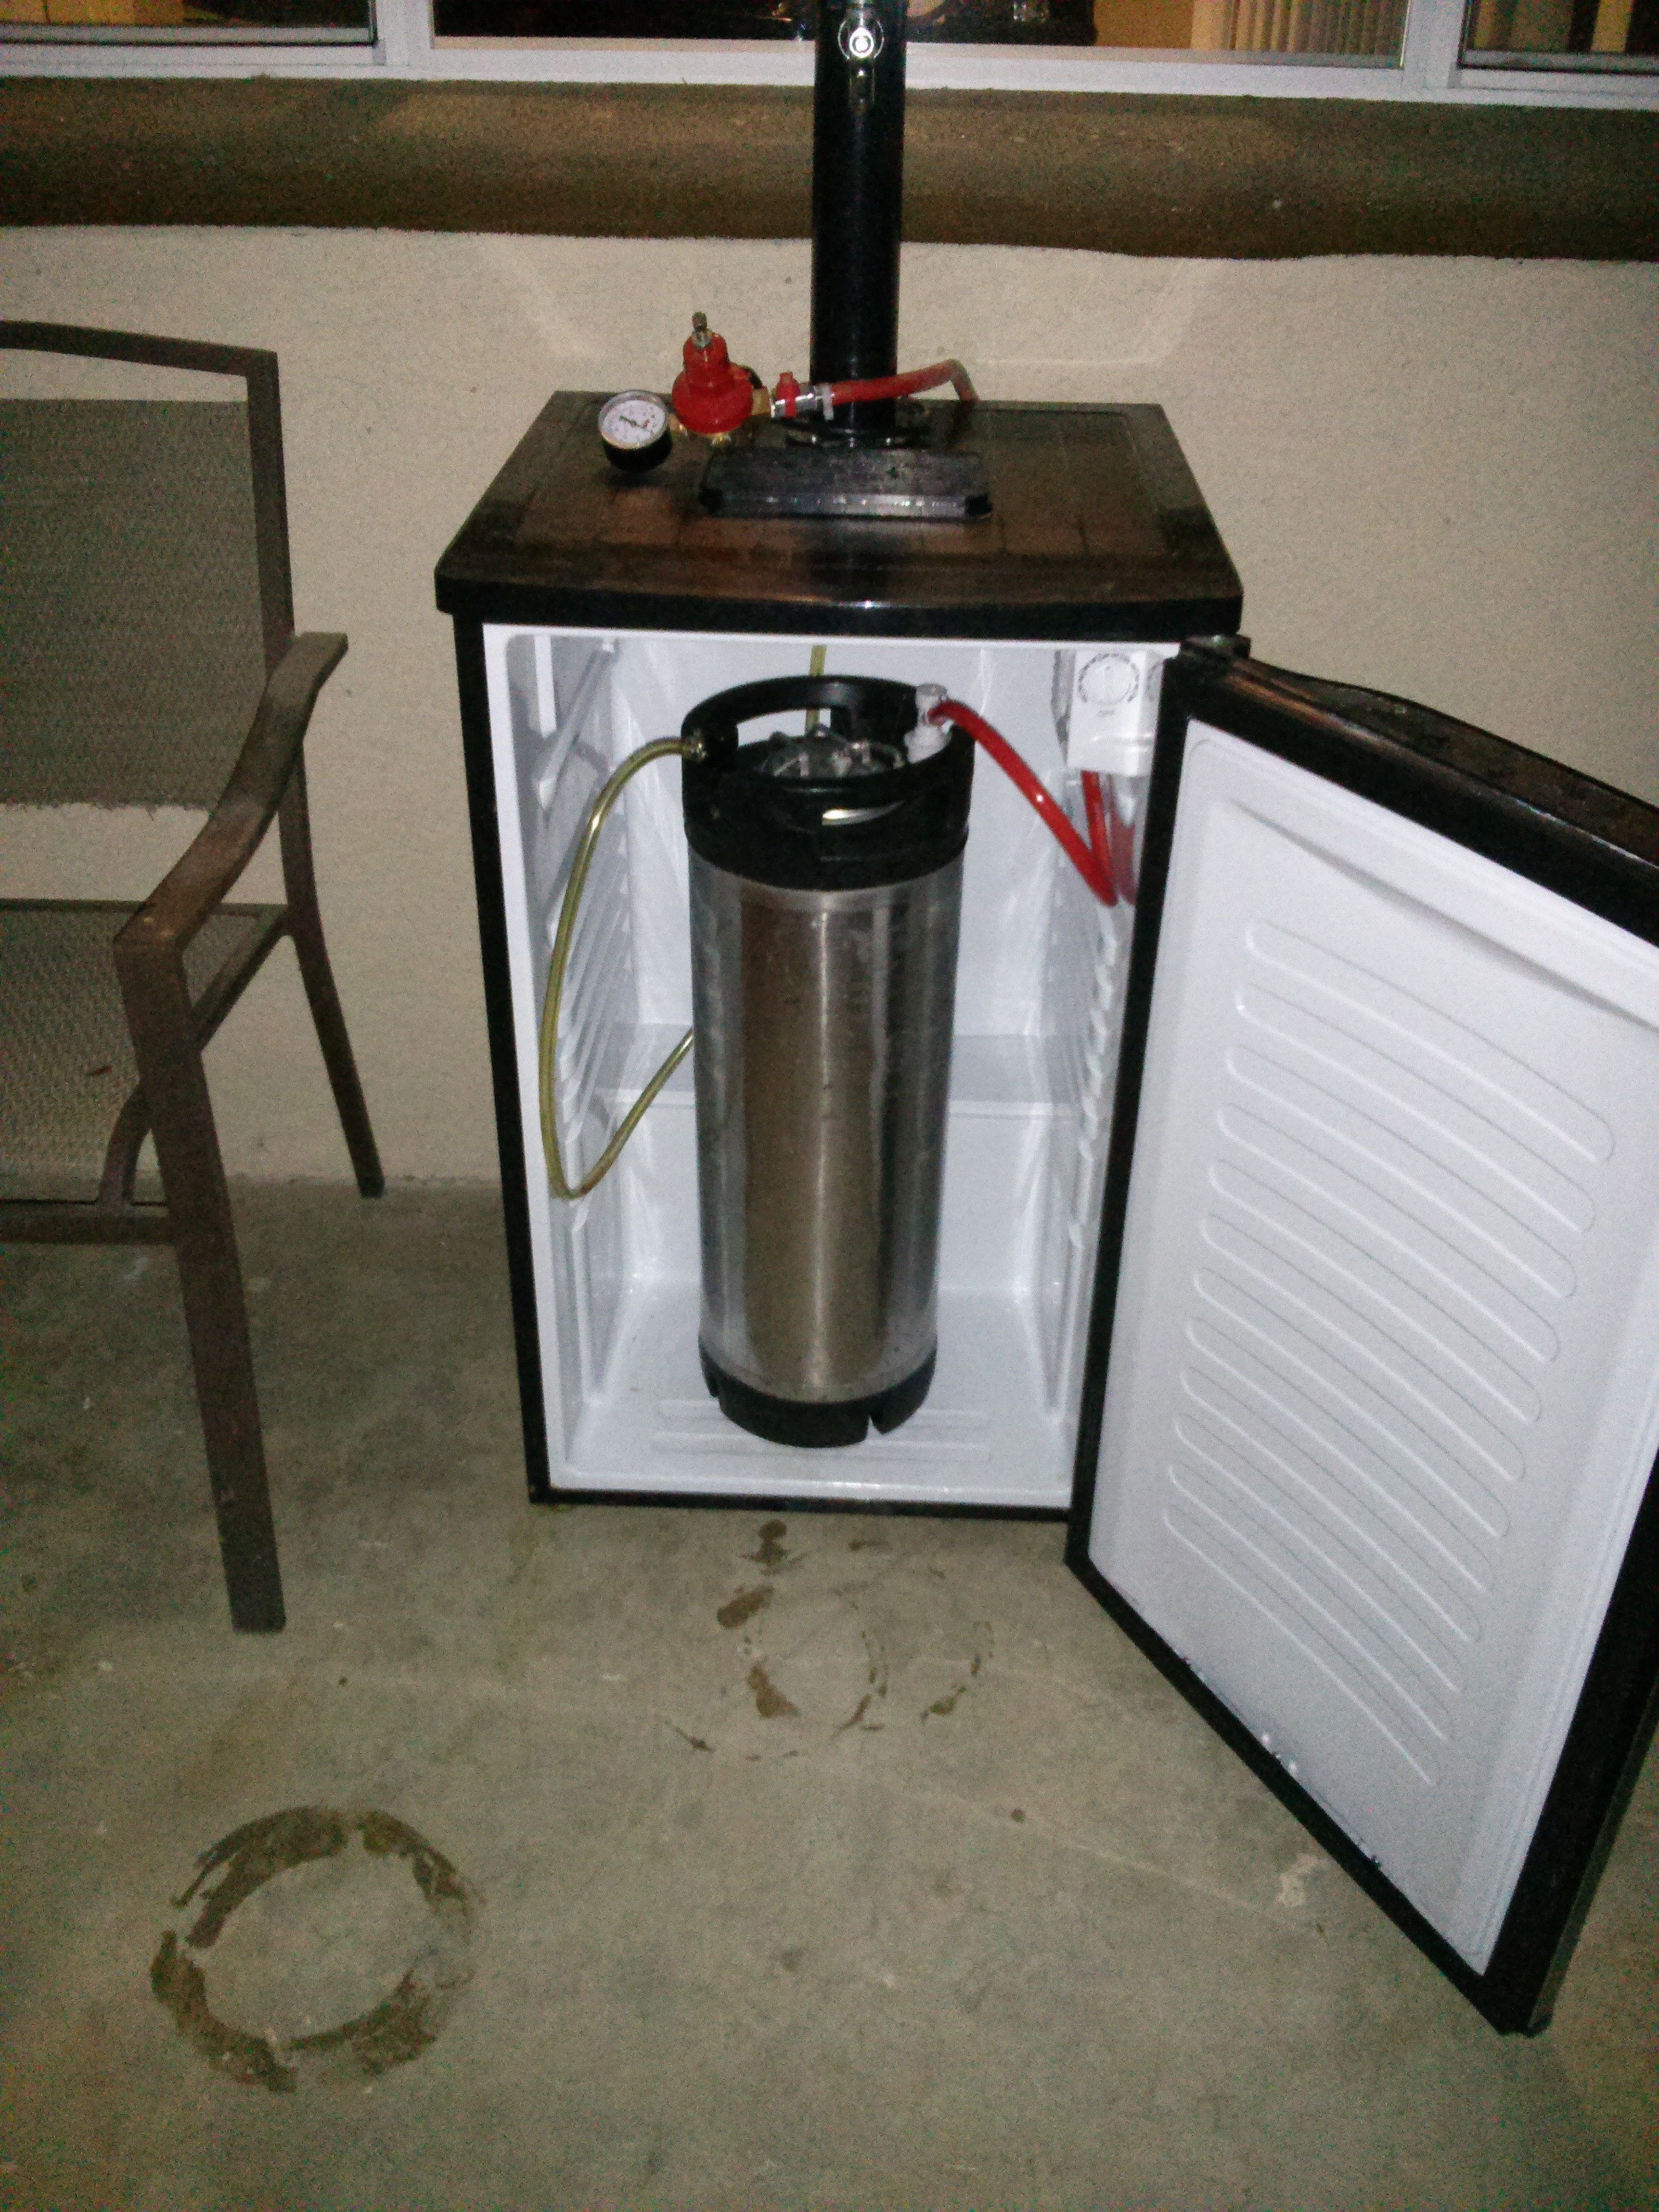
This is the best picture I had of the unmodified inside which was taken right
after my friend converted it to house a corny keg. I was busy brewing,
naturally.
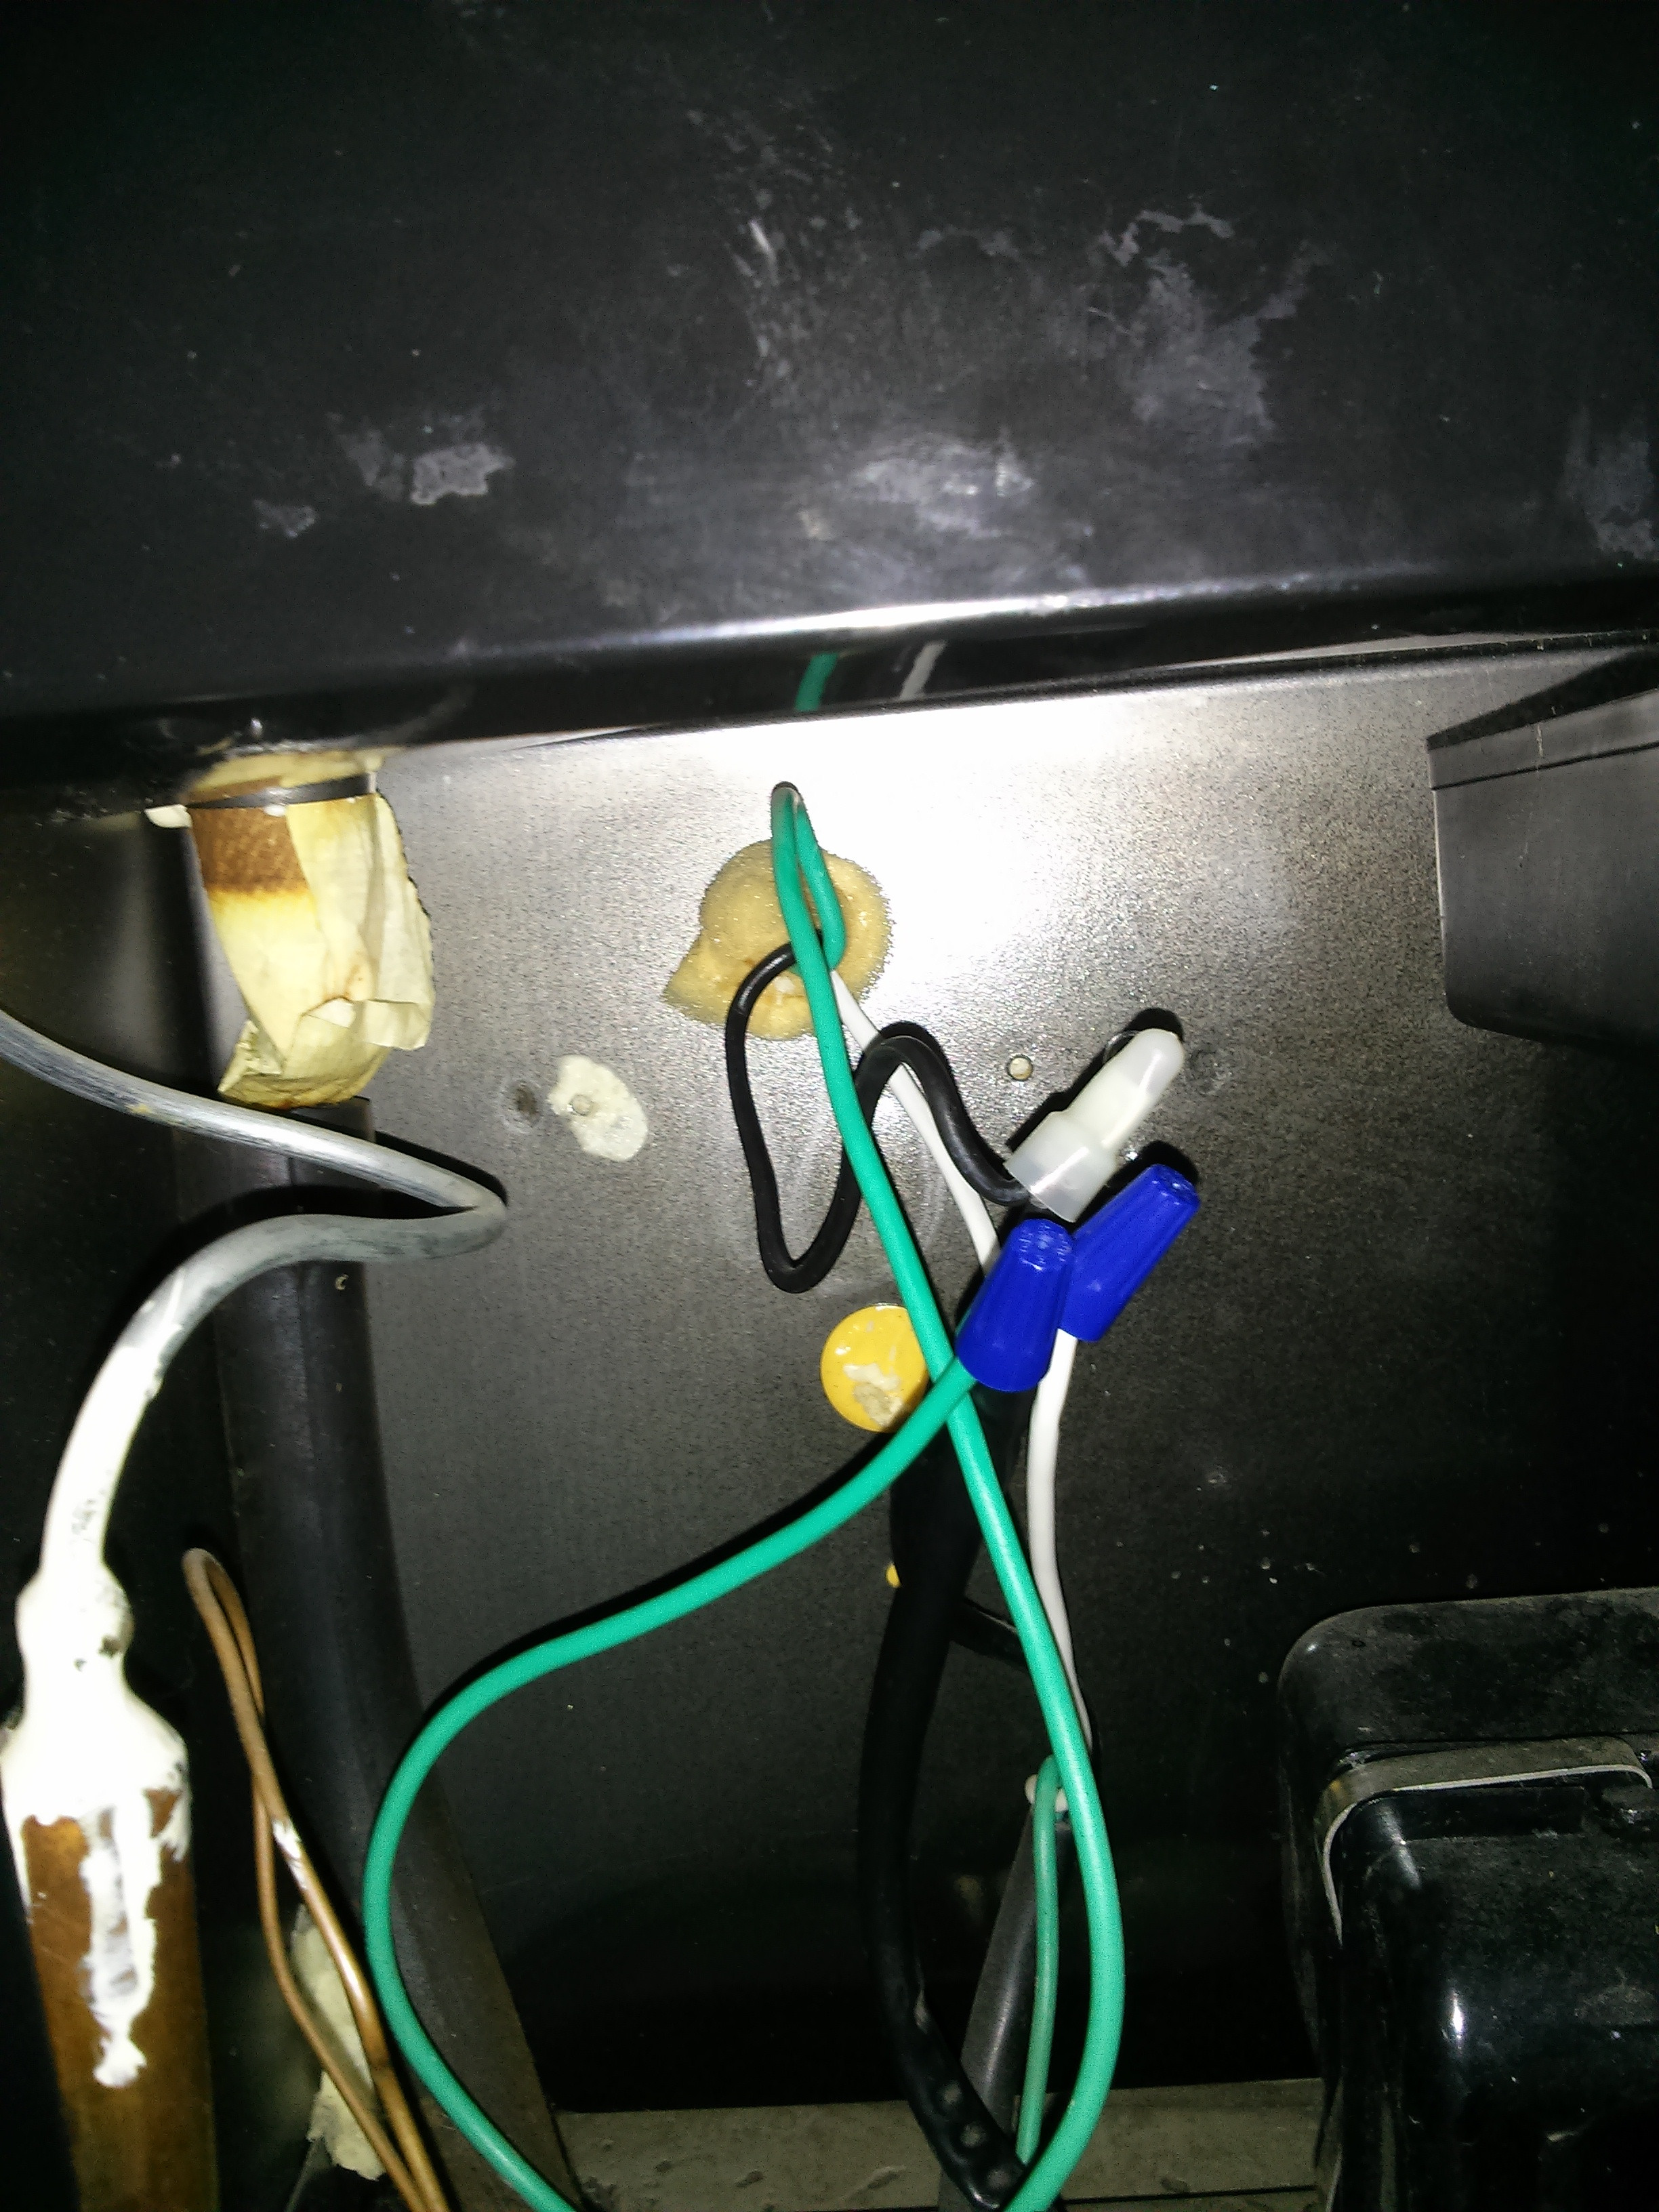
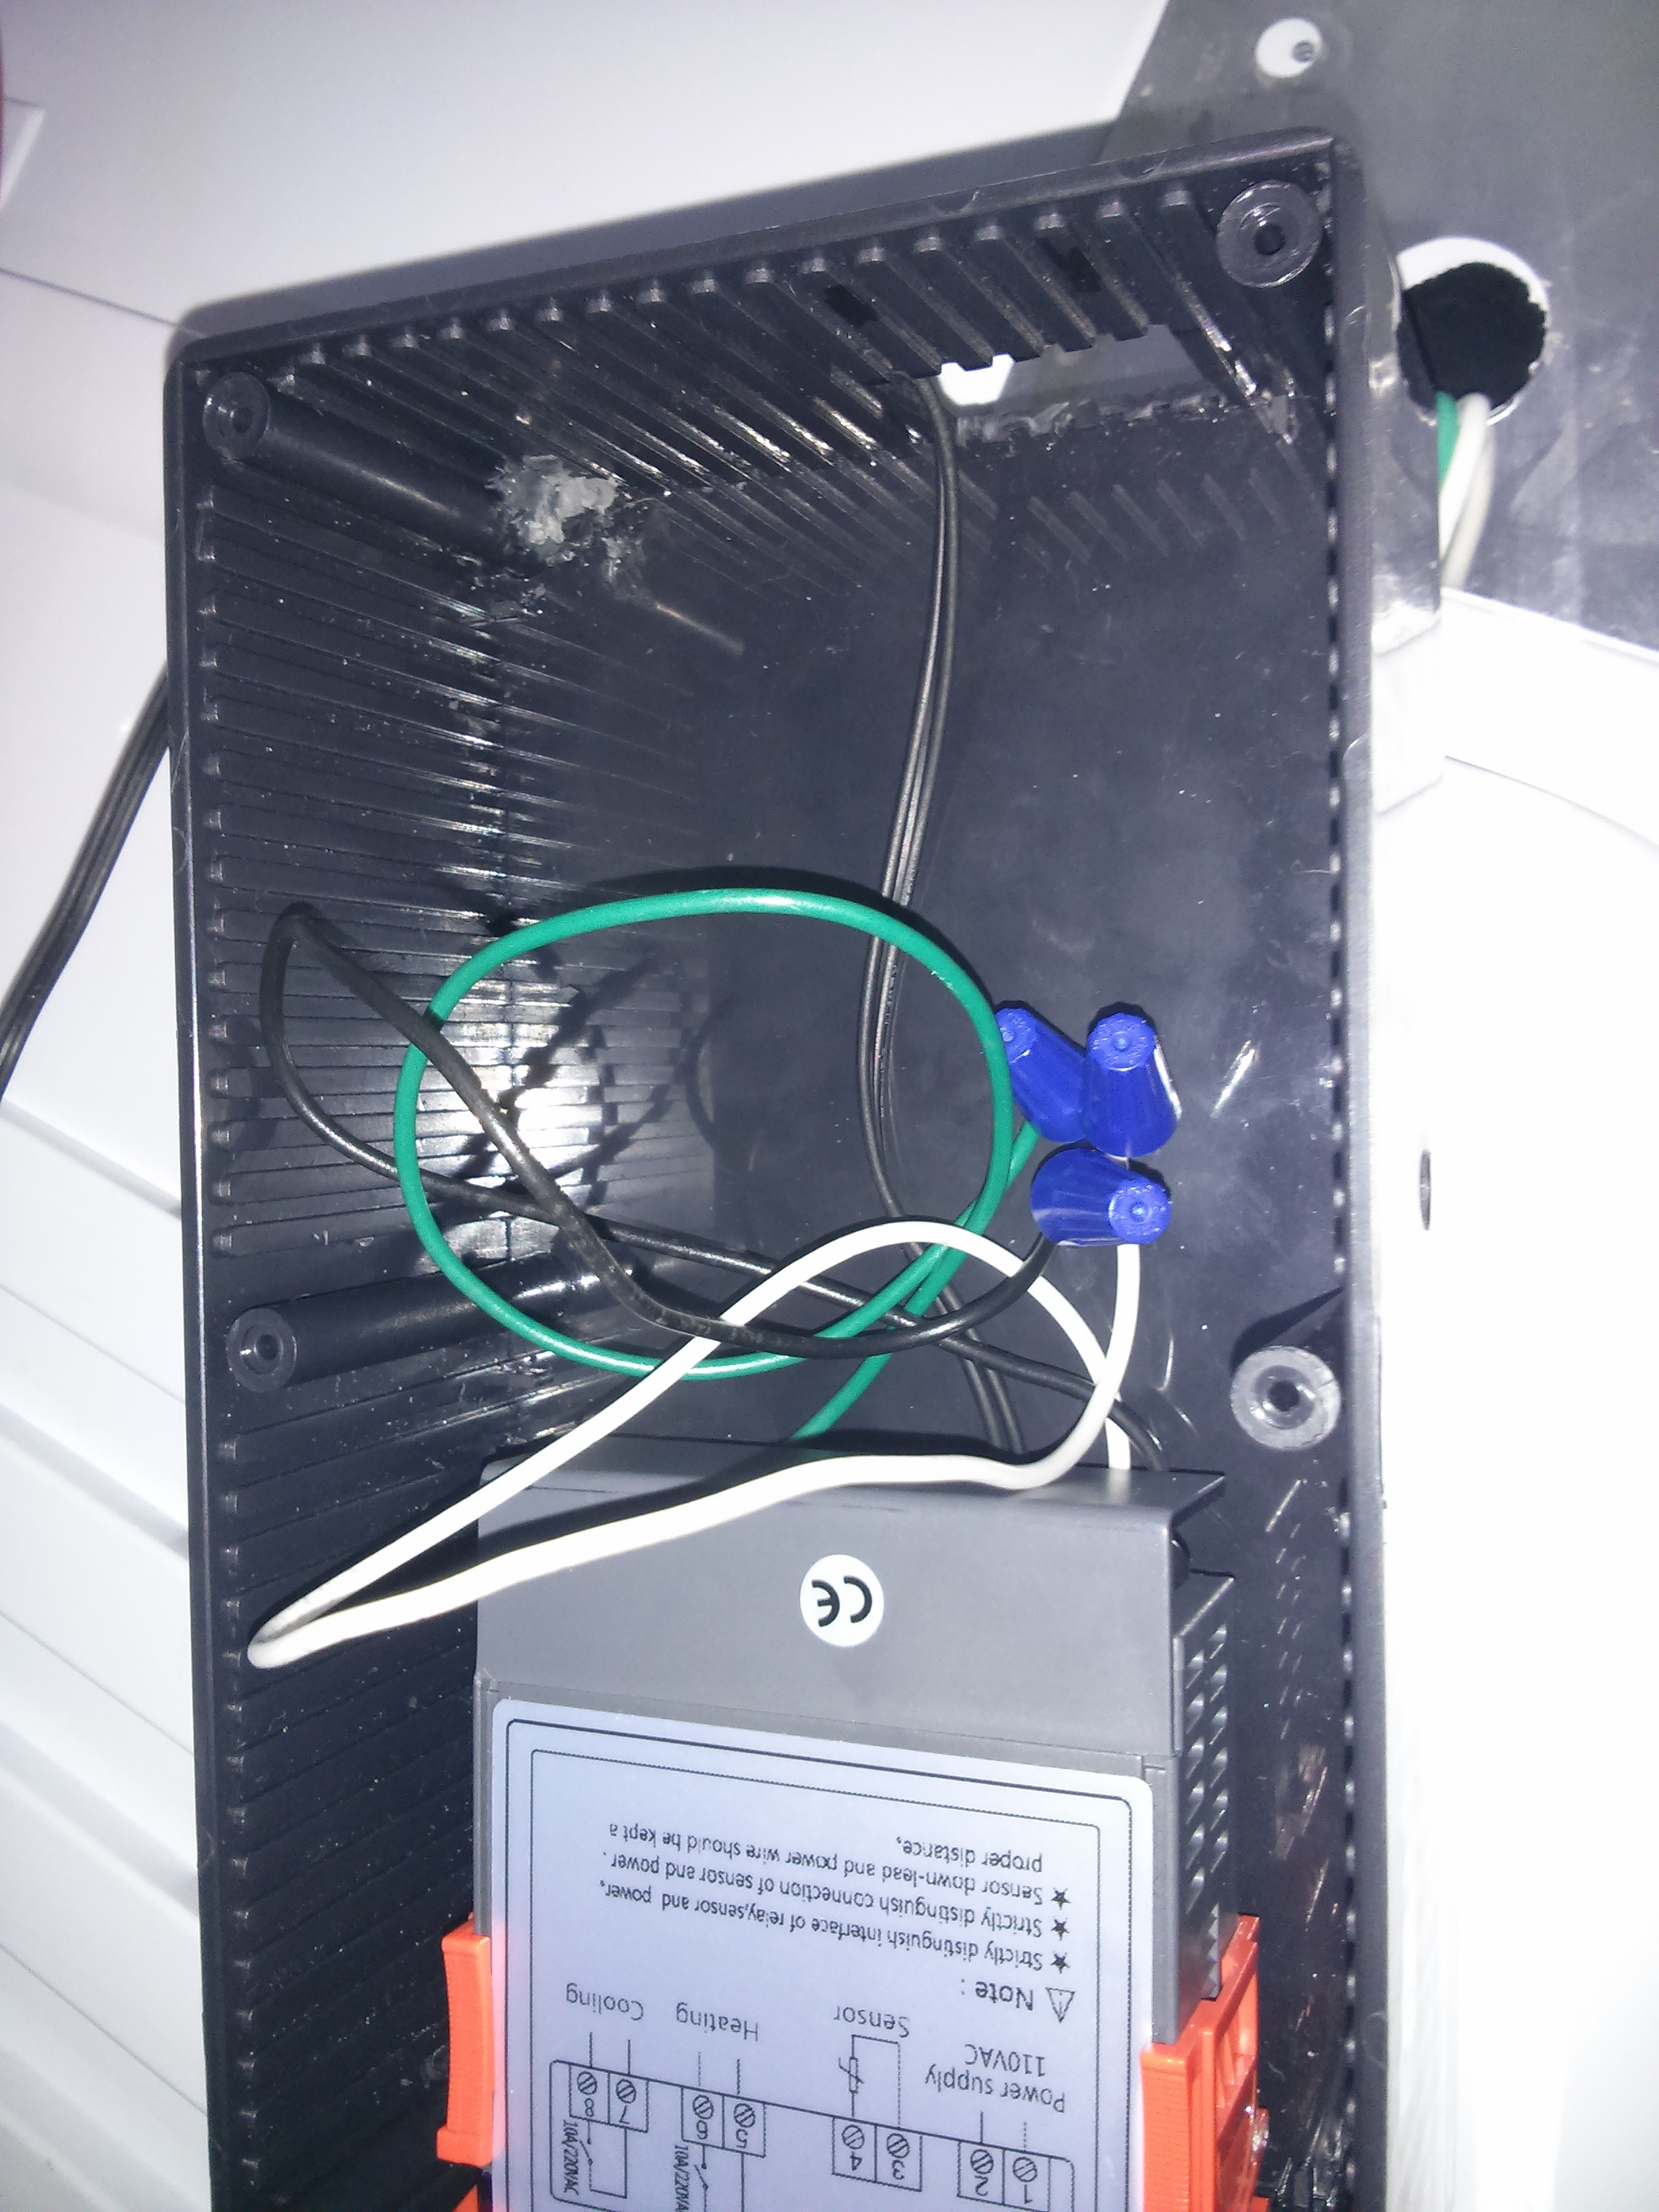
First, I pulled the probe out of the back of the fridge and then unscrewed the
existing "controller" from the wall of the fridge. Sorry about the potato
quality of this picture.
Pulled and/or snipped the wires off the controller. Threw the potato away.

Originally I was going to make an external controller box with plugs for the
system, but once I saw how the fridge was wired, this seemed like a better
idea. As such, I had already cut a bunch of holes in my project box but they
are out of the way in the fridge so it's not so bad.
Fed the fridge wires into the bottom of the project box as it will be mounted
a bit above where they come out of the wall.
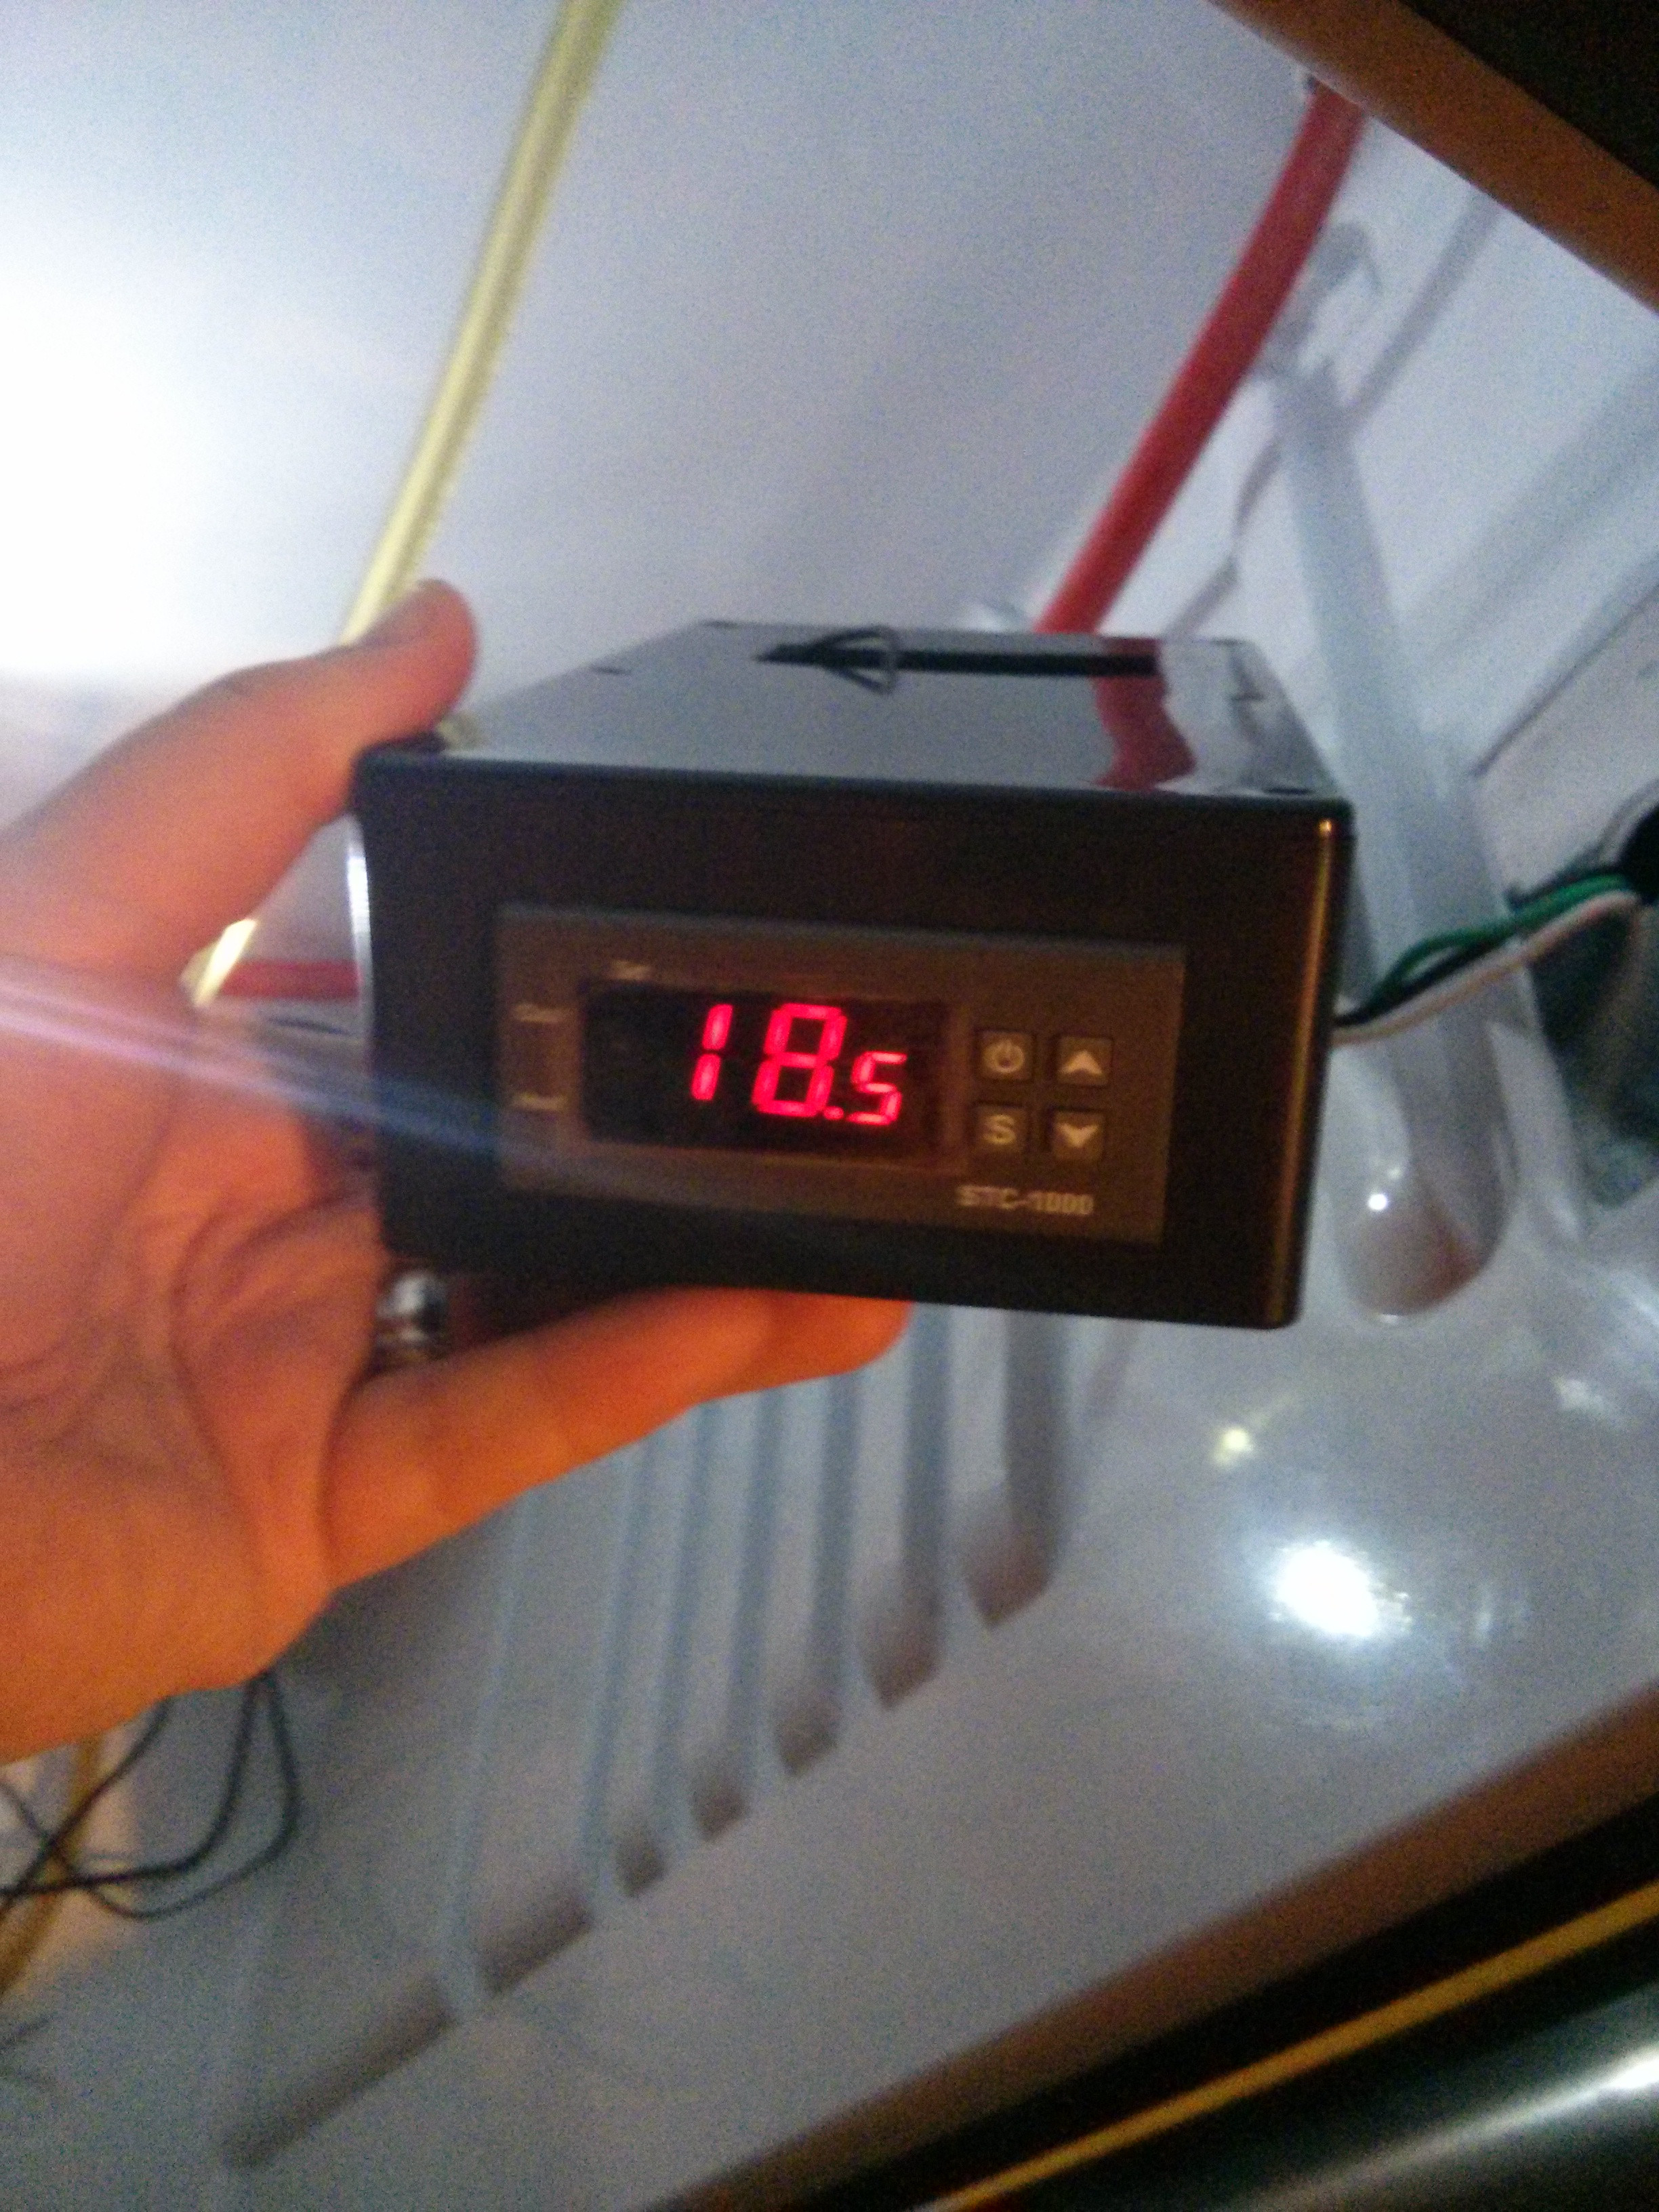
Closed up the box and plugged it in to make sure everything was working.
First try! The hole in the top is again from the previous plans.
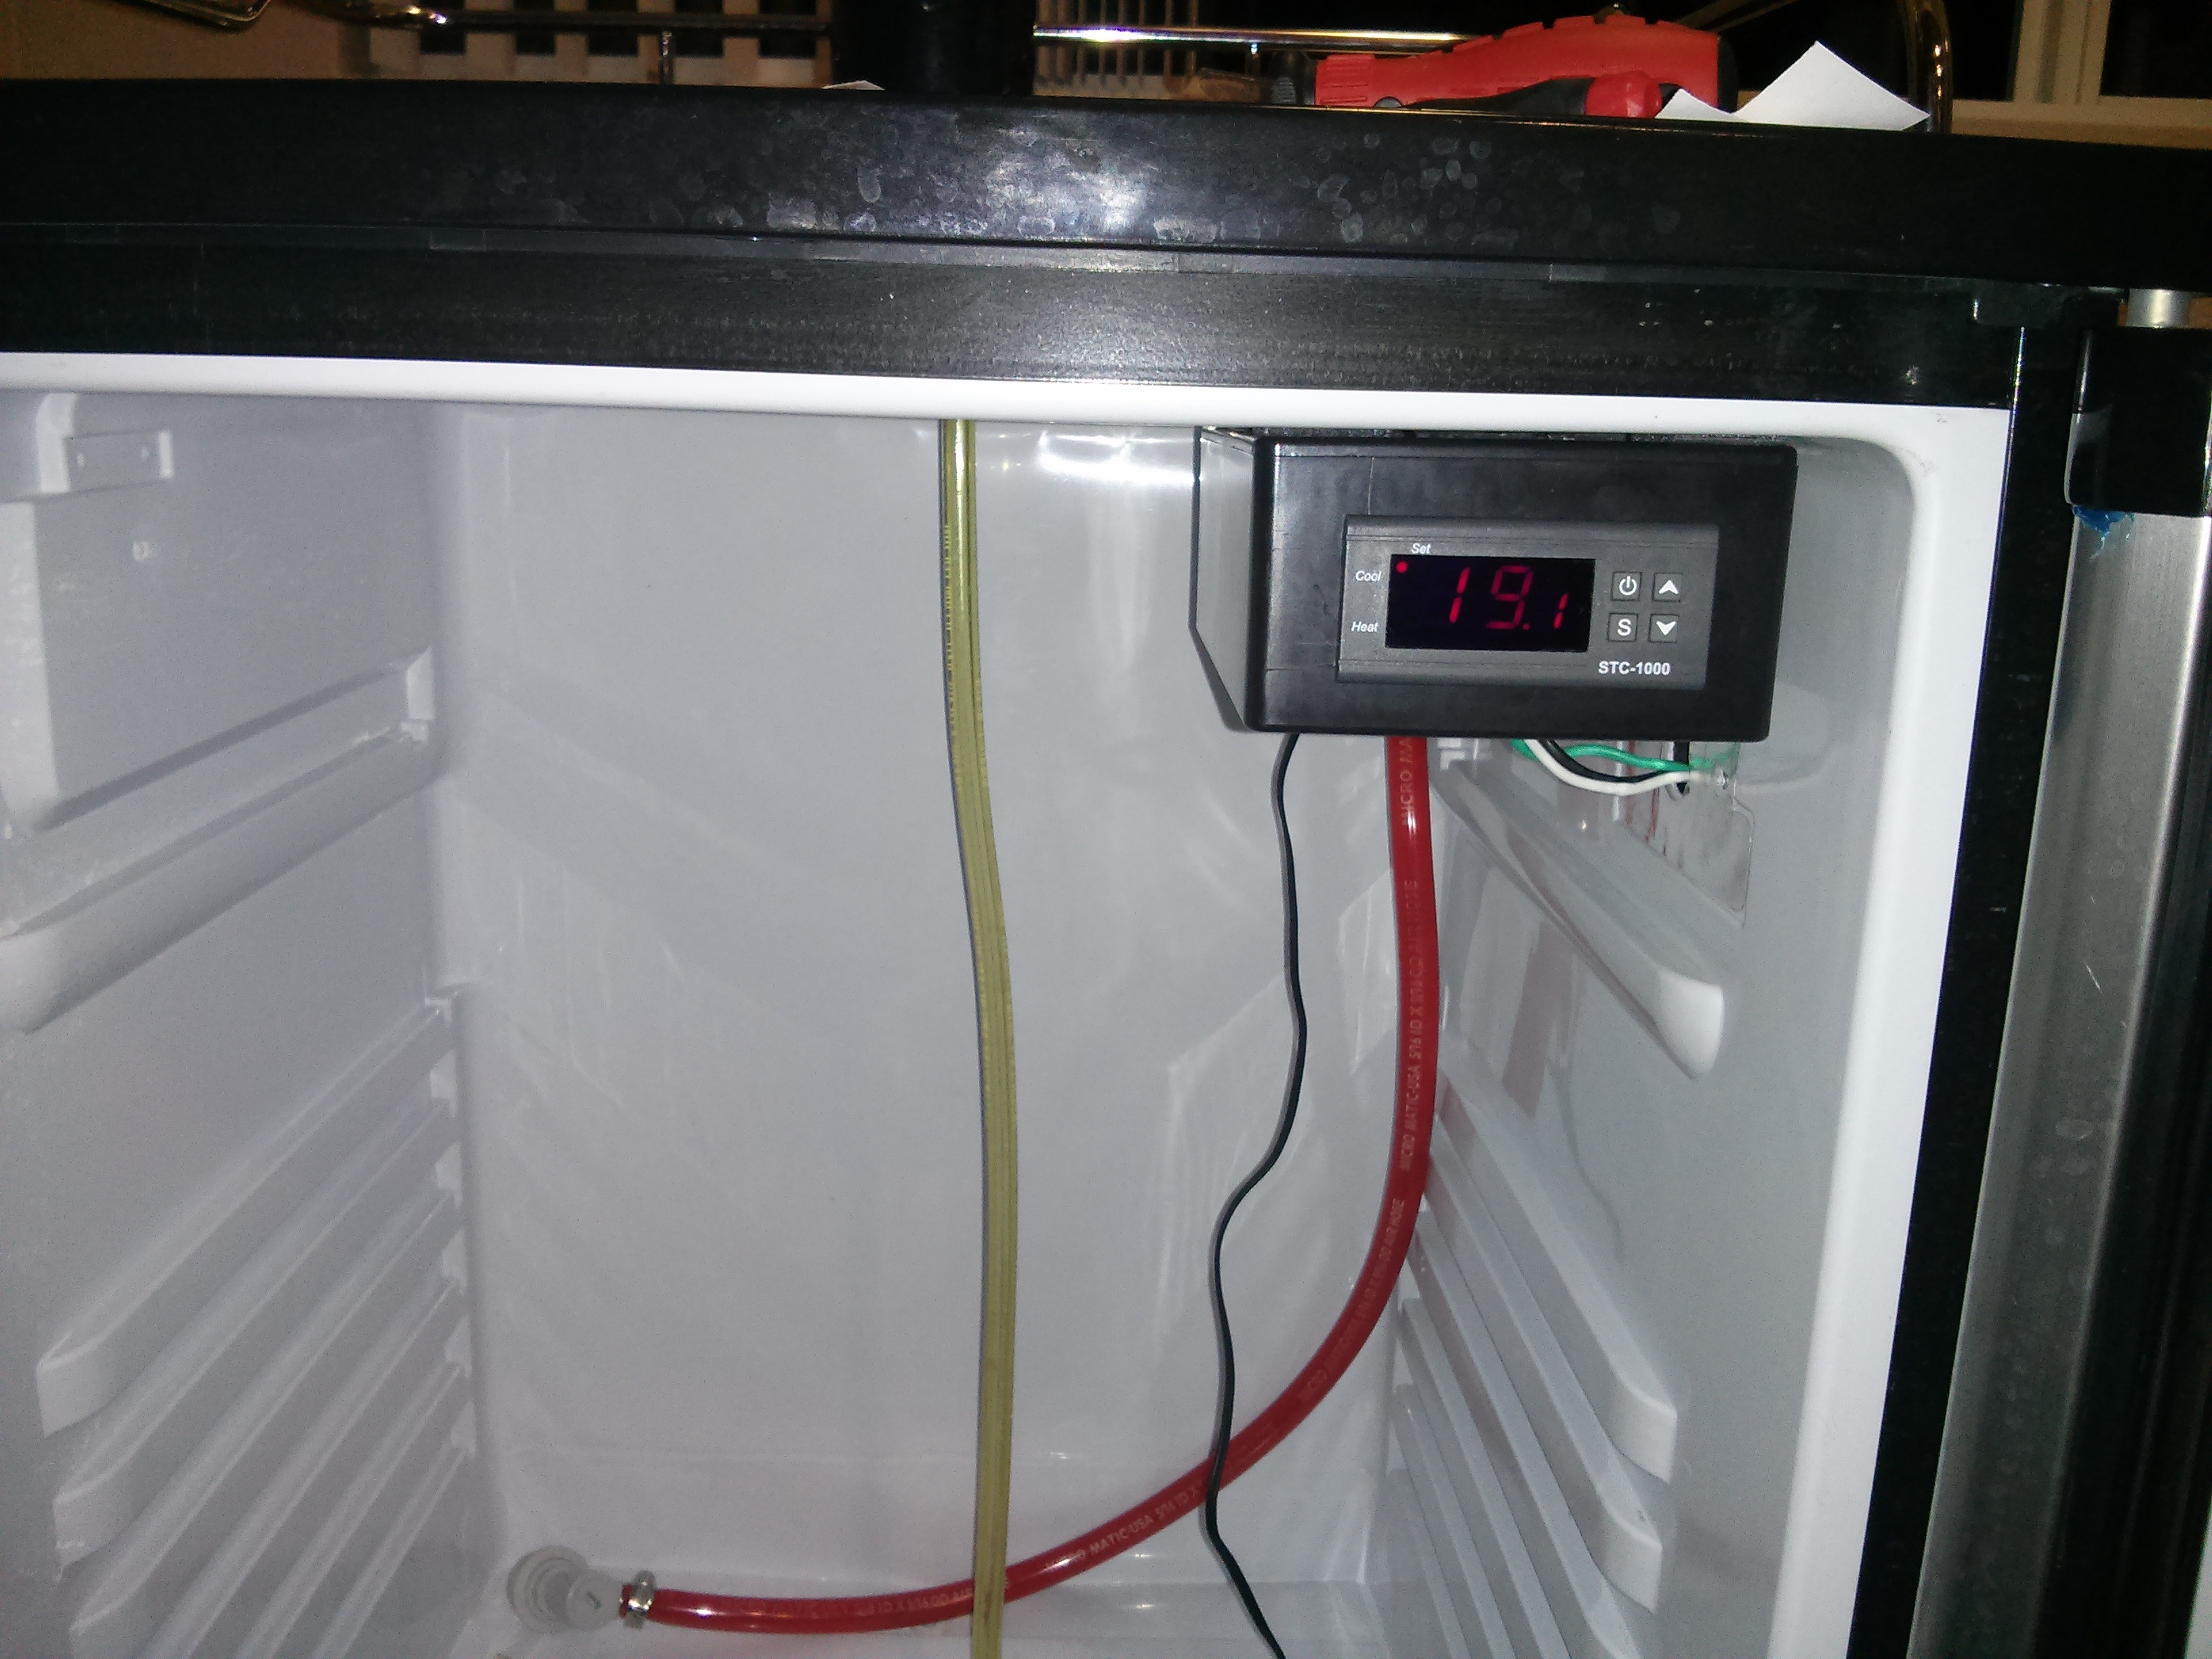
I mounted the box to the top of the fridge with some of that double sided foam
tape stuff.
This was all I had time to do in the one sitting, but I do have some
additional plans for this project. Firstly, I want to put blue tape over the
green wire so that it is not mistaken for a ground wire. Secondly, I want to
get one of those silica gel things to put in there to prevent moisture from
building up and messing up the controller. Thirdly, I want to move the
controller to be mounted on the outside of the door. I don't know if I have
the tools or skills to accomplish that, so I am waiting on it.
project I did to replace the temperature controller on my kegerator.
I am planning on building a new kegerator from an old full size fridge so I
wanted to put a better controller in this to use as a fermentation chamber
once I get the new fridge set up.
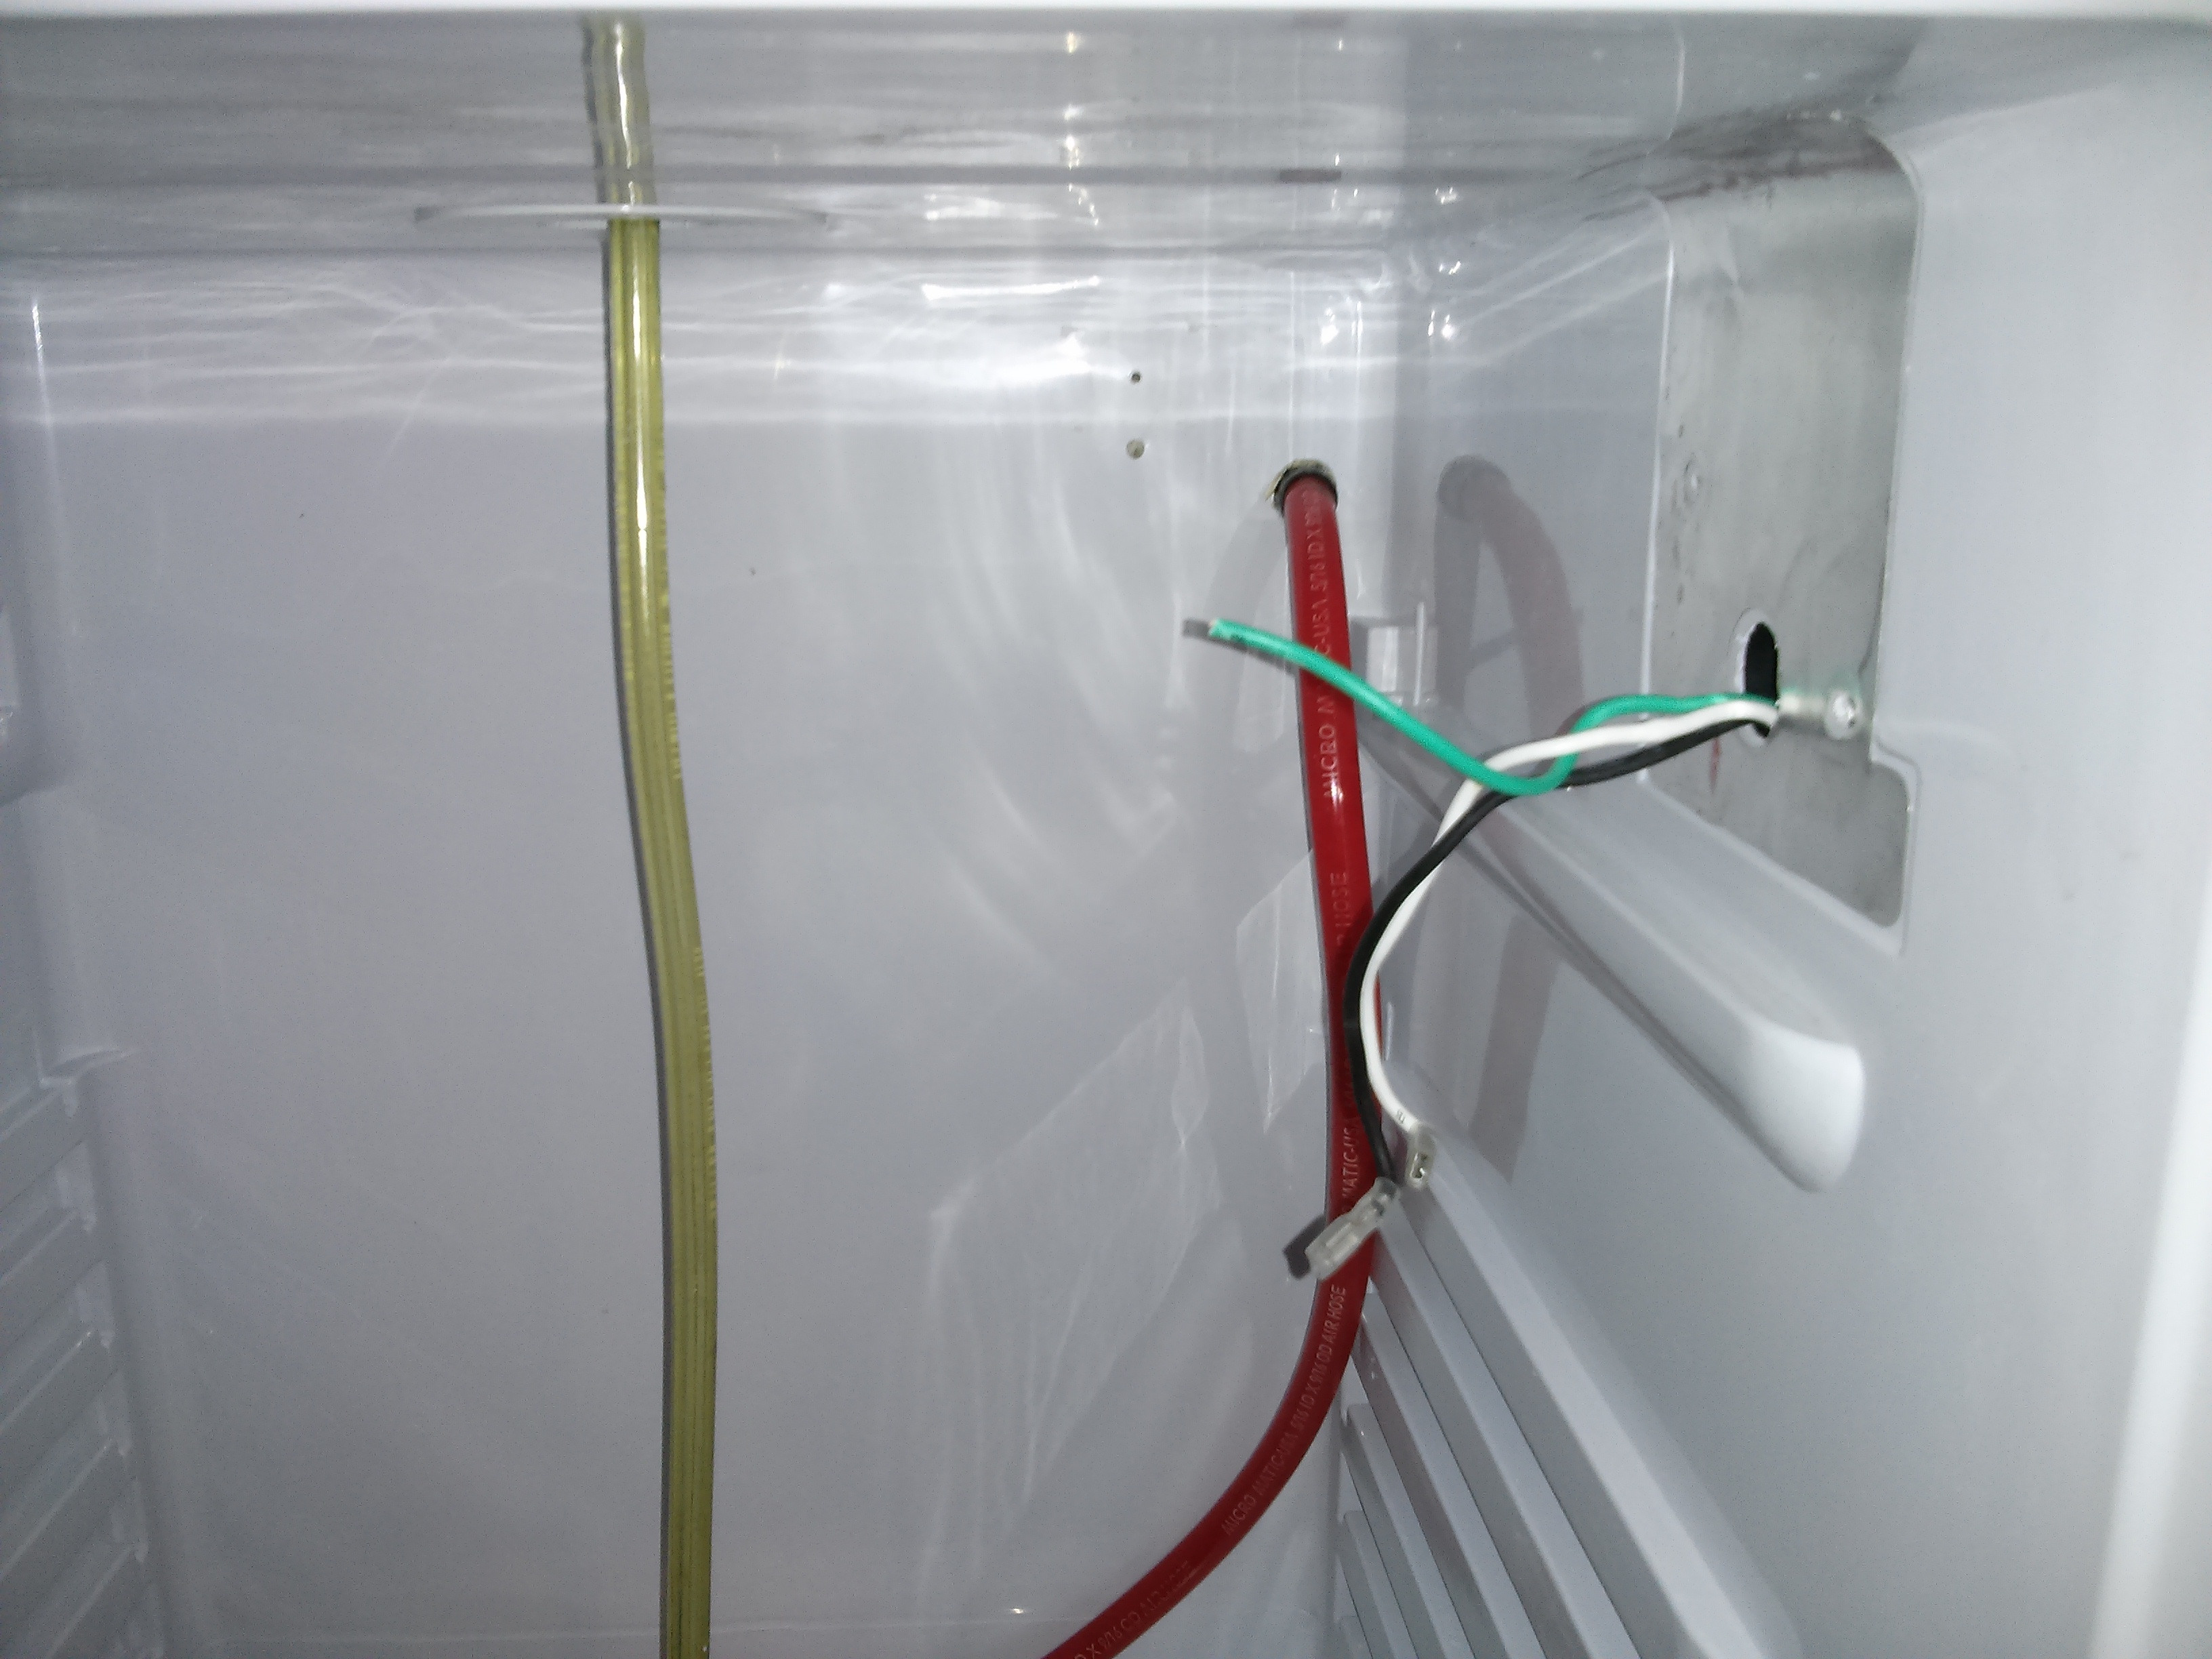
This is how the back was wired originally. The hot and neutral lines are fed
into the inside of the fridge where the existing "controller" closes them,
connecting the compressor. There is also a ground fed inside which is
connected to the chassis.
Since the STC-1000 I am using is made of plastic, I have no use for the ground
wire. As such, I have re-purposed it to act as the hot side of the compressor
circuit. I know this is not ideal since it is a green wire, but I did not want
to have to drill holes and run a new wire into the fridge for such a minor
project.
This is the best picture I had of the unmodified inside which was taken right
after my friend converted it to house a corny keg. I was busy brewing,
naturally.
First, I pulled the probe out of the back of the fridge and then unscrewed the
existing "controller" from the wall of the fridge. Sorry about the potato
quality of this picture.
Pulled and/or snipped the wires off the controller. Threw the potato away.
Originally I was going to make an external controller box with plugs for the
system, but once I saw how the fridge was wired, this seemed like a better
idea. As such, I had already cut a bunch of holes in my project box but they
are out of the way in the fridge so it's not so bad.
Fed the fridge wires into the bottom of the project box as it will be mounted
a bit above where they come out of the wall.
Closed up the box and plugged it in to make sure everything was working.
First try! The hole in the top is again from the previous plans.
I mounted the box to the top of the fridge with some of that double sided foam
tape stuff.
This was all I had time to do in the one sitting, but I do have some
additional plans for this project. Firstly, I want to put blue tape over the
green wire so that it is not mistaken for a ground wire. Secondly, I want to
get one of those silica gel things to put in there to prevent moisture from
building up and messing up the controller. Thirdly, I want to move the
controller to be mounted on the outside of the door. I don't know if I have
the tools or skills to accomplish that, so I am waiting on it.
