Building a small fermentation chamber out of a minifridge

Homebrew Talk - Beer, Wine, Mead, & Cider Brewing Discussion Forum

Help Support Homebrew Talk - Beer, Wine, Mead, & Cider Brewing Discussion Forum:

This site may earn a commission from merchant affiliate links, including eBay, Amazon, and others.

linusstick

Well-Known Member
Joined
Aug 21, 2008
Messages
250
Reaction score
10
Location
Pittsburgh
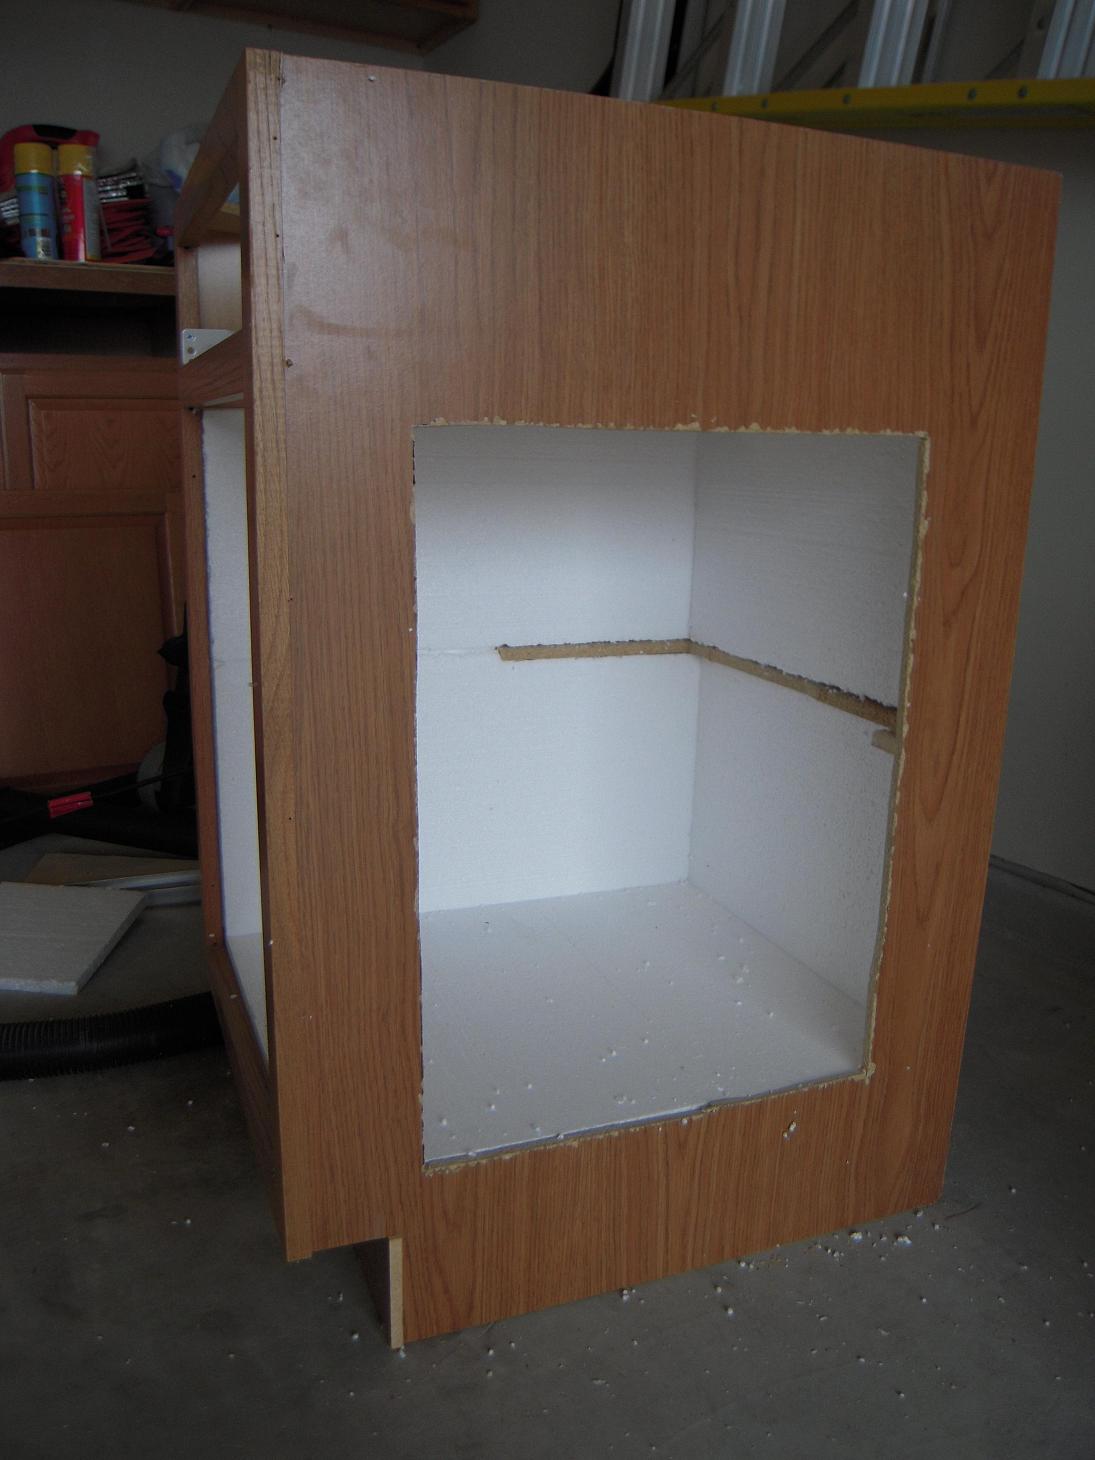
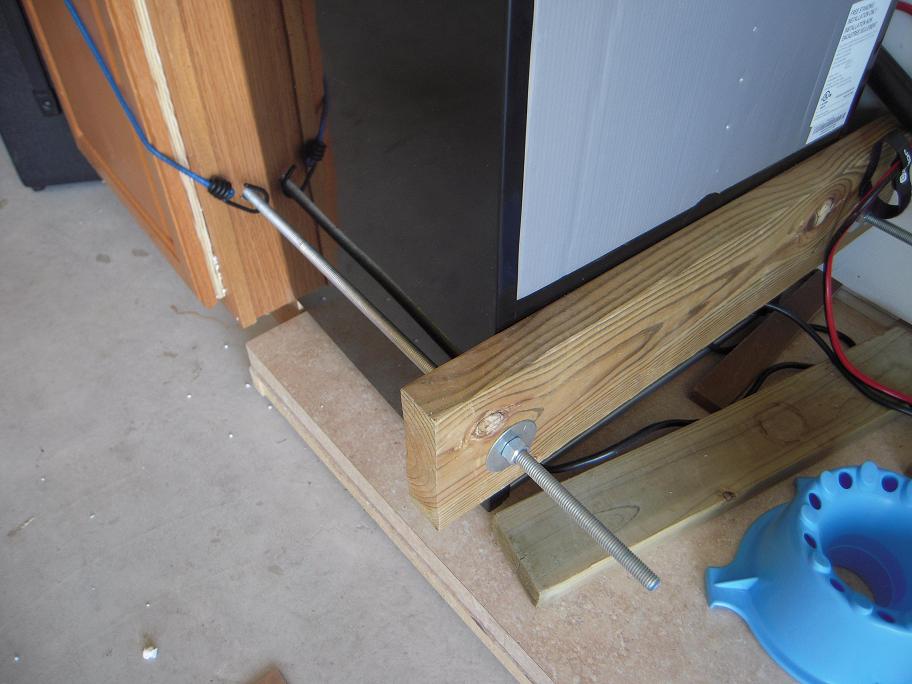
I've never brewed a lager and wanted to do one next week. I have an old minifridge that has been sitting in my garage unused for years. I figured I'd clean it up, get a temp control and finally be able to brew a lager. I've seen multiple videos on the process and was wondering if anyone had done it themselves and if they have a good link as to some directions. I don't want to spend a ton of money but since I already have a fridge I don't mind spending a little bit. Thanks
 
I used that setup for quite a while. Cut the door shelves off with a utility knife and Bob's your uncle. You do have to leave the outer edge of the panel the door shelves are molded into in tact though so that the door seals properly.
 
Be careful to not mess with the rubber gasket around the door of the fridge.

There are screws that attach the rubber gasket to the plastic lining on the door, LEAVE THEM ALONE...haha...I learned the hard way; the gasket is very difficult to replace/fix once tampered with

The temp control is a good idea. I currently have two chest freezers that I use as fermentation chambers, one for ales and such, the other for lagering.

Outside of the temo control unit, you wont need much else. If its a mini fridge i'm assuming you are doing gallon batches?
 
If its a bar fridge (rather than one of those 12v camping fridges) there is heaps of space in them. You just need to get creative with your fermentation vessel. Standard carboys may not fit but there are plenty of things that will. I use whey protein containers and there is room for 3x1.5 gallon batches without having to tamper with the door. Also remember airlocks are optional if you are short on height.
 
I had an extra kitchen base cabinet from a remodel, and cut a hole in it the size of the mini fridge door, took fridge door off, then sandwiched them together to make a larger chamber. Could get 3 carboys in there, which was nice. If you're looking for a bit more space, it's a great solution.

Cabinet in process
fermchamber006.JPG


With fridge up against it
fermchamber013.JPG


My solution to keeping them snug together
fermchamber017.JPG


I just picked up this cabinet off amazon for something else, but it's pretty cheap and could work.
https://www.amazon.com/gp/product/B001KW0BMY/?tag=skimlinks_replacement-20
 
Last edited by a moderator:
I have built two of them now. They work great. I built a little platform out of 2x4s for one, so that it is level with the hump in the back, and now it is big enough to fit even an 8 gallon brew bucket.

Here's a tip: those oscillating multi-tools make cutting the plastic door storage stuff out easy as can be - and you won't have to take it off the door in the first place.

You can buy an inkbird temperature controller for ~$30 or less. I use an STC-1000 but it probably would have been a lot easier to buy the ITC-308 and call it a day.

Literally all you have to do is take out the shelves, plug in the controller and the fridge, and then put the probe in along with your fermentor. If you want to get fancy, I have a USB computer fan circulating air (plugged in to an old phone charger outside the fridge). I also have the probe sitting in a quart mason jar full of water to act as a thermowell. Turn the thermostat all the way down and let the temp controller do all the work.
 
Back
Top