kombat
Well-Known Member
I always love a good photo journal of a brew day, so I thought I'd post one of mine so those of you who couldn't brew today could live vicariously through me. Today I brewed a double IPA I call "Wailing Widow." It's based on the Pliny the Elder clone recipe I found on HBT called "Pliny the Bastid."
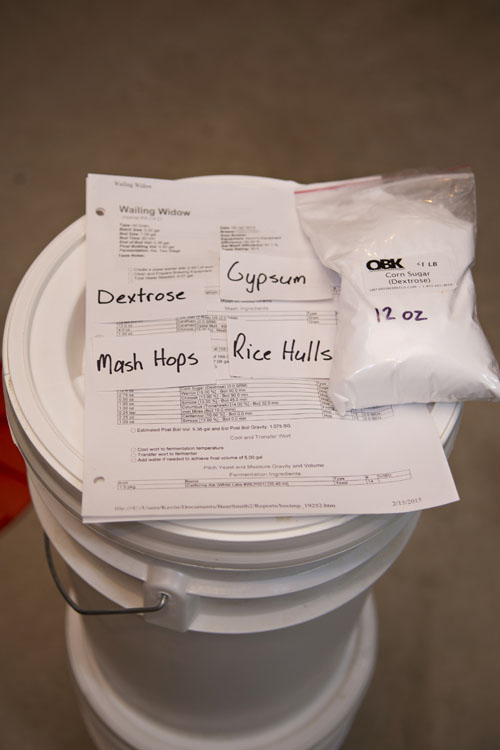
Several days before brew day, I like to get all my ingredients ready so I'm not rushed on brew day. I've already weighed out the grains (but not yet milled them) and printed out the recipe. Also, to make sure I don't forget things like rice hulls, gypsum, or mash hops, I like to use these little note cards to remind me. I just put them on top of the recipe sheet (which itself is on top of the grain and a bucket of rice hulls) so there's no possible way I can miss/forget them on brew day.
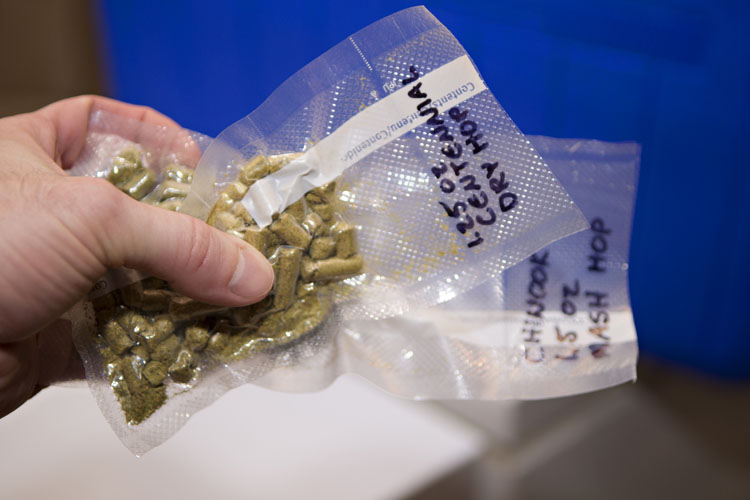
I also weigh out all my hop additions ahead of time, vacuum-seal them in little bags, and label them with their addition time. I keep them in the freezer (in a ZipLock bag with the batch name) until brew day.

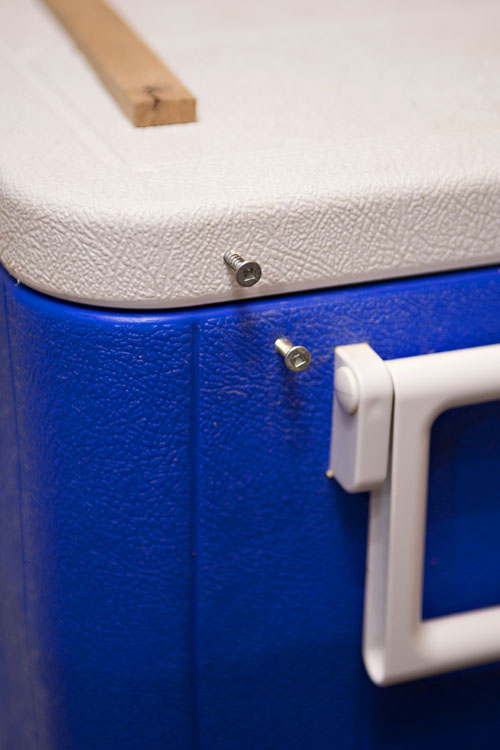
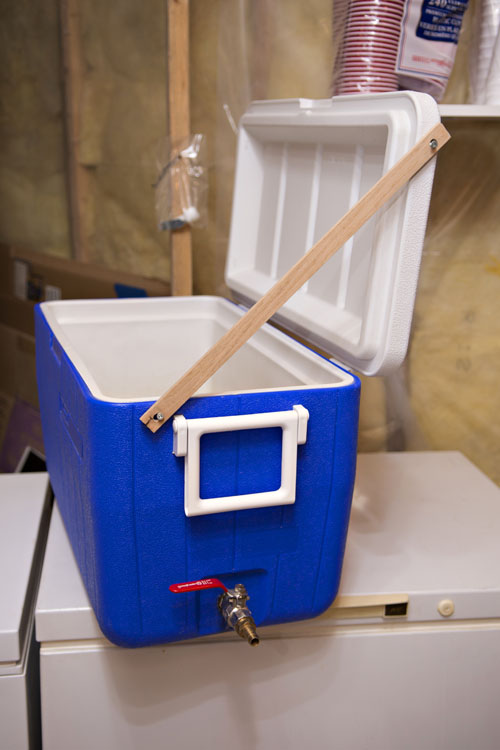
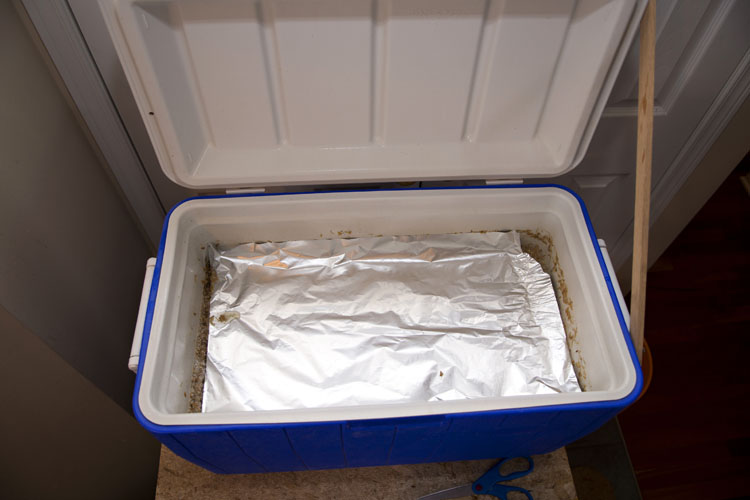
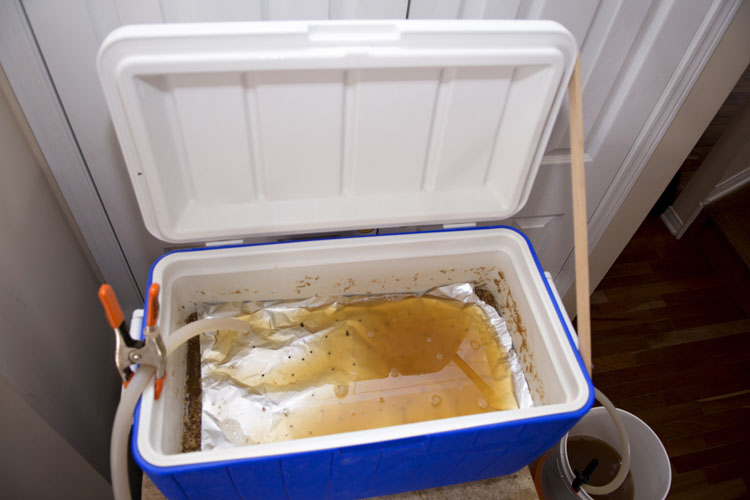
Here's a little trick that might help someone. The lid of the cooler I use as my mash tun flops closed on me. So I attached two screws, one to the lid and one to the body, so that I can use a spare piece of scrap wood (with two holes drilled in the ends) to hold the lid open while I'm doughing-in.
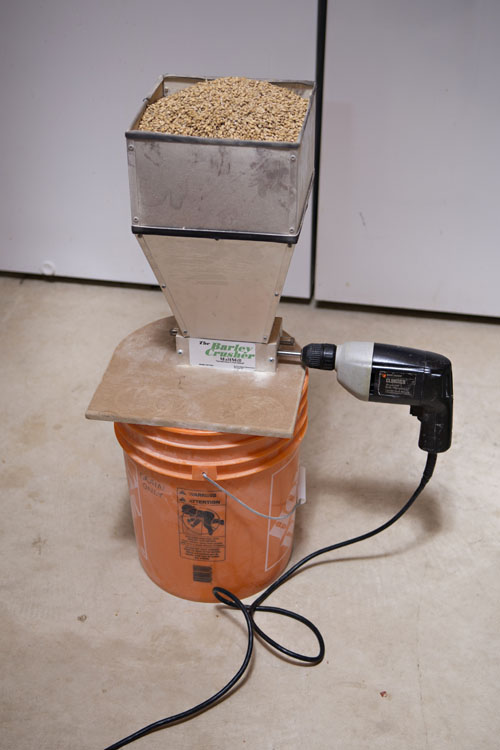
Now it's time to mill the grain.
Here's a better shot of how I label the hop additions.
I undershot my temperature by a hair, I was going for 148° F. I like my IPAs nice and dry anyway.

I cover the grain bed with foil to help it hold temperature, and to diffuse the wort during vorlaufing/recirculation later to minimize disturbing the grain bed.
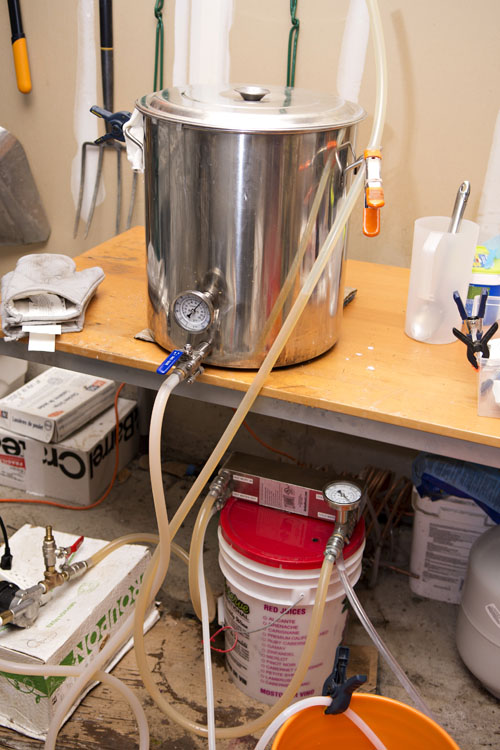
While it's mashing, I set up the grant and pump for recirculation later.

Mash done, sparge water heated and waiting, I recirculate until clear.

Once the wort has cleared, I disconnect the hose from the return pump and drain from the grant into a pot instead.
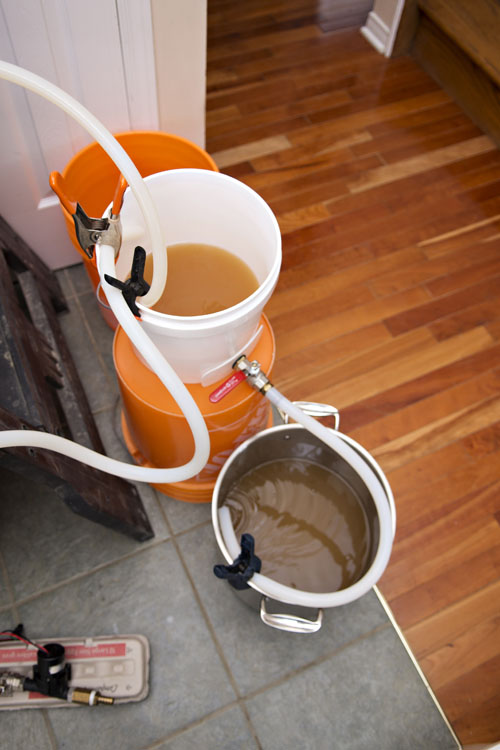
The pot is etched with volume markings, allowing me to keep track of how much wort I've collected. This shot was actually taken while draining the second runnings, which weren't as clear as the first runnings.

Sweet wort collected, I heat it all up in my main 15 gallon kettle.

While waiting for the boil, I lay out my hop additions in the order they'll be being added. I also put out the Irish moss and corn sugar, so I don't forget to add them (not that that's ever happened to any of us, right?)
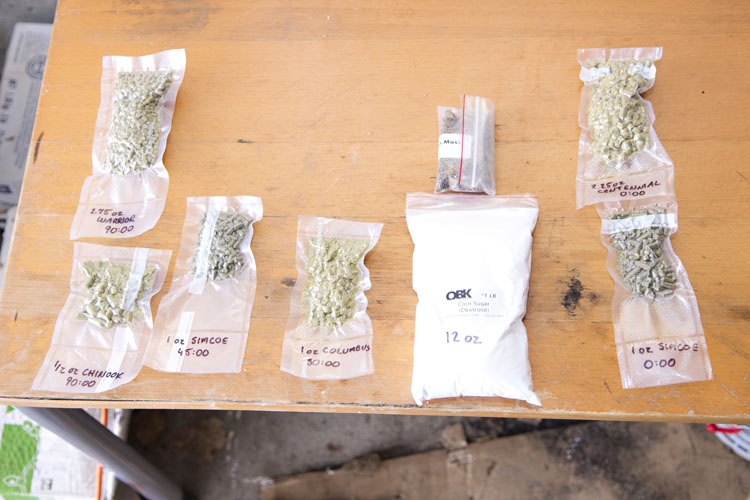
That's a healthy dose of Warrior hops! 2.75 oz at 90:00 for bittering (along with a half-ounce of Chinook)
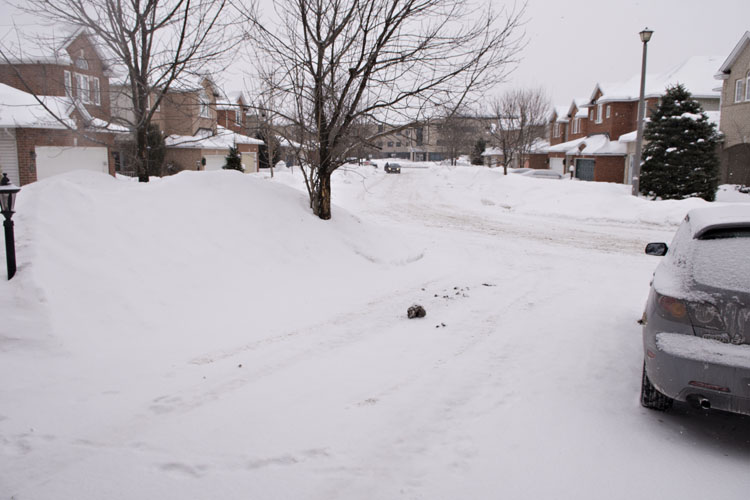
Here's a shot down my street from my garage where I was brewing. It was around -15° C (5° F) while I brewed.
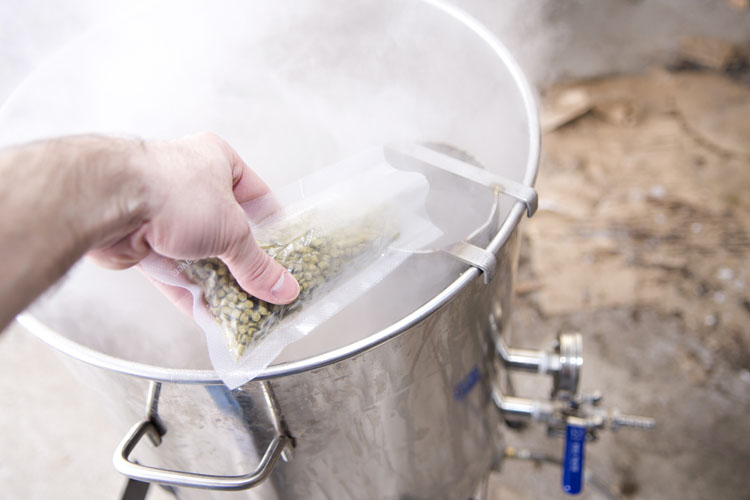
I changed the recipe slightly and turned the flameout additions into hopstand additions instead. I accidentally overshop my chilling temperature (was aiming to hit 160°, but accidentally chilled to 150°). I added the flameout hops in a sock and let the whole thing sit for 30 minutes before resuming chilling.
Chilling complete, I racked to a carboy while recirculating Oxyclean through the pump and chiller.

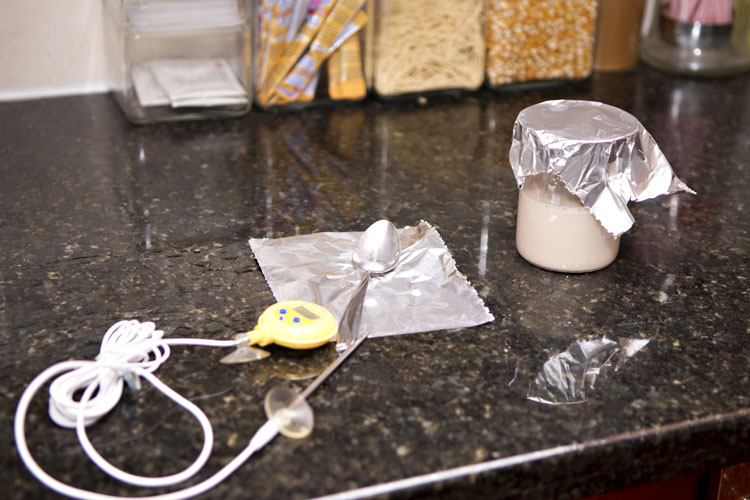
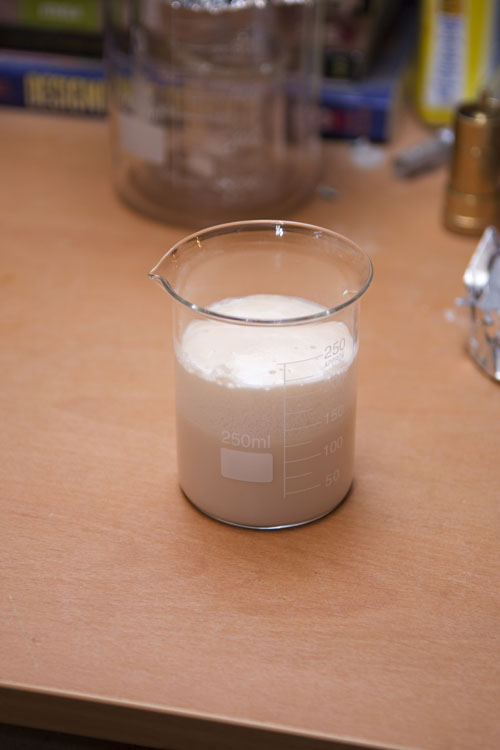
Meanwhile, I prepped my yeast. 1 packet of US-05 rehydrated in 120 mL of 84° F water.
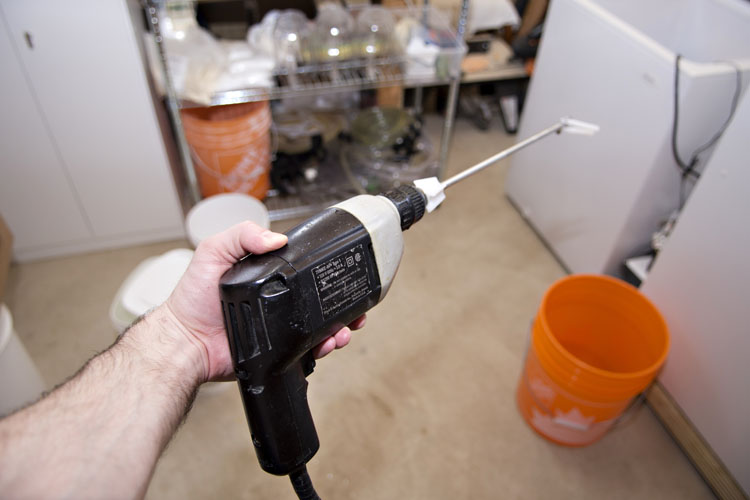
I aerated with a Fizz-X rod on a second-hand drill.
Nice and frothy! The lightbulb is on because I overshot my chilling (darn plate chiller and Canadian winter tap water) by 5° C.

Look at that beautiful, creamy yeast! Look how happy they are when you rehydrate them instead of just sprinkling them to their death.
Now it's officially beer.

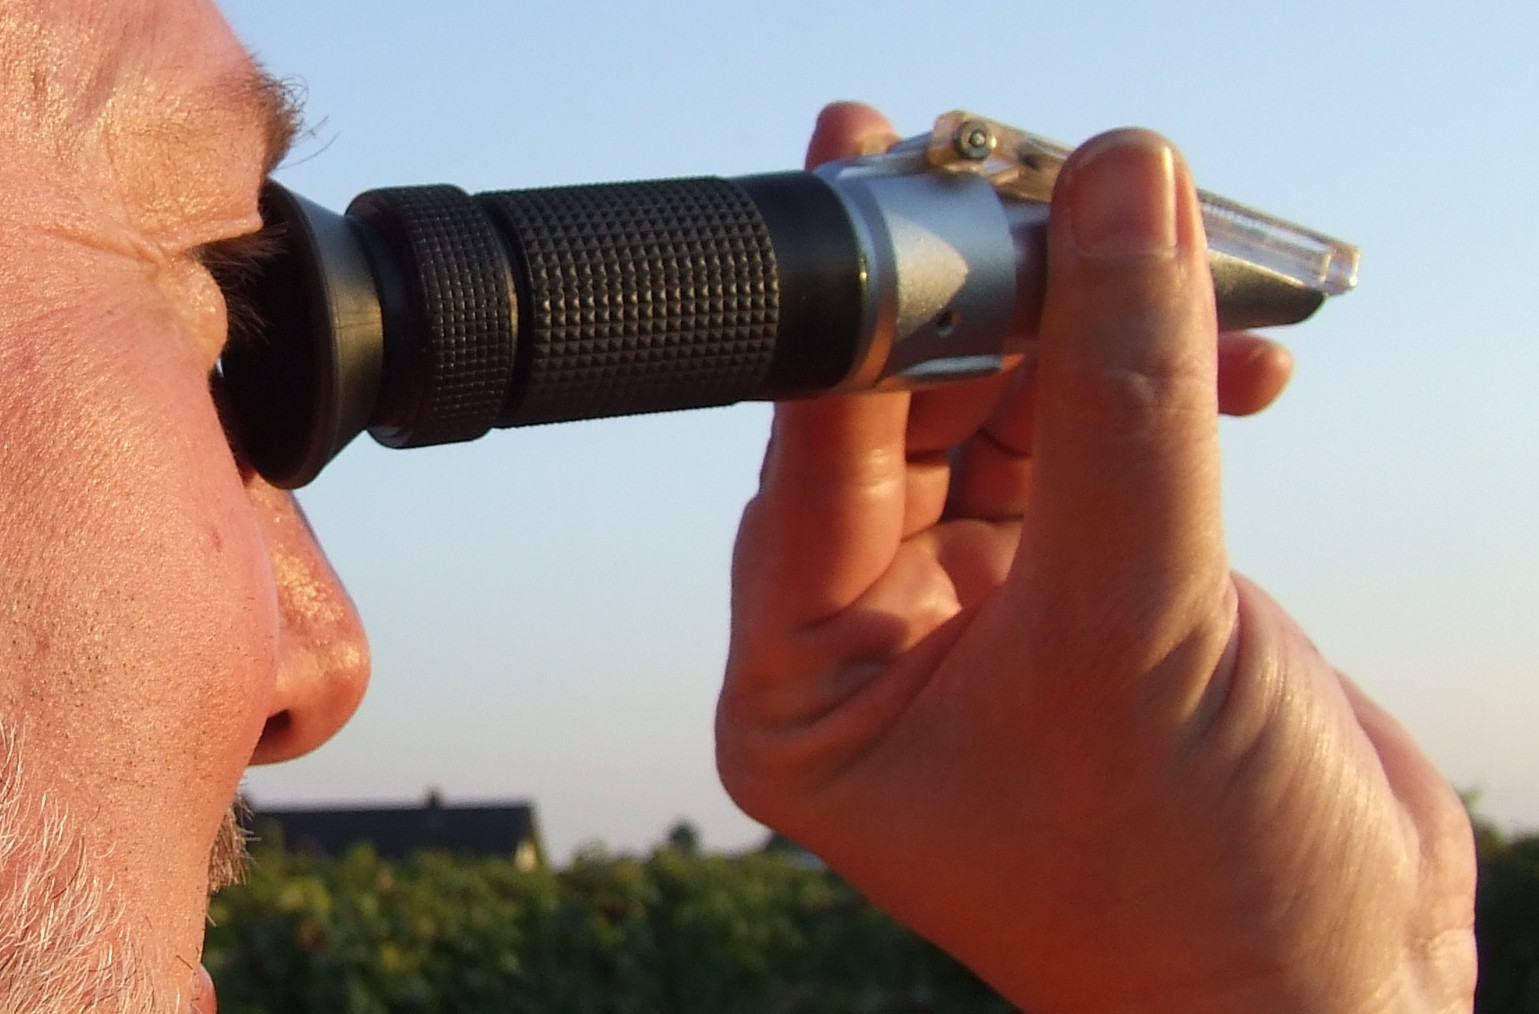
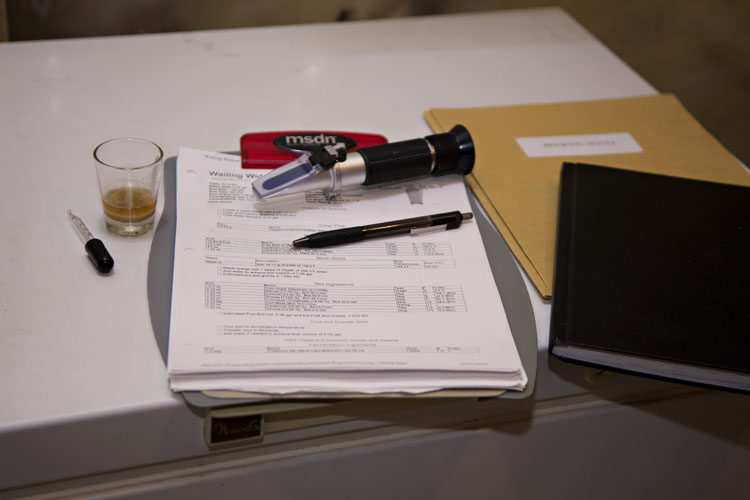
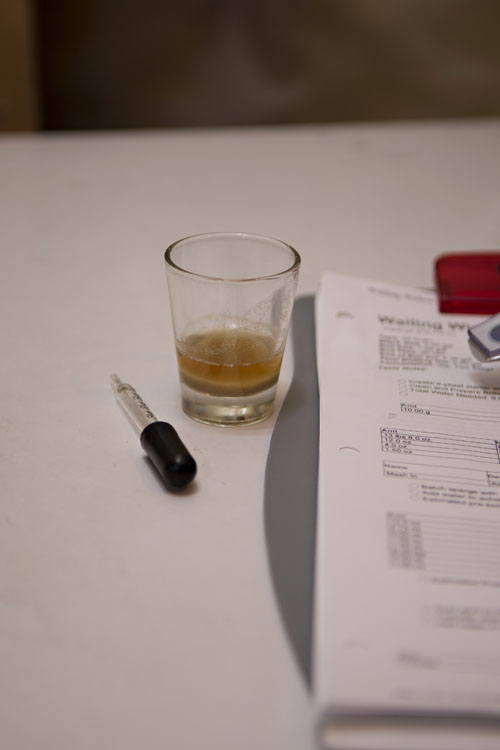
Checking my gravity with a refractometer. It's nice to be able to do it with such a small sample. I was aiming for 1.075, I hit 1.070.
Now, time to cleanup. A necessary evil, unfortunately.
That's it! Hope you enjoyed peeking in half as much as I enjoyed brewing it.
Several days before brew day, I like to get all my ingredients ready so I'm not rushed on brew day. I've already weighed out the grains (but not yet milled them) and printed out the recipe. Also, to make sure I don't forget things like rice hulls, gypsum, or mash hops, I like to use these little note cards to remind me. I just put them on top of the recipe sheet (which itself is on top of the grain and a bucket of rice hulls) so there's no possible way I can miss/forget them on brew day.
I also weigh out all my hop additions ahead of time, vacuum-seal them in little bags, and label them with their addition time. I keep them in the freezer (in a ZipLock bag with the batch name) until brew day.
Here's a little trick that might help someone. The lid of the cooler I use as my mash tun flops closed on me. So I attached two screws, one to the lid and one to the body, so that I can use a spare piece of scrap wood (with two holes drilled in the ends) to hold the lid open while I'm doughing-in.
Now it's time to mill the grain.
Here's a better shot of how I label the hop additions.
I undershot my temperature by a hair, I was going for 148° F. I like my IPAs nice and dry anyway.
I cover the grain bed with foil to help it hold temperature, and to diffuse the wort during vorlaufing/recirculation later to minimize disturbing the grain bed.
While it's mashing, I set up the grant and pump for recirculation later.
Mash done, sparge water heated and waiting, I recirculate until clear.
Once the wort has cleared, I disconnect the hose from the return pump and drain from the grant into a pot instead.
The pot is etched with volume markings, allowing me to keep track of how much wort I've collected. This shot was actually taken while draining the second runnings, which weren't as clear as the first runnings.
Sweet wort collected, I heat it all up in my main 15 gallon kettle.
While waiting for the boil, I lay out my hop additions in the order they'll be being added. I also put out the Irish moss and corn sugar, so I don't forget to add them (not that that's ever happened to any of us, right?)
That's a healthy dose of Warrior hops! 2.75 oz at 90:00 for bittering (along with a half-ounce of Chinook)
Here's a shot down my street from my garage where I was brewing. It was around -15° C (5° F) while I brewed.
I changed the recipe slightly and turned the flameout additions into hopstand additions instead. I accidentally overshop my chilling temperature (was aiming to hit 160°, but accidentally chilled to 150°). I added the flameout hops in a sock and let the whole thing sit for 30 minutes before resuming chilling.
Chilling complete, I racked to a carboy while recirculating Oxyclean through the pump and chiller.
Meanwhile, I prepped my yeast. 1 packet of US-05 rehydrated in 120 mL of 84° F water.
I aerated with a Fizz-X rod on a second-hand drill.
Nice and frothy! The lightbulb is on because I overshot my chilling (darn plate chiller and Canadian winter tap water) by 5° C.
Look at that beautiful, creamy yeast! Look how happy they are when you rehydrate them instead of just sprinkling them to their death.
Now it's officially beer.
Checking my gravity with a refractometer. It's nice to be able to do it with such a small sample. I was aiming for 1.075, I hit 1.070.
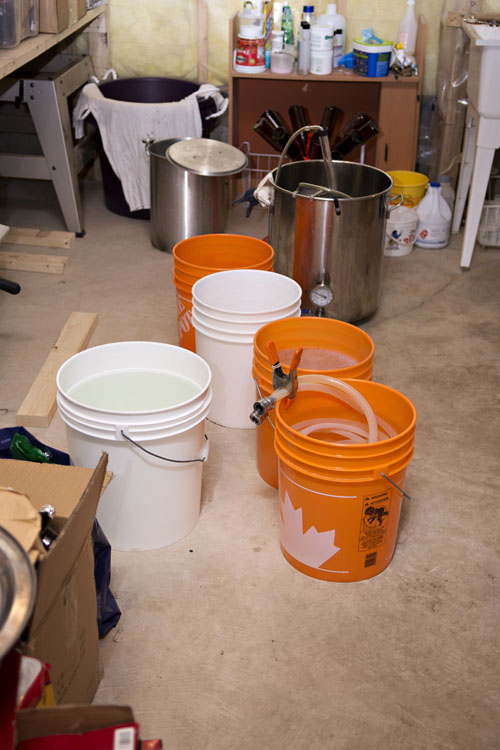
Now, time to cleanup.
A necessary evil, unfortunately.
That's it! Hope you enjoyed peeking in half as much as I enjoyed brewing it.