3 roller mill trap door mod for adjustment

Homebrew Talk - Beer, Wine, Mead, & Cider Brewing Discussion Forum

Help Support Homebrew Talk - Beer, Wine, Mead, & Cider Brewing Discussion Forum:

This site may earn a commission from merchant affiliate links, including eBay, Amazon, and others.

rubiconbrewer

Well-Known Member
Joined
Apr 19, 2012
Messages
46
Reaction score
2
Location
Solon
Hey guys,

I recently bought a 3 roller geared monster mill with their hopper. I didn't realize you had to remove the hopper to adjust the gap of the rollers. Anyway I was wondering if anyone has installed some sort of hinged trap door so you do not have to remove the whole hopper? If so I'd love to see a picture of what you did. Thanks in advance!
 
Does it need to be reset that often? My MM2 never needs resetting. Had it for about 8 years. The MM3 has the same mechanism, it's just the depth added by the free-wheeling 3rd roller that means the locking screws get covered by the attached hopper. The only time I'd ever need to change the gap (which is set optimal for my system) is rare occasions when I use rye or unmalted wheat, which are much smaller than the average malted barley grain, etc. I use a cheap flour mill specifically for these. If you want to adjust the gap for individual types of grain, as some have recently suggested is necessary, don't worry about it. Just focus on the base malt and everything else (except rye and unmalted wheat) is going to crack.
 
Hey guys,

I recently bought a 3 roller geared monster mill with their hopper. I didn't realize you had to remove the hopper to adjust the gap of the rollers. Anyway I was wondering if anyone has installed some sort of hinged trap door so you do not have to remove the whole hopper? If so I'd love to see a picture of what you did. Thanks in advance!


I have an "MM3" also (a Malt Muncher 3 roller). I was able to make my adjustments after I assembled everything, including the hopper. The Monster Mill, I would think, should be no different.
 
Why do you have to remove the hopper? Can you not just loosen the thumb screws and then move the roller with the adjustment knob?
You can still adjust it, it's just hard getting the feeler gauges in to get between the drive roller and the bottom idlershaft.
 
Does it need to be reset that often? My MM2 never needs resetting. Had it for about 8 years. The MM3 has the same mechanism, it's just the depth added by the free-wheeling 3rd roller that means the locking screws get covered by the attached hopper. The only time I'd ever need to change the gap (which is set optimal for my system) is rare occasions when I use rye or unmalted wheat, which are much smaller than the average malted barley grain, etc. I use a cheap flour mill specifically for these. If you want to adjust the gap for individual types of grain, as some have recently suggested is necessary, don't worry about it. Just focus on the base malt and everything else (except rye and unmalted wheat) is going to crack.
I suppose it won't be a big deal in the long run, I've just been playing with the gap to see what works best for my system. And yes it would be nice to make adjustments quickly for wheat.
 
I have an "MM3" also (a Malt Muncher 3 roller). I was able to make my adjustments after I assembled everything, including the hopper. The Monster Mill, I would think, should be no different.
You have no problem getting the feeler gauge in between the rollers? I'm used to using a 2 roller mill (barley crusher) and it was pretty straight forward in that you just put the feeler gauge between the two rollers. The video I saw online showed having the hopper taken off and putting the feeler gauge through the side vs the bottom. Otherwise I am able to make adjustments with the adjustment knobs with the hopper on.
 
You have no problem getting the feeler gauge in between the rollers? I'm used to using a 2 roller mill (barley crusher) and it was pretty straight forward in that you just put the feeler gauge between the two rollers. The video I saw online showed having the hopper taken off and putting the feeler gauge through the side vs the bottom. Otherwise I am able to make adjustments with the adjustment knobs with the hopper on.


Nope. I put everything together and used a strip of an old credit card to set it. If I remember correctly, a credit card's thickness is around 0.035". I do have a feeler gauge, but couldn't find it at the time I was putting the mill together. I've used it on two brews and was happy with my crush.

If the Monster is similar, or identical, look for a YouTube channel called 'The Homebrew Network'. I can't remember the guy's name, but he's an Aussie brewer that did a setup video of the mill. I'm sure the Monster would be no different.
 
Actually, I was thinking about another 3-roller mill. The MM3 requires access to the lower roller for setting the gap. Still, not a problem, as it won't need resetting much once set 👈
 
Just index the adjustment knobs. Gap it to .035 and put marks on the knobs. Then adjust to .025, repeat...
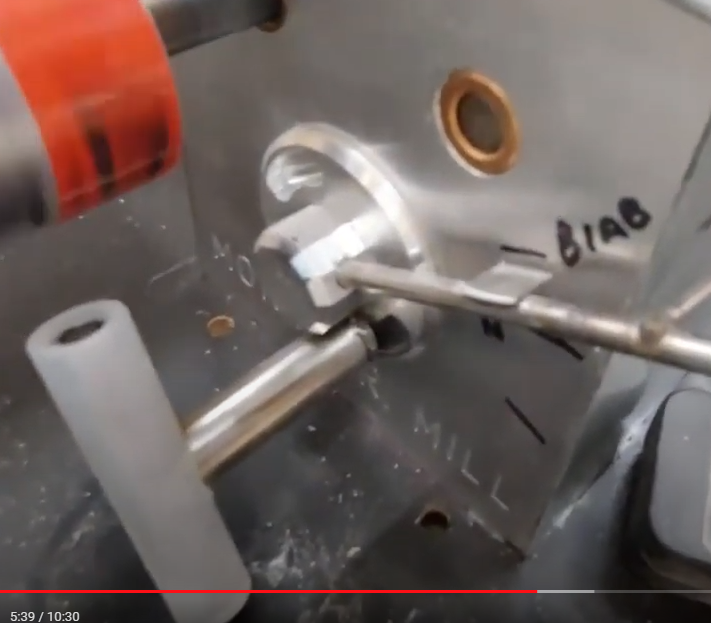
I have the same mill and went a little overboard on the mods to achieve on the fly adjustability.
First I replaced the lock bolts with a big tee handle. I then drilled and tapped holes in the aluminum adjuster knobs to give me a longer reference point for index marks. This can still be done directly on the dial and marks on the end block of the mill.

1650756743326.png
 
Nope. I put everything together and used a strip of an old credit card to set it. If I remember correctly, a credit card's thickness is around 0.035". I do have a feeler gauge, but couldn't find it at the time I was putting the mill together. I've used it on two brews and was happy with my crush.

If the Monster is similar, or identical, look for a YouTube channel called 'The Homebrew Network'. I can't remember the guy's name, but he's an Aussie brewer that did a setup video of the mill. I'm sure the Monster would be no different.
Awesome, thanks I will have to look for the video to see if it helps me out with it.
 
Just index the adjustment knobs. Gap it to .035 and put marks on the knobs. Then adjust to .025, repeat...
I have the same mill and went a little overboard on the mods to achieve on the fly adjustability.
First I replaced the lock bolts with a big tee handle. I then drilled and tapped holes in the aluminum adjuster knobs to give me a longer reference point for index marks. This can still be done directly on the dial and marks on the end block of the mill.

View attachment 766920
This is a great idea. That would definitely be a perfect mod for quick adjustments between wheat and a normal grain bill. Thanks for sharing Bobby! Looking forward to testing the RIMS tube system that you just shipped to me!
 
Back
Top