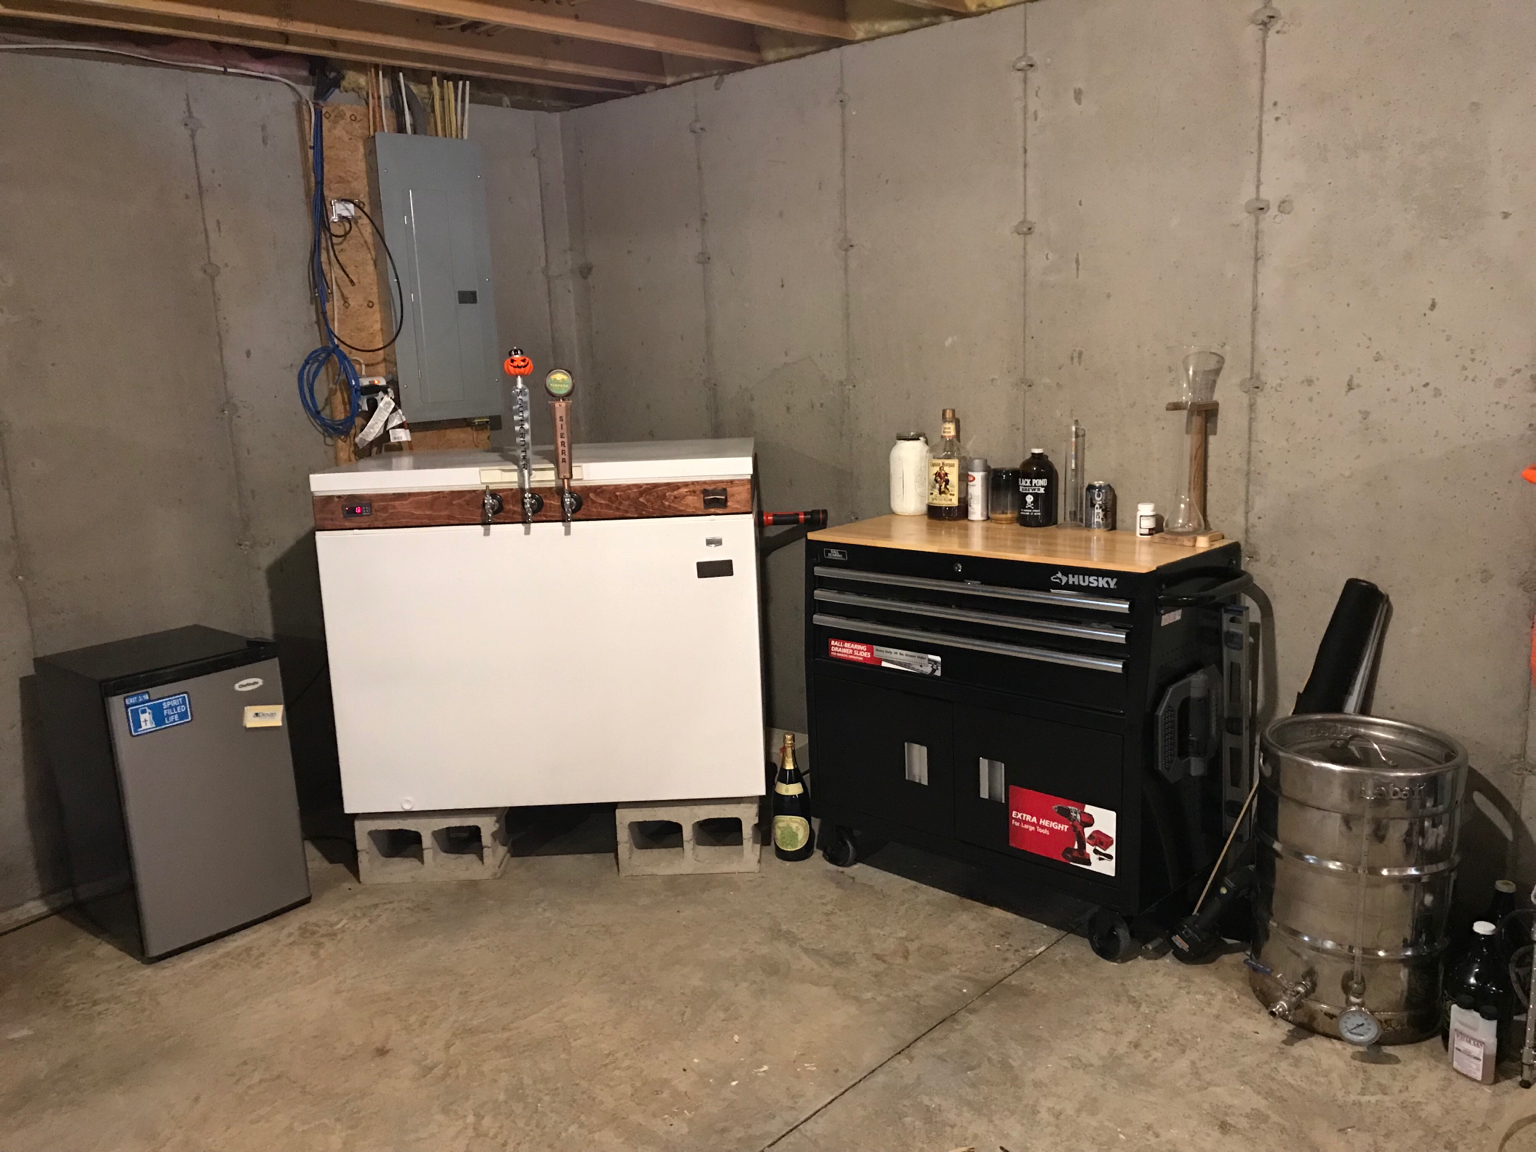
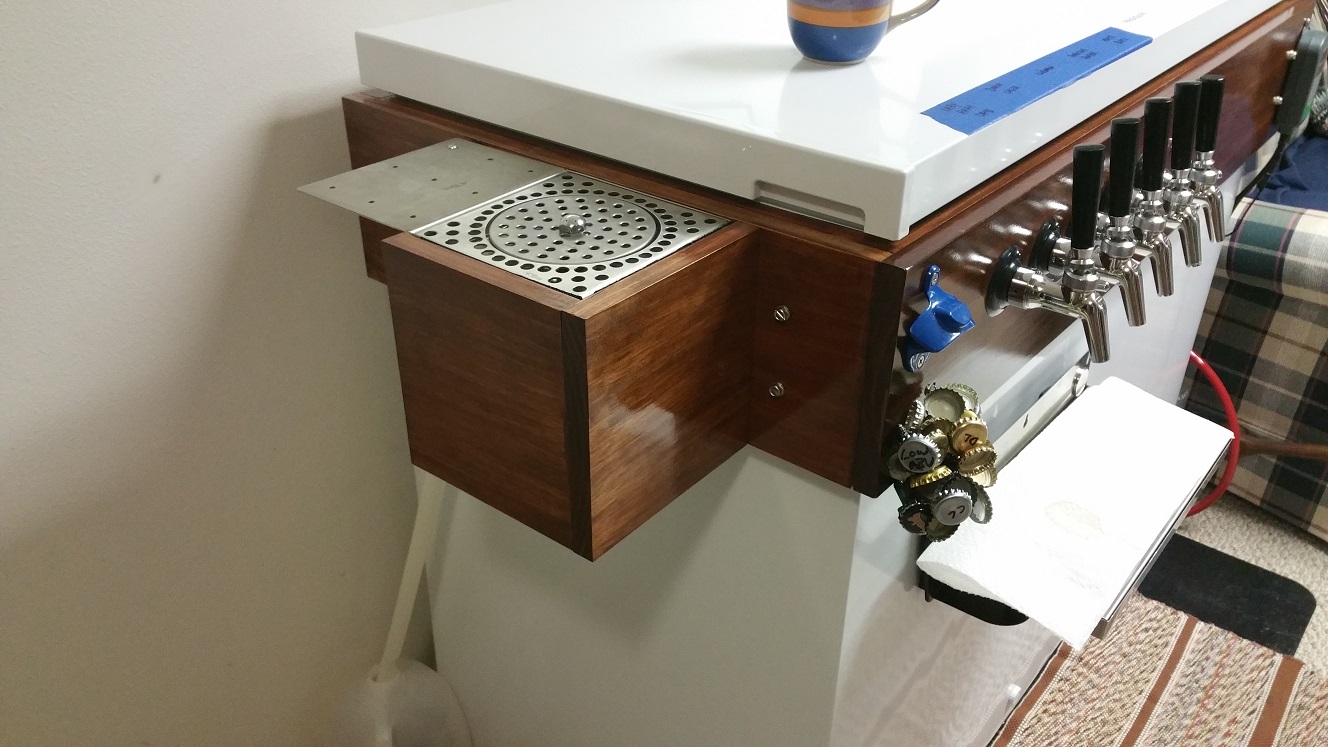
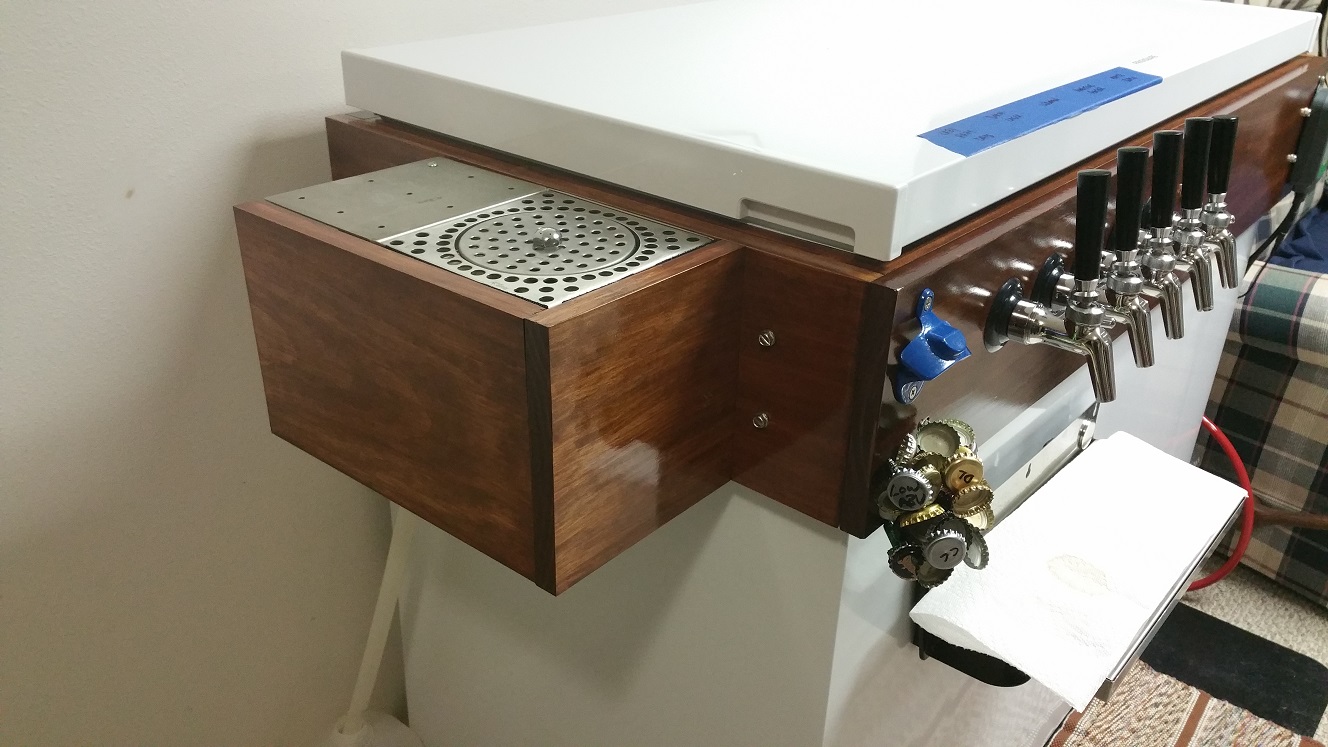
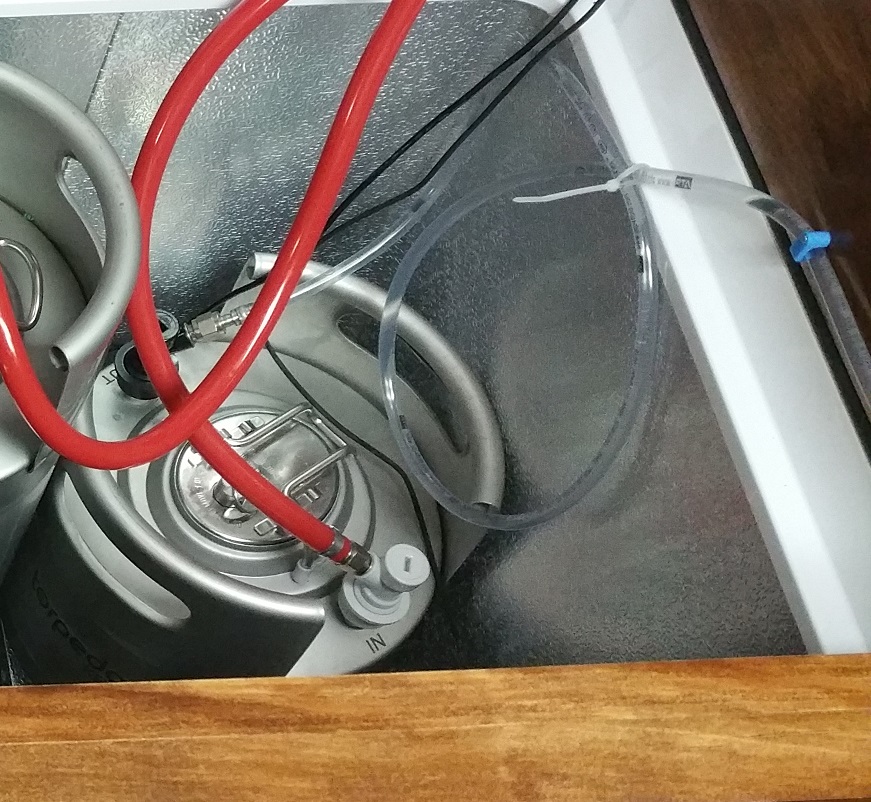
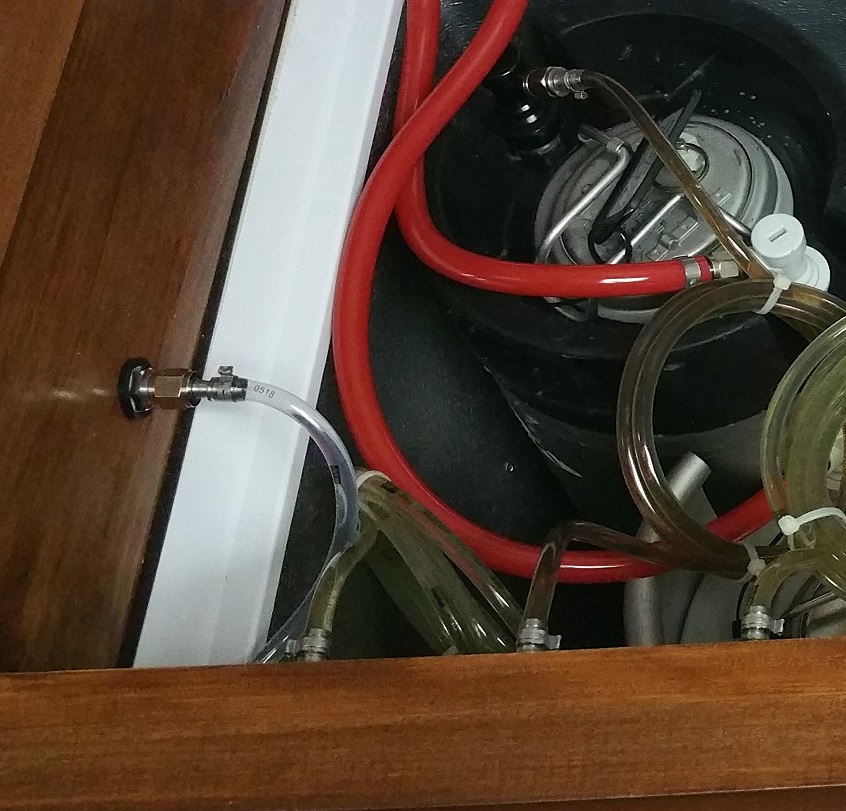
I did not invent this approach but when I first saw it I knew I'd build my own keezer this way. That keezer is shown here, but when the chance came to work with my son to build his own keezer, I knew I needed to document it better and share it.
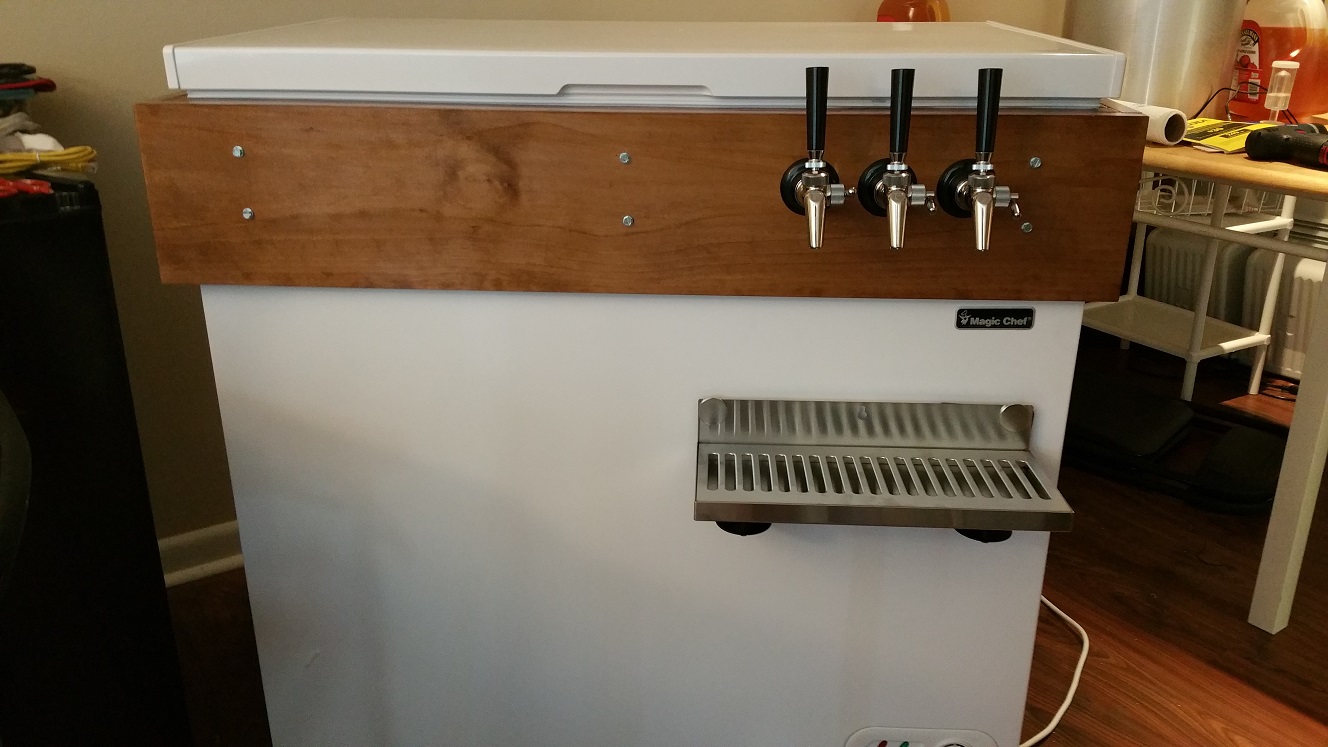
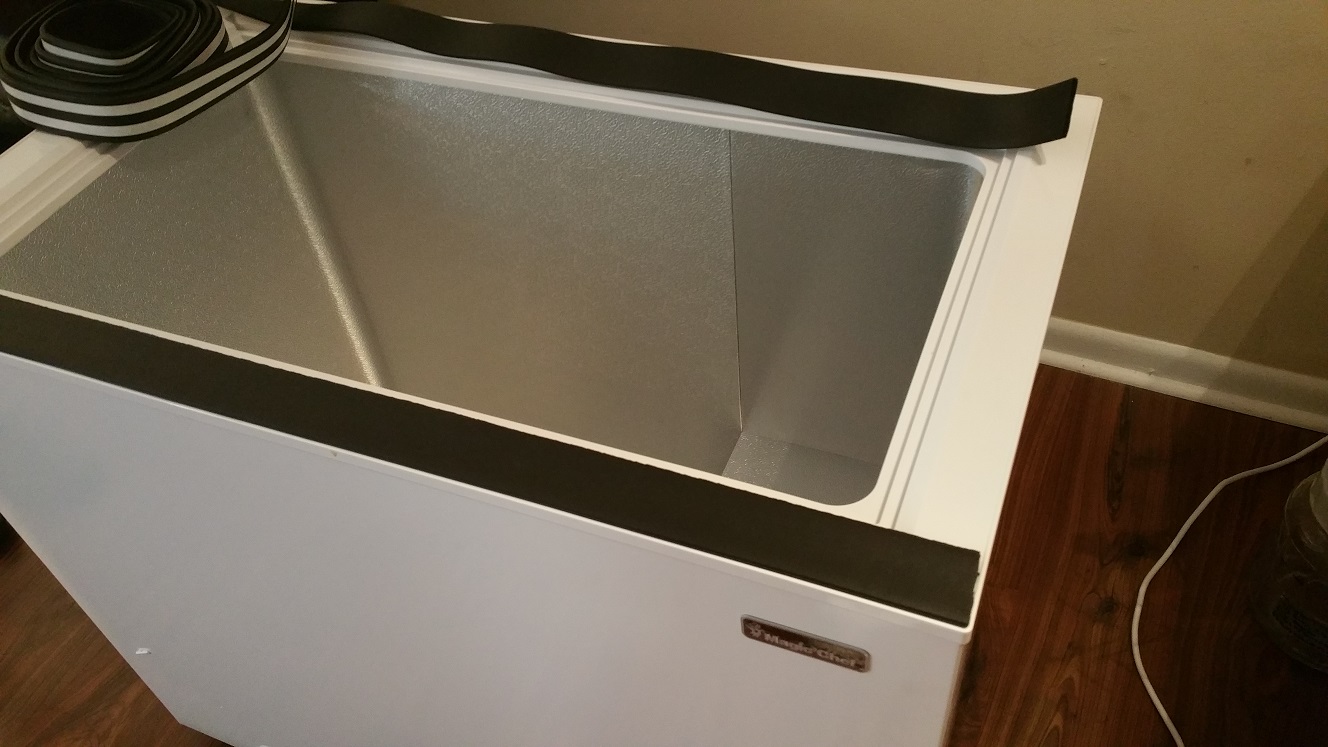
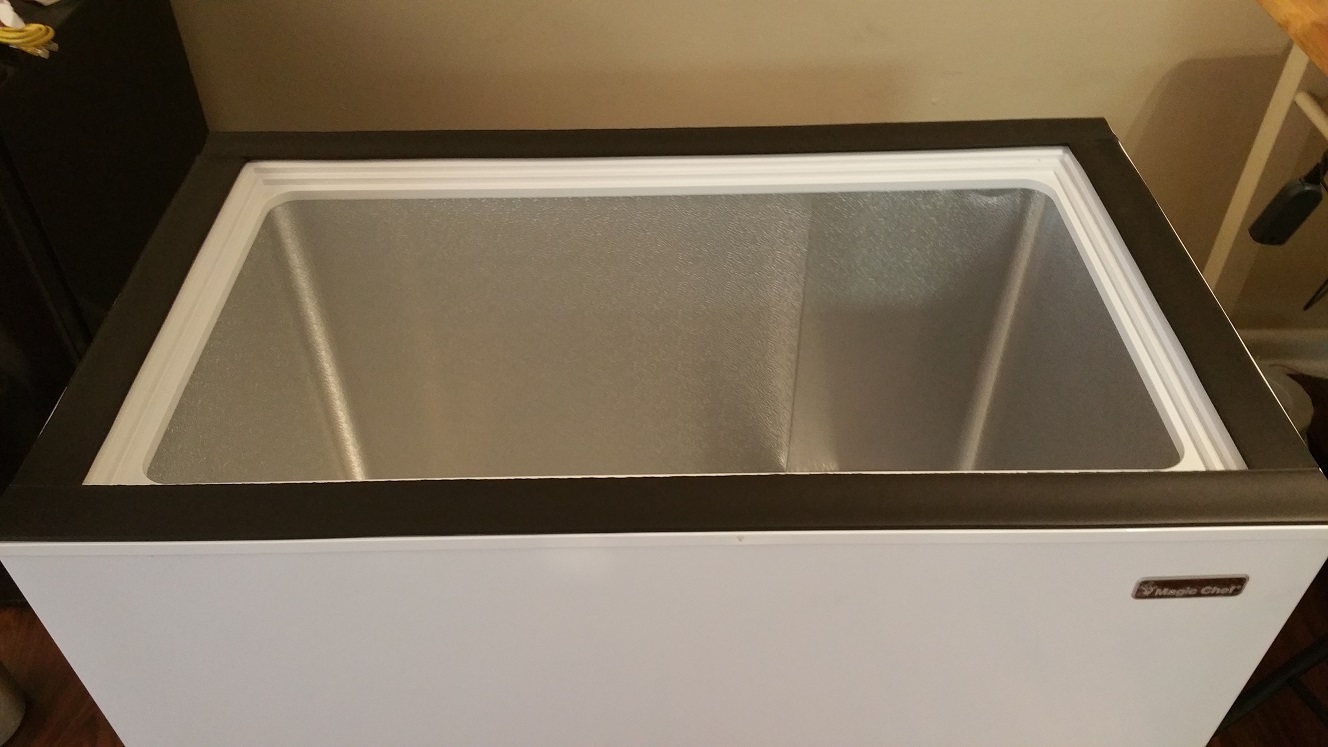
This method does not permanently change the freezer. Rather than gluing or silicone sealing the collar to the freezer, I use camper-top cushioning tape to line the freezer mouth and set the collar on that. This means that if we ever wanted to, we could return the freezer to its original configuration, i.e., that of a freezer, AND it turns out it makes this really easy to move as the collar can be lifted off and moved separately from the bottom.
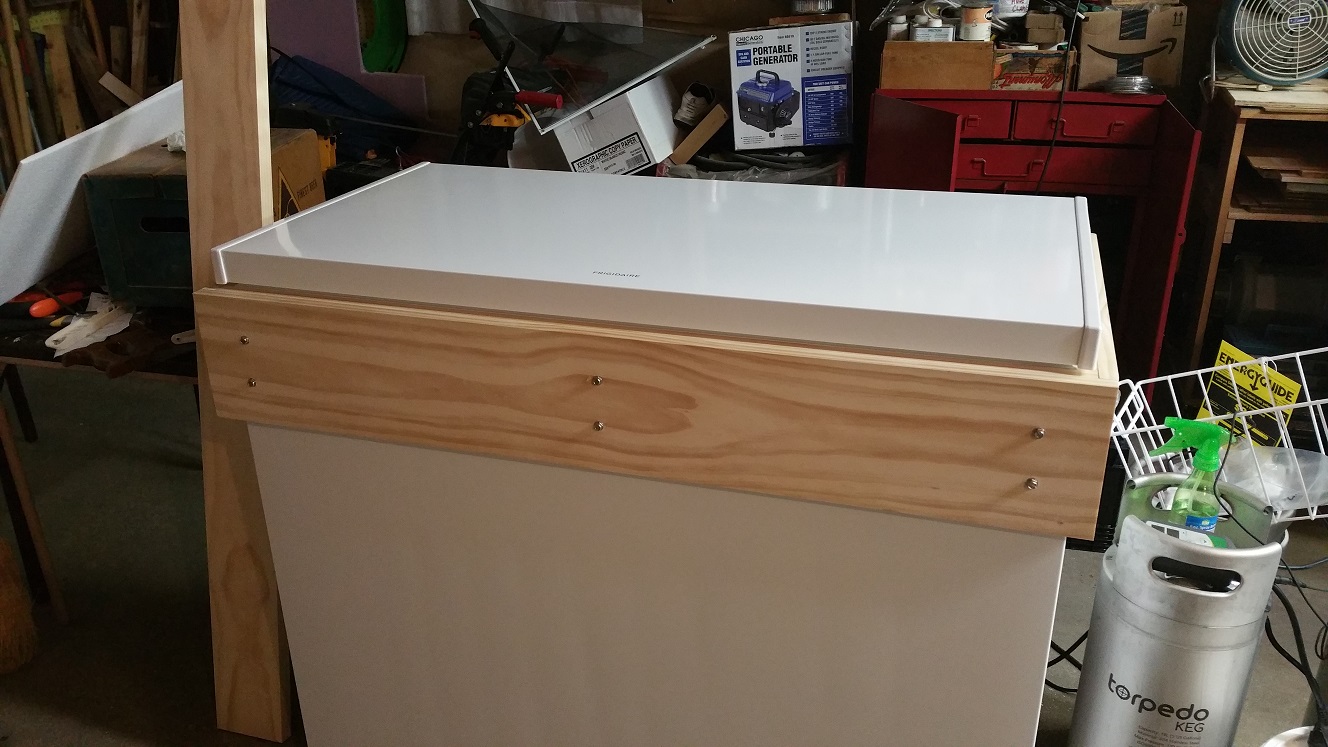
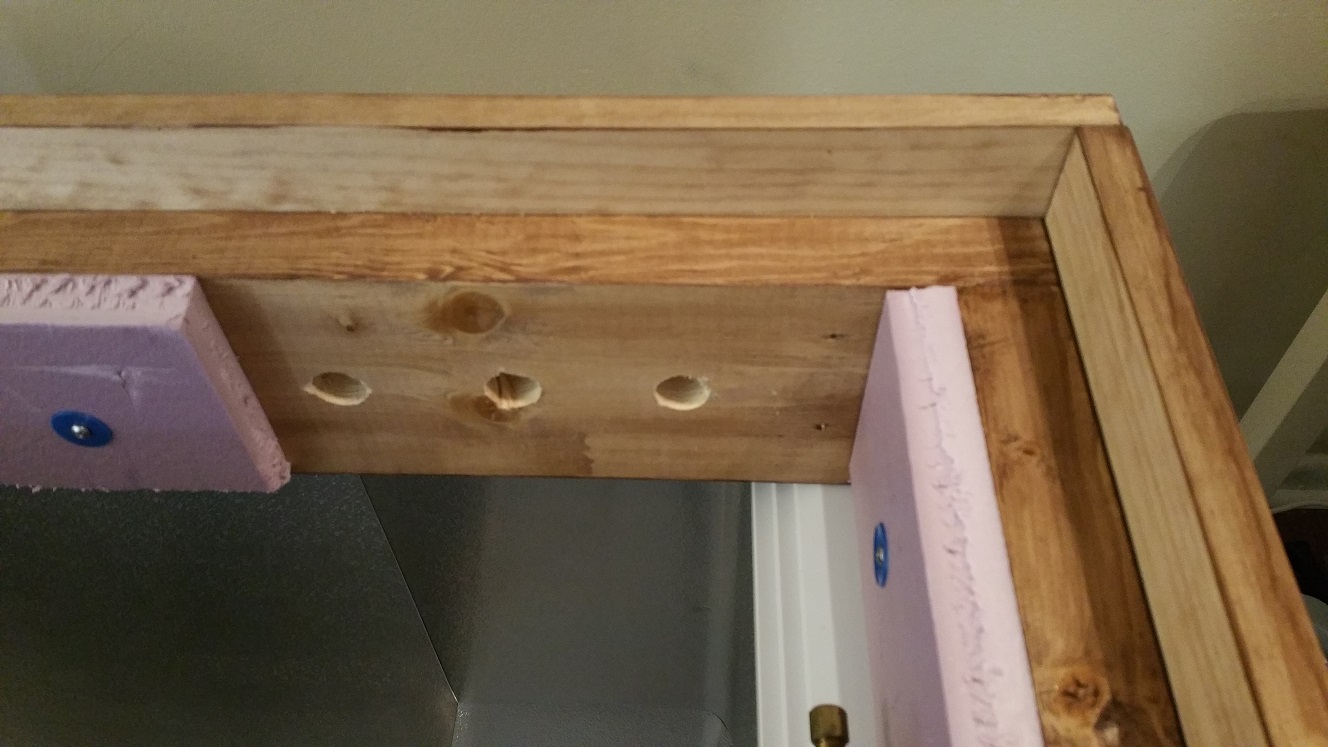
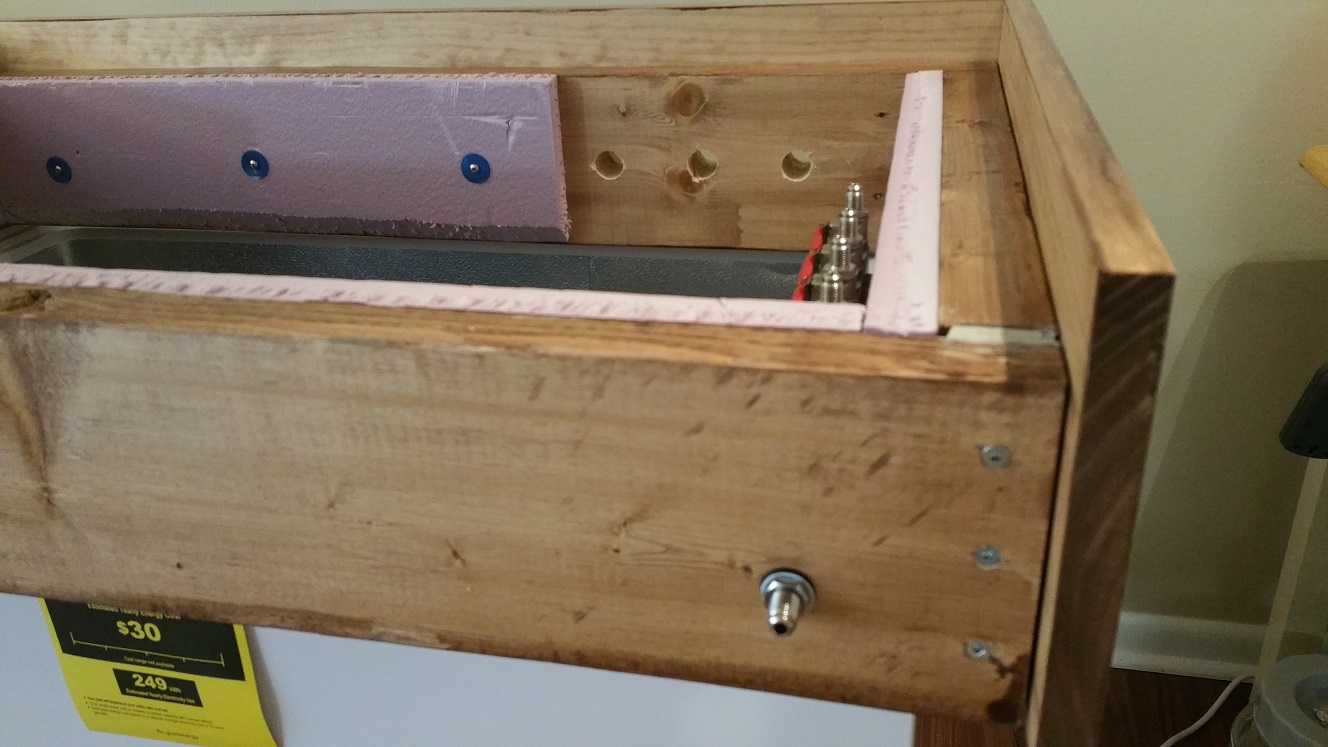
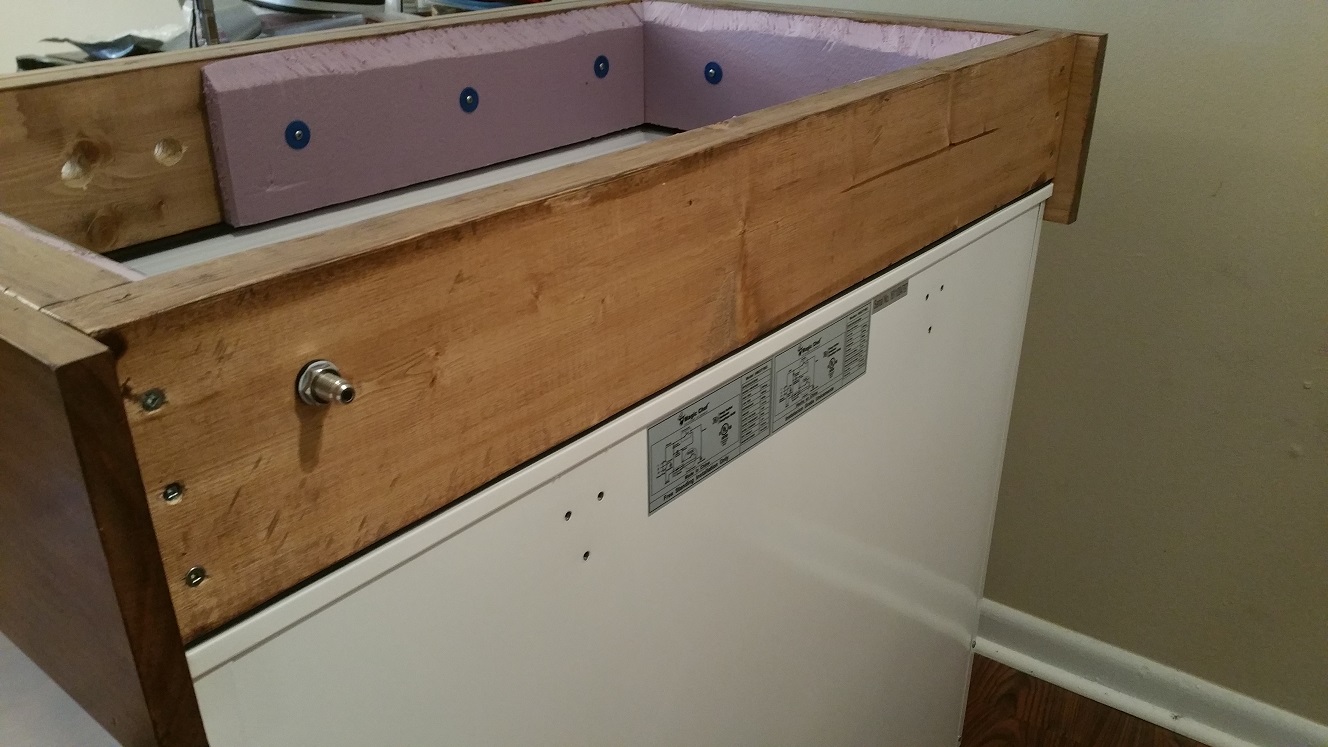
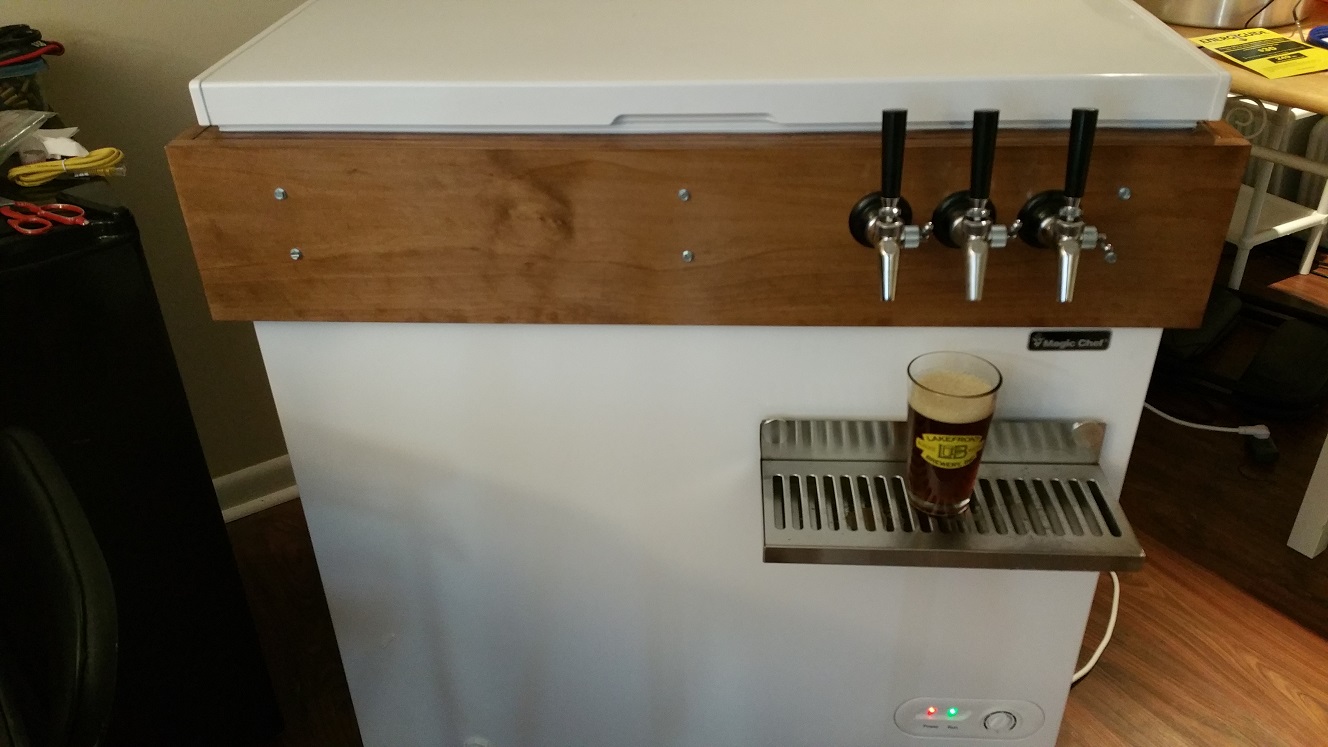
The trick to this is adding a 1x8 facade around a 2x6 collar that dresses up the front as well as providing sides to prevent the collar from moving around. That facade is only on the front and sides. The collar cannot be pushed back, nor to either side. The facade isn't used on the back, no need.
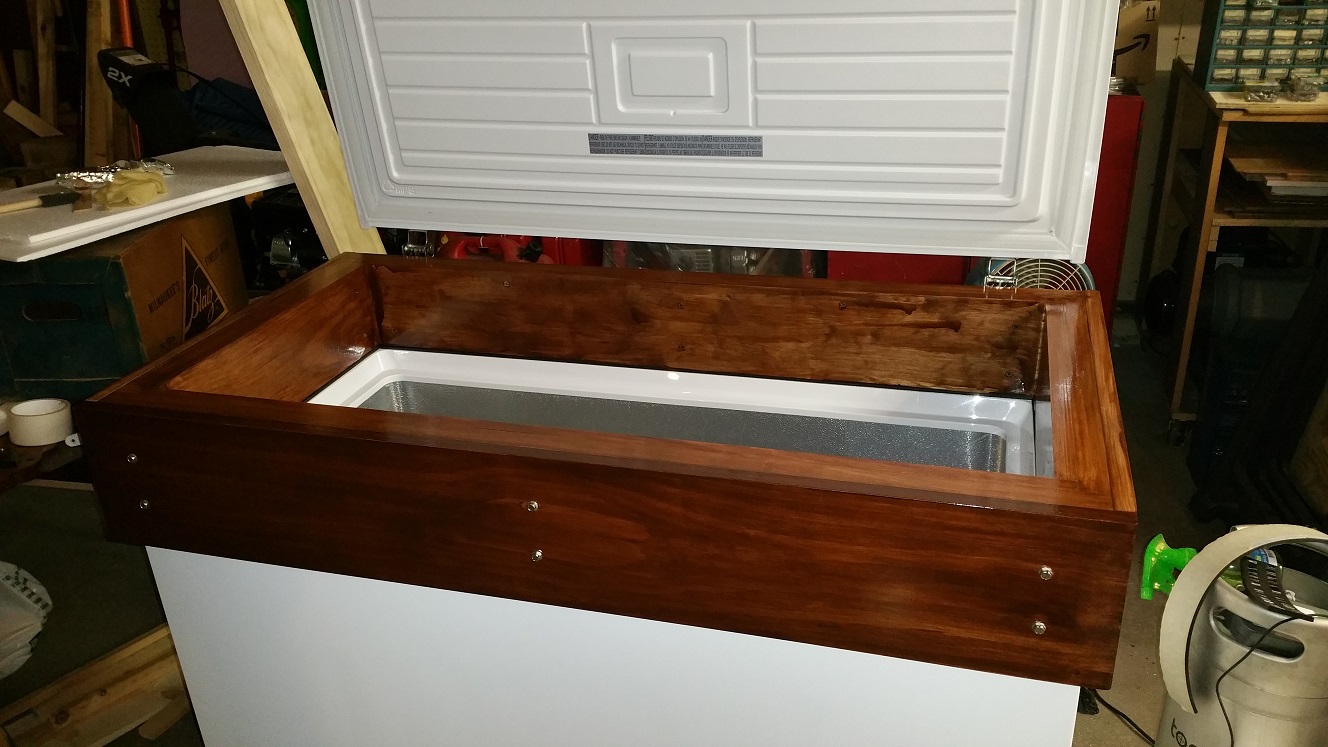
I built this on our kitchen island as the freezer was not available to me at the time. I'd taken measurements and proceeded to build it at home. That island was a nice flat surface to line up the pieces and ensure a good flat base from which we could work. Once I had the collar together I pulled it apart and coated all of it with a polyurethane stain mix to seal it against moisture. Then I reassembled it.
I held the facade to the collar with hex-head screws. It kind of gives a little bit of a steampunk look to it. Other fasteners could be used, they could be countersunk and wooden caps used, whatever.
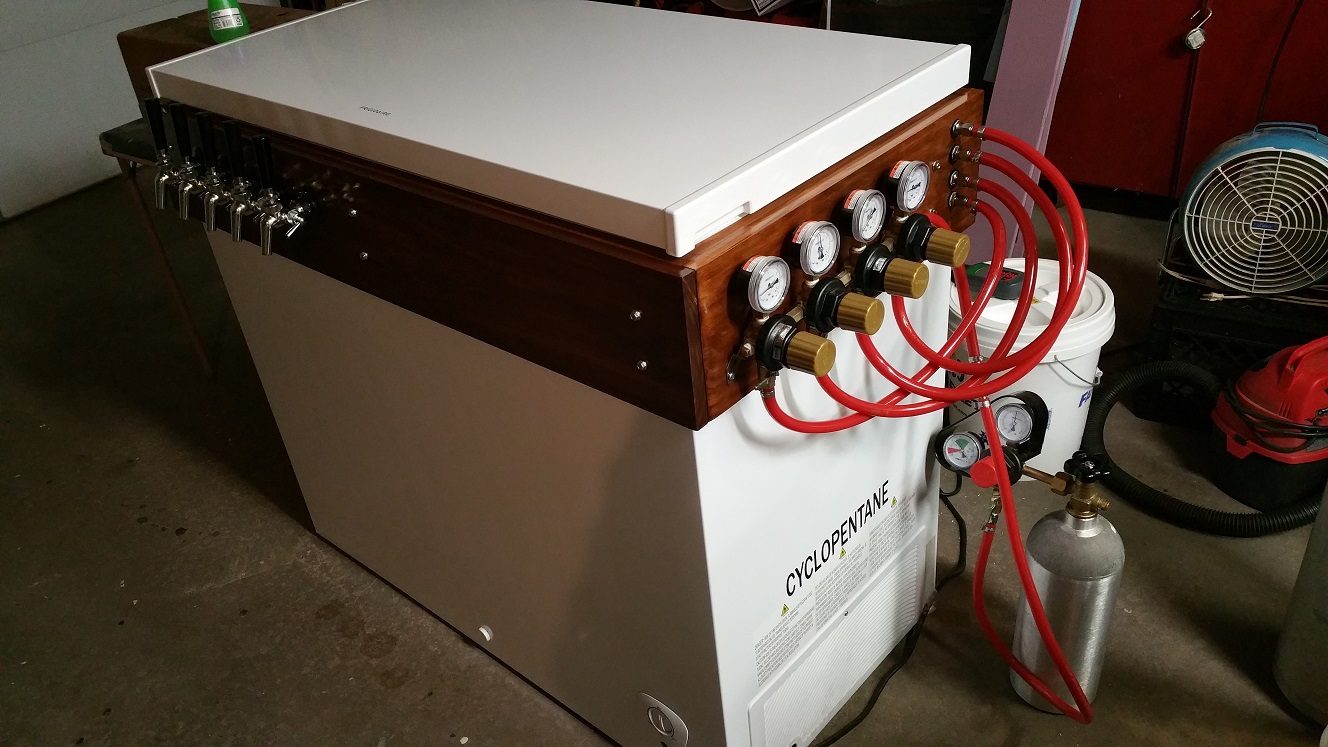
This unit has 3 faucets; I think there's a chance for a possible 4th, so when I measured out the location of the 3, I also made a tiny dimple with an awl to indicate the 4th location. You can't see it unless you know where to look, so it's there but not screwing up the appearance. No measuring required to add a fourth faucet.
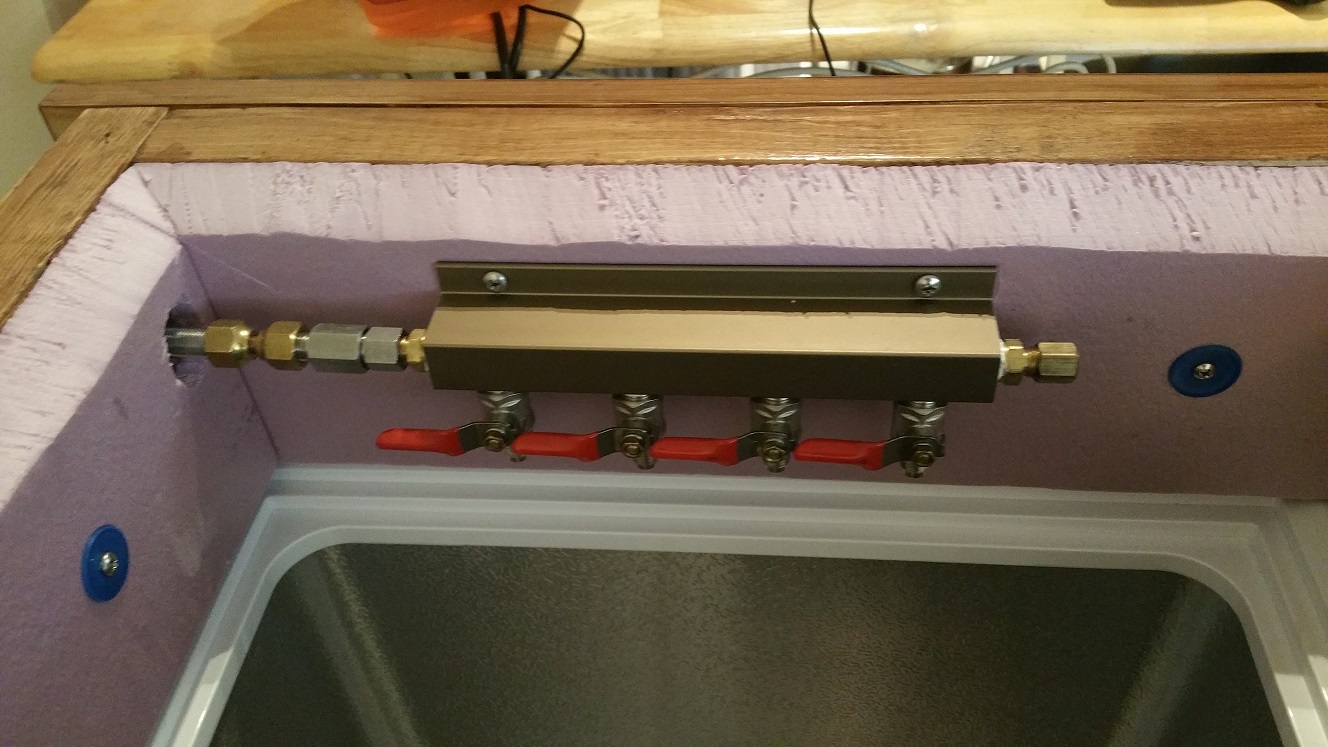
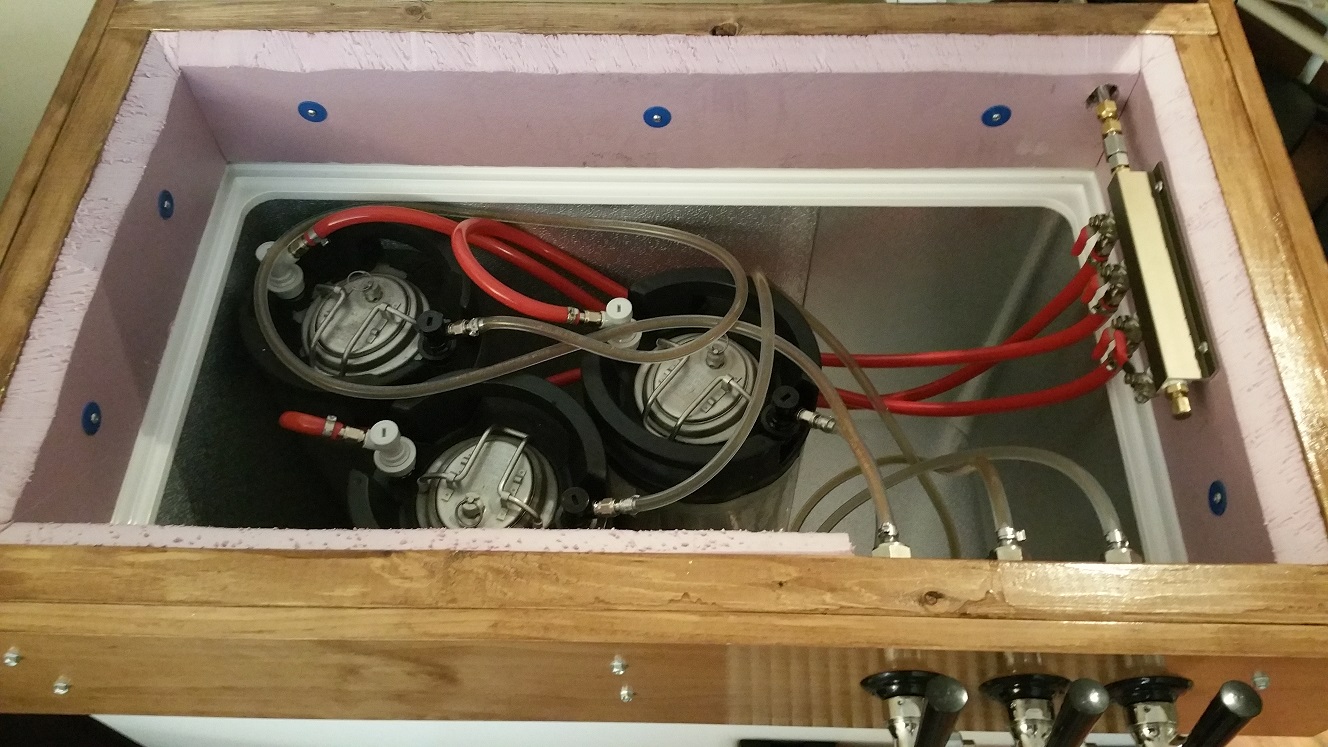
Some people just put their CO2 cylinder and regulator inside the keezer; I've done that. Others keep theirs outside and drill a hole through which they pass the gas line. I wanted a way to be able to easily disassemble and move this, as my son will likely be moving to a new place at some point. So I bought a gas pass-through shank from the Chi Company and a few fittings to allow for the use of MFL fittings to connect the gas to the shank and the manifold inside.
The inside manifold has a check valve added to it just in case. All the MFL fittings (Male-Male, Female-Female) work just fine as they're all standard. Make sure if you do this you get the necessary nylon washers.
When installing the lid, look for the slots in the screw holes and make sure you center the screws in those slots. If you need to move the hinges up or down slightly to ensure a tight lid seal, that will leave you the necessary slack to do so.
I used rigid foam insulation cut to size for the inside and held on with nylon caps screwed to the inside of the collar. The top is beveled because the freezer lid has a beveled protrusion that extends down inside the freezer and the bevel on the insulation allowed for it.
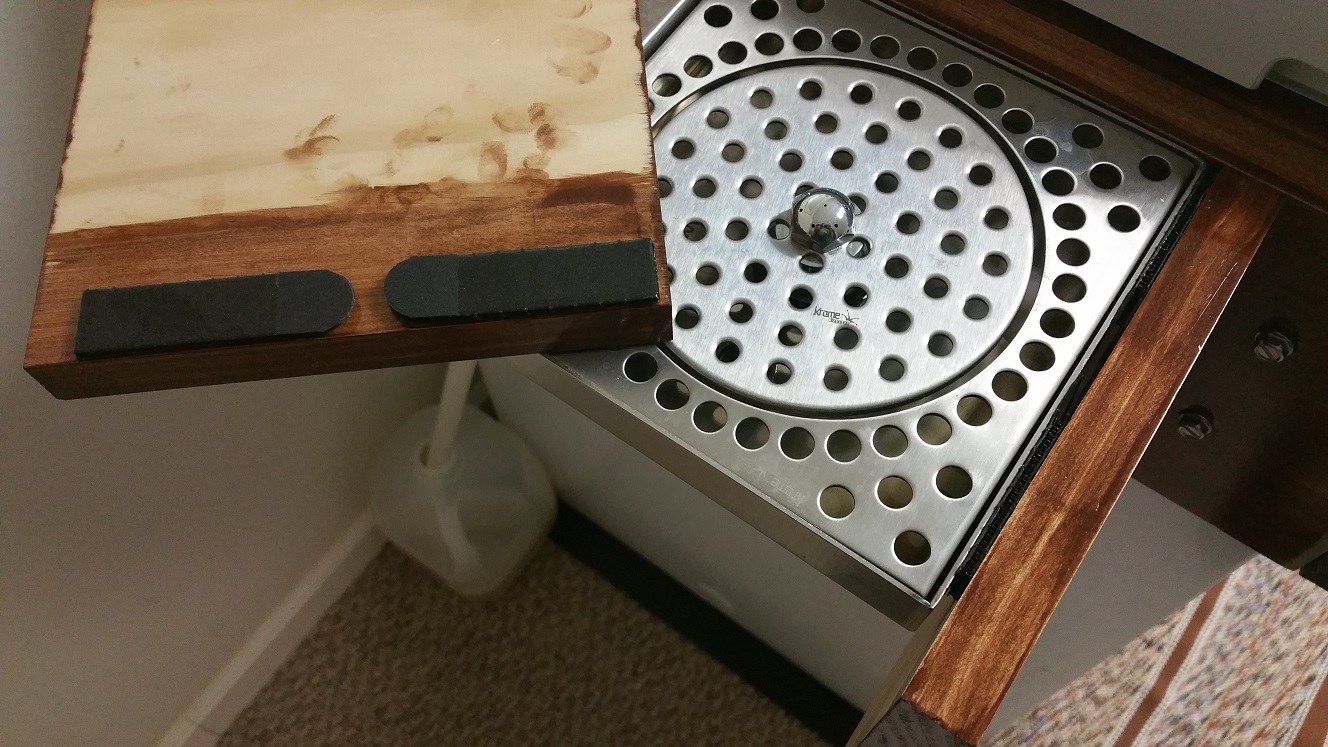
The drip tray is held in place by magnets. The two circular ones are quite strong and they're attaching to two other paper-towel-holder magnet doohickies. Here's a post showing that. As with not gluing, I wanted something non-permanent, plus I don't have to worry about accidentally hitting cooling lines by using screws into the freezer.
Someone may ask where the lead for the temperature probe is. On my own keezer I cut a 1/8" channel through the cushion tape and run it through there, along w/ the power cord for a small USB fan to recirculate air inside the keezer. On this one we just laid it across the top and it seals.
They say a pic is worth a thousand words. Here's something like 12,000 words:


Last edited by a moderator:


