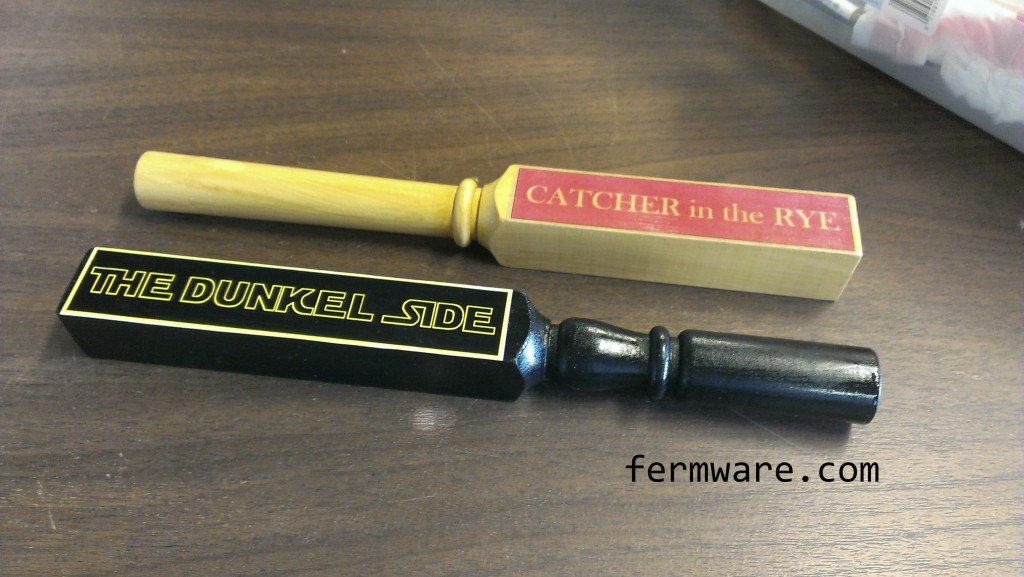
I was in a pinch before a big party two years ago and made these tap handles from wooden staircase spindles.
Full instructions here:
http://fermware.com/super-easy-tap-handles/
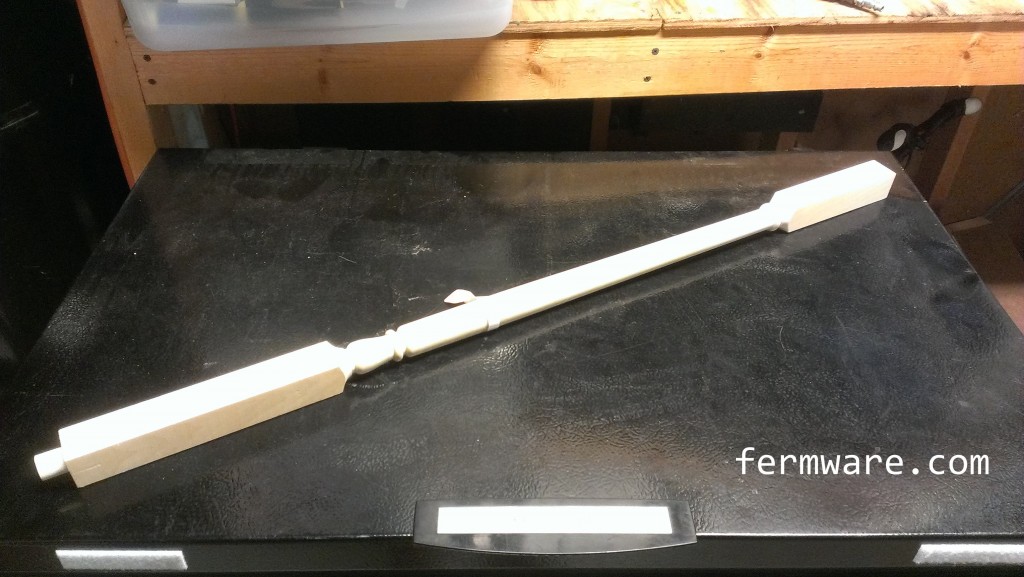
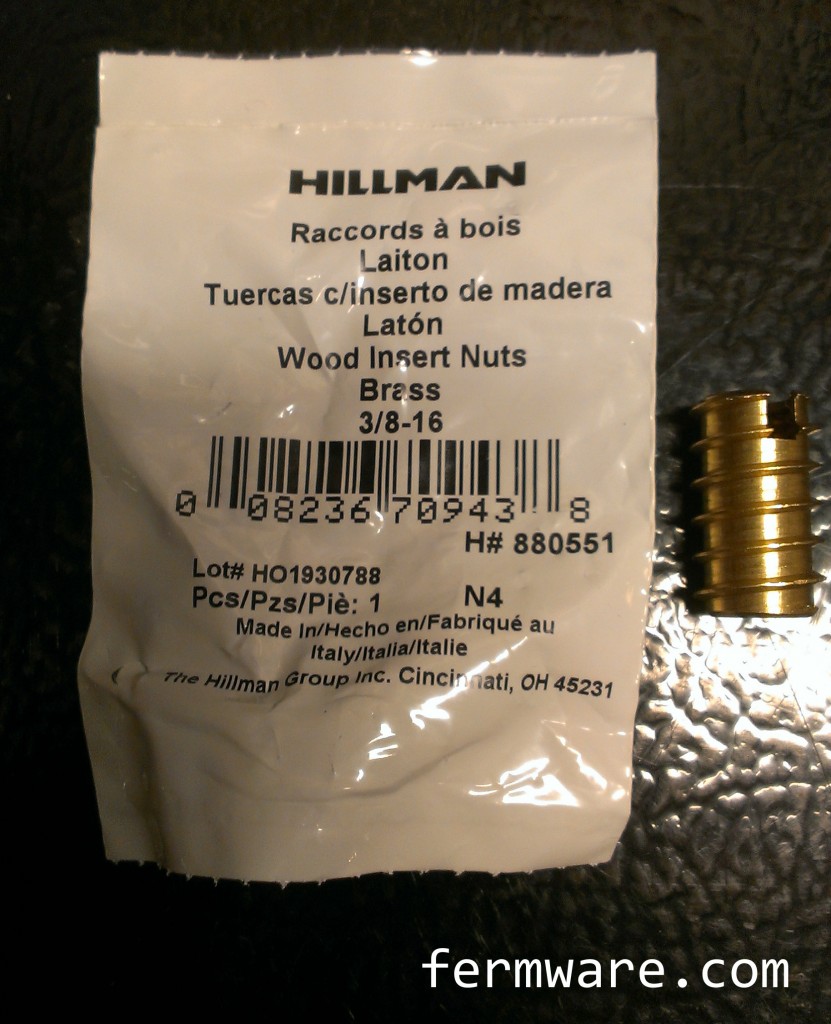
Purchase a wooden staircase spindle and the threaded insert. You can get the inserts on Amazon, McMaster or at your favorite local hardware store.
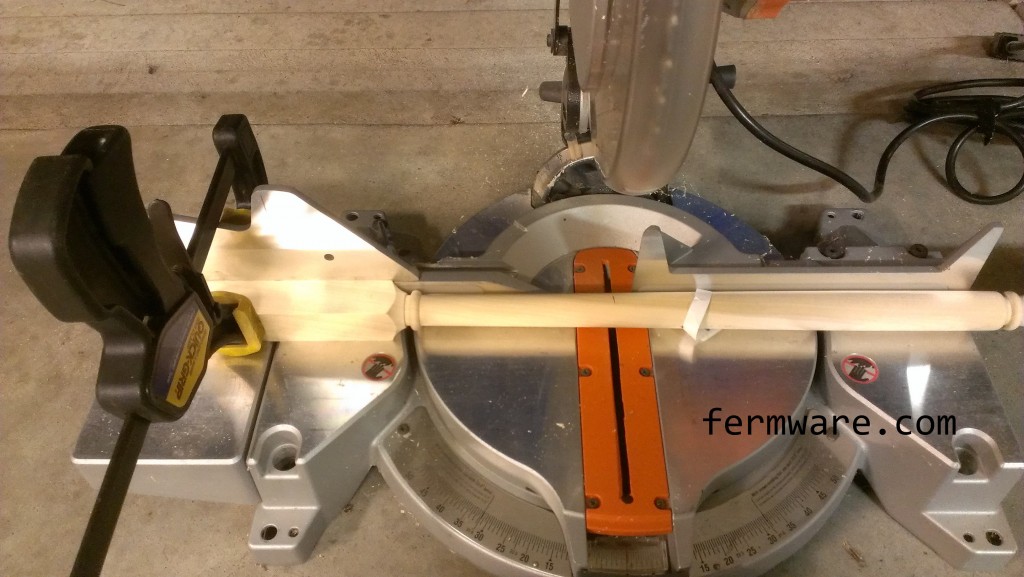
Cut to size
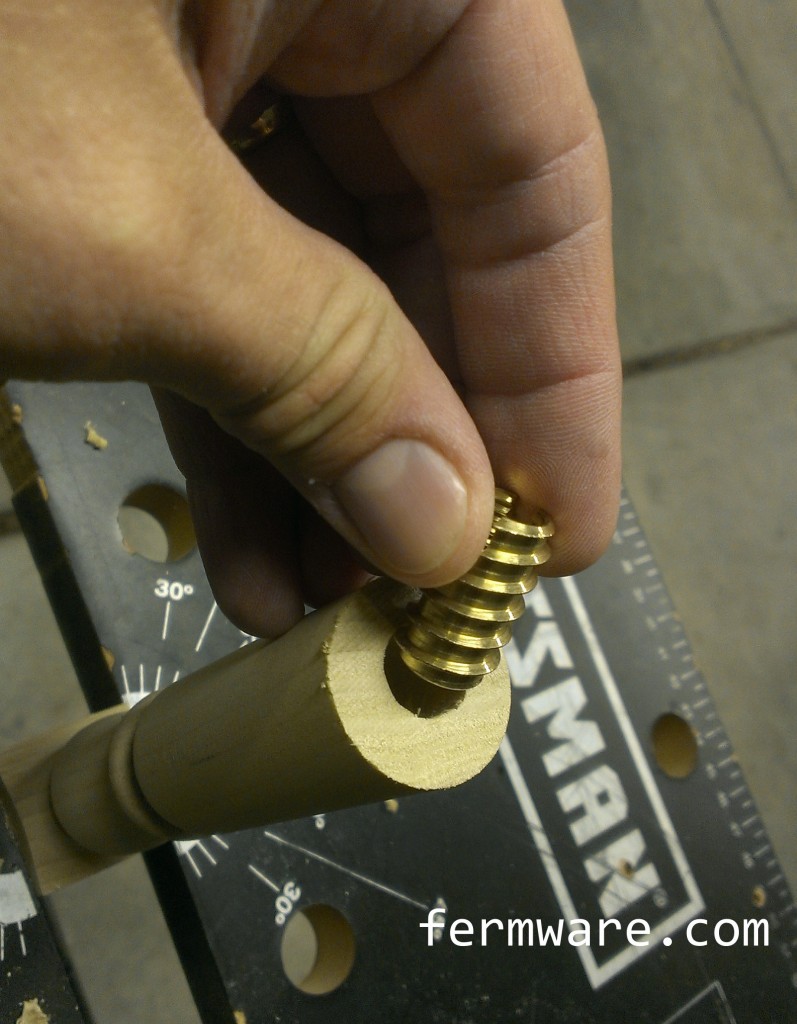
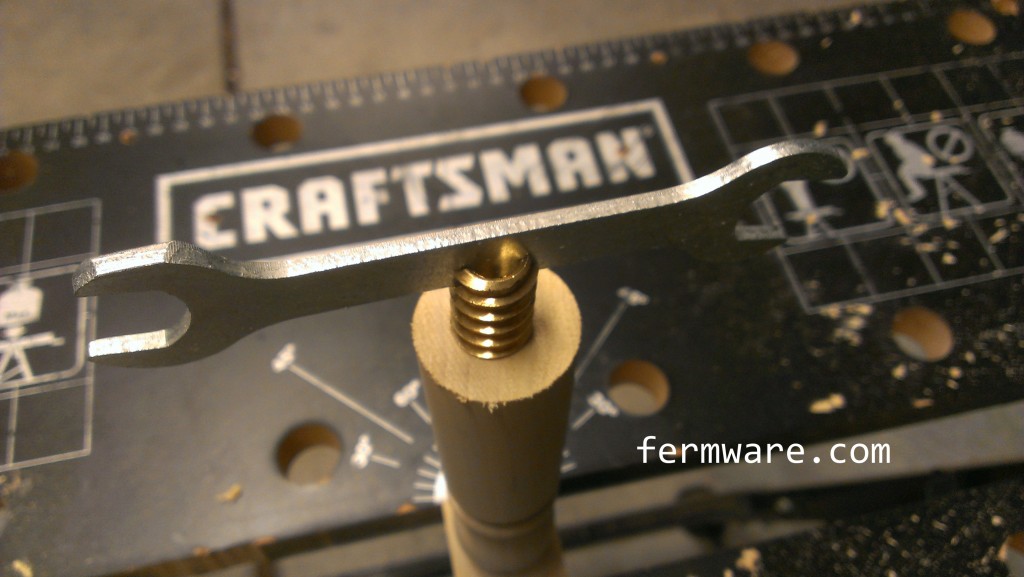
Drill 1/2" hole (hopefully centered and straight) and install the brass insert. There are tools available to make it install easily, but in a pinch, you'll find something that will work. Also, they are hard to get started straight, so do your best. Usually they pull themselves straight after the first full thread or two. If not, you may want to back it out and start again.
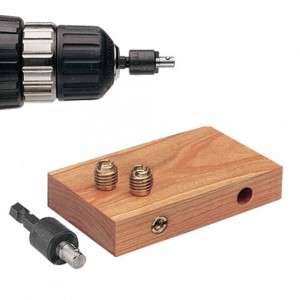
Rockler insert tool
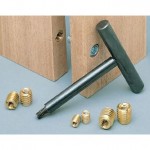
Another tool.
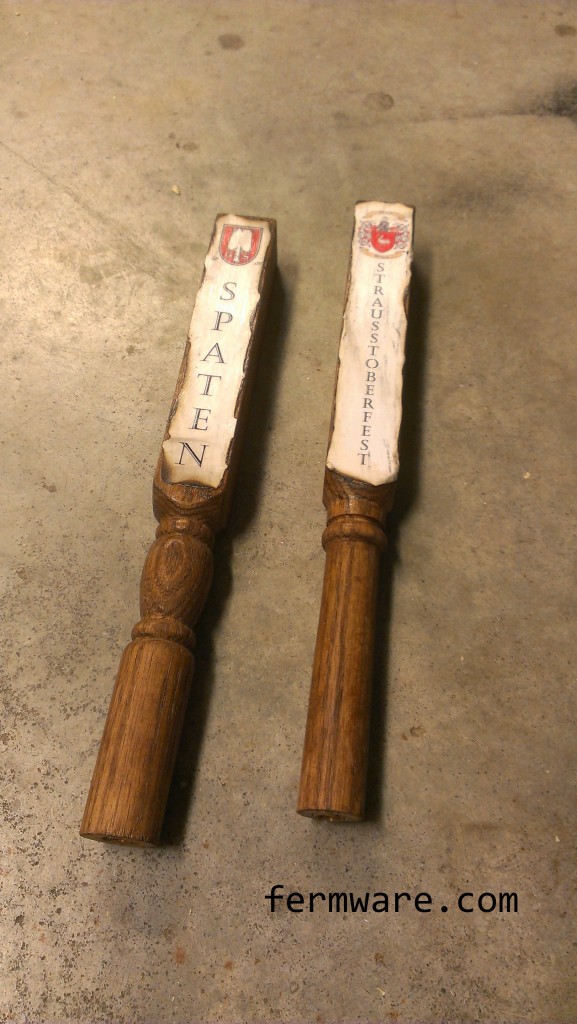
Paint or stain, then apply labels with Mod Podge!
Full instructions here:
http://fermware.com/super-easy-tap-handles/
Purchase a wooden staircase spindle and the threaded insert. You can get the inserts on Amazon, McMaster or at your favorite local hardware store.
Cut to size
Drill 1/2" hole (hopefully centered and straight) and install the brass insert. There are tools available to make it install easily, but in a pinch, you'll find something that will work. Also, they are hard to get started straight, so do your best. Usually they pull themselves straight after the first full thread or two. If not, you may want to back it out and start again.
Rockler insert tool
Another tool.
Paint or stain, then apply labels with Mod Podge!