
Ok, so I get it that most of you on in this forum are experienced with electricity and are more interested in fancy panels and more elaborate systems.
I just want to brew in my basement in the winter in Michigan.
I'm willing to try and get my head wrapped around this because I have worked with a soldering iron before for modifications to microphones and other basic audio applications. AND because I have some friends who can help me out. They just are brewers. So I need help piecing things together.
I have the 15 gal Megapot 1.2
I add this: No Triclover, Weldless Only From brewhardware.com

AND this element:

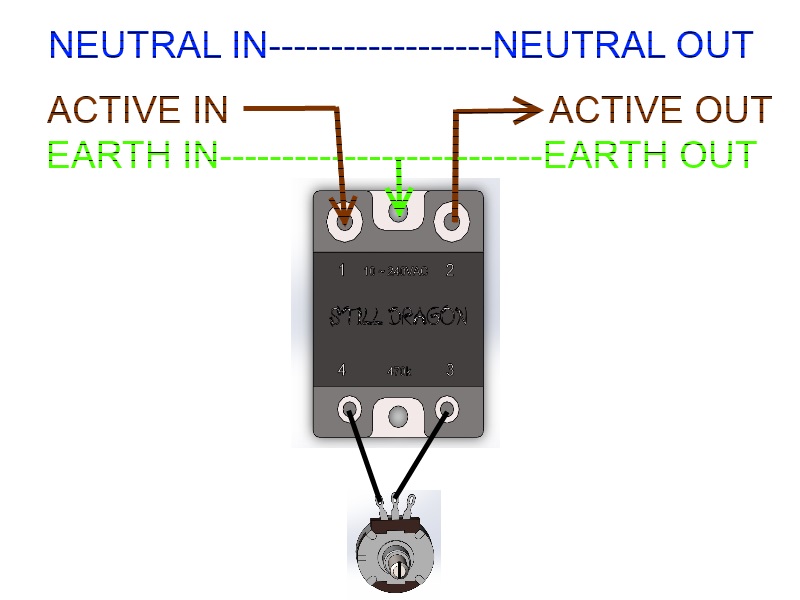
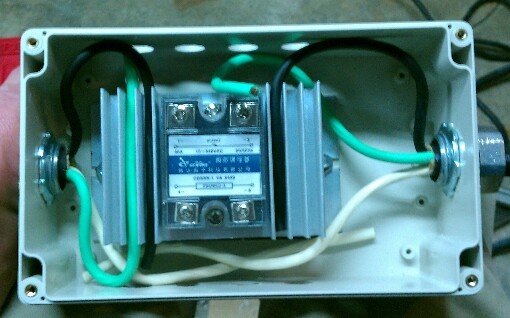
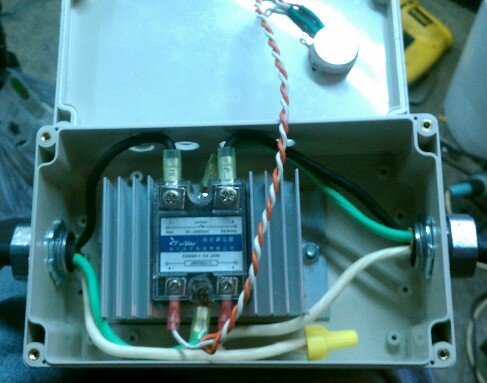
This controller
http://www.stilldragon.com/diy-controller.html

Then all I need is
*cable
*plug
*someone to wire up a 240 CFGI outlet in the basement?
Your help, suggestions...insight is much appreciated.
I just want to brew in my basement in the winter in Michigan.
I'm willing to try and get my head wrapped around this because I have worked with a soldering iron before for modifications to microphones and other basic audio applications. AND because I have some friends who can help me out. They just are brewers. So I need help piecing things together.
I have the 15 gal Megapot 1.2
I add this: No Triclover, Weldless Only From brewhardware.com
AND this element:
This controller
http://www.stilldragon.com/diy-controller.html
Then all I need is
*cable
*plug
*someone to wire up a 240 CFGI outlet in the basement?
Your help, suggestions...insight is much appreciated.
")