orangehero
Well-Known Member
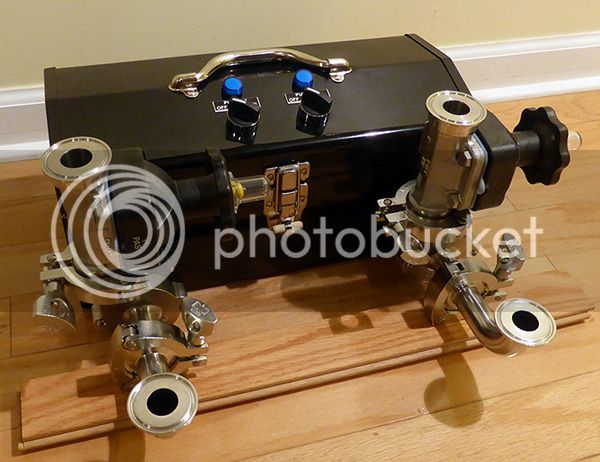
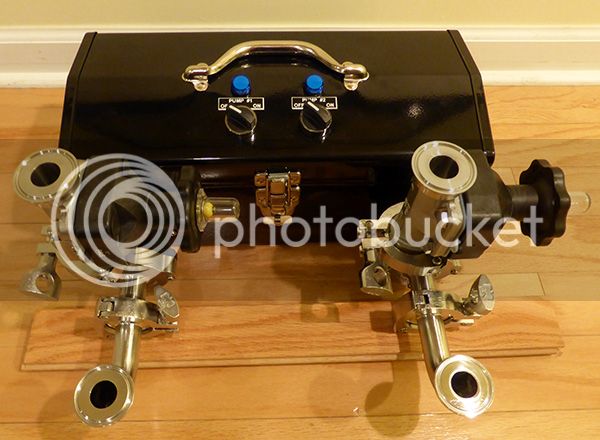
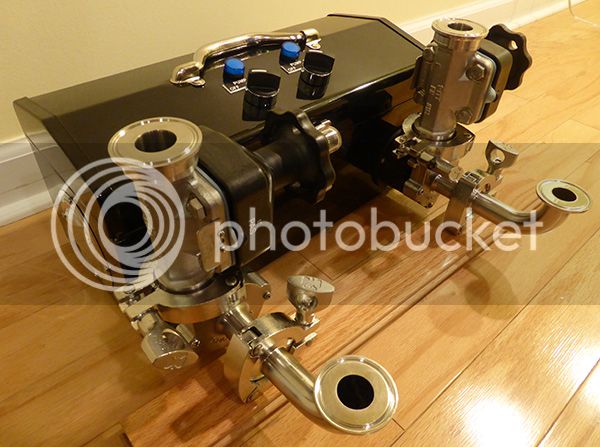
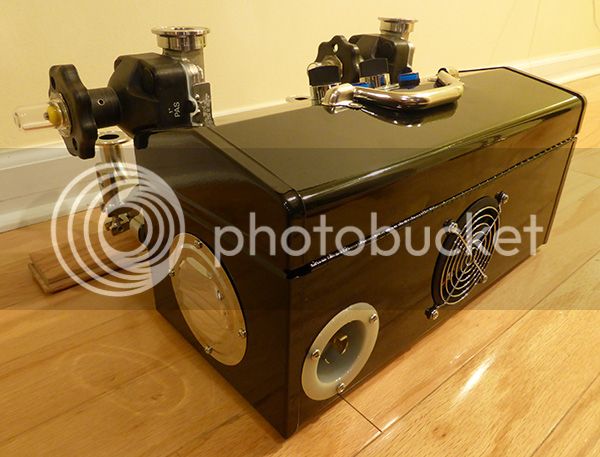
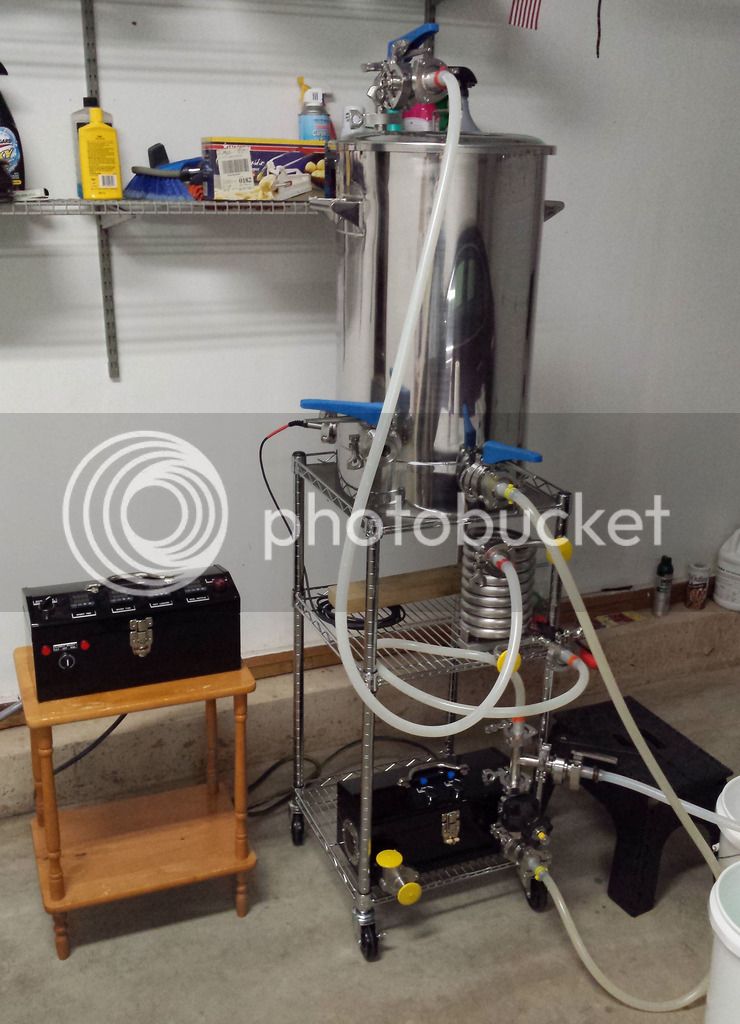
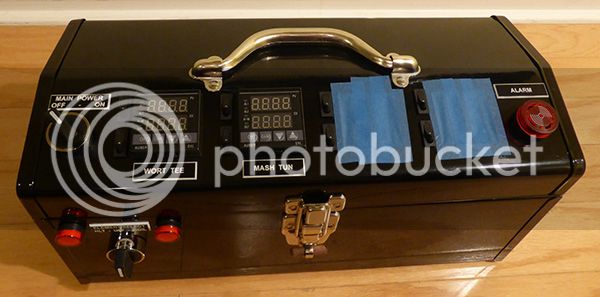
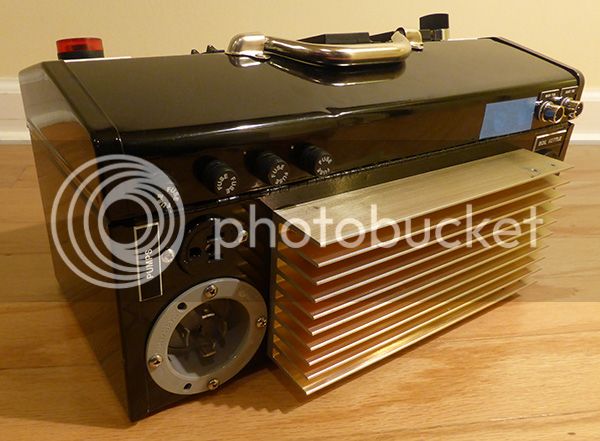
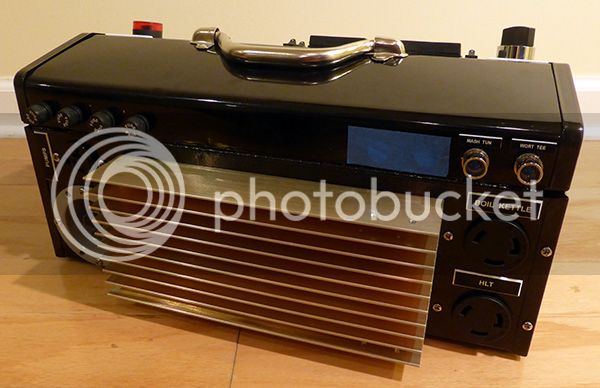
Here's my toolbox controller. I know a lot of people recommend getting massive enclosures to have lots of space for the components, but I wanted mine as compact as possible. With some careful measuring and planning I think I pulled it off. I still need to get two more PID controllers for it, but they should just drop in place.
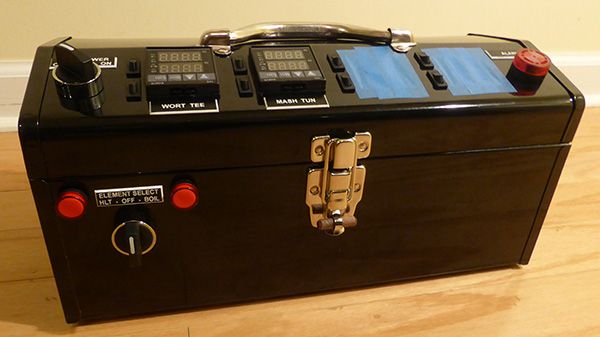
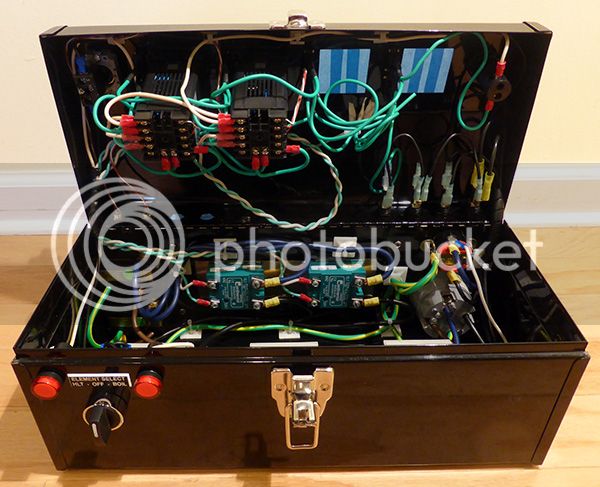
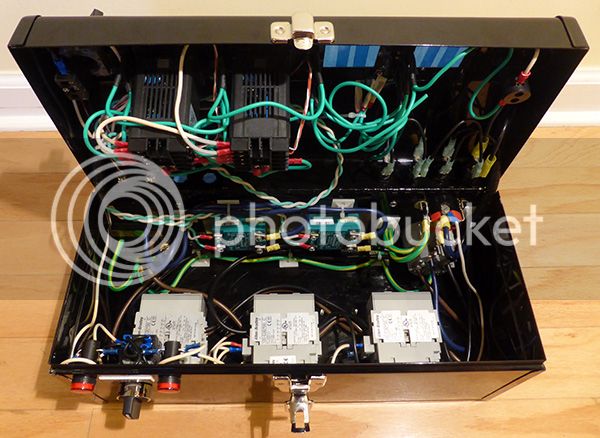
") I also really like the controls and I am just stunned by how much you have managed to pack in there. It just looks really well laid out.
I also really like the controls and I am just stunned by how much you have managed to pack in there. It just looks really well laid out.