Brazil
Member
- Joined
- Jul 23, 2013
- Messages
- 12
- Reaction score
- 4
I'm pretty new to the site. Let me share with you how I got here...
A couple weeks ago I decided to build a kegerator. My goal was to build it completely from scratch, using the cooling system from a random donor fridge, and building a cabinet that would really blend in to the other furniture in the house (which was one of the conditions for my wife to allow me to put it in "HER" house).
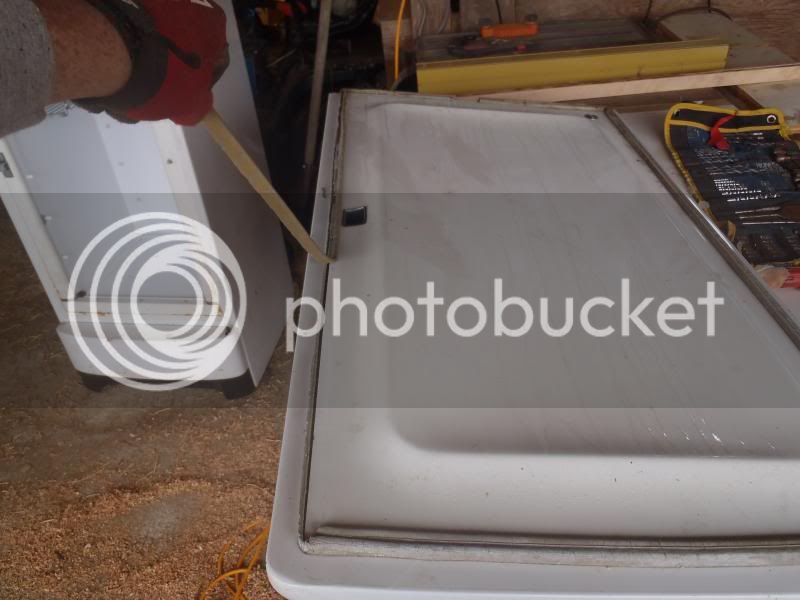
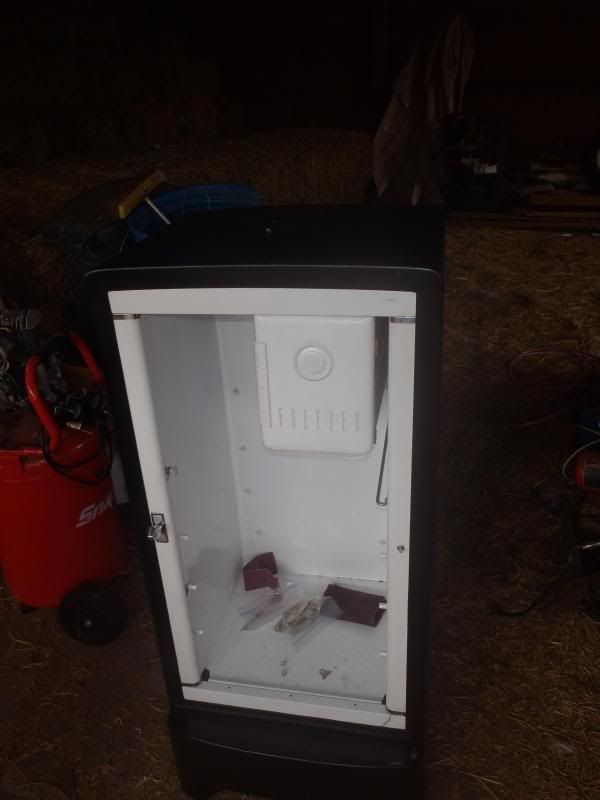
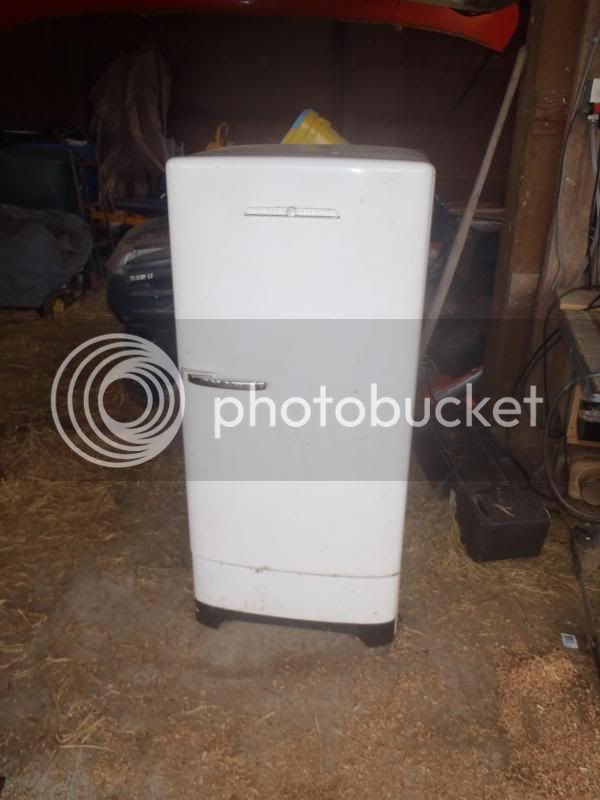
While looking for this donor fridge, I found at the first garage sale I went to, a vintage GE fridge that worked for 25 bucks. That was not a deal I could pass up.
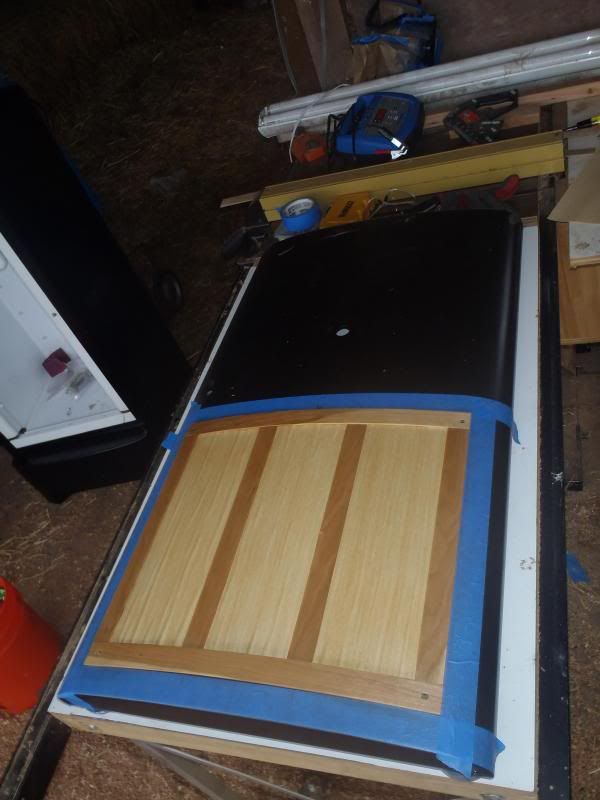
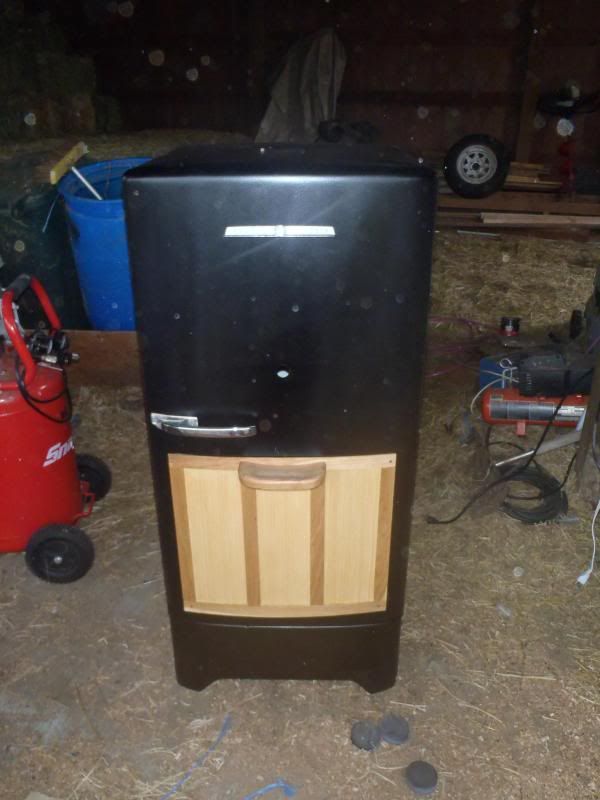
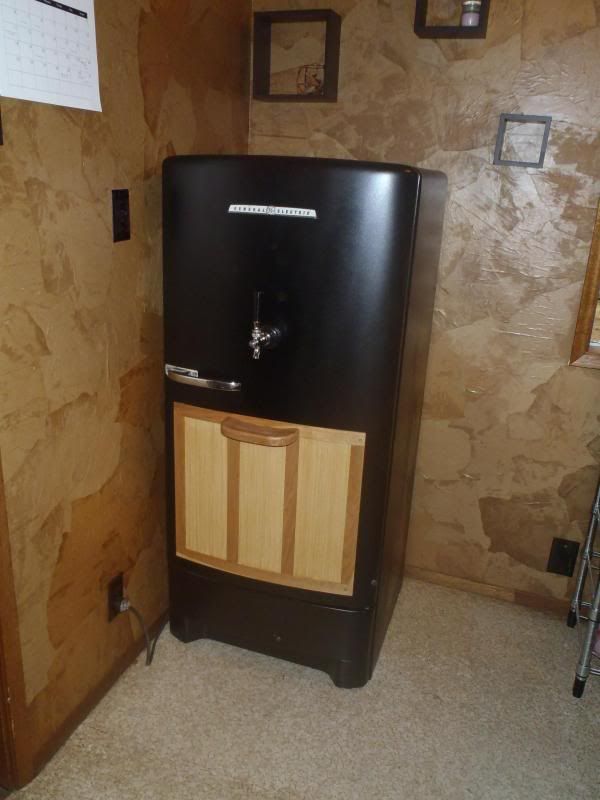
Within hours, I had completely new and even greater plans to turn it into a woody-inspired kegerator, painted black with a chalkboard-painted door.
While googling what year my new old fridge might be, I came across the following build thread:
https://www.homebrewtalk.com/f51/vintage-ge-kegerator-276170/
I was really taken aback by how freakin awesome kerber's kegerator is, and how similar it was to mine (and close to my vision).
So, I joined homebrewtalk so I could drool over kerber's creation, and then post the build of my own vintage GE kegerator...
A couple weeks ago I decided to build a kegerator. My goal was to build it completely from scratch, using the cooling system from a random donor fridge, and building a cabinet that would really blend in to the other furniture in the house (which was one of the conditions for my wife to allow me to put it in "HER" house).
While looking for this donor fridge, I found at the first garage sale I went to, a vintage GE fridge that worked for 25 bucks. That was not a deal I could pass up.
Within hours, I had completely new and even greater plans to turn it into a woody-inspired kegerator, painted black with a chalkboard-painted door.
While googling what year my new old fridge might be, I came across the following build thread:
https://www.homebrewtalk.com/f51/vintage-ge-kegerator-276170/
I was really taken aback by how freakin awesome kerber's kegerator is, and how similar it was to mine (and close to my vision).
So, I joined homebrewtalk so I could drool over kerber's creation, and then post the build of my own vintage GE kegerator...