My Electric Brewery Build!

Homebrew Talk - Beer, Wine, Mead, & Cider Brewing Discussion Forum

Help Support Homebrew Talk - Beer, Wine, Mead, & Cider Brewing Discussion Forum:

This site may earn a commission from merchant affiliate links, including eBay, Amazon, and others.
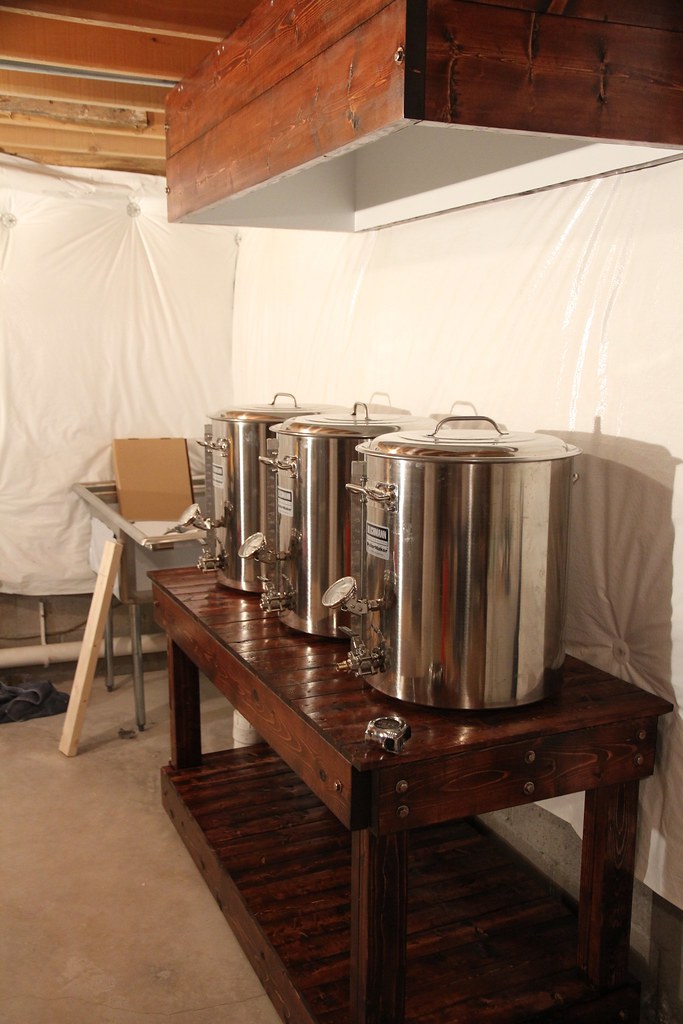
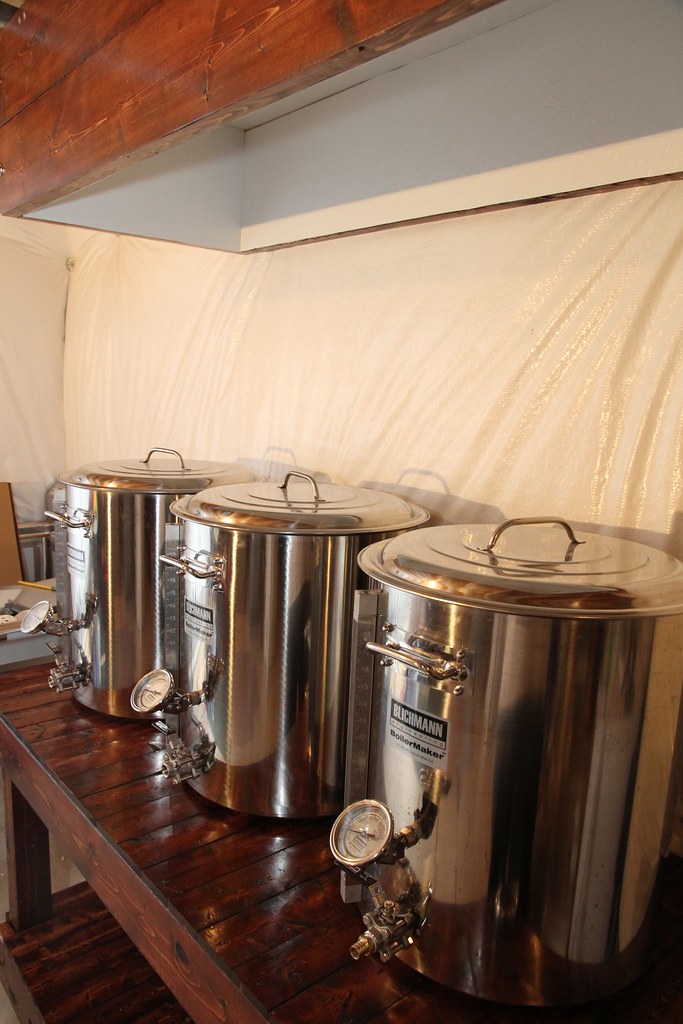
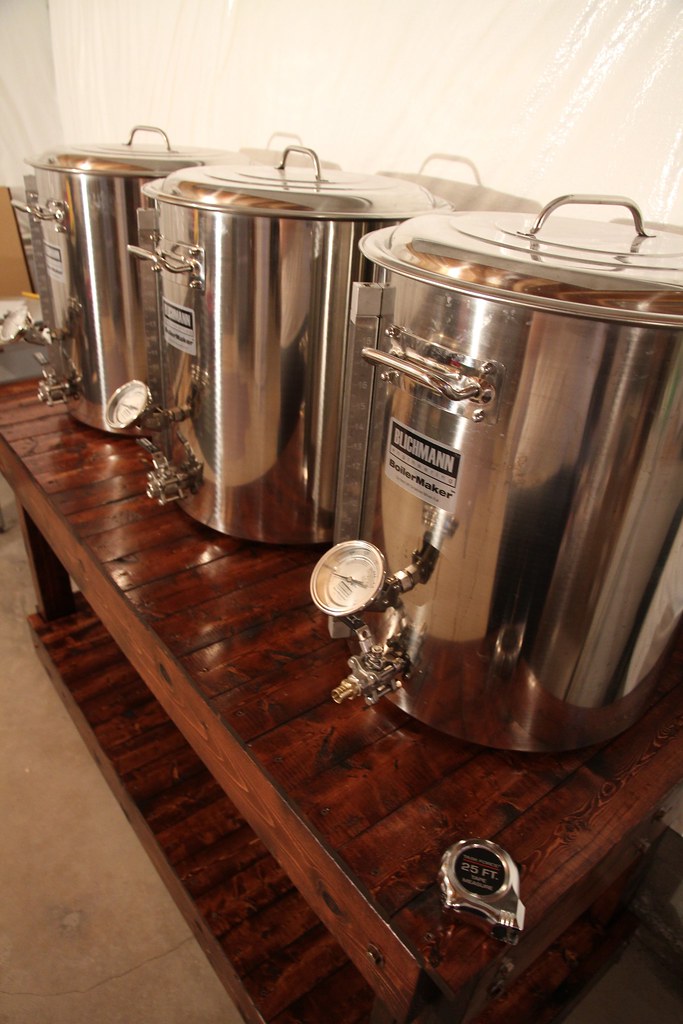
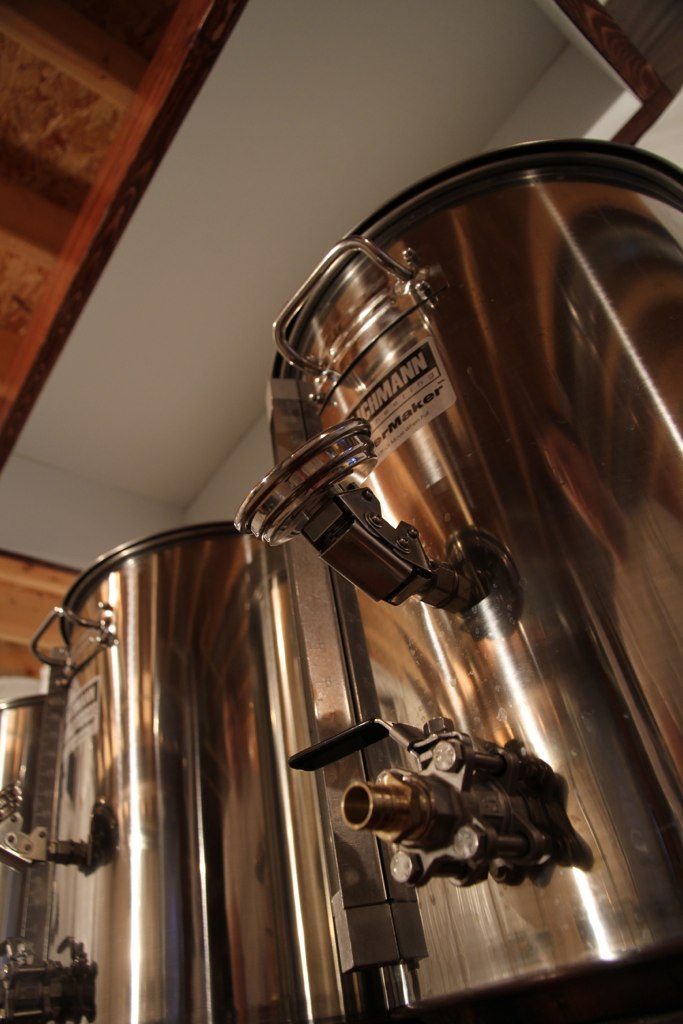
The two on the left are fresh out of the box. Didn't get a chance to install the thermometer's yet.
 
Yes, you can get plugs for the holes if you don't want to use the thermometers. I was more curious if he had (and could) order the kettles without the thermometers. Guess you still can't.

Kal
 
Yes, you can use them as a backup to what your electronic temp probes tell you. My Blichmann thermometers seem to have drifted a bit as they dont measure the same as my electronic probes ... haven't bothered re-adjusting them so I just ignore them.

Kal
 
Isn't your only by product steam when electric brewing? Do you need a hood?
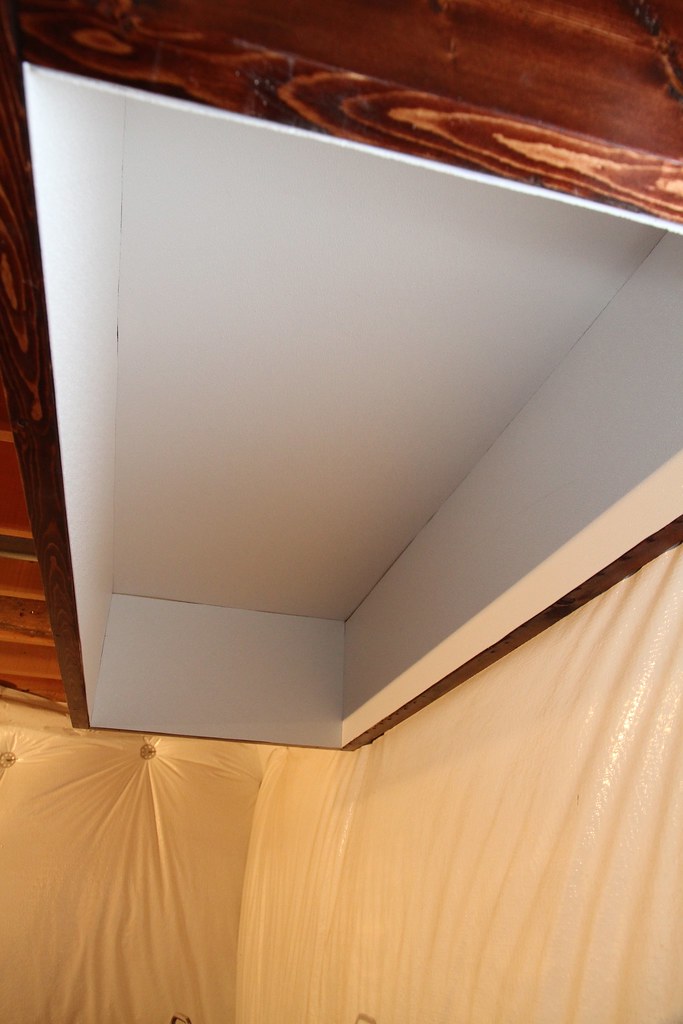
Correct. Once I have my stand completed and in place I will begin building a custom sized hood. Using NattyBrew's basic design (2x6's lined with FRP panels) with some modifications. I plan to use 2x8's to make the hood a little deeper. I am also going to build in a lip around the bottom edge to prevent moisture from dripping down.
 
I'm interested in watching this build! I'm building a much more boot leg electric set up as I have a wedding this summer and the future Mrs. only lets me spend so much on a hobby that detracts from time spent with her! If you are planning on getting a 6" inline 400 CFM plus fan, save your $$ and get one off of amazon. Sunset's cheapest patchouli removal fan (that's a hippie joke!) is $140. You can get one shipped for $100 off of amazon.
 
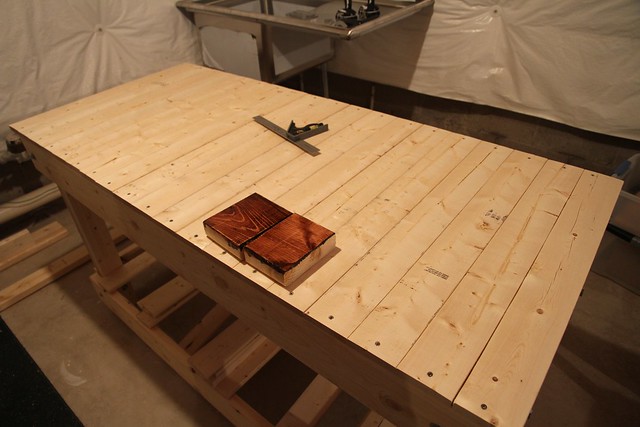
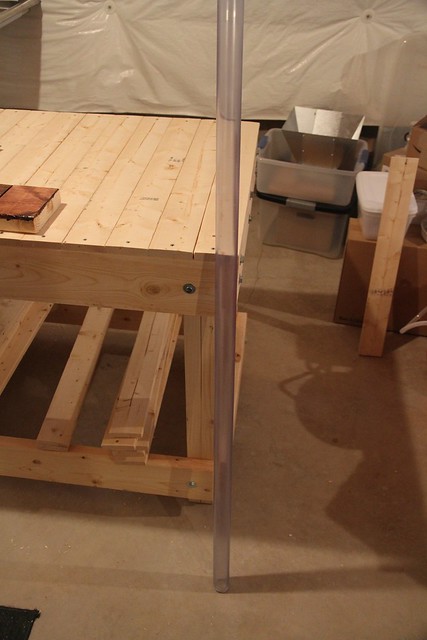
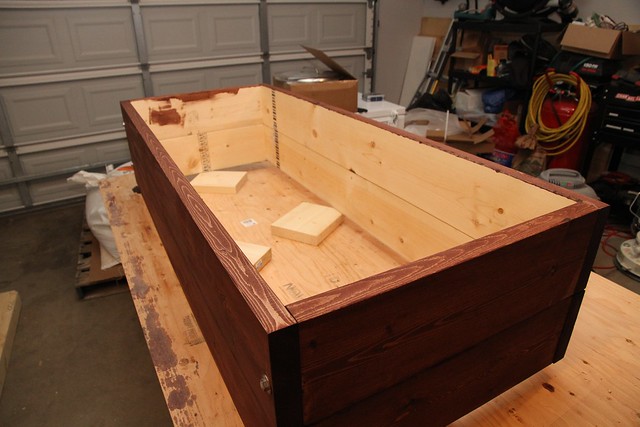
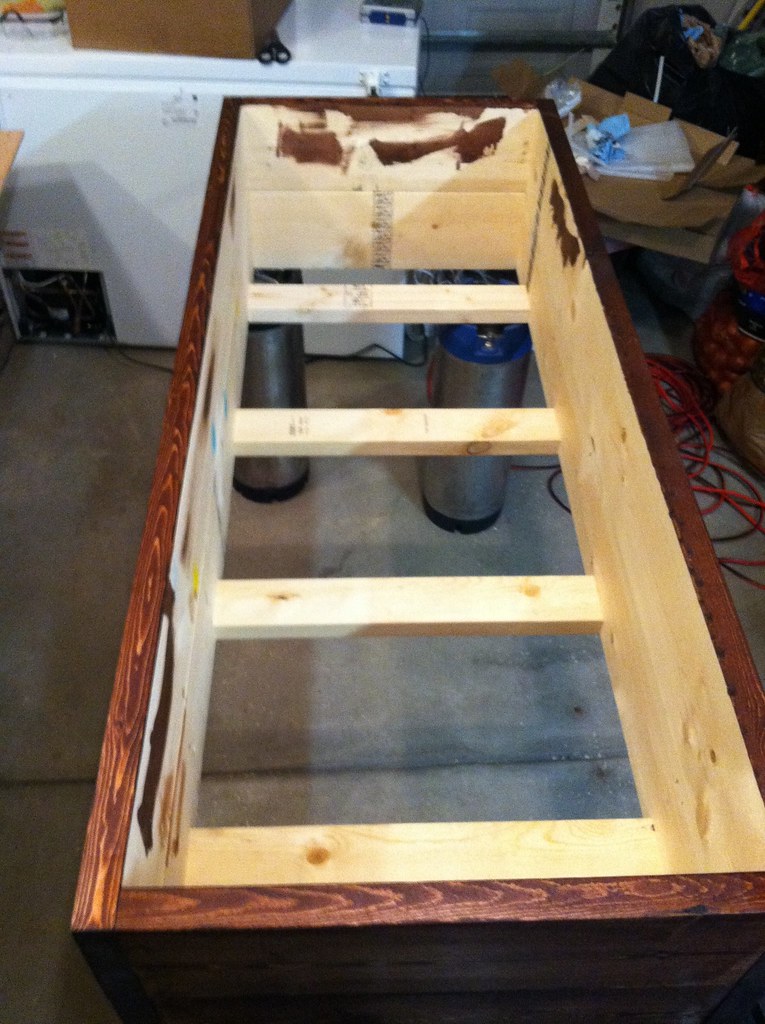
Made a little progress. The brew stand is complete. I liked the final color. My clear PVC pipe came in. It has a bit of a bluish tint but I'm still moving forward with the plan to put fill the pipe in each corner with some barley.

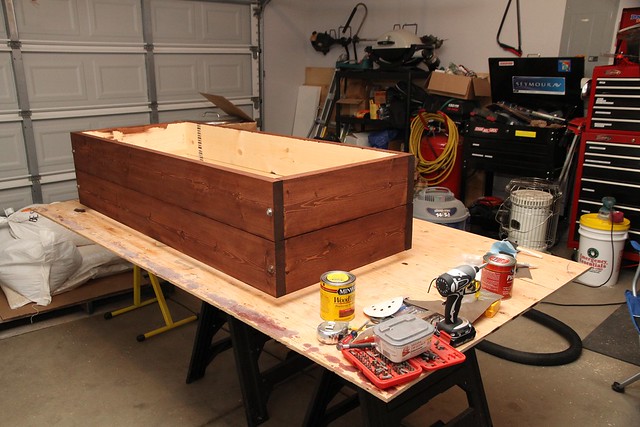
Aside from the brew stand I was able to make some progress on the ventilation hood. I should have that finished and stained tomorrow. I hope to mount it tomorrow evening.

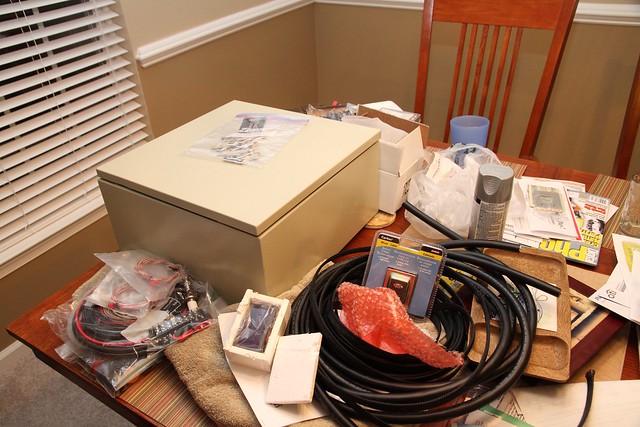
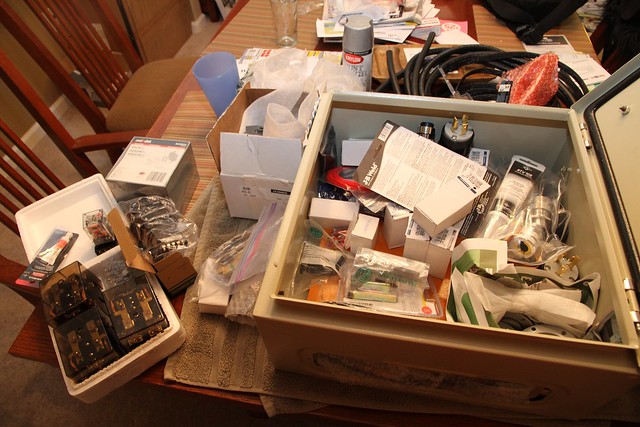
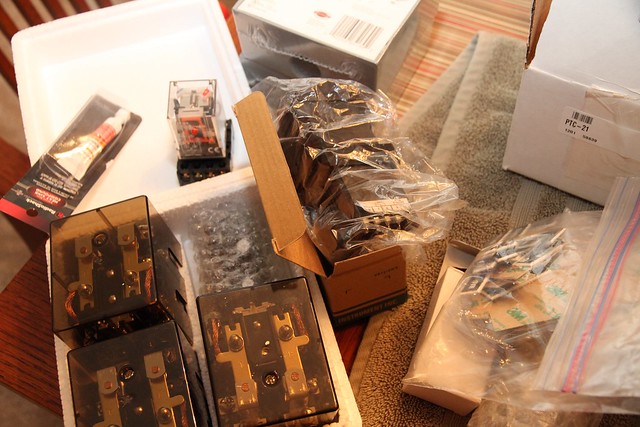
All my parts are in. Including the control panel parts (wow).

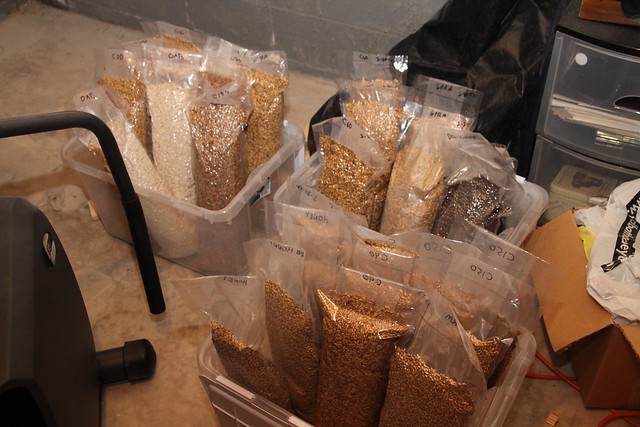
My bulk grain from the CNY bulk buy also came in so I included a few of those pics as well.

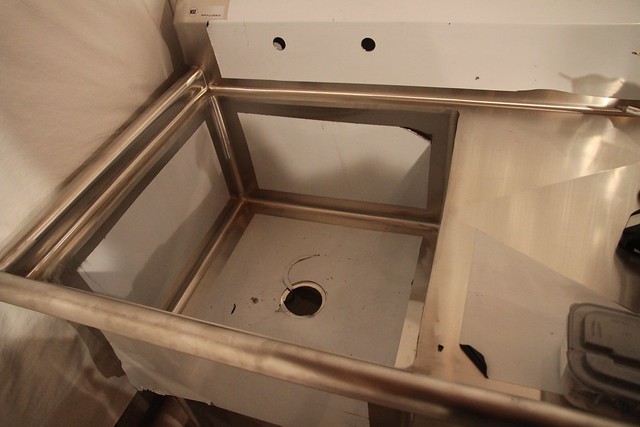
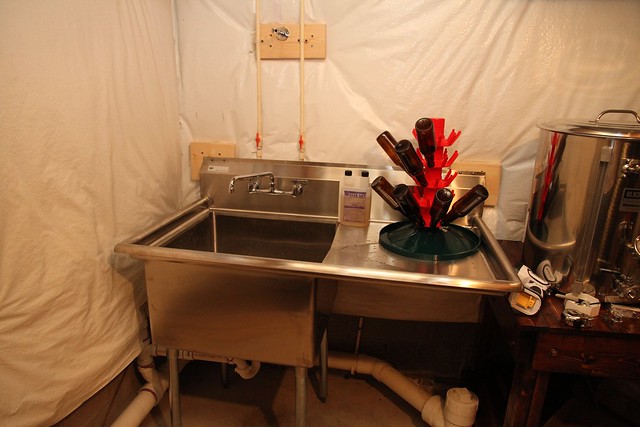
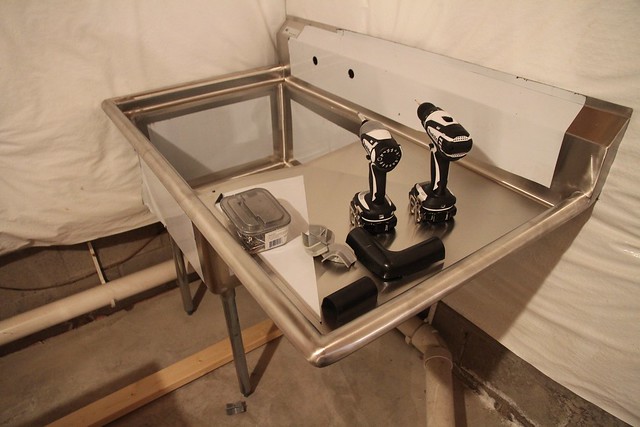
Stainless steel 24x24 sink with drainboard (need to get in plumbed):
6873181667_abfbaf229a_z_d.jpg


6873181983_f5569911ce_z_d.jpg


Brew stand with the test stains (went with the darker one):
6873184379_34513f9c53_z_d.jpg


Clear PVC that will be filled with grain:
6873185343_d50451b765_z_d.jpg


Ventilation hood first coat of stain:
6921775075_dff0b13401_z_d.jpg


6921775315_8b6485b6b2_z_d.jpg
 
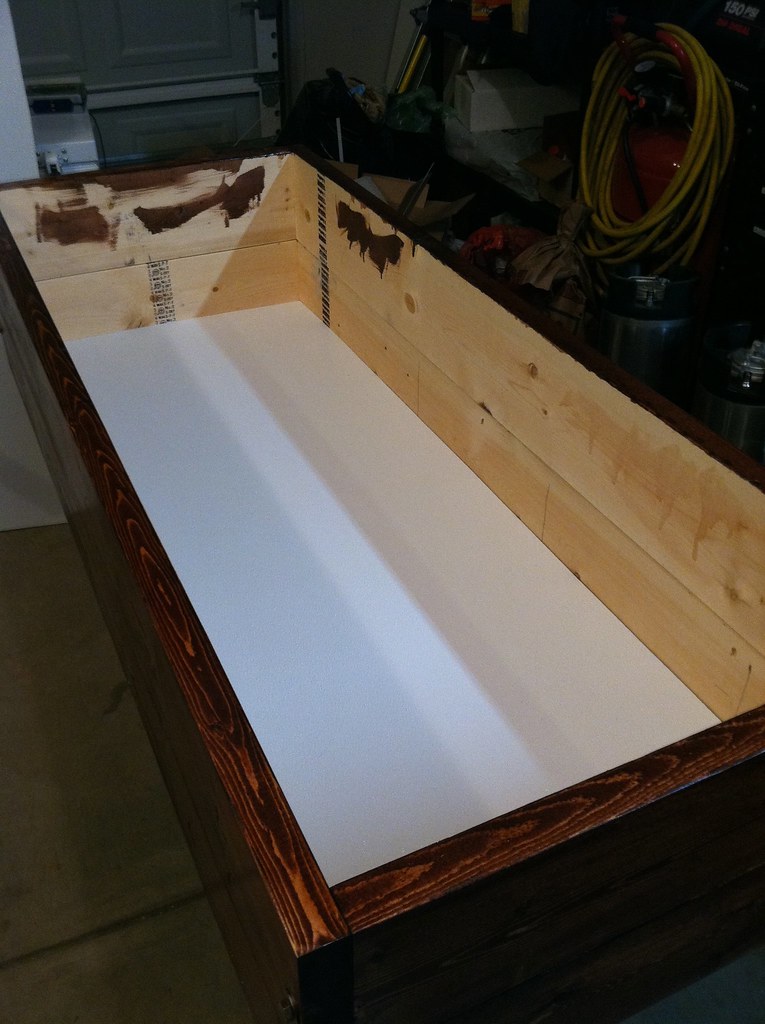
Backside of FRP panels (these will line the ventilation hood - credit to NattyBrew of the idea):
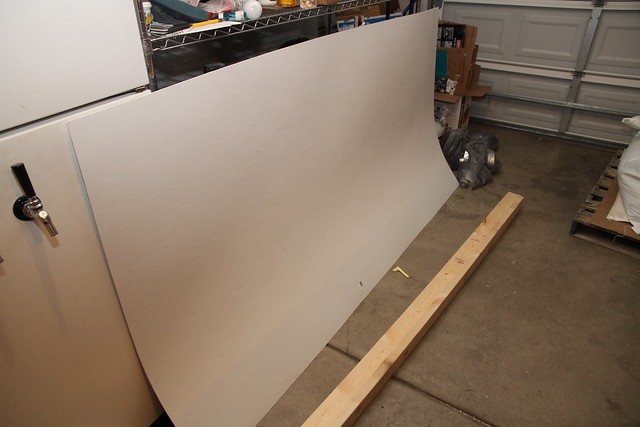
6921775531_160180a165_z_d.jpg


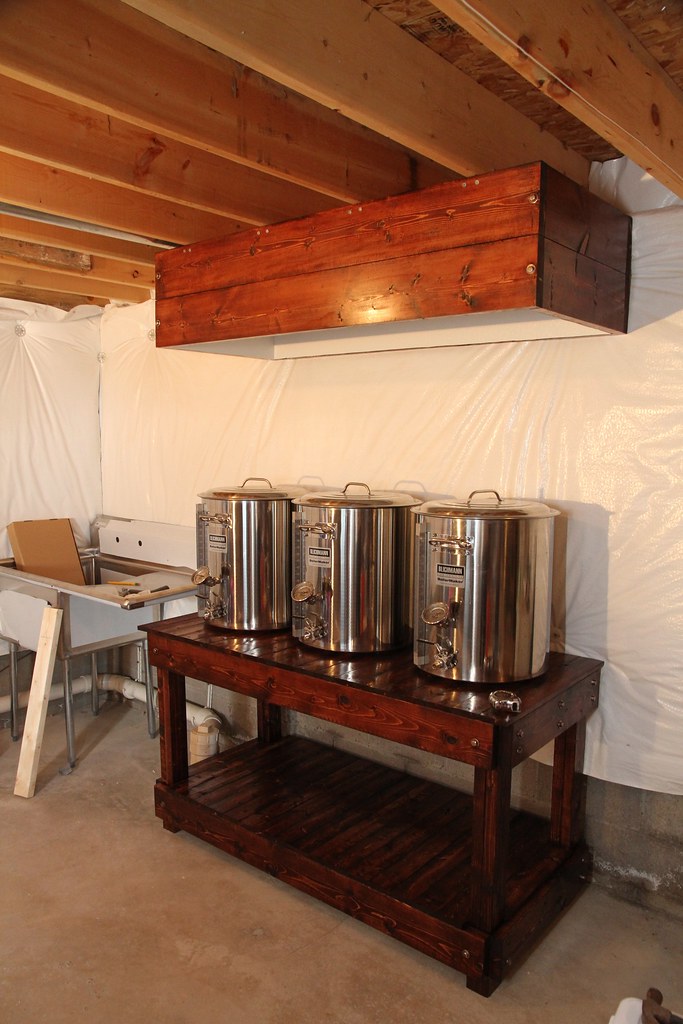
Finished brew stand minus the PVC pipe:
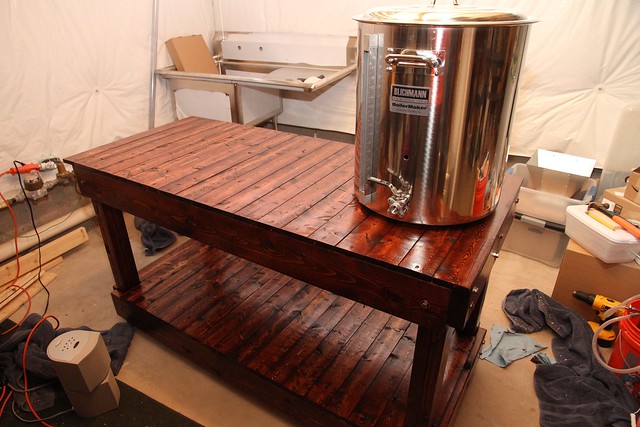
6921776251_f00e648ee8_z_d.jpg


6775661768_8b0acfd3fb_z_d.jpg


Control panel parts:
6921776727_4a736b50d7_z_d.jpg


6921777015_b7b6c28b87_z_d.jpg


6921777293_a23ca2de45_z_d.jpg


CNY bulk buy (specialty grains):
6775660990_bb643065f4_z_d.jpg


Base grain (need to build a custom shelving unit):
6921775973_45c0ba645e_z_d.jpg
 
I figure I'm probably being to much of a perfectionist with the woodworking. So I hope my progress will start to speed up when I finish the hood!
 
JBS,

The build looks great so far man! I can remember how exciting it was to have packages piling up on my door step every other day during the midst of my build. I really like the final color you went with for your stain. I totally wussed out when I was picking mine out and went with a lighter color. Seeing yours all finished in the photo has me jealous!

I am really digging your idea on the corner posts filled with barley. Quick question though, even if the tubes are sealed would you have to worry about the grain decomposing or rotting at all and looking worse down the road? I only ask because I am designing a bar for my basement and was thinking about ripping off a variation of your idea! Let me know what you think.

Good stuff and happy building! I will definitely be following this one.

Matt
 
Backside of FRP panels (these will line the ventilation hood - credit to NattyBrew of the idea):

6921775531_160180a165_z_d.jpg


Finished brew stand minus the PVC pipe:
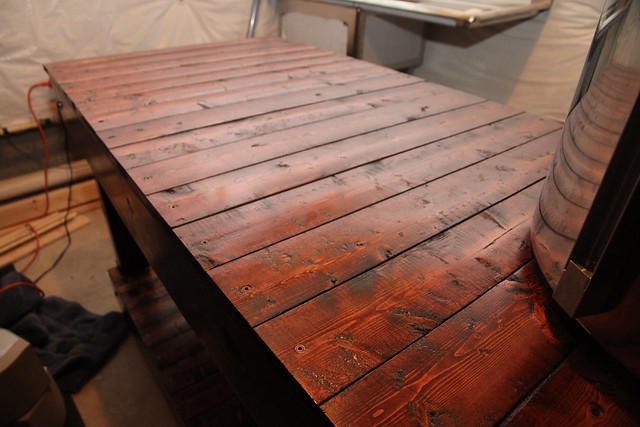
6921776251_f00e648ee8_z_d.jpg


6775661768_8b0acfd3fb_z_d.jpg


Control panel parts:
6921776727_4a736b50d7_z_d.jpg


6921777015_b7b6c28b87_z_d.jpg


6921777293_a23ca2de45_z_d.jpg


CNY bulk buy (specialty grains):
6775660990_bb643065f4_z_d.jpg


Base grain (need to build a custom shelving unit):
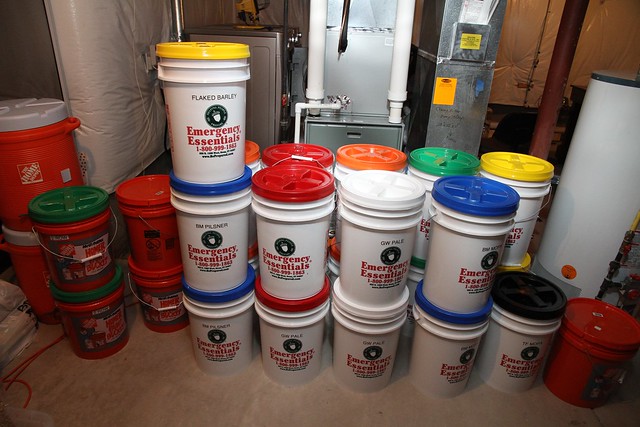
6921775973_45c0ba645e_z_d.jpg

was thinking my brewstand was looking pretty good, thanks for posting yours and showing me i need to improve my wood working skills!
:mug:
 
looking great!

FYI - I think I found out what I am going to used for my control panel arm. We have this direct TV satelite dish attached to our house (but we don't have direct TV). Well wouldn't you know that the arm holding the satelite looks like it could make a hell of a control panel arm?

I will be posting some pictures when i tear it down and we attempt to use it. But for now I am getting dangerously close to the wiring stage on my build (might be a while).
 
JBS,

The build looks great so far man! I can remember how exciting it was to have packages piling up on my door step every other day during the midst of my build. I really like the final color you went with for your stain. I totally wussed out when I was picking mine out and went with a lighter color. Seeing yours all finished in the photo has me jealous!

I am really digging your idea on the corner posts filled with barley. Quick question though, even if the tubes are sealed would you have to worry about the grain decomposing or rotting at all and looking worse down the road? I only ask because I am designing a bar for my basement and was thinking about ripping off a variation of your idea! Let me know what you think.

Good stuff and happy building! I will definitely be following this one.

Matt

Matt,

I actually didn't give it that much thought. I'm going to cap each end with a universal carboy stopper (remaining within the brewing theme). Then to attach the tubing I plan to drill a couple holes behind the tubes and they will latch onto some screws. So if the grain does start to spoil I can easily switch it out. They don't hold to much volume so I'm not worried about wasting my precious malt, :)!
 
Cidah - that's a great idea. That arm should be about perfect! To bad my dish is actually in use.

Lately I have been leaning towards mounting the panel onto a ceiling TV mount which would hang from the floor joists above. Similar to how I mounted the TV in my basement. My only concern would be how much swing from front to back it would have while working with the dials and buttons. I could always change it later I figure...

That wouldn't be too bad of an idea pending you have enough reach on your wires from your probes, etc. I can see how pressing the PID buttons might cause a little travel on the tv mount.

The arm fixed to the brew stand is a little more ideal for my end use. I want to be able to move my brew stand to my garage in the summer and brew up there (or at least wheel my stand out the back door of my walk out basement) and then in the basement during the winter.

We originally wanted a full on swing arm. I think now we are leaning more towards a fixed position, or a two position swing that would be controlled by wing nuts or similar. Now that we decided we are going to use that arm, it is just a matter of how we will end up fabricating it to the stand. Luckily my buddy is a welder, so that opens up some more "custom" options.
 
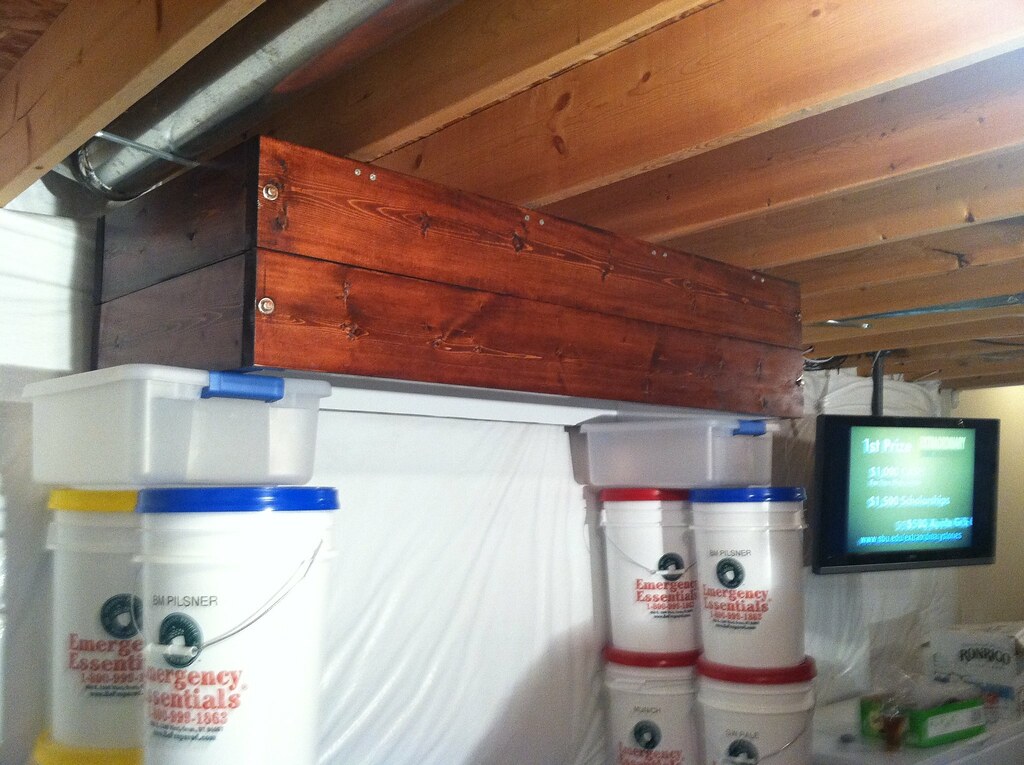
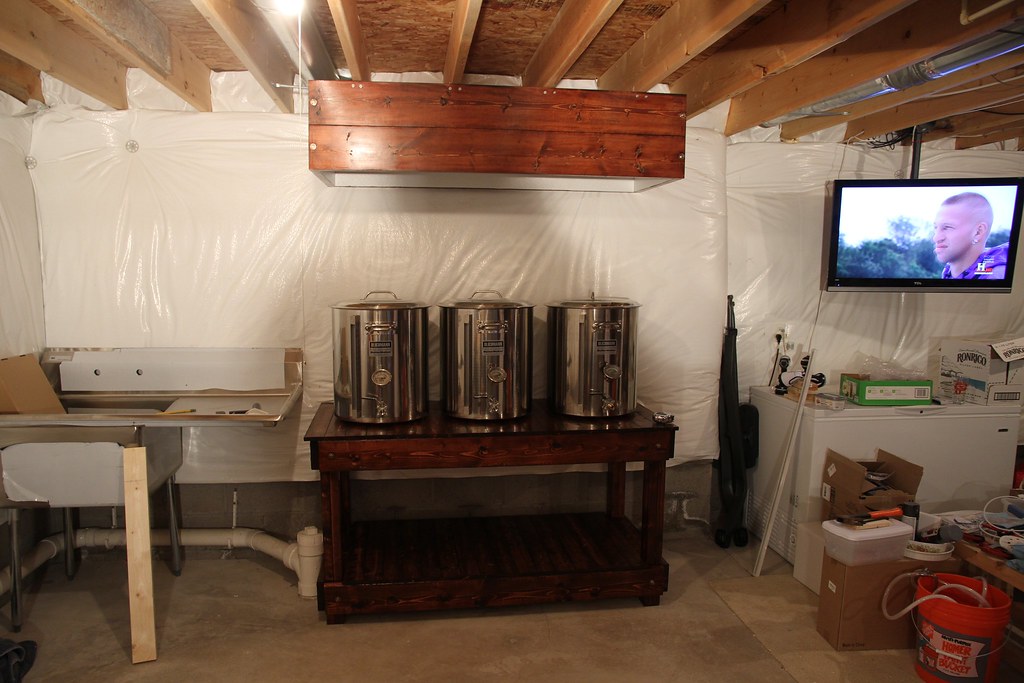
Vent hood has been built and mounted. I just need to cut the 6" hole for ventilation and caulk the frp seams.


Bracing spaced every 16" for joist mounting:
6924598877_cb5e614878_b_d.jpg


Plywood and FRP installation:
6924599085_f1f5ed6696_b_d.jpg


Freshly bucketed grain is getting a little workout today:
6778482544_a9cd4dcd4c_b_d.jpg
 
Kicks arse man, love the hood! It is starting to look like something for sure :D

I just posted a few pics of my progress - hope to wire this weekend (definitely a "Kal inspired" build though my guts are a bit different).

I put in an outlet for an overhead hood (controlled by a switch on the panel). However I think I will hold off on the hood/ventilation fan until next fall/winter since I have sunk so much$$ into the control panel recently.
 
That is a work of art! Great photography too. It is nice to be able to create such a masterpiece, but even better to have the skill to capture the beauty and share it with the world.
 
What type of exhaust fan are you planning to use?
I will let jbsengineer speak for himself, however most people say you need about 400cfm. Me personally I will getting getting one of these, or a close equivalent based on price with 747cfm. to get good suction on Jbsengineer's right I would assume he will need to go with a pretty good sized blower.
 
Don't look at CFM only. It's a somewhat meaningless number that is greatly affected by airflow resistance. You want a fan that has good static pressure. One brand may actually only move 1/10th the rated CFM value while another may move close to the actual rated value. The difference is static pressure. The Vortex line linked to above are a good choice as they have good static pressure.

Kal
 
Like Cidah and Kal referenced, I'm going with a 6" Vortex inline fan. Kal makes a good case for it on his site and NattyBrew (who's hood design I copied) has no issues with moisture.
 
Today I didn't make much progress but I was able to stop at Lowes and grab all the plumbing parts I'll need. I'm hoping to at least get the drain put in for the sink tomorrow. Maybe over next week I can get the fixtures plumbed.

I imagine after the sink I will work on bringing some more light over to the area with a new electrical connection and track lighting.
 
Subscribed! Want to see details on the electric setup!

Oh, and is that Swamp People on the TV in the background? I figured you were awesome by the build so far, but that just seals the deal!
 
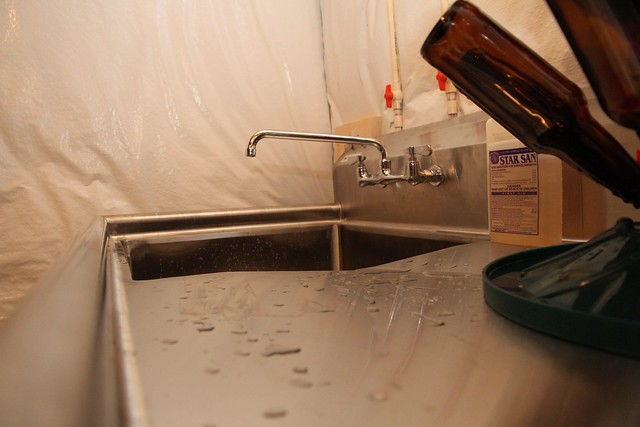
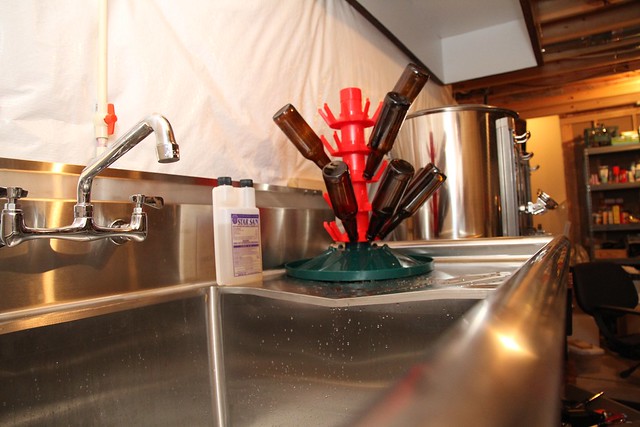
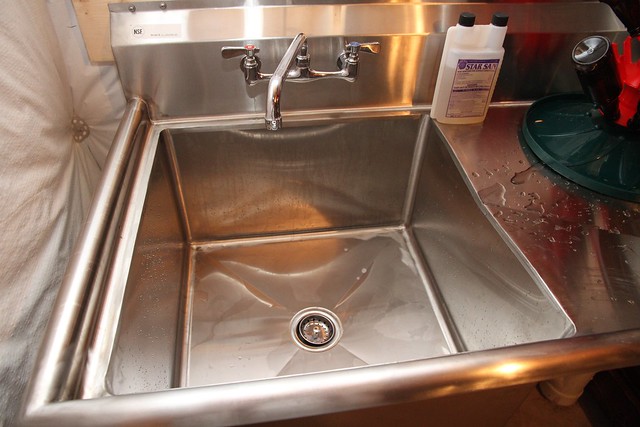
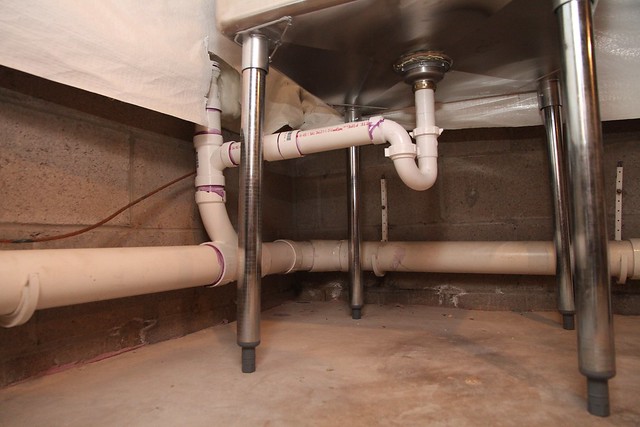
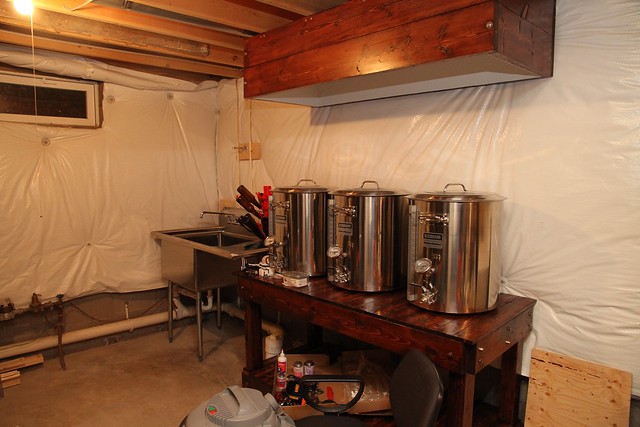
Some more progress. The sink is fully installed. I mounted it to the wall, installed the drain, and plumbed hot and cold water to it.

I have to say, having a sink this large is a huge luxury! Having the drainboard is very handy.

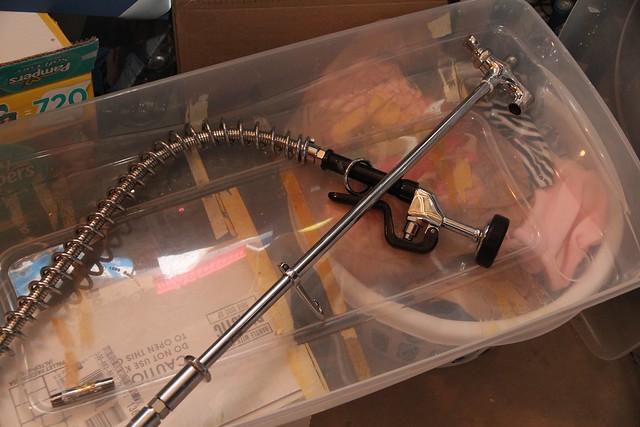
The overhead pre-rinse faucet will be installed later this week. The coupler the company sent me was cross threaded so they are sending me a new one.

By the way, the quality of the sink is excellent. Also got it for a great price shipped for free! I like it so much I bought a 48"x24" table and 24" shelf last night from the same company.

6939713463_de9db46d84_z_d.jpg


6793600220_e26eccdc8a_z_d.jpg


6939711817_d5fbf43245_z_d.jpg


6793599272_67d792dfc1_z_d.jpg


6793598966_250e646196_z_d.jpg


6793598008_e5430f974f_z_d.jpg


6793600738_18e486d307_z_d.jpg
 
Nice work!

Are you going to be putting anything behind the kettles and sink to cover up the plastic vapour barrier on the wall? I'd be concerned about cleaning off any splashes (you don't want to rip the barrier with cleaning over time).

I tend to not have to do much cleaning of the walls at all actually, but the walls around my sink do get splashes of water. Sometimes some grain bits/hop matter/etc gets on there too as I clean the kettles so the wall gets a quick wipe with a small towel or something at the end of the brew day. End result is wet walls that dry by themselves. My brewing has (had) tiled walls so it worked great.

My other (bigger) concern would be the boil kettle will be near 212F and may melt the vapour barrier.

If it was me I'd want some sort of hard surface that I can wipe down and not worry about hurting/melting the surface.

Sometimes I bang the kettle handles against the wall too. I basically push them back up against the wall so the handle hits first. If all that's there is a thin sheet of plastic with soft insulation behind, I'd probably rip the plastic over time with the constant denting with the kettle handle.

Kal
 
Love the spray hose (reminds me of a dishwashing job I had in highschool :D). In due time I would love to add all that to my basement as well.
 
Nice work!

Are you going to be putting anything behind the kettles and sink to cover up the plastic vapour barrier on the wall? I'd be concerned about cleaning off any splashes (you don't want to rip the barrier with cleaning over time).

I tend to not have to do much cleaning of the walls at all actually, but the walls around my sink do get splashes of water. Sometimes some grain bits/hop matter/etc gets on there too as I clean the kettles so the wall gets a quick wipe with a small towel or something at the end of the brew day. End result is wet walls that dry by themselves. My brewing has (had) tiled walls so it worked great.

My other (bigger) concern would be the boil kettle will be near 212F and may melt the vapour barrier.

If it was me I'd want some sort of hard surface that I can wipe down and not worry about hurting/melting the surface.

Sometimes I bang the kettle handles against the wall too. I basically push them back up against the wall so the handle hits first. If all that's there is a thin sheet of plastic with soft insulation behind, I'd probably rip the plastic over time with the constant denting with the kettle handle.

Kal

Really good points. I haven't seriously considered protecting the vapor barrier until now.

I'm trying to think of something quick and easy. If anyone has any ideas please suggest.

I still have a 8x4 sheet of FRP paneling. If it is heat resistant that would work perfectly! I could put some studs against the wall, install plywood then glue the panels onto it to protect around the sink and behind the kettles....
 
I'd suggest Home Depot - Fire Shield Gypsum Board.
It's inexpensive ($10 a sheet), easy to put up and will last a very long time.

Hm... I do wonder how durable it would be against impacts and moisture. I could paint it I suppose.

Kal - Do you have an idea how hot your tiles get during the boil? I suppose I could test the durability of the FRP panels.
 
Good question. I don't know. Can't test either as I've moved. ;)

I doubt they get very hot at all. Most of the heat goes straight up so I'm sure any tile would be fine. Thin plastic sheet however would probably be a different story. Not sure.

Drywall would probably be fine too.

Kal
 
Gloss paint takes care od moisture. Impacts on 1/2 board is going to dent and maybr crack depending on how rough u actually are. Frp panels are most of the time not fire resistant but havent delt w it in prob 2 yrs. Id say just some gloss paint. It will make is water repellant for ur splashes (this is y u use it in bathrooms and kitchens).
 
Back
Top