
WPStrassburg
Well-Known Member
I've been looking for an enclosure for my rims element and looked at a few of the ones that people have done on here and other sites. I like the all stainless version and may get there some day, but for now here is what I've came up with.
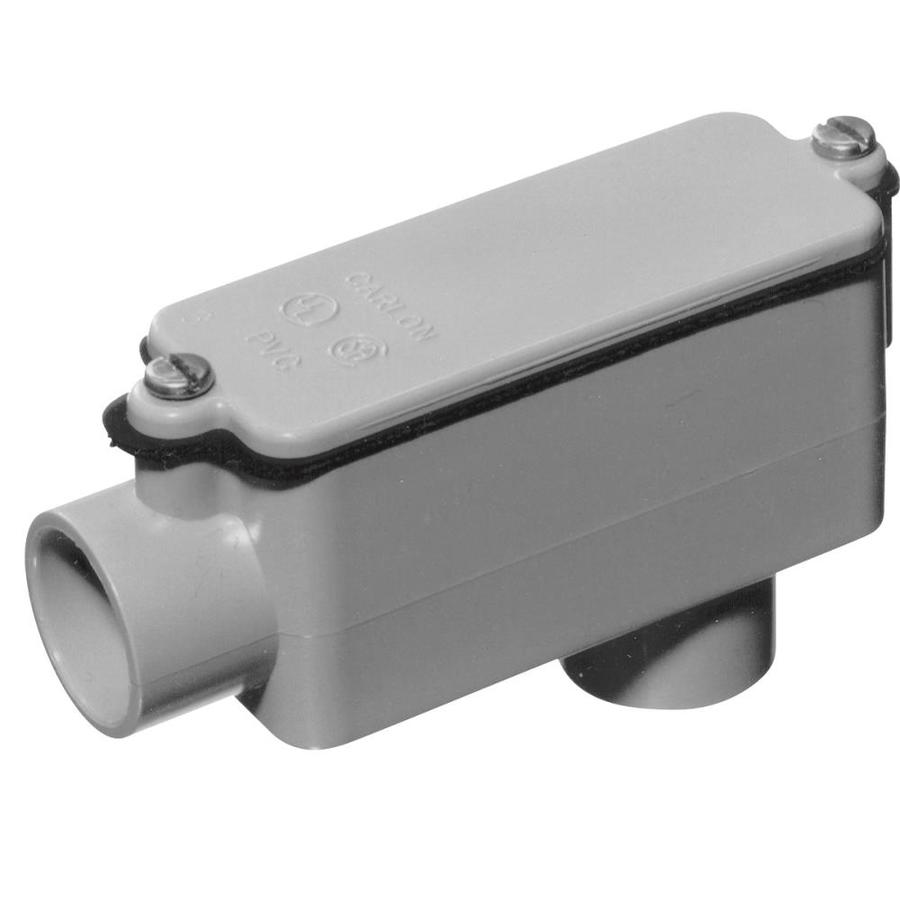
I started with a 1/2" conduit LB
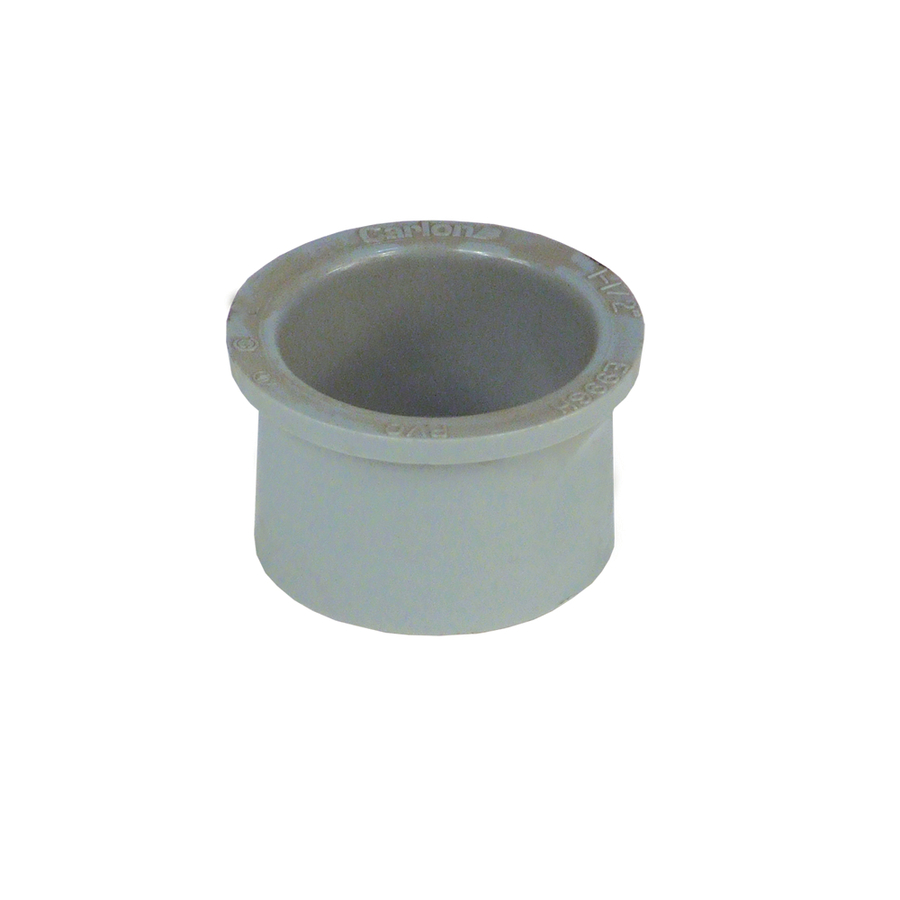
and 1/2" bushing
I cut the fitting off the backside of the LB and filed it smooth with the back.
Traced out the shape of the element head onto cardboard, cut out the pattern, and then traced the pattern onto the fitting. Broke out the dremel and whittled out the LB hole to match the element head.
Once it fit snug i roughed all the contact surfaces up and mixed up some 30 minute 2-part z-poxy

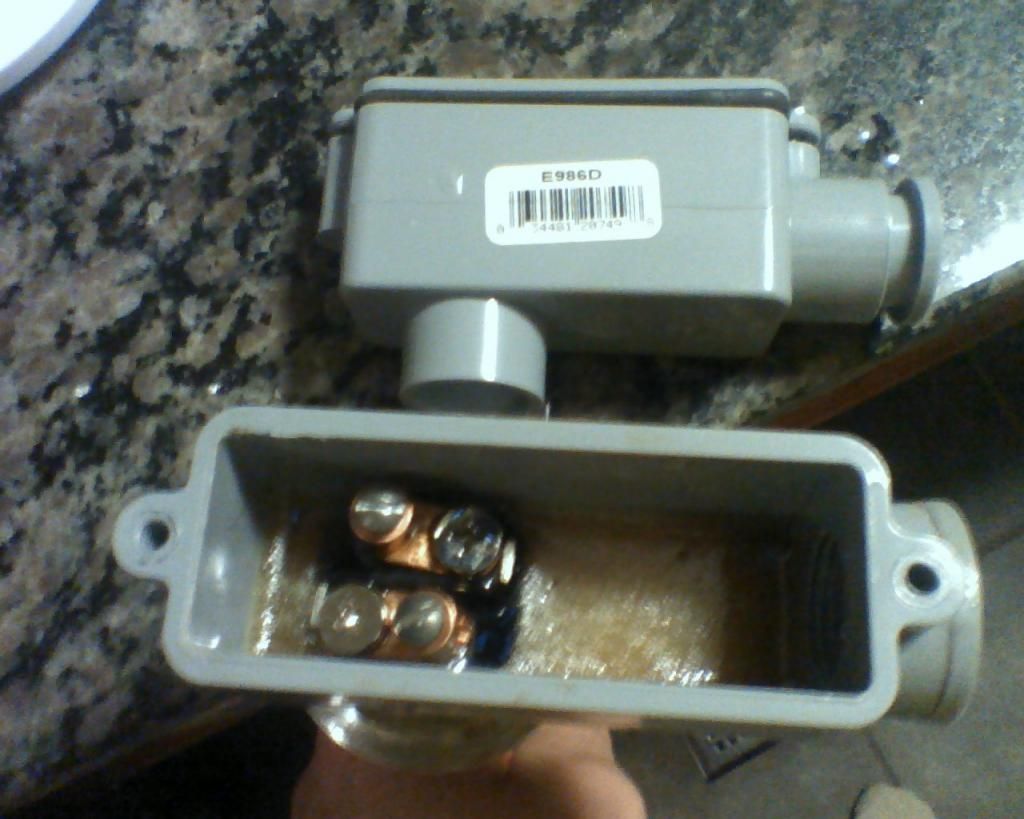
I spread a bit of the epoxy between the element head and the bottom of the LB. I filled the inside of the LB with enough epoxy to get it up to the bottom of the electrical connections. Instead of trying to get the wire under the usual element screw terminals I added post style connectors to the element for easier connections.

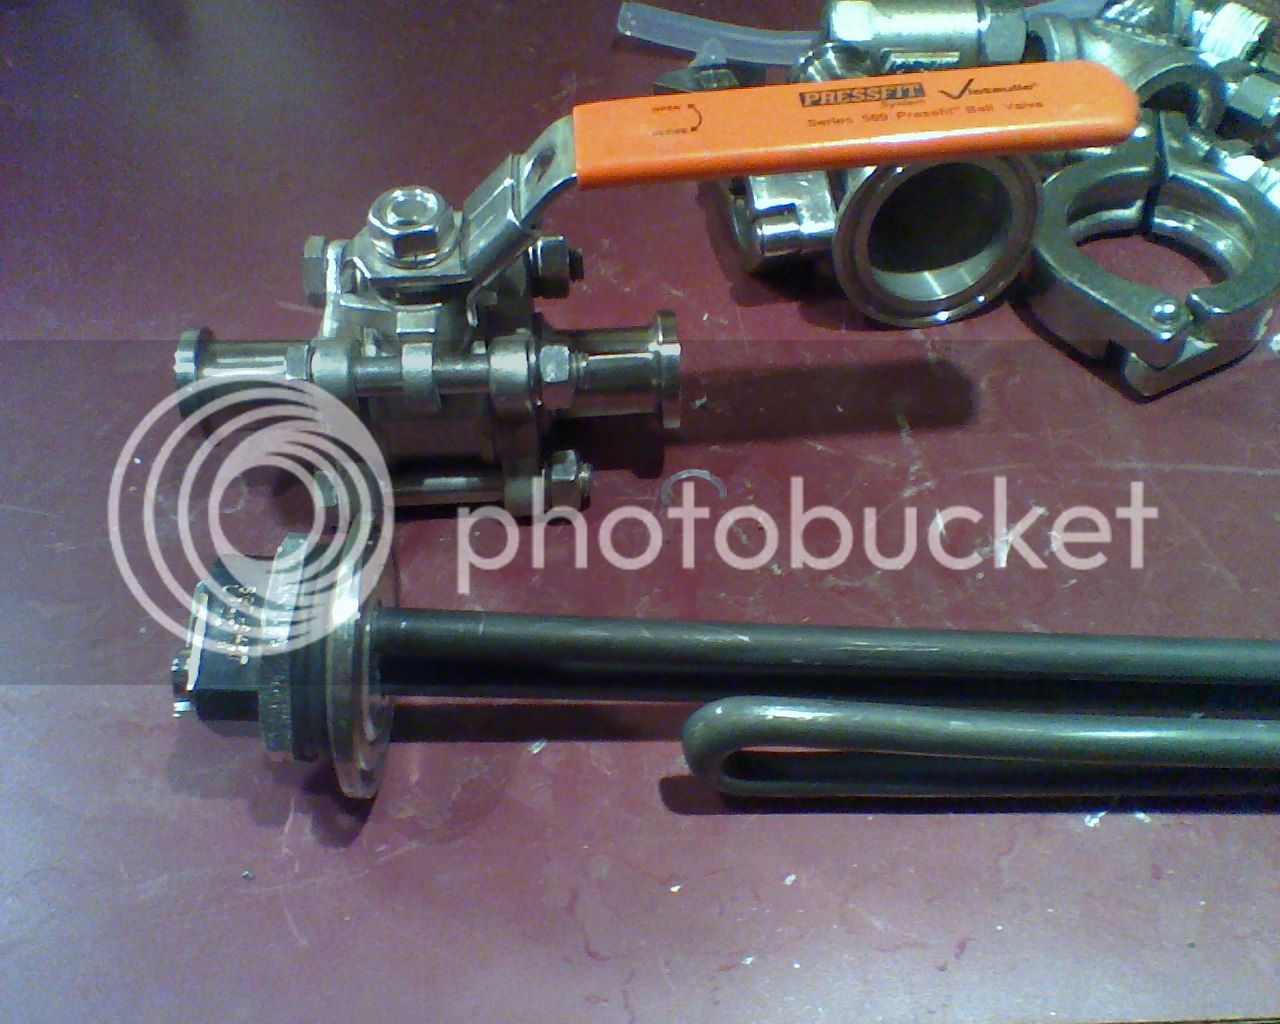
Element with Tri-clover adapter
First fill of epoxy
More to come once everything sets up and I get the wire though.
I started with a 1/2" conduit LB
and 1/2" bushing
I cut the fitting off the backside of the LB and filed it smooth with the back.
Traced out the shape of the element head onto cardboard, cut out the pattern, and then traced the pattern onto the fitting. Broke out the dremel and whittled out the LB hole to match the element head.
Once it fit snug i roughed all the contact surfaces up and mixed up some 30 minute 2-part z-poxy
I spread a bit of the epoxy between the element head and the bottom of the LB. I filled the inside of the LB with enough epoxy to get it up to the bottom of the electrical connections. Instead of trying to get the wire under the usual element screw terminals I added post style connectors to the element for easier connections.
Element with Tri-clover adapter
First fill of epoxy
More to come once everything sets up and I get the wire though.

