Yet another "Under-the-workbench" Fermentation Chamber Build

Homebrew Talk - Beer, Wine, Mead, & Cider Brewing Discussion Forum

Help Support Homebrew Talk - Beer, Wine, Mead, & Cider Brewing Discussion Forum:

This site may earn a commission from merchant affiliate links, including eBay, Amazon, and others.

NoisufnoC

Well-Known Member
Joined
Apr 4, 2009
Messages
315
Reaction score
4
Location
Cleveland
This is a continuation of my original information gathering thread https://www.homebrewtalk.com/f51/fermentation-chamber-size-133701/

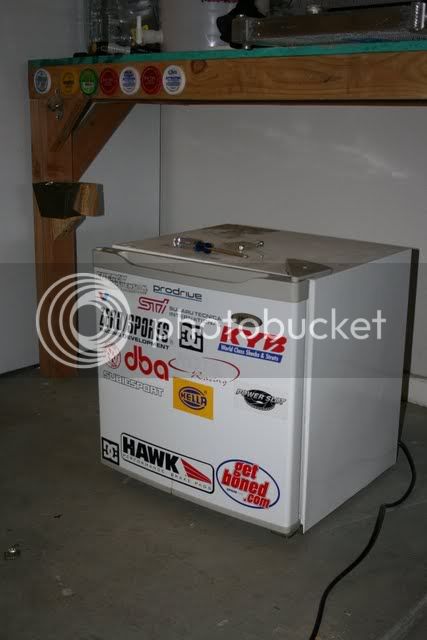
For those just joining us, i'm using a Haier HSW02 (1.8 cu. ft.) Compact Refrigerator Details and Product Specifications - Epinions.com and going off of TwoHeadsBrewing's DIY thread located here https://www.homebrewtalk.com/f11/new-fermentation-chamber-build-102846/

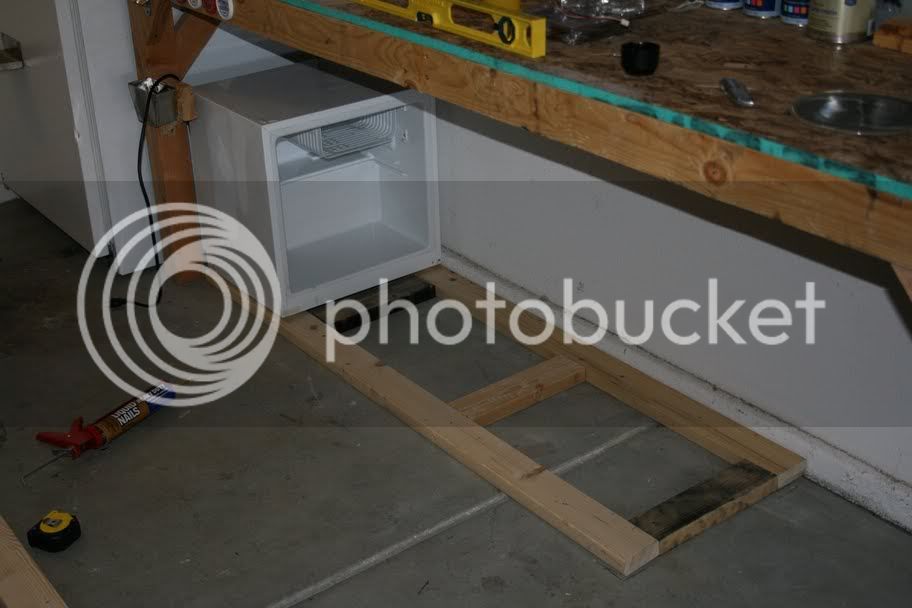
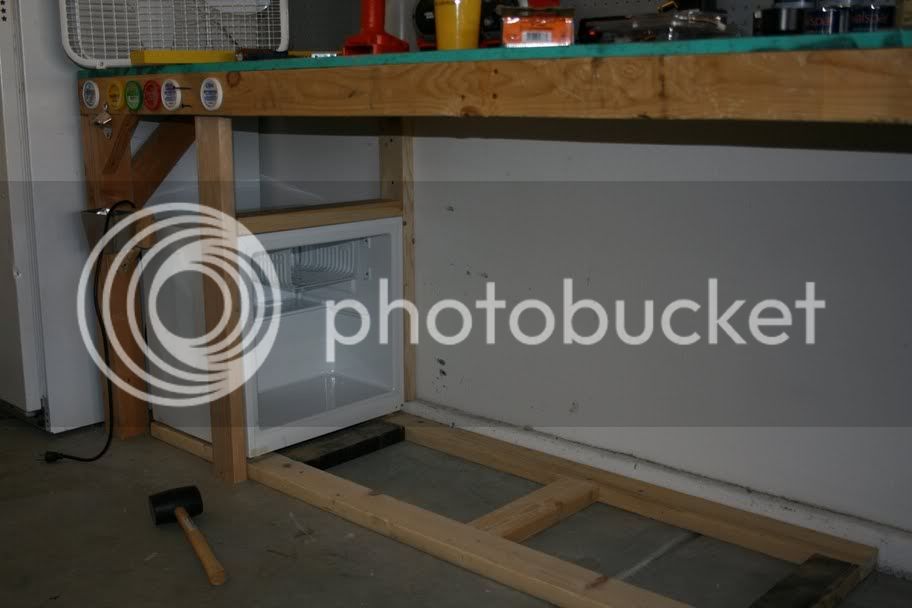
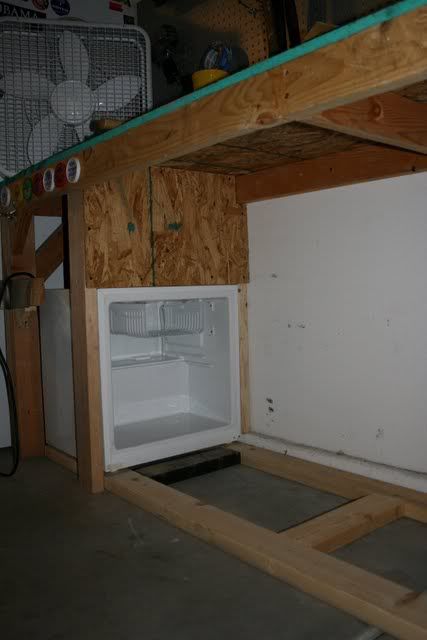
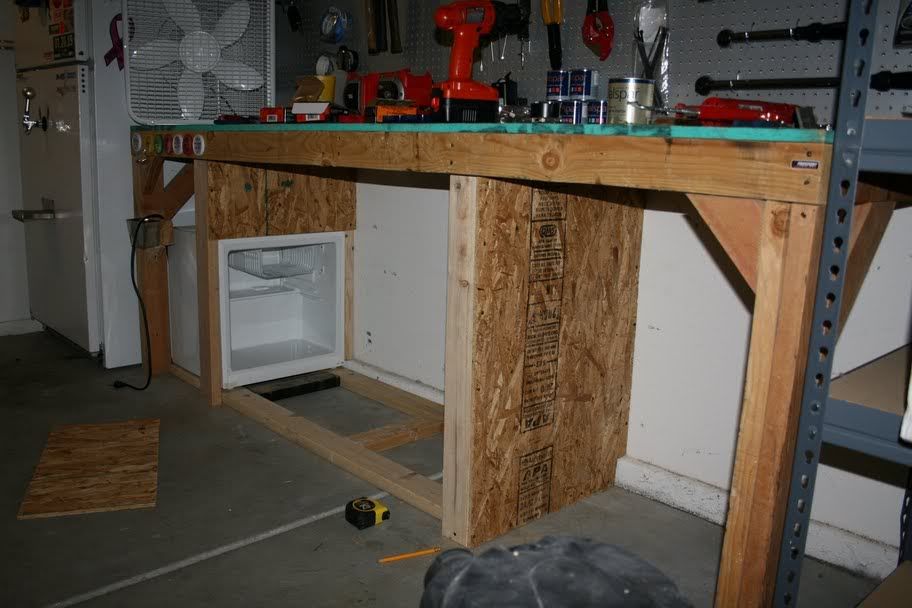
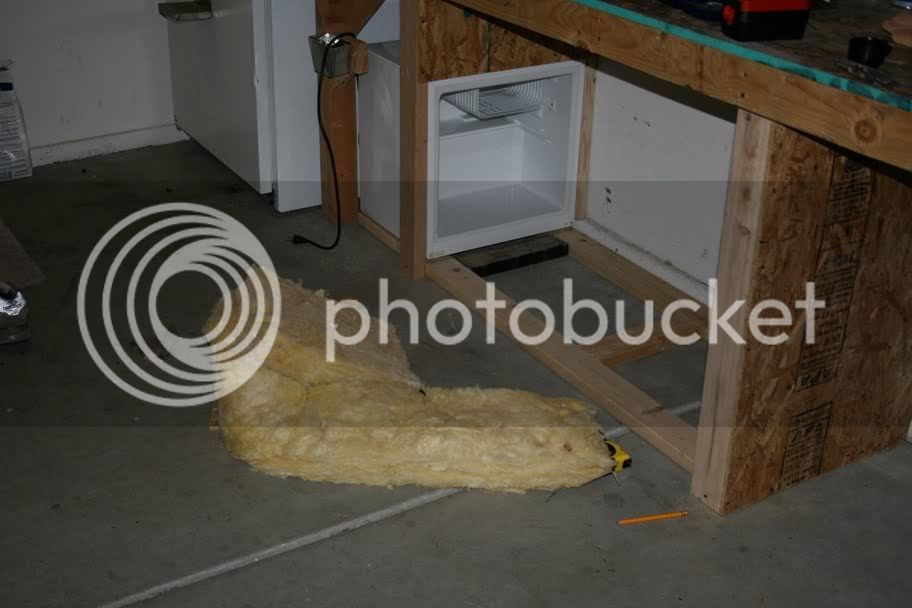
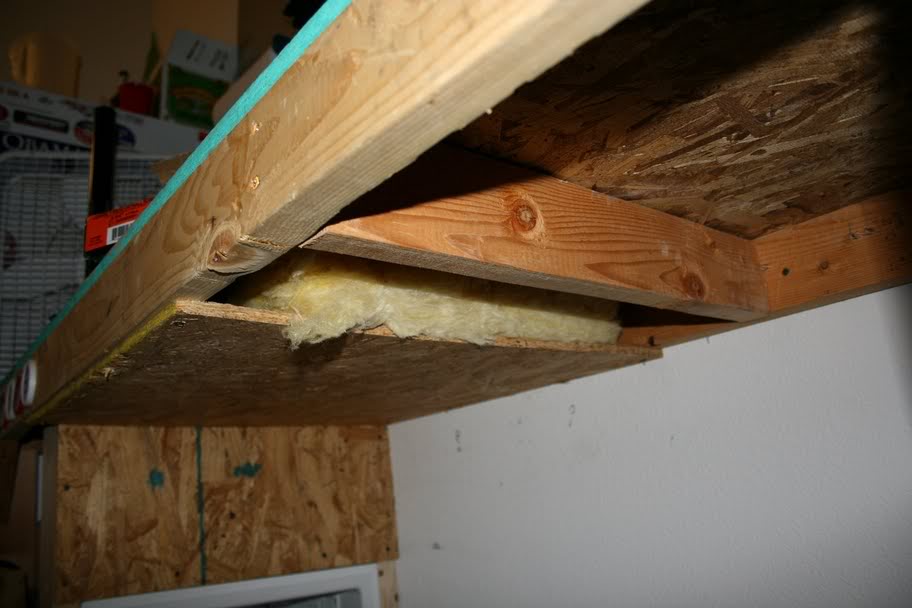
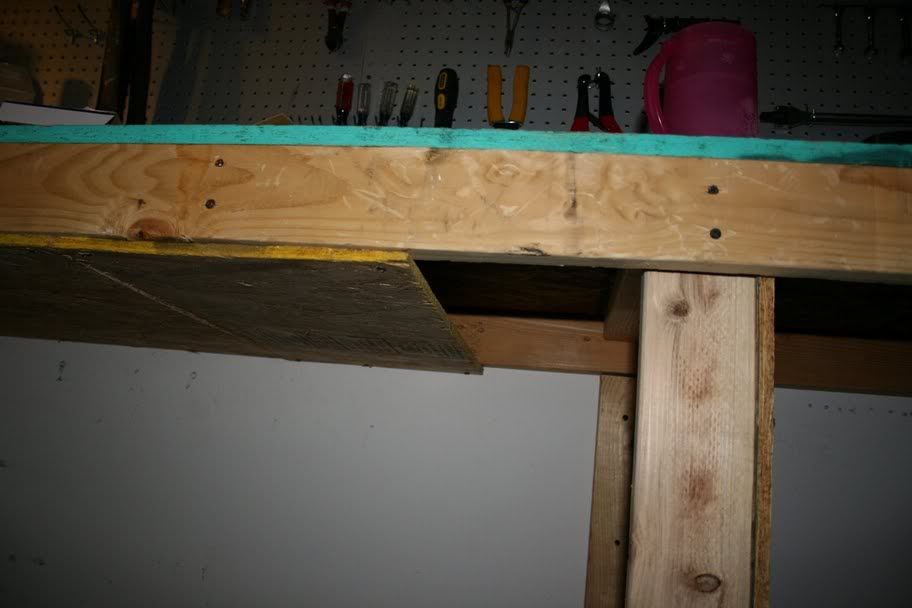
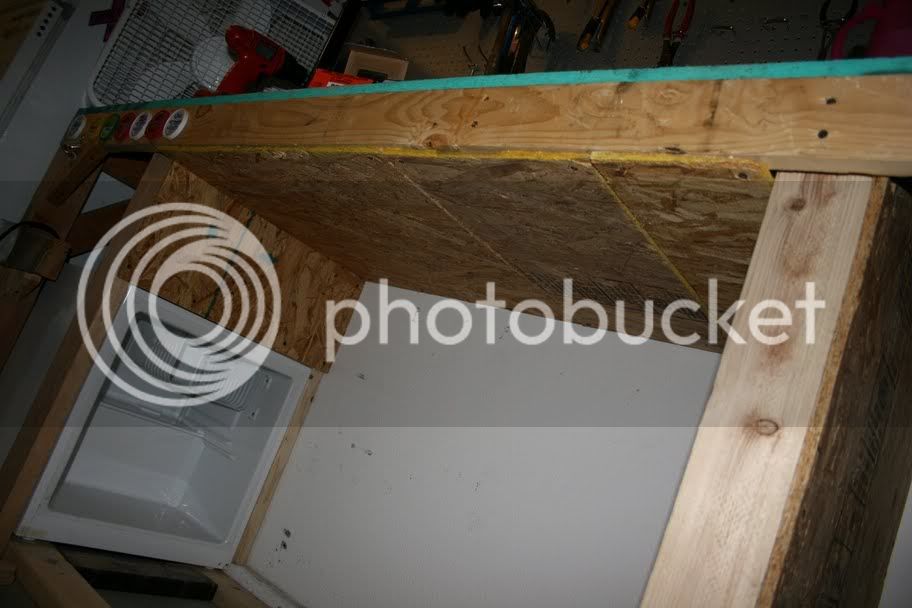
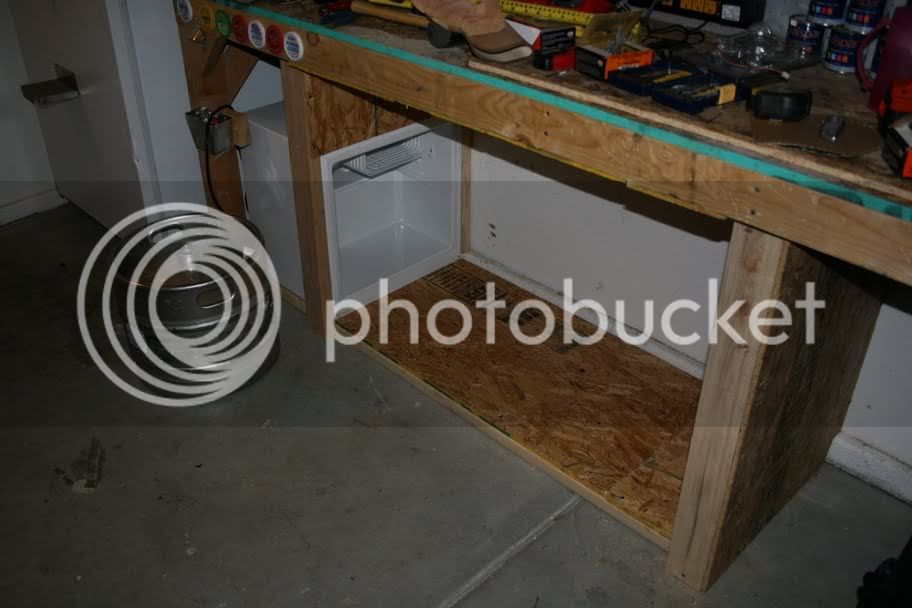
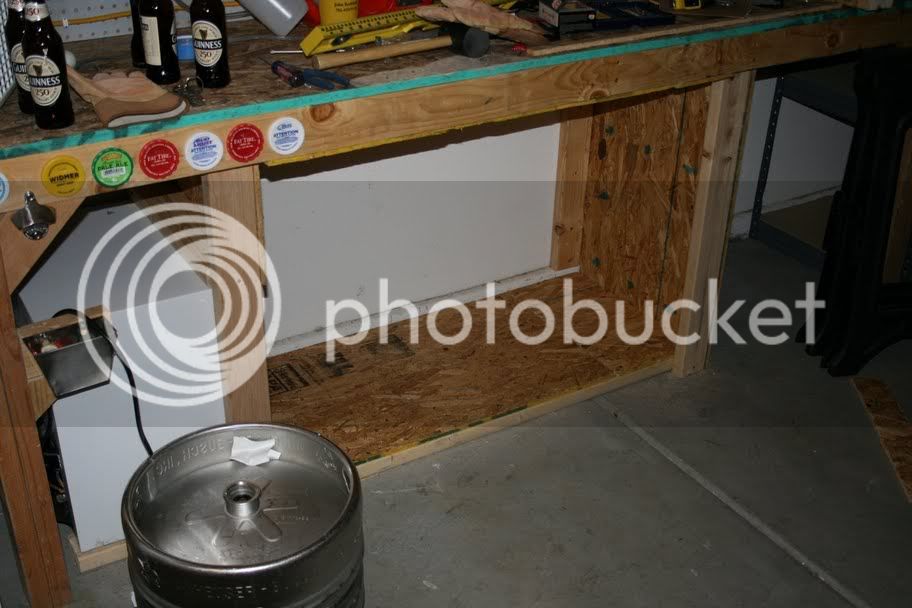
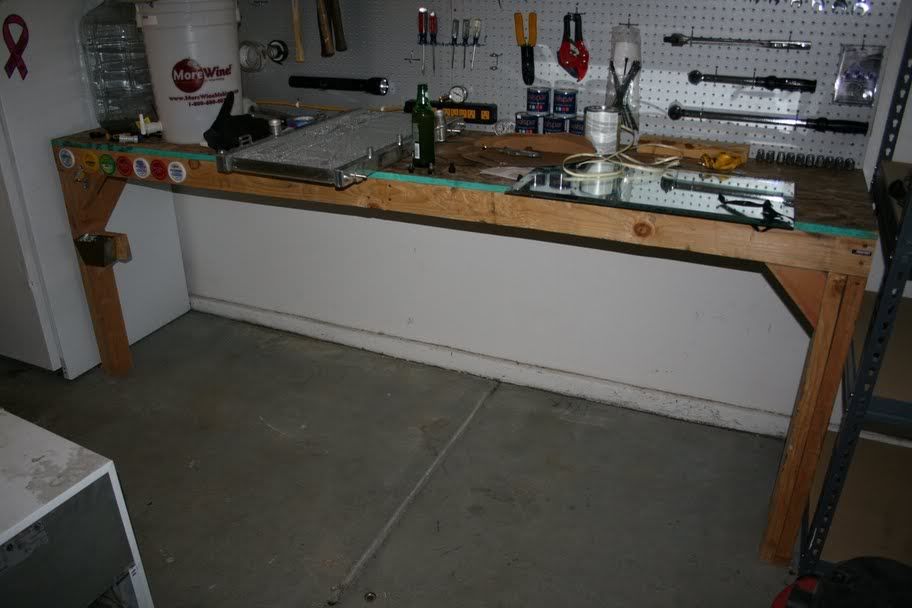
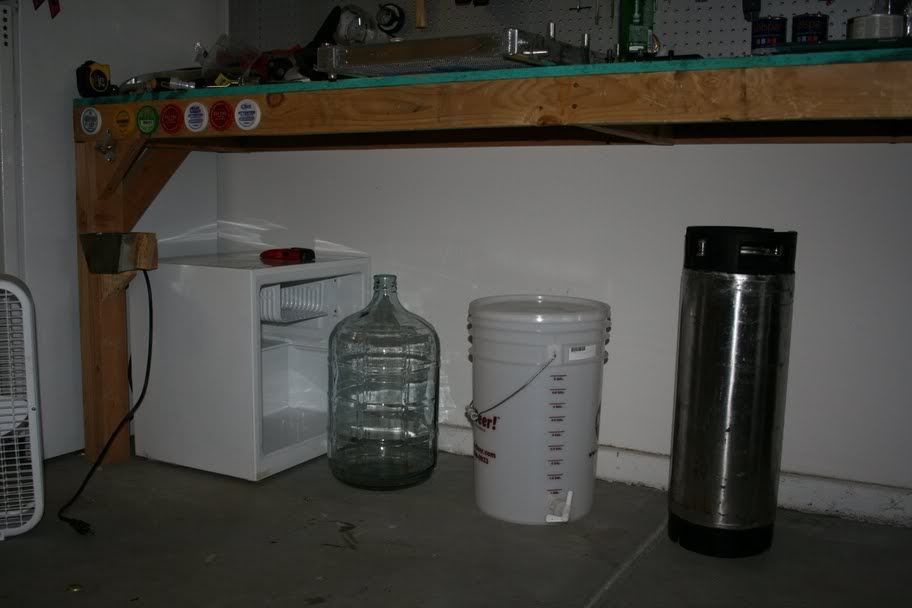
I have decided to take the plunge and have started measuring and getting things laid out. I'm trying to decide on the size of this thing. I'd like to fit 3 carboys comfortably, which puts me at about a 48" long chamber. With some preliminary measurements, 20" W x 32" H x 48" L = ~17.7 ft^3 outside. Factor in the width of the insulation and plywood and we're probably closer to 13 to 15 ft^3.

Do you guys think i'm going to have a major temperature problem at this size? I plan on at least one 120mm fan running when the fridge cycles.

Pics are to follow.
 
I removed everything from under the bench and cleaned the area up a bit
IMG_5701.jpg


Donor fridge pre-modification
IMG_5702.jpg


Layout to show scale. That is a 48" long chamber. I plan to put the door infront of the bucket.
IMG_5704.jpg
 
Looks like you got the right idea and working on a good start.
Its to bad that your fridge isnt tall enough to put a carboy in. By the pic it looks to small.
Somewhere in diy forum in the last month i saw a pic of a guy who took a fridge and demolished it, Took the important parts and made a fridge built into a homemade plywood/insulated ferm chamber.....
Dont know how much work that would be.... But might be able to get more cooler space.

Just an idea....
I will look to see if i can find the pics and post the link if i do.

Keep the pics comin!! :)

I have a fear of ruining the mini-fridge i got for free. If i was starting from scratch i'd just get a fridge big enough for a carboy and call it a day.
 
This is exactly what I'm planning to do in my closet. Keep us updated, and let us know if you run into any problems.
 
I think that mini-fridge will work just fine, and the price is right! I doubt you'll have any problems cooling that space to 60F, but you might have issues going any lower depending on how hot the room gets in the summer. But, worst case scenario: the fridge doesn't cut it, you pick a bigger one up or an A/C unit and drop it in. Nice build thread, can't wait to see more pics of the progress!
 
I think that mini-fridge will work just fine, and the price is right! I doubt you'll have any problems cooling that space to 60F, but you might have issues going any lower depending on how hot the room gets in the summer. But, worst case scenario: the fridge doesn't cut it, you pick a bigger one up or an A/C unit and drop it in. Nice build thread, can't wait to see more pics of the progress!

I totally agree, and worst case I could get a larger one like yours and replace the mini fridge. I dont expect to get to lager temps in the summer, ya know?
 
1/4" - 1/2" is plenty. I used some 1" dimensional lumber for the floor, and 1/2" strips of plywood for the walls.

cool. i've got some spare 3/8" particle board sheets laying around the garage from a shelving project i never finished (lol), so i think i'm just going to cut strips of that.
 
Can you guys recommend where to get the temperature controller, and what model is the best deal?
 
If you like wiring up your own, a cheap analog or digital house thermostat will work. If you want something pre-wired like I did, I would go with a Johnson analog. It's cheap, simple to install and pretty bulletproof. It only allows for cooling control which is a major drawback if you plan to use the ferm chamber all year round. If you want dual temp control, a digital Ranco is a great option...also very reliable, but not cheap.

House thermostat: Lux at Lowe's: Digital Thermostat with Light
(note most don't work with 120v, you'll have to do some special wiring for that)
Johnson Analog: Johnson Controls Refrigerator Thermostat
Ranco dual stage controller: The Ranco ETC Store (I WANT ONE!)
Love controller: Dwyer Instruments - Series TSS2 (I like them, but would rather not mess with the wiring. However, they are slick units and there are a lot of guides here on HBT with info.
 
would there be any downside to using that particle board i have as the shell of the chamber? I'm starting to add things up and i'd like to use any spare materials i have here before I go out and buy anything. We're not looking for strength here, just something to box the whole thing in, and its sealed from the inside so it shouldn't matter.

Right?

edit: This stuff...
OSB_Oriented_Strand_Board.jpg
 
Yep, that is OSB and will work just fine. Just make sure there is no contact with moisture as it will swell and then disintegrate.
 
good to know. i'm going to start this weekend with the materials i already have and see how far they go.
 
I woke up a little early this morning and started to get to work on the chamber.

I decided to use up some spare 2x4's i had laying around to frame in the floor, so that i'd have something to screw the plywood floor into.
IMG_5706.jpg


Another angle. These pieces are liquid-nails'ed to the concrete
IMG_5708.jpg


Since my fridge is shorter, I needed to frame in some supports for the small piece of wall that will go above it and later be insulated.
IMG_5709.jpg


It was at this point I realized I should have charged my cordless drill last night, it died, and I was forced to quit. Sofar I've used all spare materials, and a donor fridge, so the cost has been $0. Tomorrow I will continue to frame in the walls and begin with the ceiling and floor plywood, then I need to borrow a pickup truck from a friend an get the insulation.
 
I have some leftover household fiberglass insulation that I found in my garage. Would there be any benefit to stuffing that in between the ceiling and the underside of my workbench surface?
 
i ended up a little too hung over to work on it on sunday, i'll get some more work done and post more pics soon.
 
I started using the sheets of OSB to box in the chamber
IMG_5710.jpg


Fitted the large side
IMG_5711.jpg


Another angle
IMG_5712.jpg


I mentioned the other day that I had some household insulation left so I decided to stuff it under the workbench surface and between the top of my chamber
IMG_5713.jpg


IMG_5714.jpg


I used some scrap pieces to close things up
IMG_5715.jpg


Top done.
IMG_5717.jpg


I'm still working with scrap and extra lumber I had in my garage, so the working total of this build is $0.

Tomorrow's my birthday, so I wont be doing any more work on it...probably not until next week with the weekend coming.
 
Any downside to using that insulation between the top and the work surface? Let me know soon, as its still removable :D
 
You're going to want/need to cut 1" rigid foam panel insulation for the inside of the chamber. It's fairly cheap ($13 a 4x8 sheet) and will keep temps holding well and limit the cycling of the fridge. Nice work so far!
 
Looks good, and happy birthday!

Thanks!

I don't see how that insulation would hurt things. Looks to me like more would only be a good thing.

I thought so too, just asking to make sure.

You're going to want/need to cut 1" rigid foam panel insulation for the inside of the chamber. It's fairly cheap ($13 a 4x8 sheet) and will keep temps holding well and limit the cycling of the fridge. Nice work so far!

Yep, I'm going to look at Home Depot and see if they have 1" or 1 1/2" foam panels. Lowes near me only had 3/4" thick.
 
I work in the construction defect industry, and you will absolutely have to seal the inside of your chamber to be as airtight as possible.

You will get vapor transmission up into the cavity with the insulation, and the batt insulation will act like a sponge and soak up any moisture in the air. Wet insulation with wood = MOLD and wood decay.

I would try and get a thin plastic sheet good to line your chamber and caulk the piss out of all the joints.

I was thinking about that. The plan is to seal the inside of the chamber as good as possible. Humidity here is extremely low anyway, do you think that there will be a condensation problem that could impact that insulation? or the insulation in the back wall as well?
 
i'm struggling to find the foam insulation in large thicknesses. The best i can do with the foil stuff is 3/4", which i guess I could double up on to get me to 1 1/2". I also found 2" polystyrene but I dont know if that would work. Thoughts?
 
The only place I found it was Home Depot, Lowe's only had the white styrofoam which is not the same as the foil covered stuff. If they don't stock it at HD, I'd ask an employee to see if they can get a sheet or two for you. They're probably just out of stock.
 
The only place I found it was Home Depot, Lowe's only had the white styrofoam which is not the same as the foil covered stuff. If they don't stock it at HD, I'd ask an employee to see if they can get a sheet or two for you. They're probably just out of stock.

My HD didn't have anything with the foil, and Lowes had the 3/4". I'm going to talk to them and see if i can special order a sheet, or if its available at another location.
 
Finished up the bottom tonight

IMG_5827.jpg

IMG_5826.jpg


I'm at the point where i need to source the insulation. Unfortunately I haven't been able to find the thickness I want (no homo)
 
i think i'm gonna punt and just buy double the sheets of 3/4" insulation from Lowes and glue them together to make 1 1/2".

unless you guys think the 2" polystyrene will work.
 
Either way go for it. I doubled up on a couple sides and not on the other. Doesn't feel cool on the outside so I feel like its plenty. I'm using a fridge similar to yours and it doesn't have any trouble cooling it down. The only think I would suggest is keeping some type of dehumidifier inside, damp rid works pretty well.
 
good idea with the damp rid, i'll look into that

i just ordered the johnson analog controller, and i think i'm just going to go the double layer route with the insulation.

what do i use to glue the sheets together?
 
I used 3M spray adhesive. It worked pretty well. If you double up you may want to put a few roofing nails around the edges into the frame to hold it tight.
 
its my understanding that when i go to install the 120mm fan i can just snag a 12v cell phone charger, cut off the end of it and attach the + and - cables together?
 
sweet. any safety concerns plugging a powerstrip into my johnson controller so i can cycle the fan on and off with the fridge?
 
Back
Top