I have used both of the approaches... is not getting all the crud off.
I have some old crud on some of these sankes that is on tough.
My keg washer did not even get all the crud off a fresh corny keg.
Apparently you need a BIG motor to make these effective.
Mine does no more than my sink spray faucet.
thanks for the ideas though !
Keep them coming.
Kevin
Have you tried a pressure washer? Lye?
If none of those work, bail on that keg and get a new one. Once you have a good clean keg, clean it immediately after each use and it will be very easy to clean.
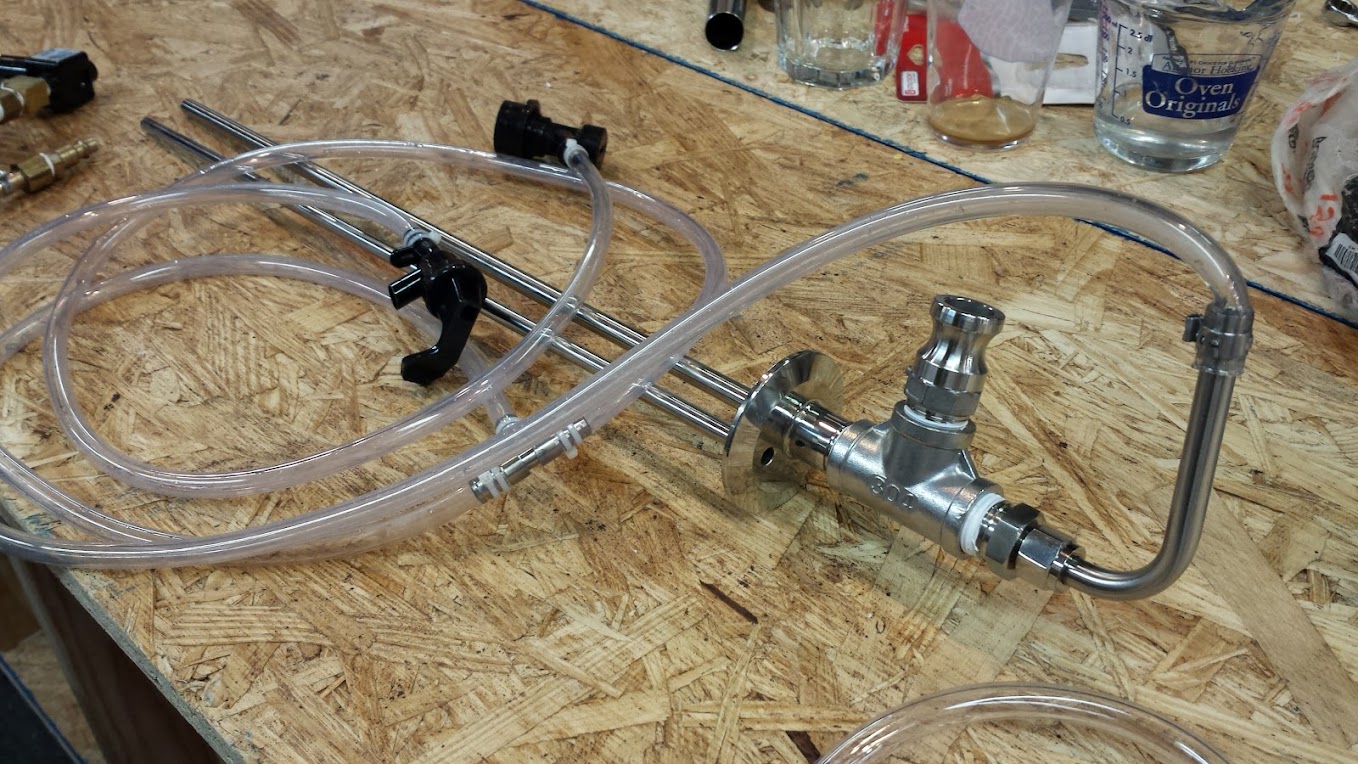
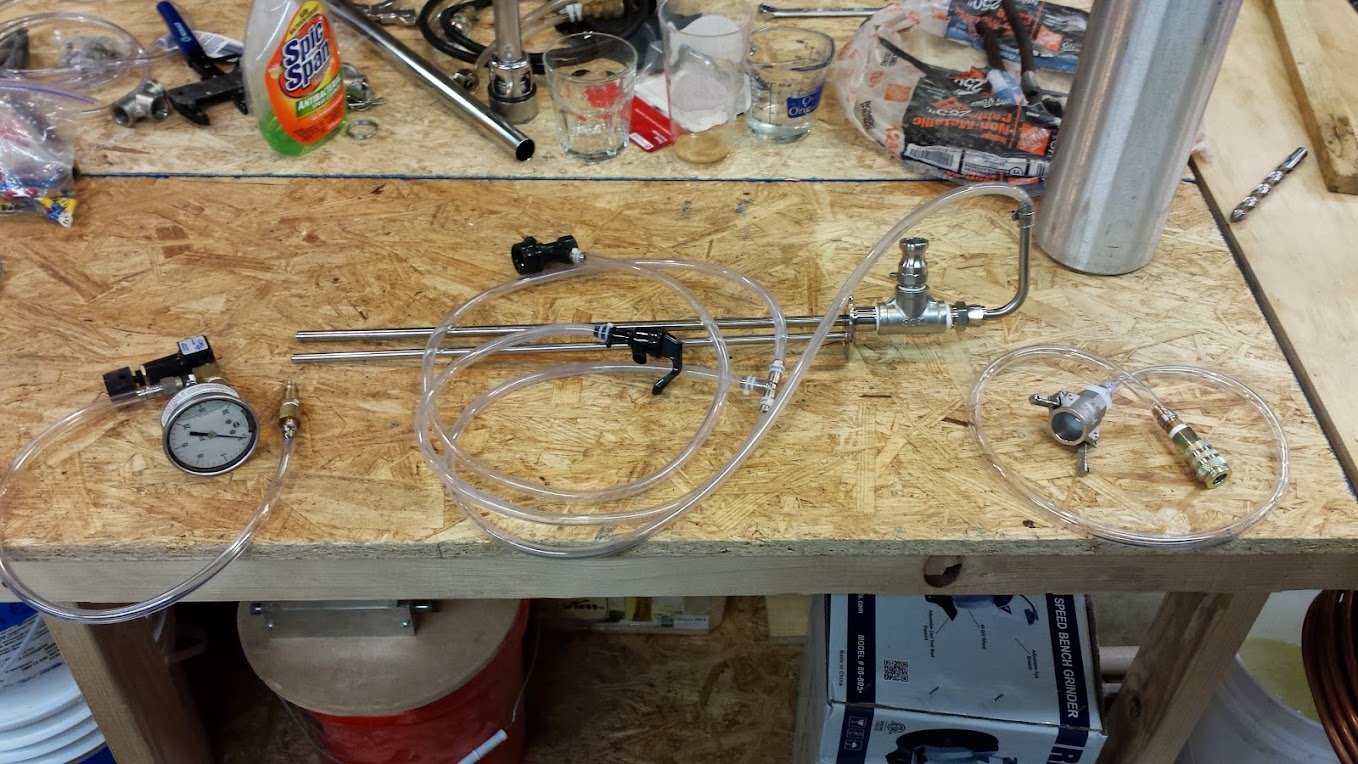
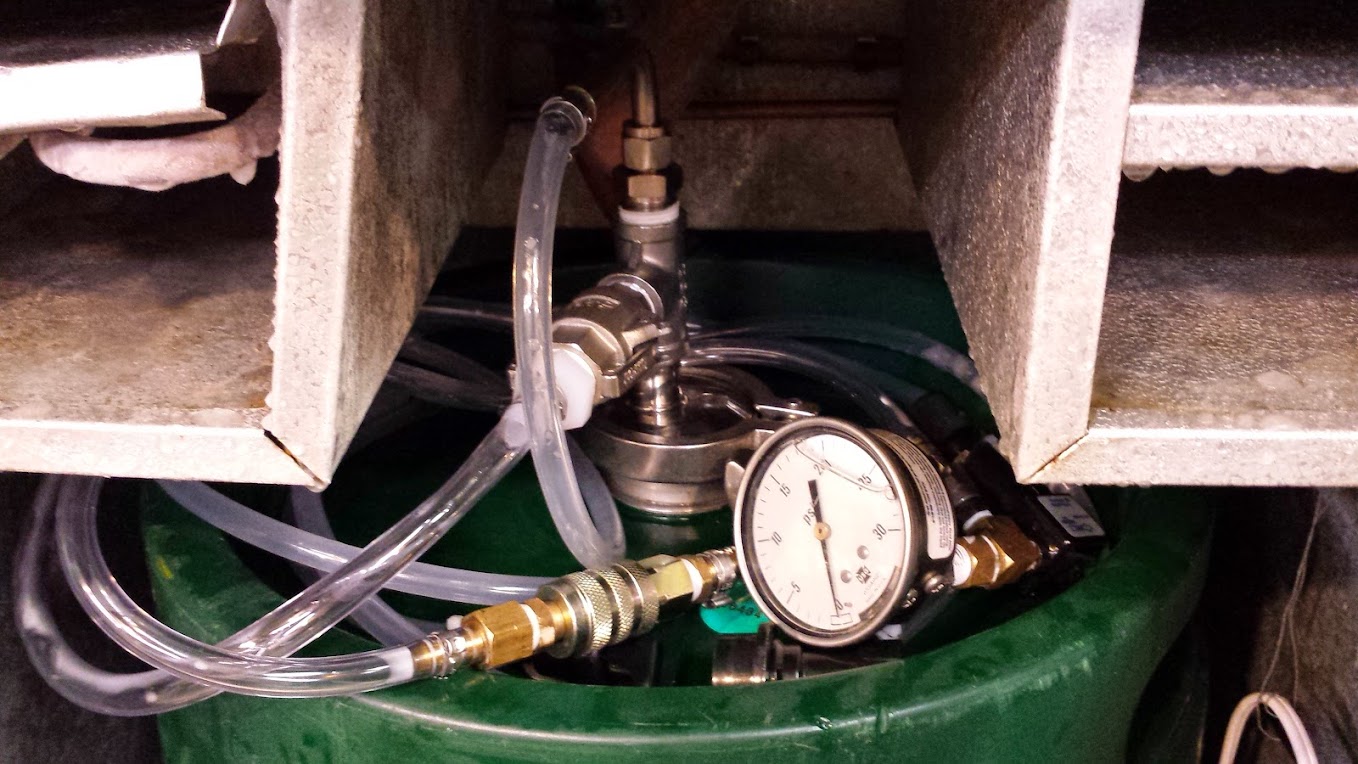
I use a 2' TC cap drilled and tapped to accept a compression coupler for the racking cane and a NPT to accept a T which has a Gas-in post and an adjustable PRV.
Works great, and I would not change a thing.


")