peter78
Well-Known Member
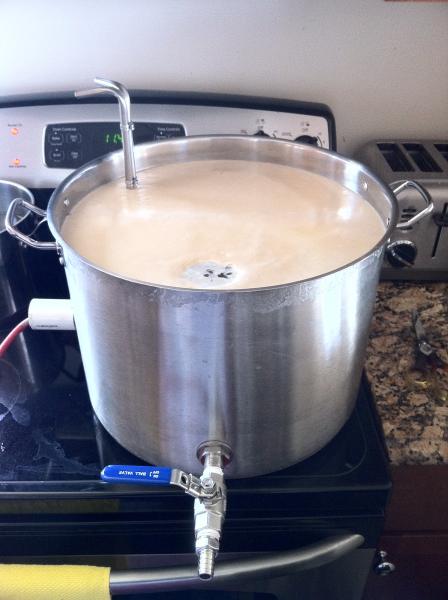
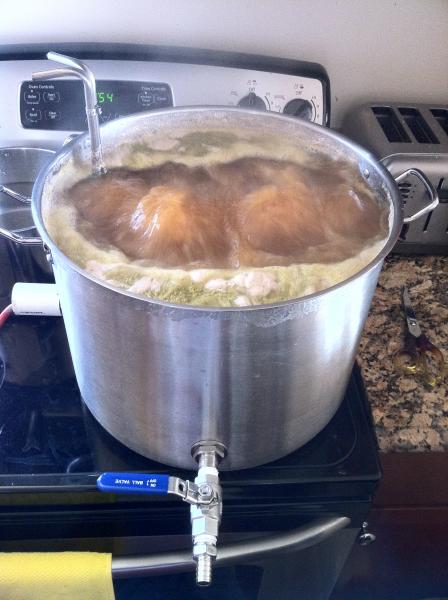
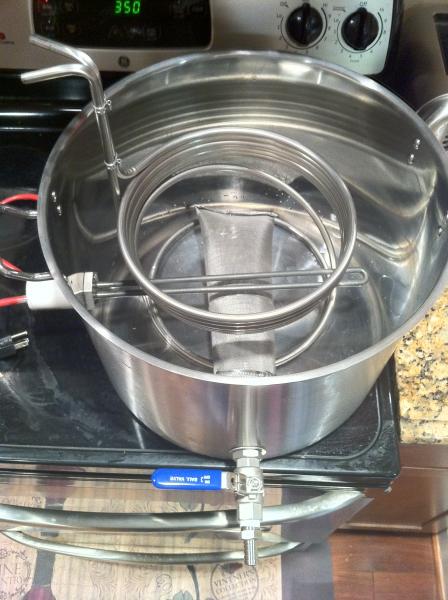
After spending days researching homebrewtalk trying to figure out how to put my stovetop brewkettle, being able to brew full 5 gallons on my stove top, this is what I came up with. Please feel free to ask any questions, as I'm sure I'll miss something.
Bought a 35 qt stainless steel pot at amazon (it is actually 32qt) http://www.amazon.com/dp/B00107EARQ/?tag=skimlinks_replacement-20
Drilled a hole in it on the side for the electric element with the step drill from Harbor Freight http://www.harborfreight.com/2-piece-titanium-nitride-coated-high-speed-steel-step-drills-96275.html
Bought a 1700 Watt 120 volt LWD stailess steel element from Boston Heating supply: http://bostonheatingsupply.com/SP10868KL.aspx
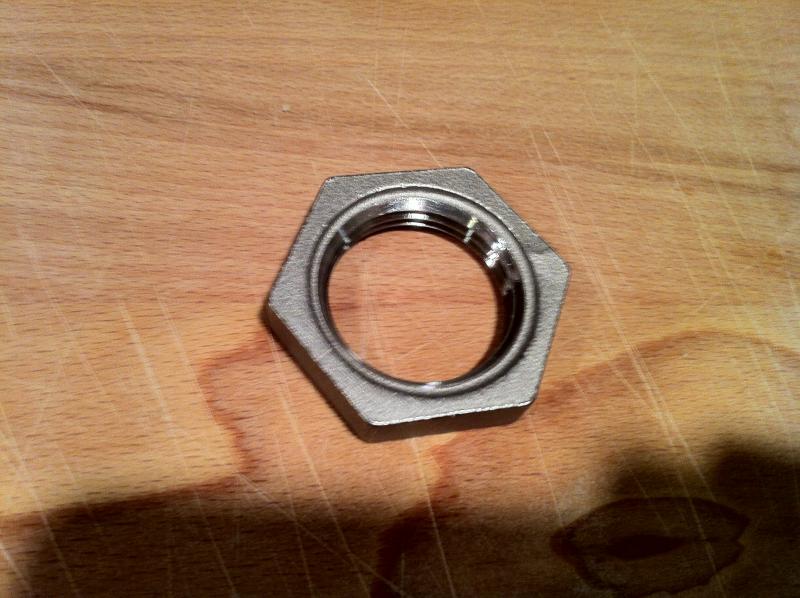
Got a 1" locknut from bargainfittings.com http://www.bargainfittings.com/index.php?route=product/product&path=36_38&product_id=57
Also drilled a hole for my stainless steel ball valve. Used up the connection Kal uses for his HERMS coil on his website: http://www.theelectricbrewery.com/hot-liquor-tank?page=6
Only I modified using a 2" nipple istead. The 1' wouldn't fit. It came out too short. http://morebeer.com/view_product/17410//Stainless_Nipple_-_1_2"__x_2"_Threaded
I followed Kal's instructions and bought all the o-rings and shims from mcmaster-carr. The parts he suggested, as well as the silicone ring he used up for insulating his electric element.
Bought a 25 ft stainless steel immersion chiller from Midwest Supplies: http://www.midwestsupplies.com/home...n/stainless-steel-immersion-wort-chiller.html
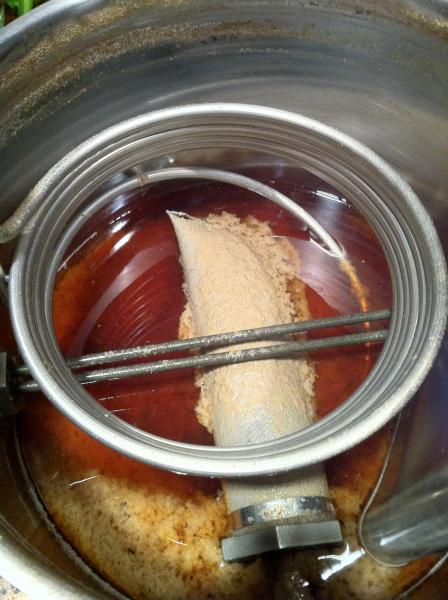
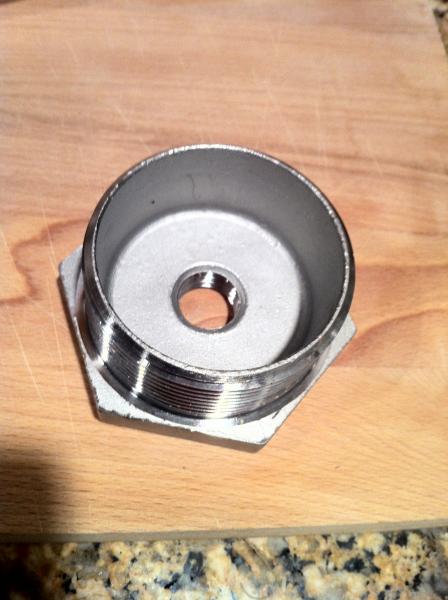
After spending quite some time trying to figure out how to strain hops, this is what I came with. Bought a 2 1/2x1/2 inch bushing on amazon: http://www.amazon.com/dp/B003GSKZIK/?tag=skimlinks_replacement-20
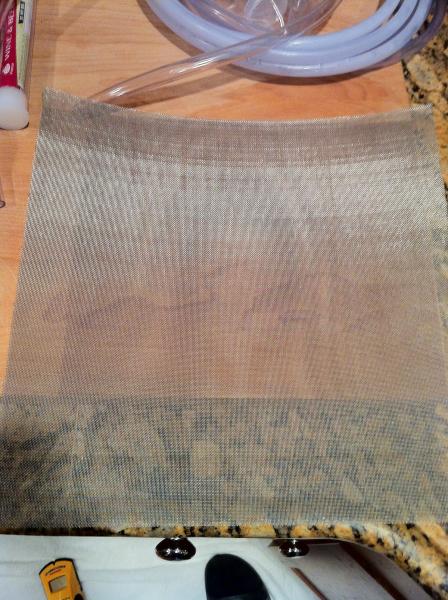
I bought a 12"x12" mesh sheet at mcmaster-carr: http://www.mcmaster.com/#catalog/118/410/=hcqtay
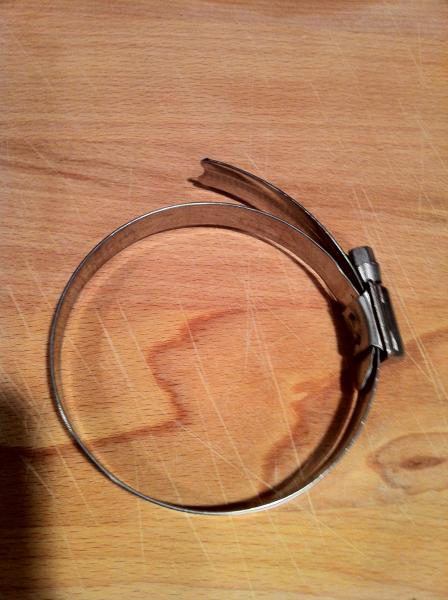
And a clamp to tight it with around the bushing: http://www.mcmaster.com/#catalog/118/277/=hcqu56
Also bought a spool of wire to saw the hop pellets bazooka at the other end: http://www.mcmaster.com/#catalog/118/277/=hcqu56
See pictures:
It is not perfect and there's still some hops that go through the bazooka but I use a hops bag after I chill the wort, on the way out from the kettle and before the carboy. This way everything I boil is stainless steel.


Last edited by a moderator:


