That's one way to go about it. Another is to use dilute Elmer's glue as the adhesive. Both of those methods have the side-effect of being water-soluble, which both fortunate and unfortunate. Fortunate in that it requires no work at all to remove your labels from your bottles, unfortunate in that it is impossible to chuck your bottles into a cooler and keep the labels on the bottles!
You can make a quite simple, yet elegant, label using Microsoft Office. First, go to Staples or OfficeMax and buy a package of Avery label #8164 - those labels are 3.33" tall and 4" wide, perfect for bottles.
Next, go home, open MS Office, and click on Tools. Select Letters and Mailings. Select Envelopes and Labels. Click the Labels tab, then click the Options button. Under Label Information, find Label products - select Avery standard from the drop-down menu. Under Product number, select "8164 - Shipping". Click the Ok button. Once that dialog box is gone, click the New Document button.
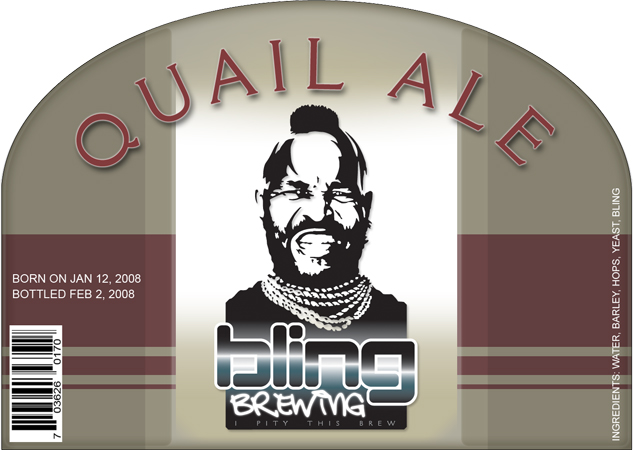
Now you've got a preformatted Word document perfectly aligned to the Avery labels. You can make some pretty groovy labels in this way, with some neat graphics.
It's quick and easy. Have fun!
Cheers,
Bob

") )
)