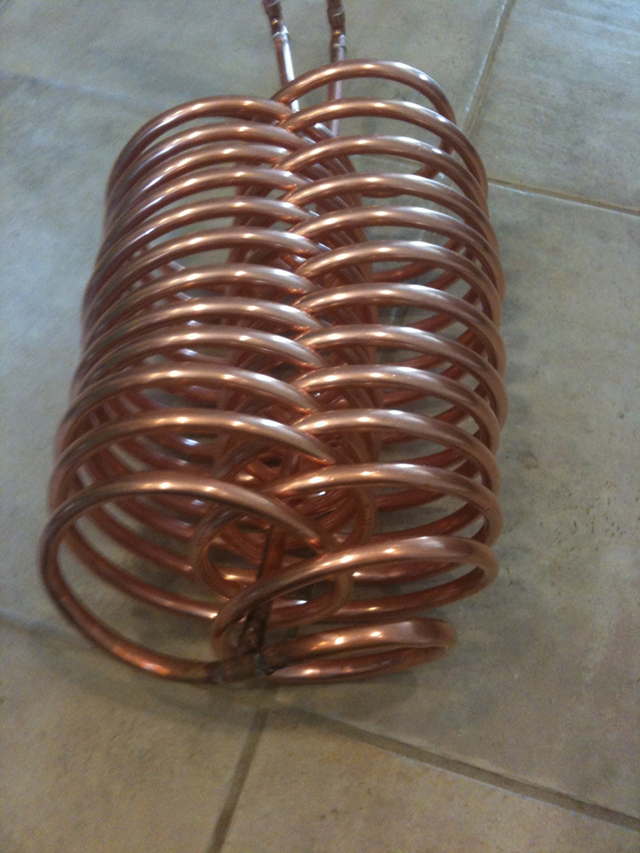
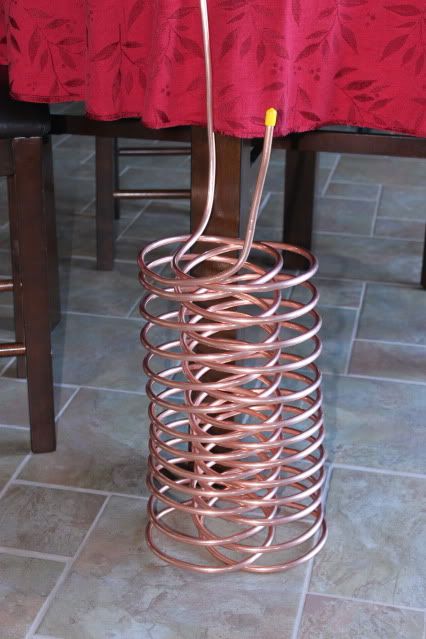
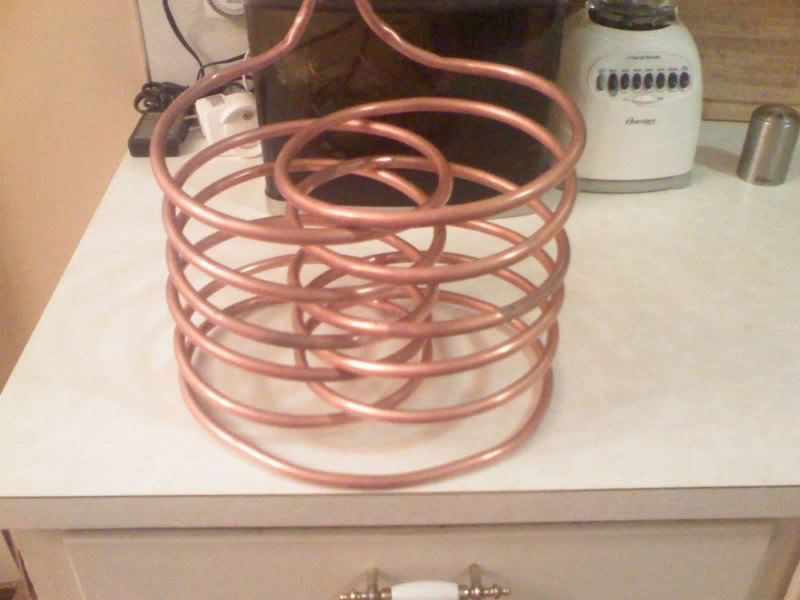
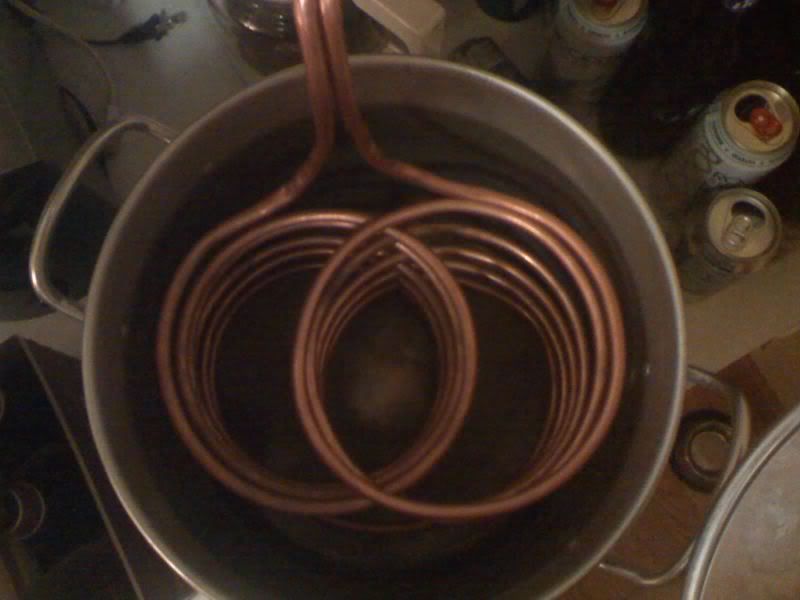
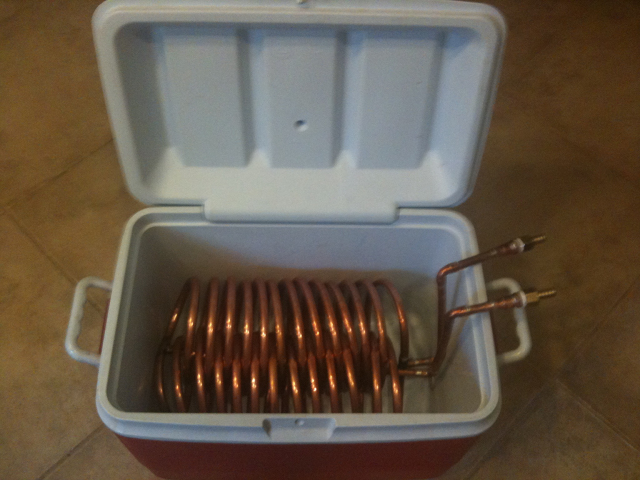
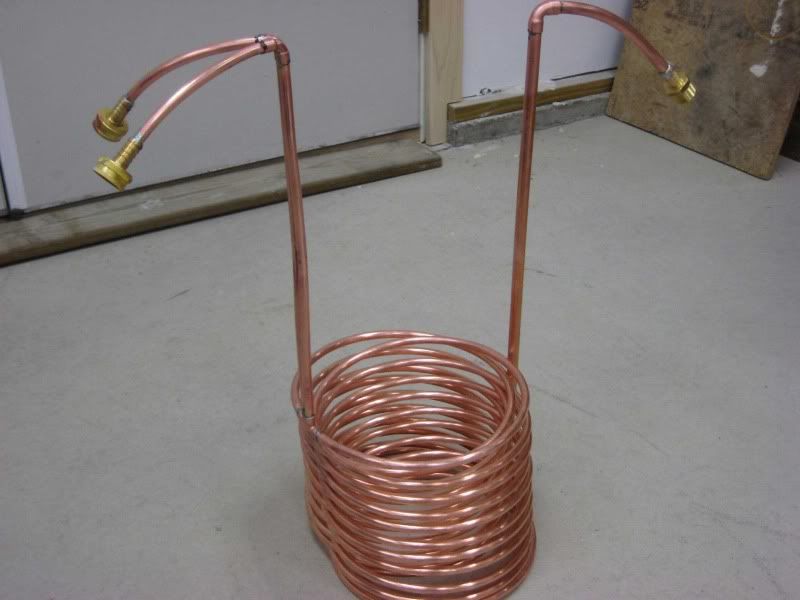
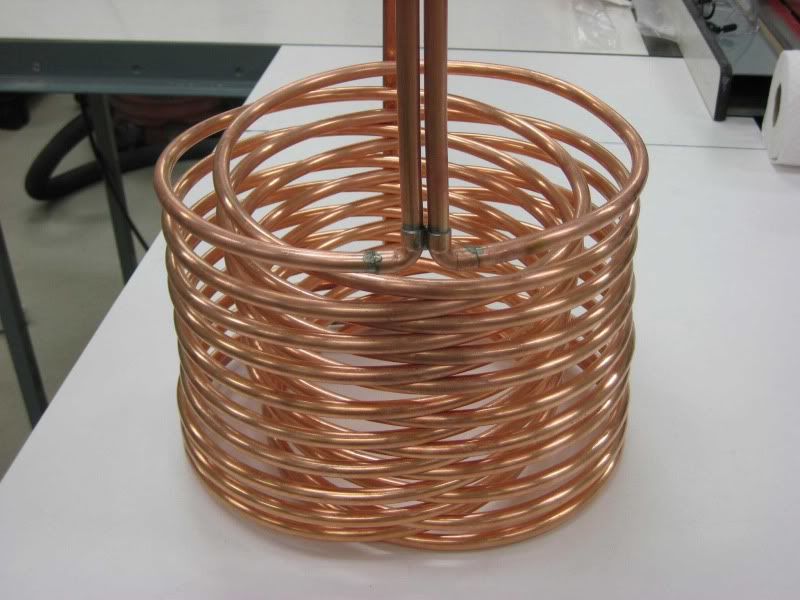
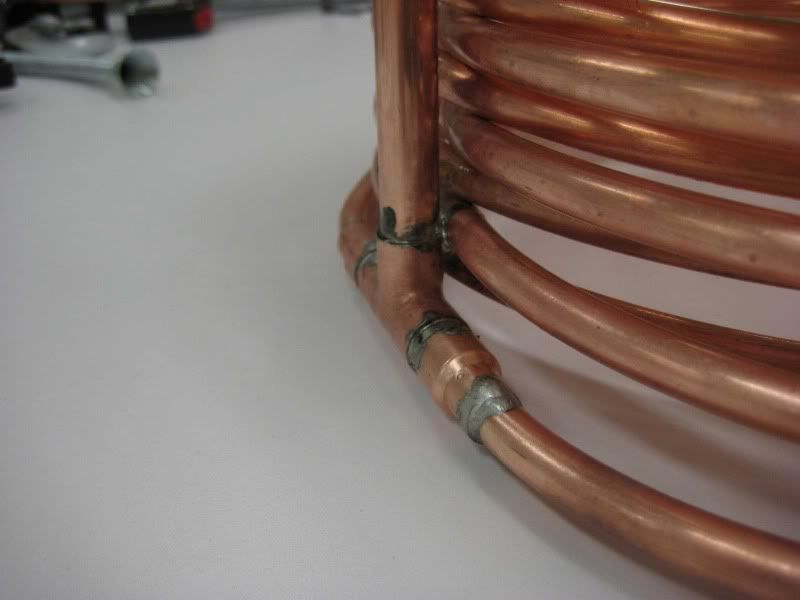
Okay, my rib-cage chiller has a little different twist that I think will work well. I made two 25' coils and then connected them at the bottom. Instead of circulating water through the whole chiller, I thought why not take advantage of two cooling inlets that finally connect at the bottom and then out. I used 3/8" tubing, but I thought that it would work even better to use 1/2" where they join at the bottom and then to the outlet. I wasn't sure if the two water hose sources would be competing with their pressure to force water back up the other coil, so I figured that if I reduce the pressure at the outlet, certainly both would flow through each coil to the 1/2" "T" and then out the 1/2" outlet. Not, sure if it would have been an issue, but I figured that I couldn't hurt it by decreasing the pressure at the outlet. I haven't tried it, but it will be interesting to see how fast it cools. Also, with dual cooling coils both starting at the top, I could now solder the 3/8" inlets tubes together to stiffen them and not worry about heat transfer. I soldered them at both 90 degree fittings and once in the middle of the tubes. Give me your thoughts.

")