Seven
Well-Known Member
I finally completed my new fermentation chamber build and I thought I would document the steps here in case anyone wants to try this in the future.
This thread is a continuation of another thread found here and I thank those who provided advice and ideas there.
Please be aware that drilling into any appliance is risky and could void your warranty and/or cause irreparable damage. Don't try this unless you know what you are doing and are willing to accept the risks!
The goals
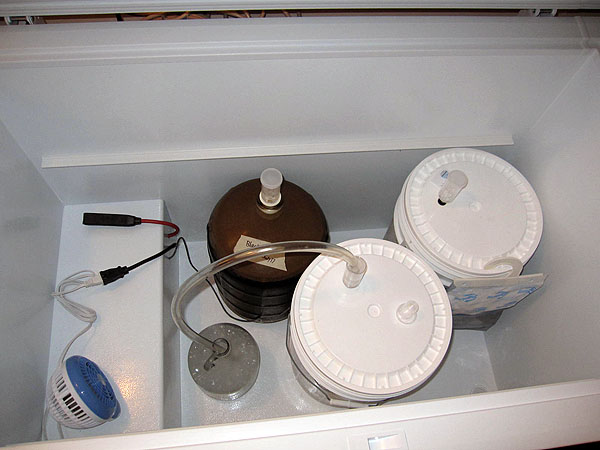
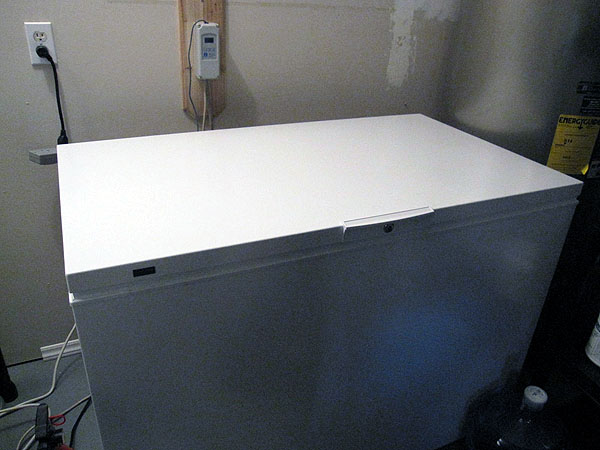
- To build a fermentation chamber for precise, year-round temperature control. A dual temperature controller will allow me to keep the fermentors cool in the summer and warm in the winter. I'll also use this for lagering.
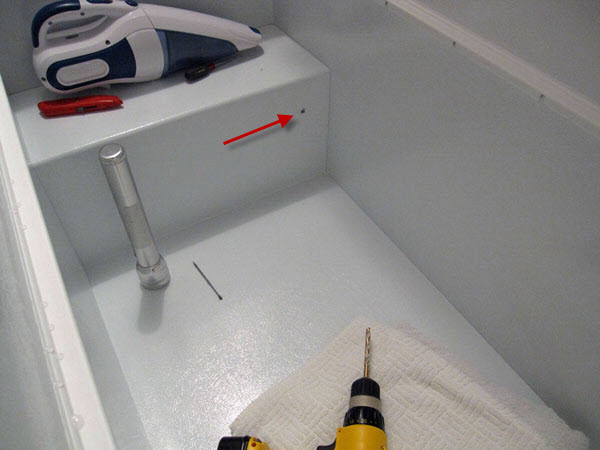
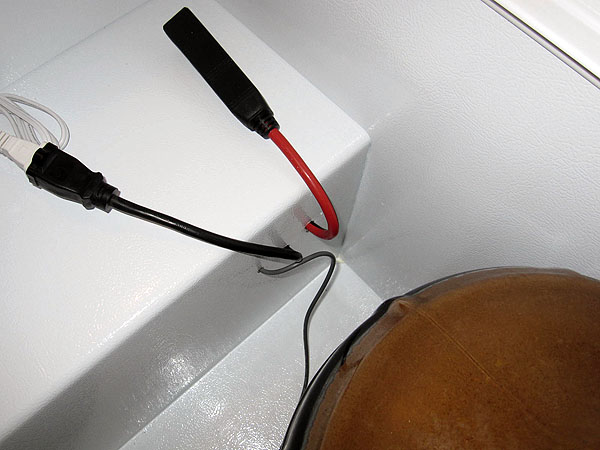
- Drill three small holes through the compressor hump for heating power, regular power (for fans and such), and a temperature probe.
- Freezer make/model: GE 14.8 (FCM15PUWW)
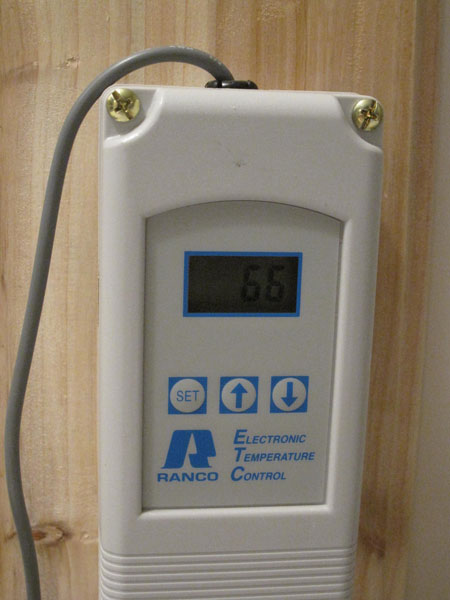
- Temperature controller: Ranco dual stage (ETC-211000-000)
- Extension cords: Two 8' extension cords (14-gauge) with the male ends removed
- Extension cord replacement plugs: Two male replacement plugs for the decapitated extension cords
- Cordless drill
- Vacuum with attachment to get into small spaces
- Wire strippers
- File to smooth drilled sheet metal
- Remove outer compressor cover being careful to avoid breaking the wire that is permanently attached to the freezer thermostat.
- From the inside of the freezer - mark a spot on the compressor hump approx 3.5" down from the top of the hump and approx. 3" away from the rear inner wall.
- Use a sharp nail or other tool to poke a small hole though the hump where you marked the spot (the interior is a thin metal shell covered by vinyl or plastic).
- Use a drill to widen the hole. I used a 3/16 drill bit then a 3/8 drill bit. Don't drill deeply into the freezer wall. You only want to make a very shallow hole on the interior wall. Repeat this process two more times (if you want 3 holes) spacing each hole about 2" apart.
- Time to start digging. Using a pencil or other tool gently poke your way into the hole that you just drilled to loosen the insulation. Use vacuum to suck the insulation out of the hole as you go. I attached a plastic drinking straw to the vacuum with some masking tape to get the debris out. Keep digging toward the compressor chamber wall from the inside being careful to feel for any buried cables or coolant lines. After approx. 2.5 inches you should reach the outer wall where the compressor sits.
- Use a flashlight to visually inspect the hole you just dug to ensure the path is clear for drilling through the compressor chamber wall.
- From the inside of the freezer working toward the outside, carefully drill though the sheet metal wall into the compressor chamber. Be careful to stop drilling the moment you punch though the outer wall so you don't damage the compressor or coolant lines.
- Once you've got your holes drilled, use a metal file (available at any hardware store) to smooth down the edges of the holes you drilled. Do this on the interior and on the exterior to prevent slicing any of your power cables when they are pulled though the holes.
- Cut the male ends from your extension cords then run the cut ends though the interior holes to the exterior of the freezer unit.
- Attach the replacement plugs to the extension cords once the cables have been pulled through the freezer wall.
- Run the temperature probe from the outside of the freezer unit to the inside of the freezer.
- Now program your temperature controller as needed and attach power cables to the appropriate outlets.
- That's it!
- I realize I could have simply built a wooden collar instead of drilling through the freezer walls... but I didn't want to add more height to the freezer walls which would make lifting heavy buckets and carboys into and out of the freezer a bit harder.
- Cutting the plugs off the extension cords allows you to drill smaller holes in the freezer since the holes only need to be wide enough to run the cable (not the plug) through it.
- Having a helper will make this job a lot easier. They can help hold cables and tools and if they are small (unlike me) they can climb inside the freezer to dig and inspect. My wife was the official digger/inspector for this project.
- When you are finished test that everything is working as expected before putting real wort in your new fermentation chamber. Use carboys or buckets filled with water to ensure the temperature is being regulated correctly as you have programmed it.


