SOF/workbench build thread

Homebrew Talk - Beer, Wine, Mead, & Cider Brewing Discussion Forum

Help Support Homebrew Talk - Beer, Wine, Mead, & Cider Brewing Discussion Forum:

This site may earn a commission from merchant affiliate links, including eBay, Amazon, and others.

lewybrewing

Well-Known Member
Joined
Dec 10, 2010
Messages
121
Reaction score
3
Location
Chula Vista
I live in a condo, luckily I have a 2 car garage for brewing and storing other items for my hobbies. But I have never been that into controlling my temps during fermentation. Part of the problem is that I live in San Diego and I brew my beers to match the seasons. Once and a while I would use my portable cooler and some frozen water bottles. But I'll be honest, it was a pain in the ass.

With the hot weather and scoring a free mini fridge from work it was time to build a temp controlled fermentation chamber.

The NEEDS:

1- To work.
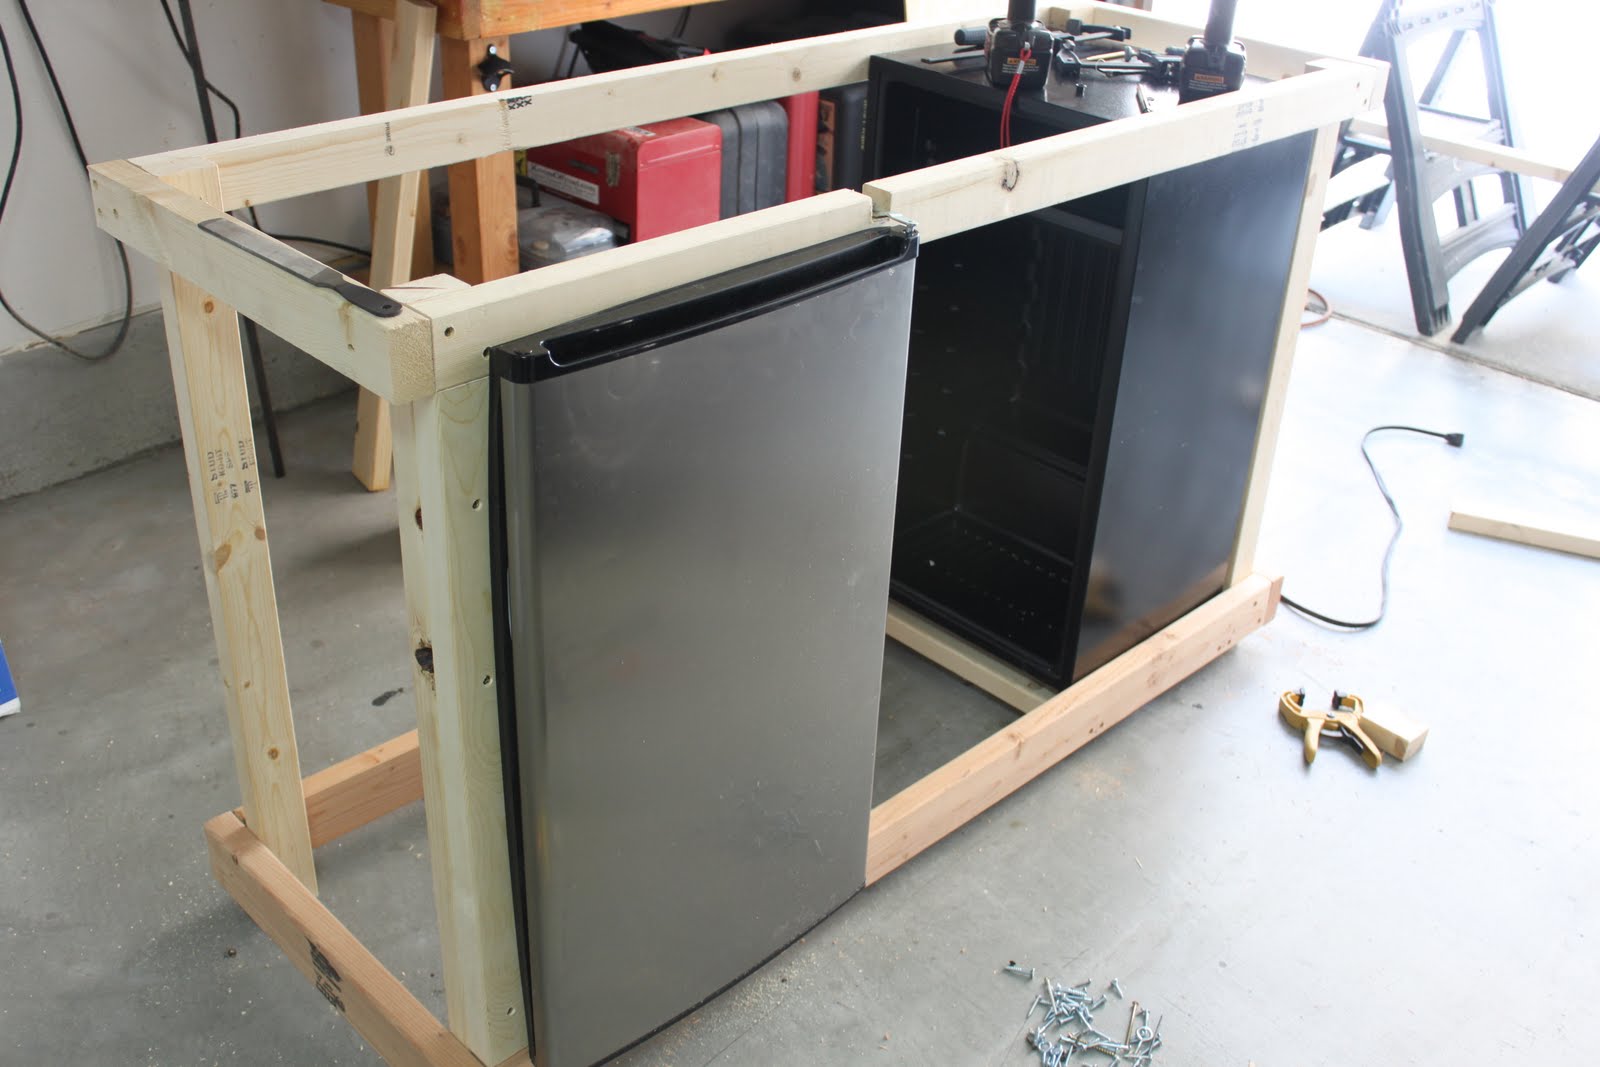
2- Hold a least 3 full (6.5g) carboys
3- Also be a work bench on top.
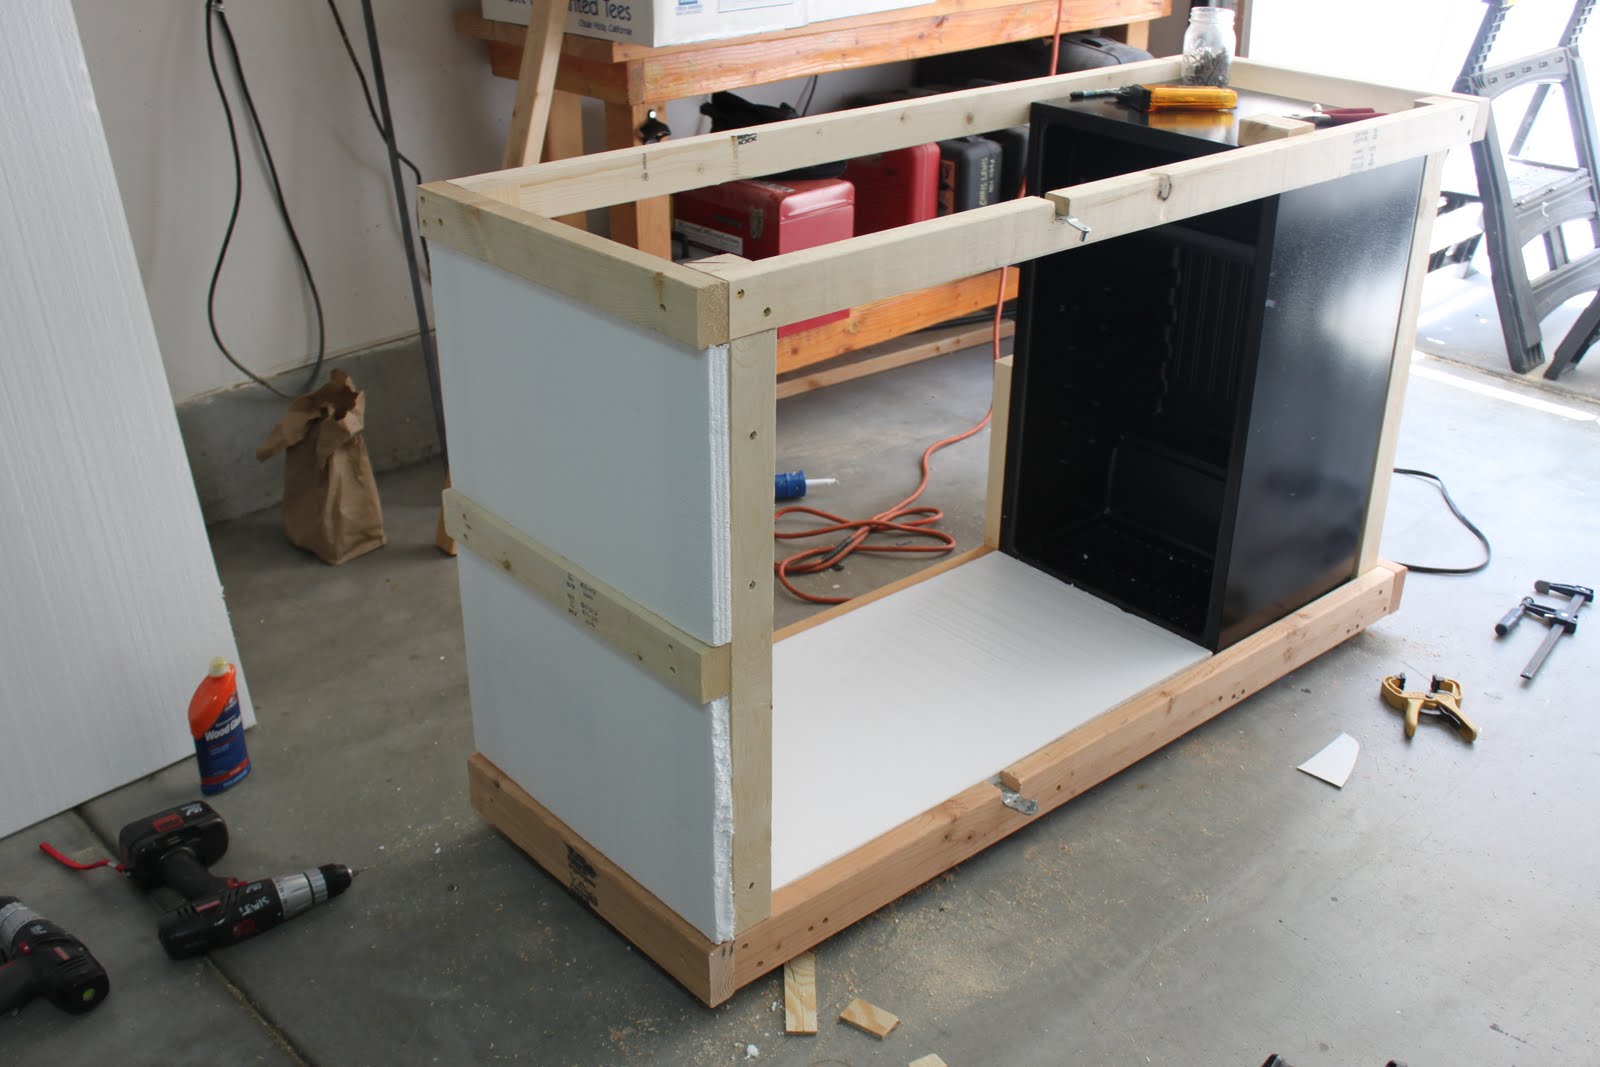
4- Be airtight

The WANTS:

1- To look good
2- Have carboy information written on it. (Whiteboard or paint)

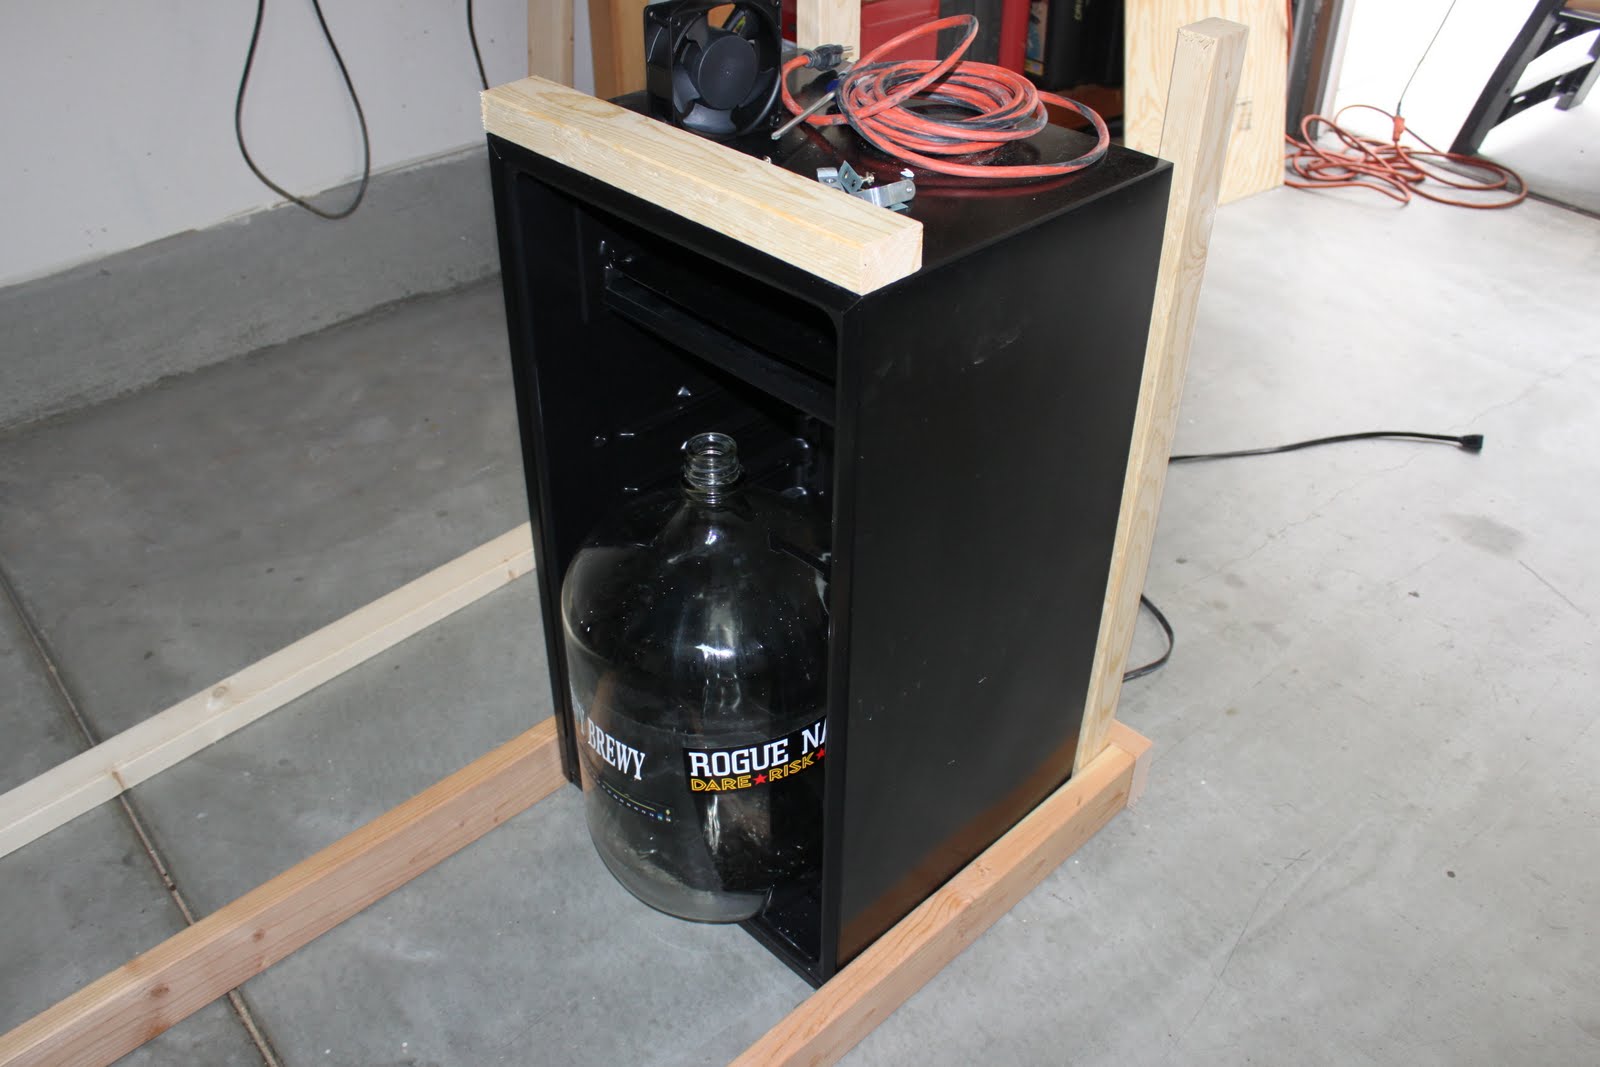
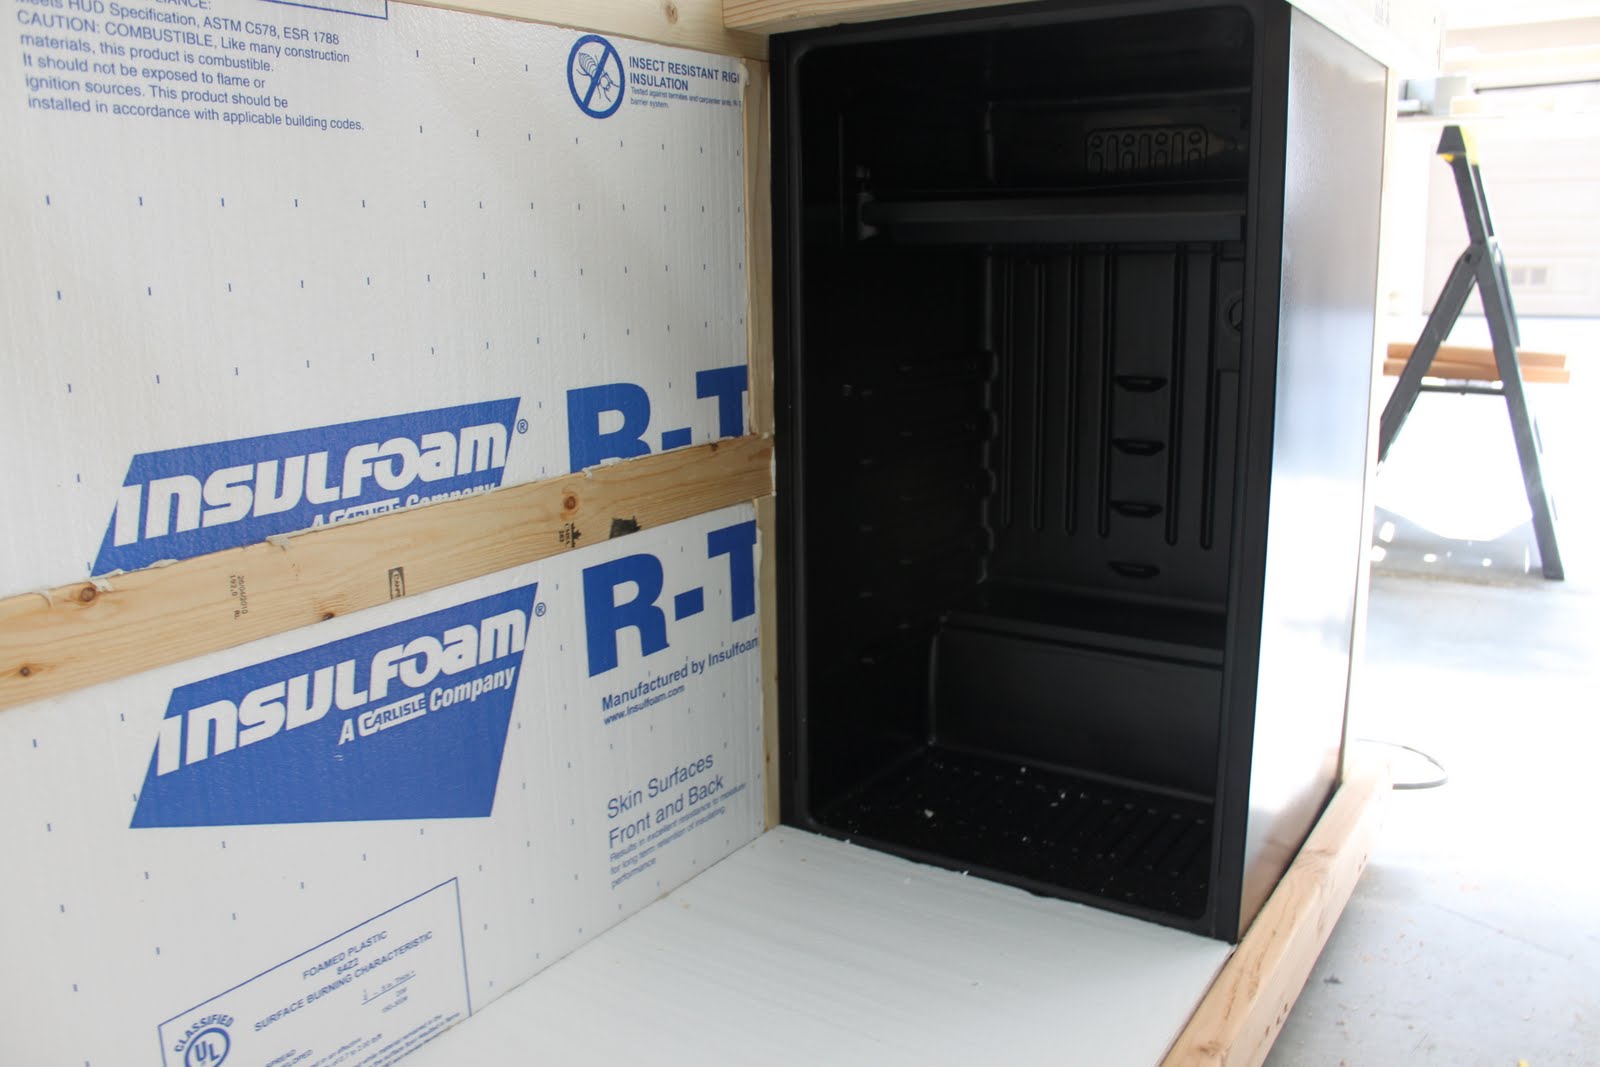
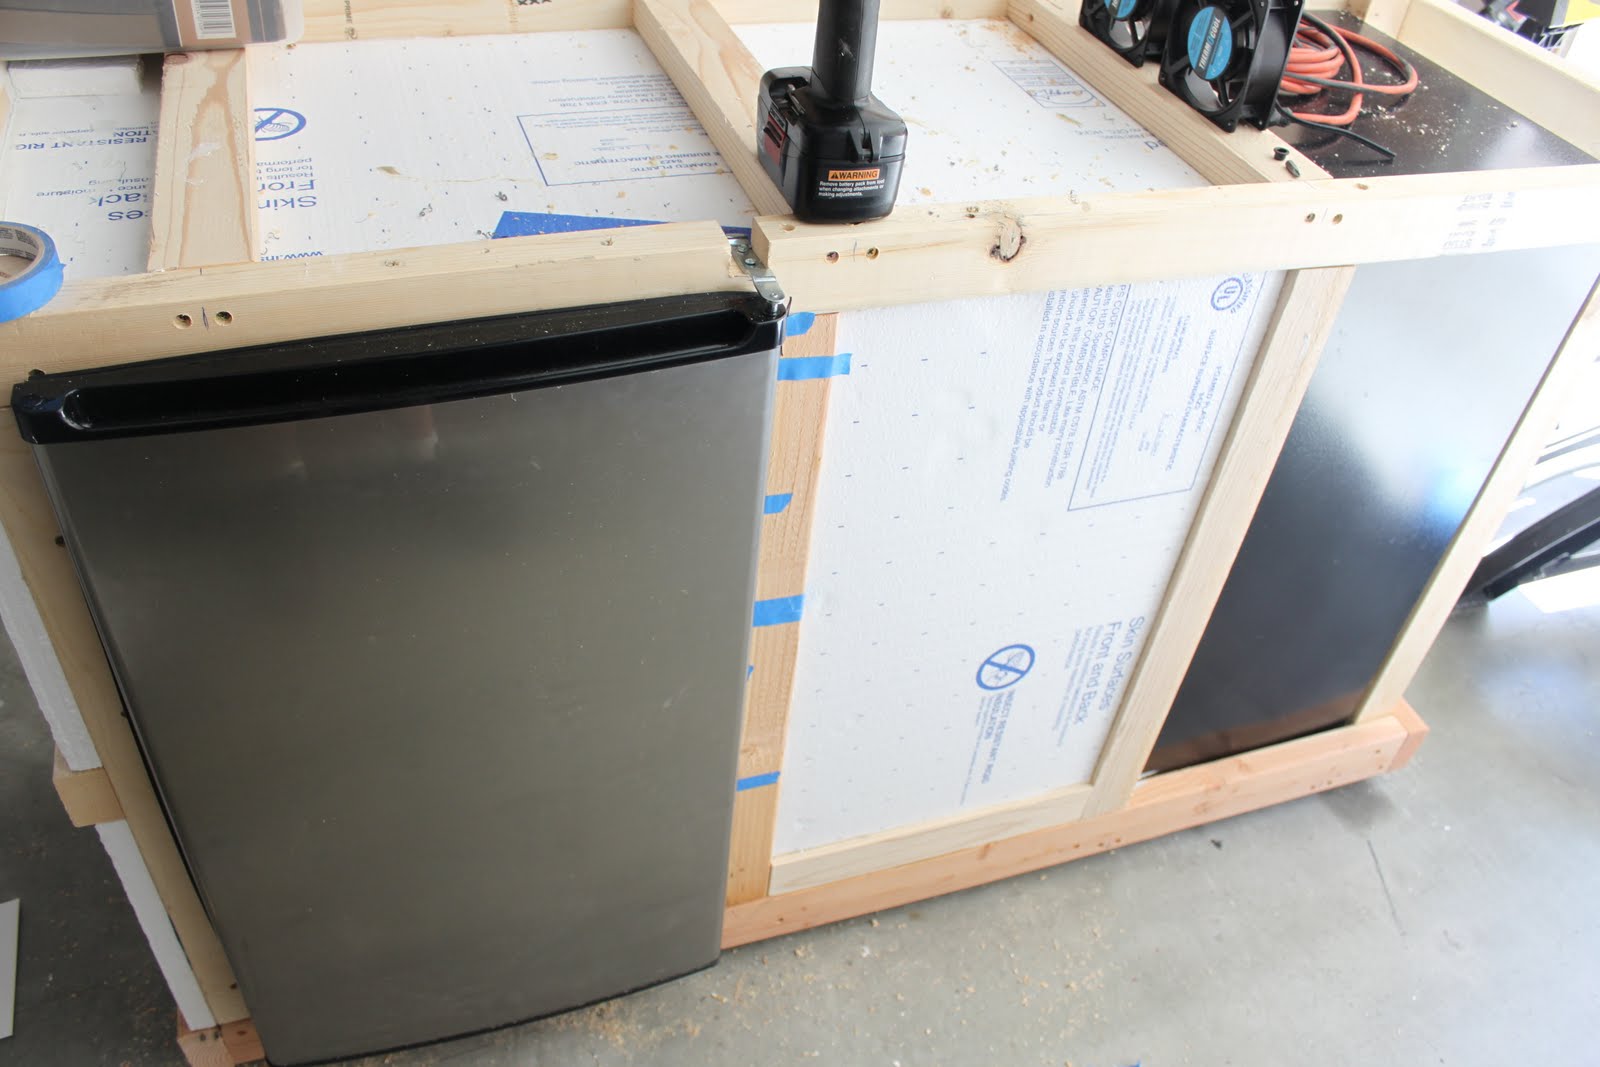
I am starting with a black and fake stainless steel door mini fridge. It is a sanyo with the freezer on top. The freezer door will be removed and I am installing 2 CPU fans for air circulation.
 
IMG_9108.JPG

Setting out the frame dimensions.
 
IMG_9125.JPG


Here is the foam installed. It has plywood under the floor and will be covered with a smooth FRP plastic. The outside will be plywood.
 
Subscribed, I think I'll have to do this soon in place of the workbench I was planning for my back porch.
 
IMG_9164.JPG


a current view from the back of the chamber. As of right now the footprint is 62" x 22" the outside height is 37.5"

Inside is 18.5" wide and 46" long. The top to bottom is 27"
 
IMG_9167.JPG


A shot of the smooth FRP plastic sheeting. It is nice because I can cut it with my scissors. I am gluing the back to the foam with liquid nails. I am also using a couple well placed screws for add support.

Any gaps you see have been sealed in the back with waterproof silver tape and the inside will be white 100 % silicone.

Looking at the picture, honestly the dark areas is mostly my dirty fingers when I was applying the glue. I'll clean it up ASAP
 
Sorry about the pictures, From here on out I will resize. I will update the pictures later tonight or in the morning. I have the unit built and I have my 1st 2 batches in it.
 
You may lose a good amount of chill at that 2x4 spacing as wood isn't a very good insulator. You may be better off placing another 1" sheet of insulation on the inside of the fermentor.
 
I was going to wait and post pictures but you are right. With the chamber empty I would get to 59 degrees, but the cycles on and off were to much for me. I kept checking the motor to see if it was to hot.

But with the addition of my 2, 5 gallon carboys I put in yesterday at 1 pm (75 degrees wort) into the chamber. It was at 62 when I added the carboys. It jumped to 77 and was stressing out the motor. I added ice and over night it got to down to 65, but still working hard.

As of right now I have 1.25 inches of R-03 value poly foam with the FRP inside siliconed. All sealed with builders grade clear 100% silicone. Then it is covered with Tin tape. With the motor on I felt the outside of the chamber and they are coldish. So that tells me that I am loosing fridge temps.

Thinking about my build and the low poly foam R value, so I decided to add more insulated foam on the outside of the chamber. I really don't have a size constraint on this chamber so this is the best idea.

Today I went to Home Depot and got silver lined foam with a R value of 13. I am adding this to the outside of the poly foam. I think it is 1.5 inches thick. The sheet was about 18 bucks.

I couldn't handle the thought of the motor burning out, so today I took a long lunch and installed the new foam insulation. I installed the foam over the old foam and on top of the wood frame with liquid nails. I just got a update from my wife at home and she said the chamber was down to 62 and the motor was cold.

I only had time to install the front, side, top and 1/2 the back with the additional insulation. So with the additional lower back and bottom added I am feeling great about the progress.

Working on pictures
 
I will most likely be building something similar to this soon in my garage. I just need to see if having it in my garage during the summer would make the motor run too much and overheat it.

Give us some updates.

Where did you get that plastic?
 
As I type right now the chamber is unfinished but working. I have not added the top sheet of plywood or the sides but I did 2 ales in it last weekish and they fermented at 63 for 5 days without a problem.

I did add another layer of foam with a greater R rating and sealed that all up.

For the plastic sheet questions it was at Home Depot by the window moldings for 22.00 a sheet (4x8)
 
This is a really nice build. I'm thinking of taking the area under my stairs in my basement and making a fermentation chamber out of it. This thread gives me a lot of ideas. Thanks, man!
 
Back
Top