
mjw210
Active Member
I wanted to add my contribution to collection of keezers on this site, and hopefully inspire some people with no DIY experience to build their own.
It took about 2-3 month's worth of work, but various stopping points pushed the total time to completion to about a year.
We have never done a DIY project before this, but I had ambition and knew how to Google. Learned many lessons along the way and it may not be perfect, but we finally have a working kegerator.
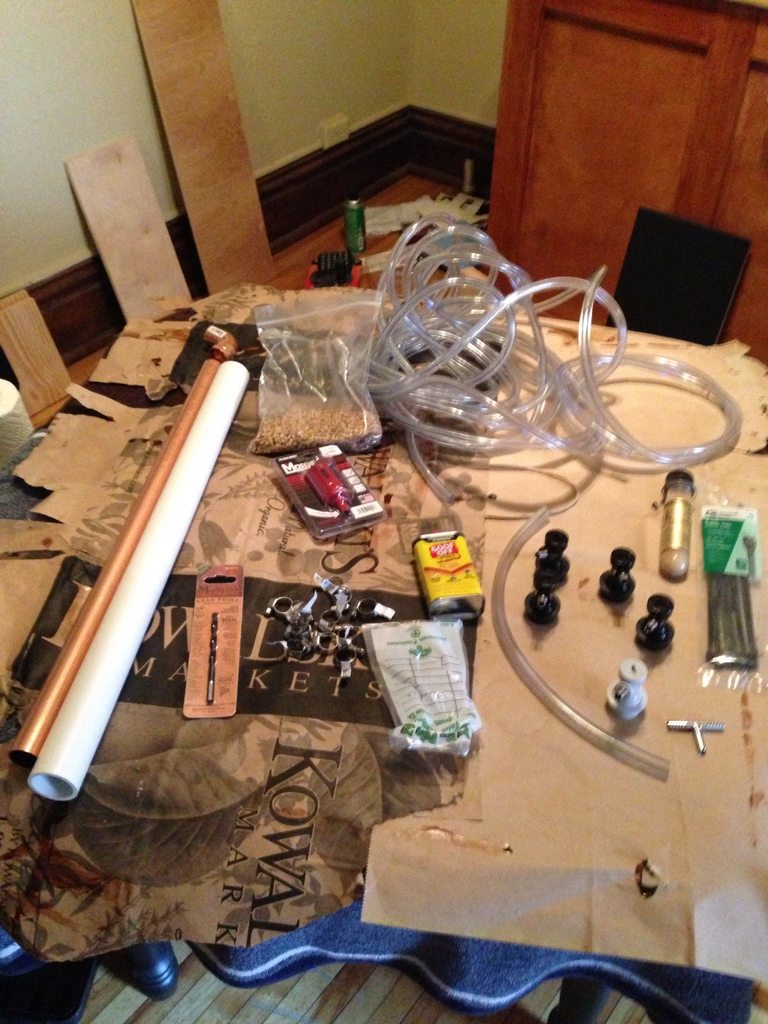
We also managed to get by only owning a handsaw and drill and taking full advantage of Home Depot's wood cutting offer. Over the course of the project we also bought a pipe cutter, heat gun, miter box, and rented a jigsaw for a day, but not much else. We were able to complete this without the use of a garage, only working in my small city apartment.
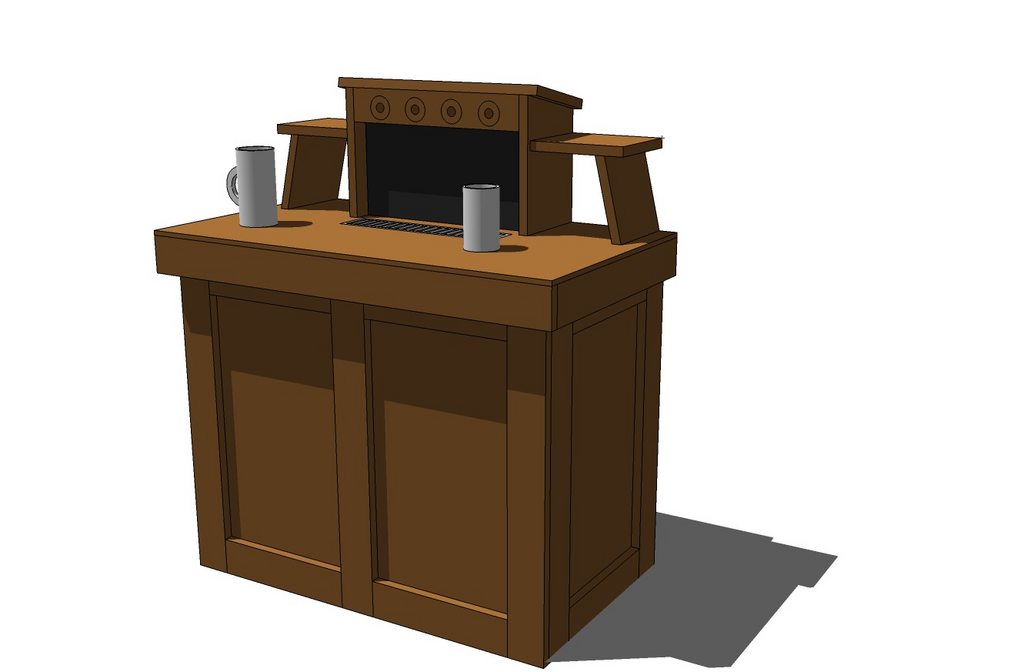
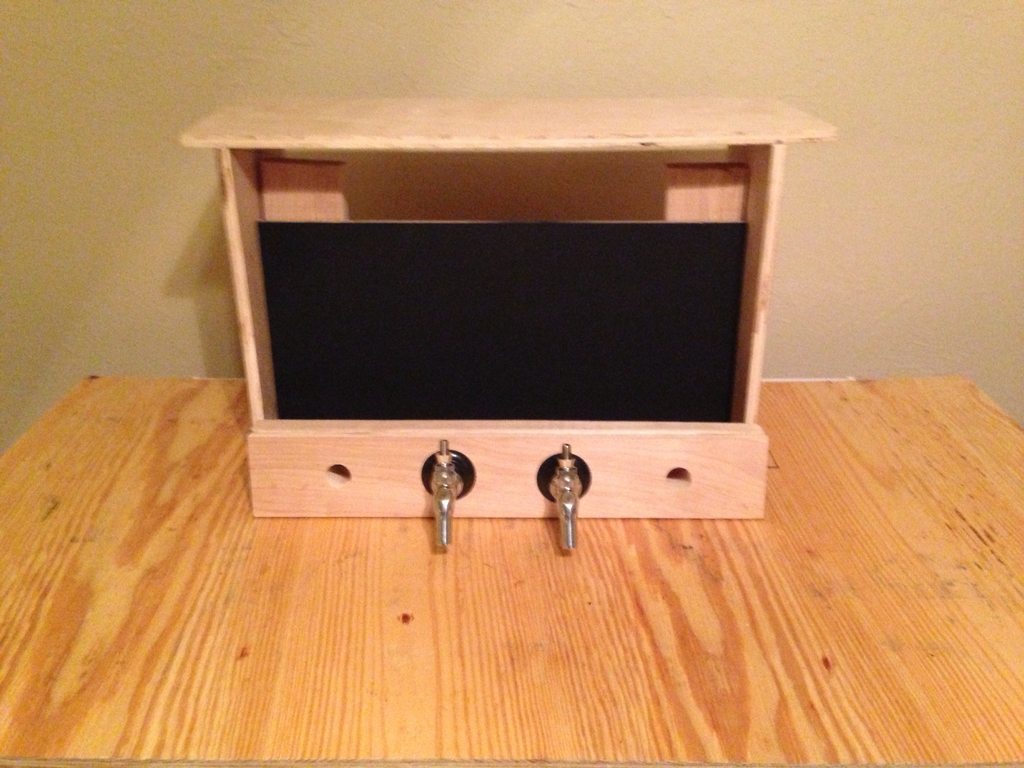
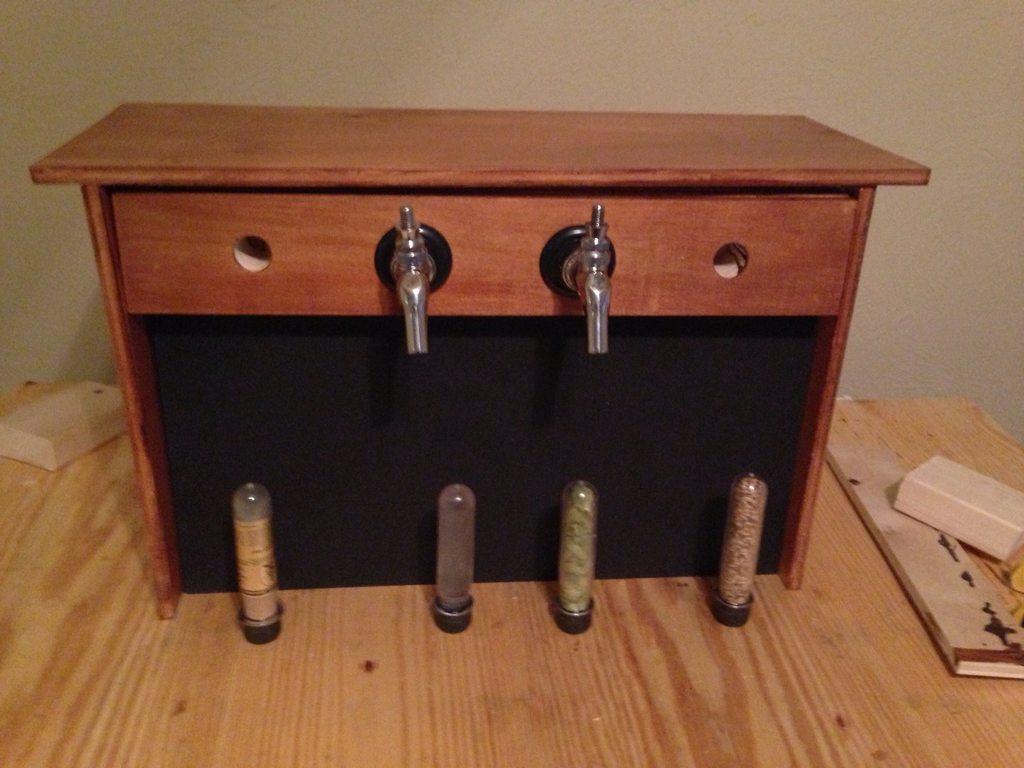
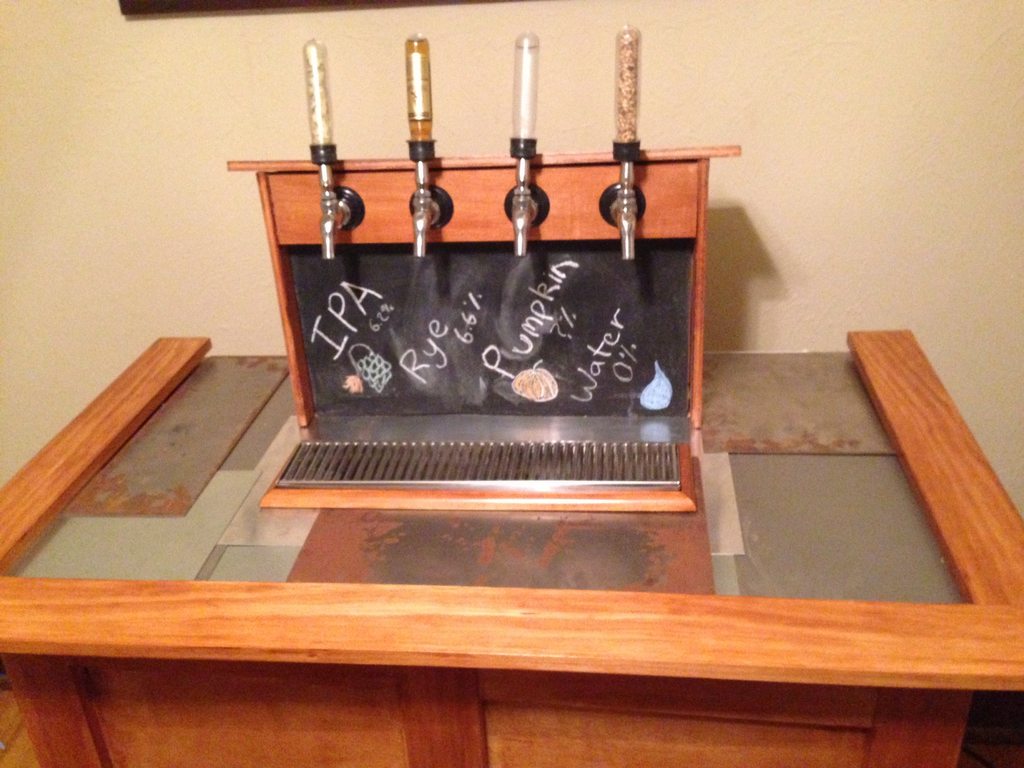
Without further delay, the finished product:

It may not be perfect, but its a fully functioning kegerator and I think it looks great sitting under that hops poster.
We created the concept using ideas from this forum. After getting a general design in place, we built the plans in Google Sketchup
Front:
Back:
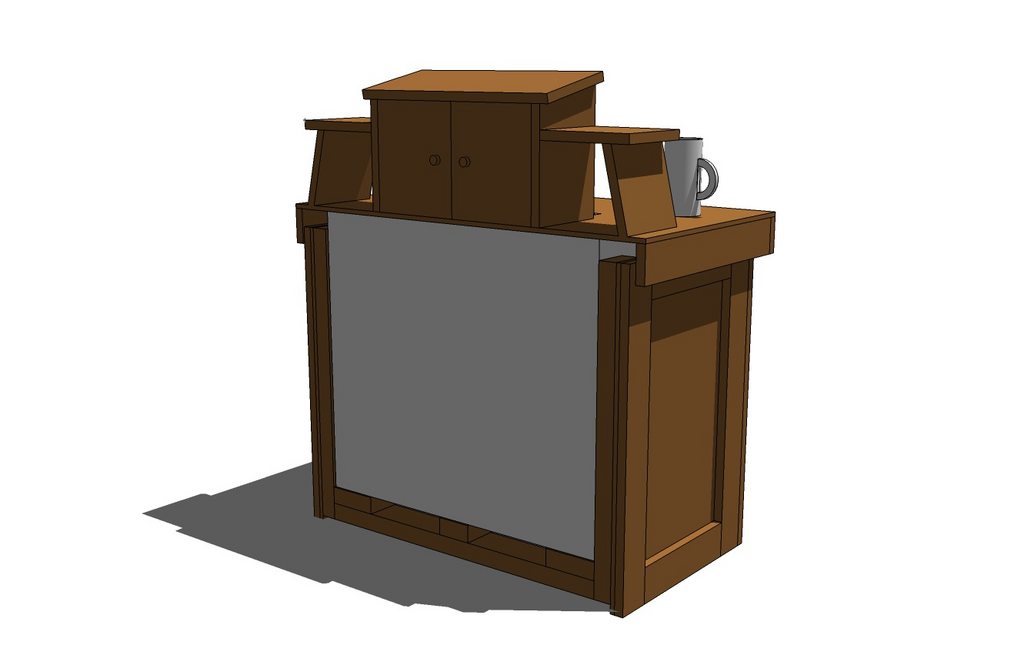
The large cup is a 1/2 liter stein, and the small cup is a standard pint glass.
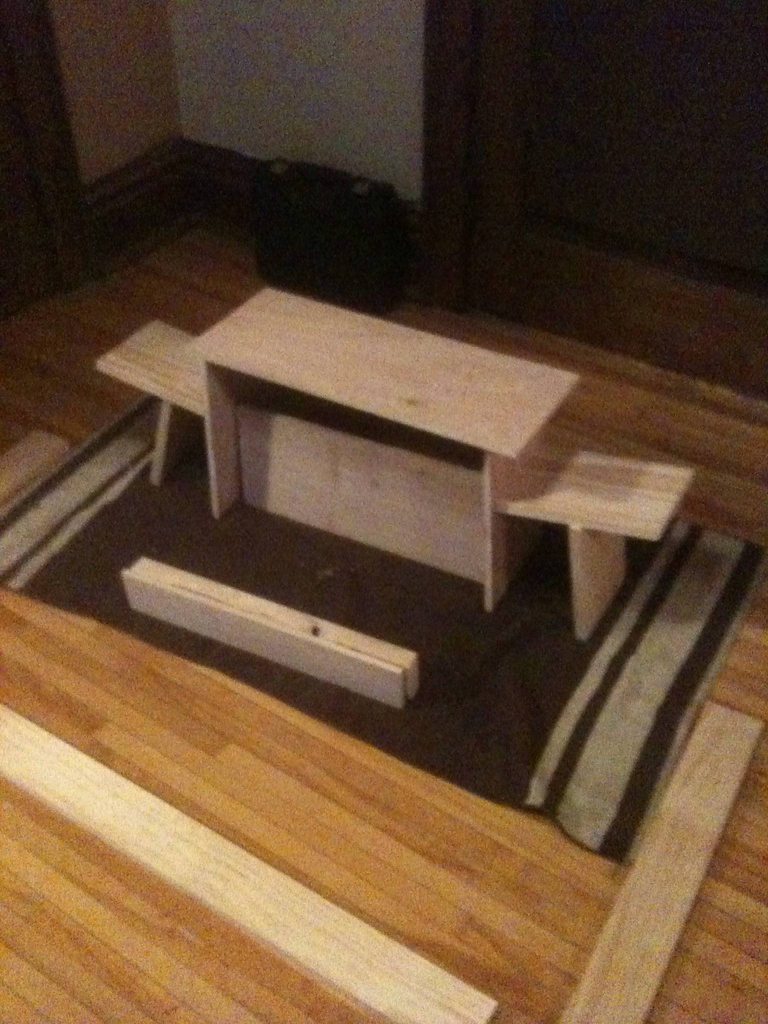
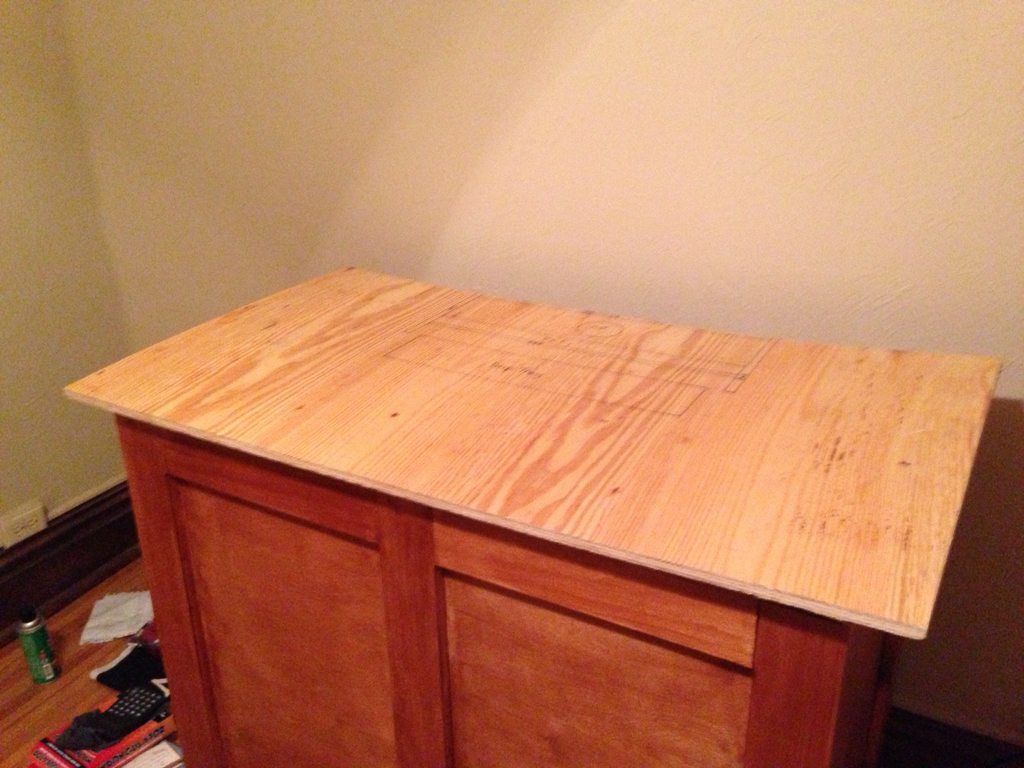
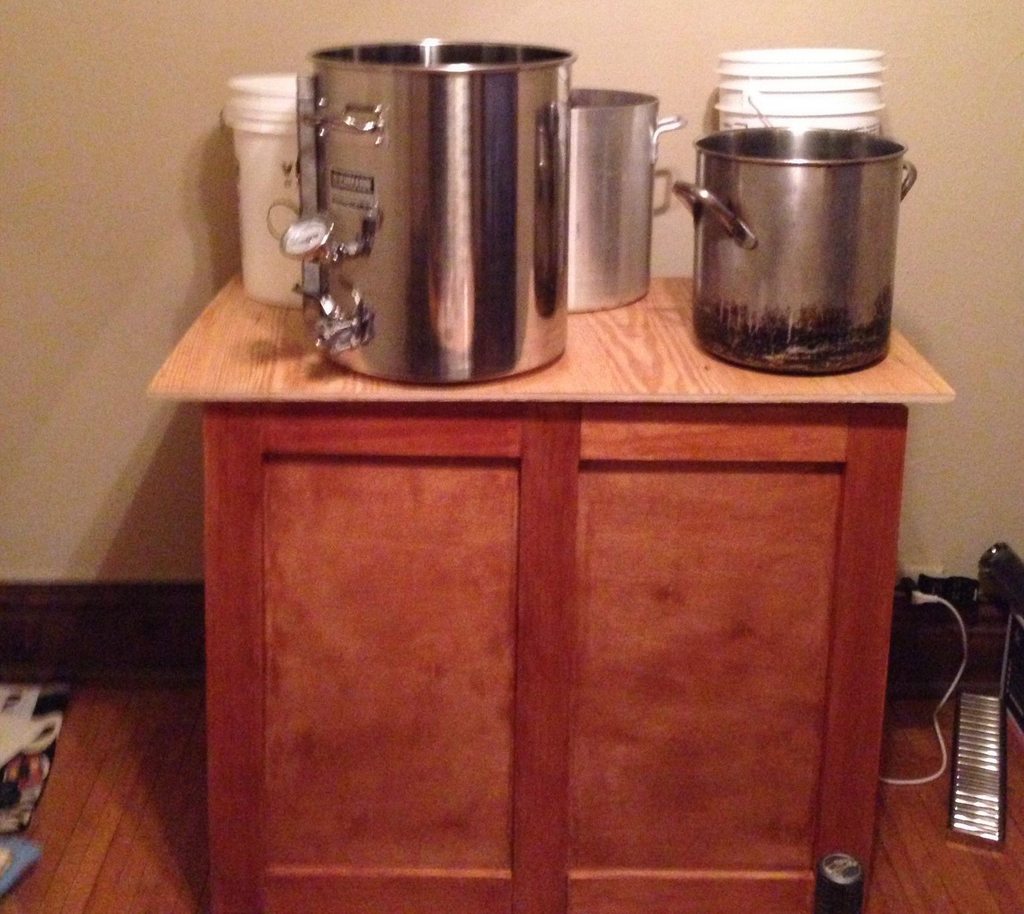
Creating the base:
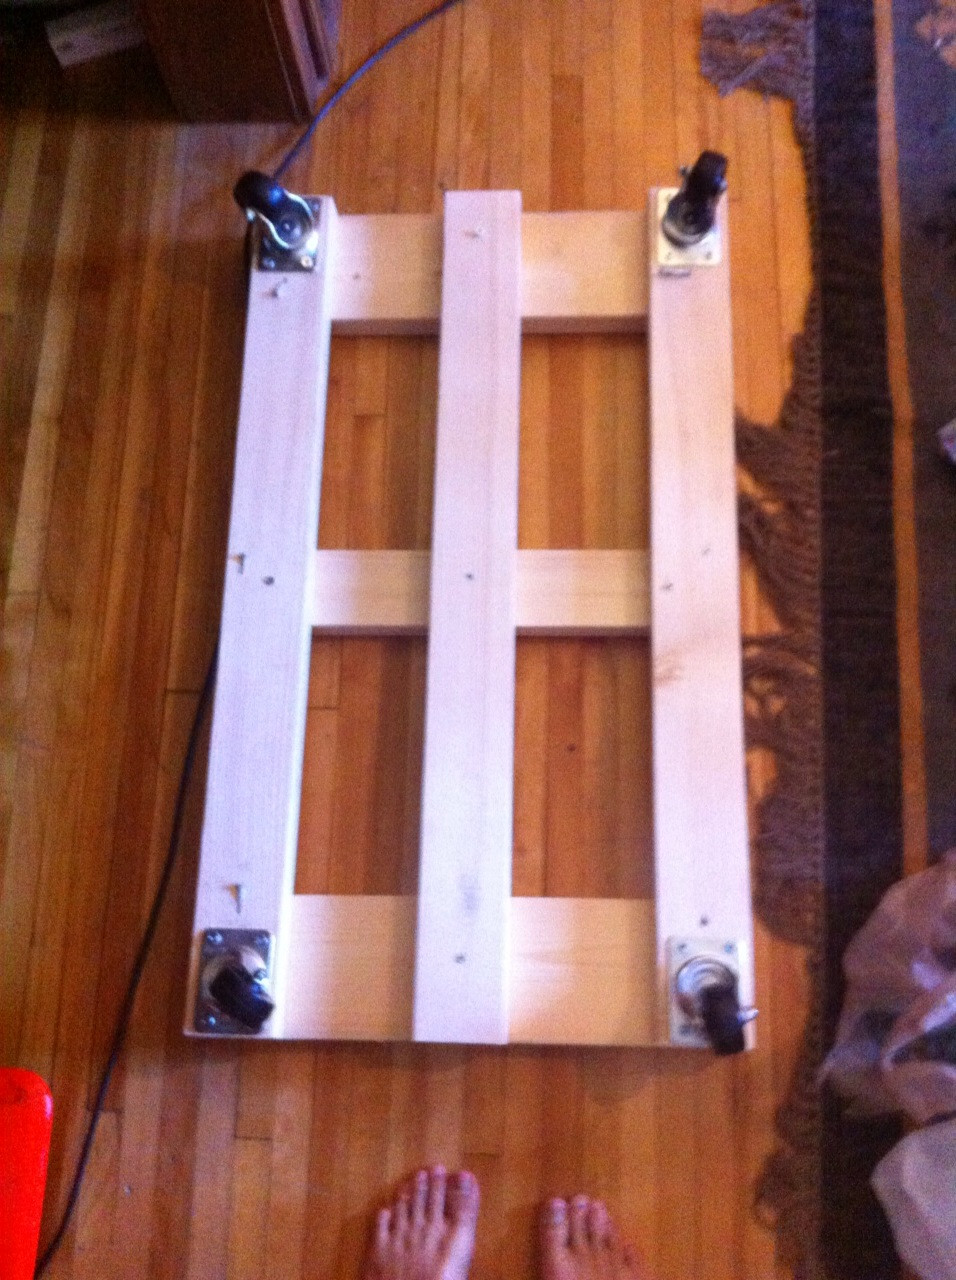
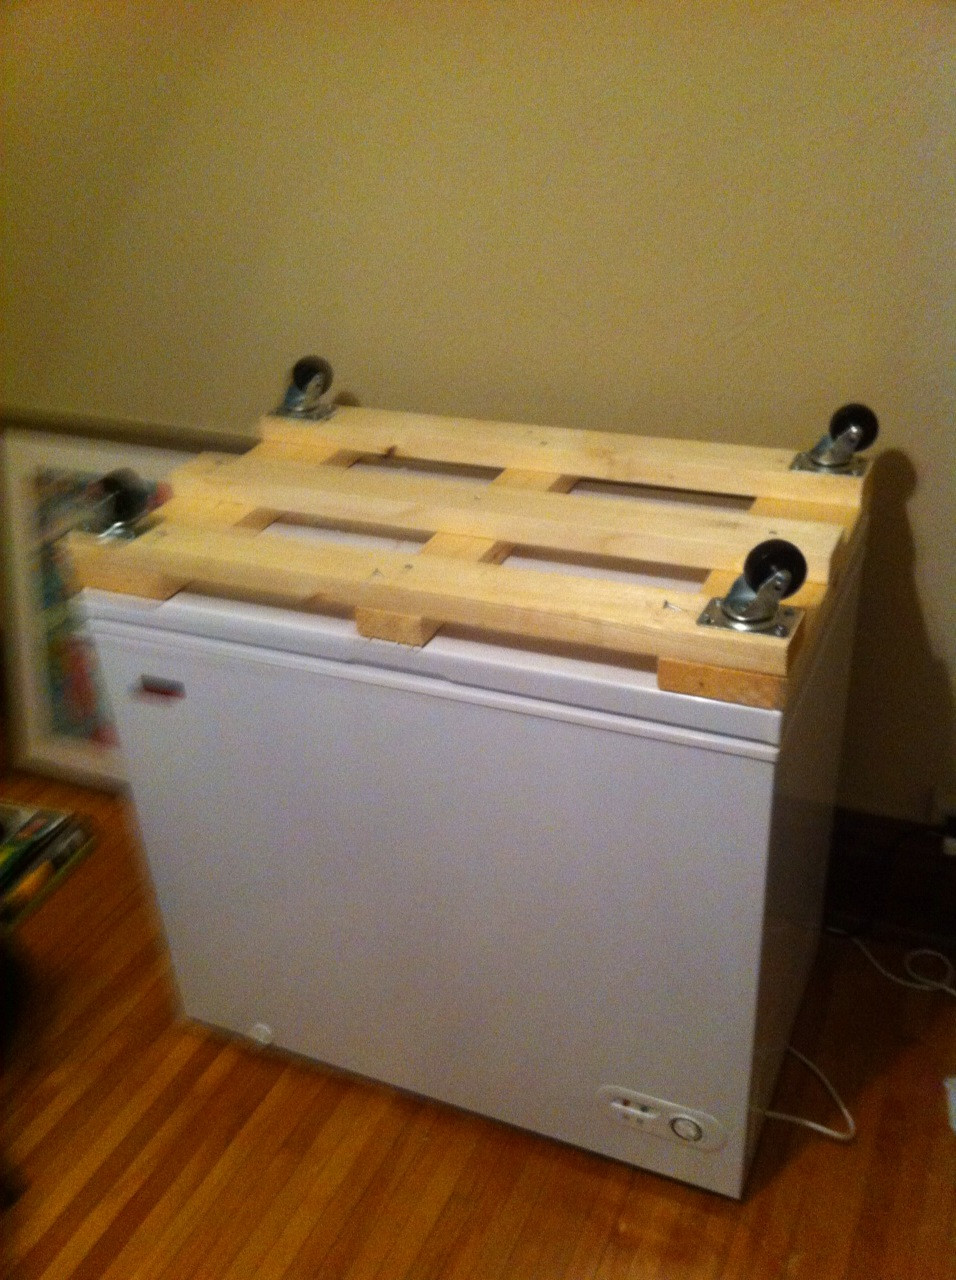
Checking that the base fits on the freezer (freezer is the Professional Series 7.0 cu ft model from Menards):
At this point we learned DIY lesson #1, don't build something with such exact tolerances. A 2"x4" is not going to be exactly 2"x4".
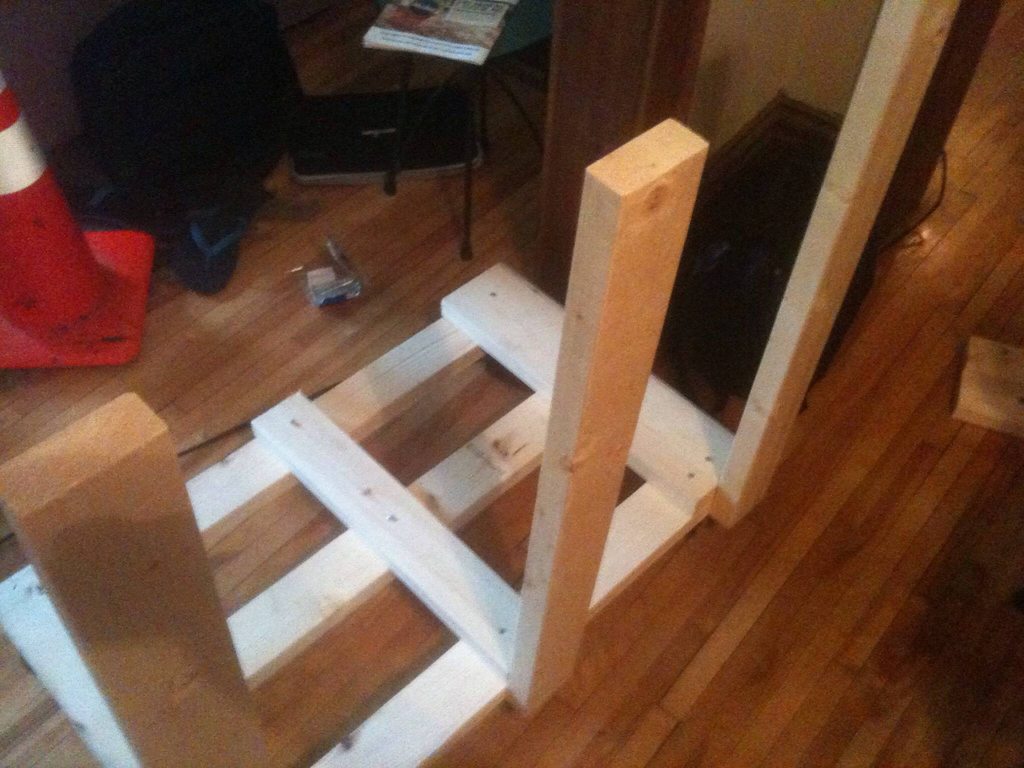
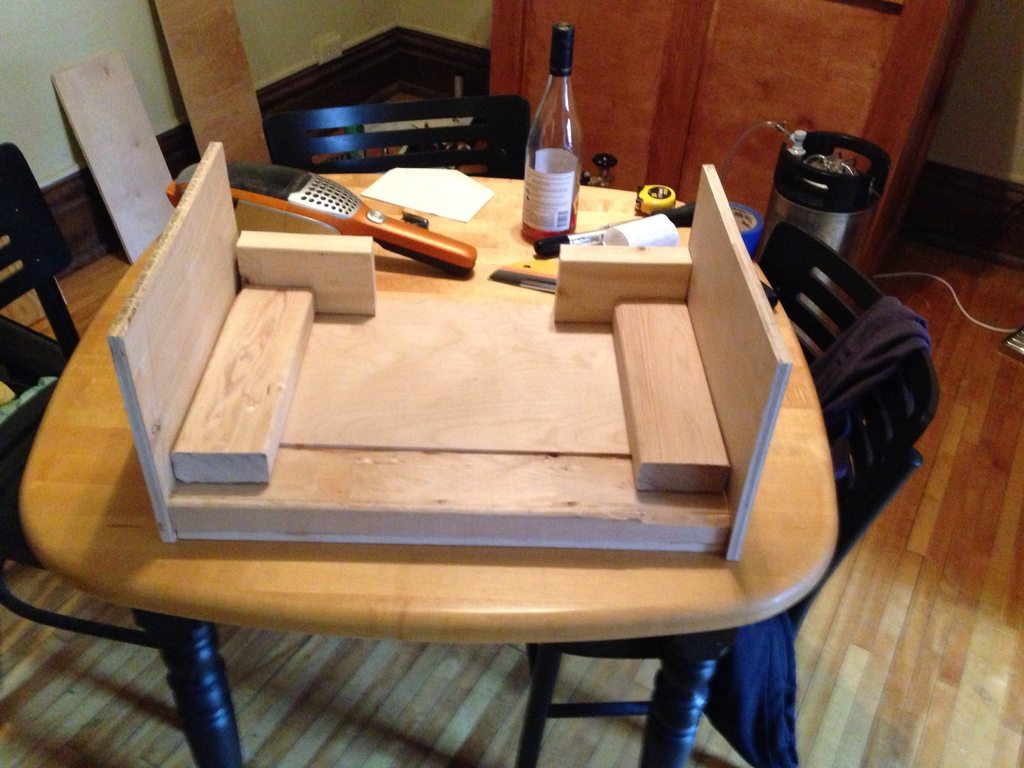
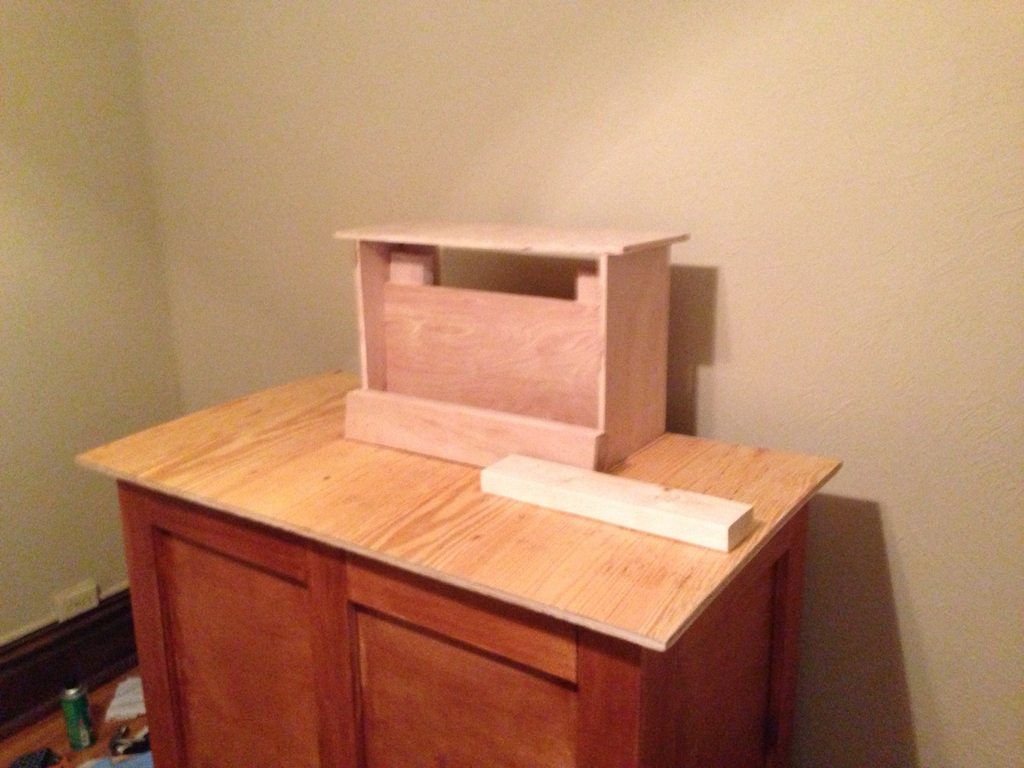
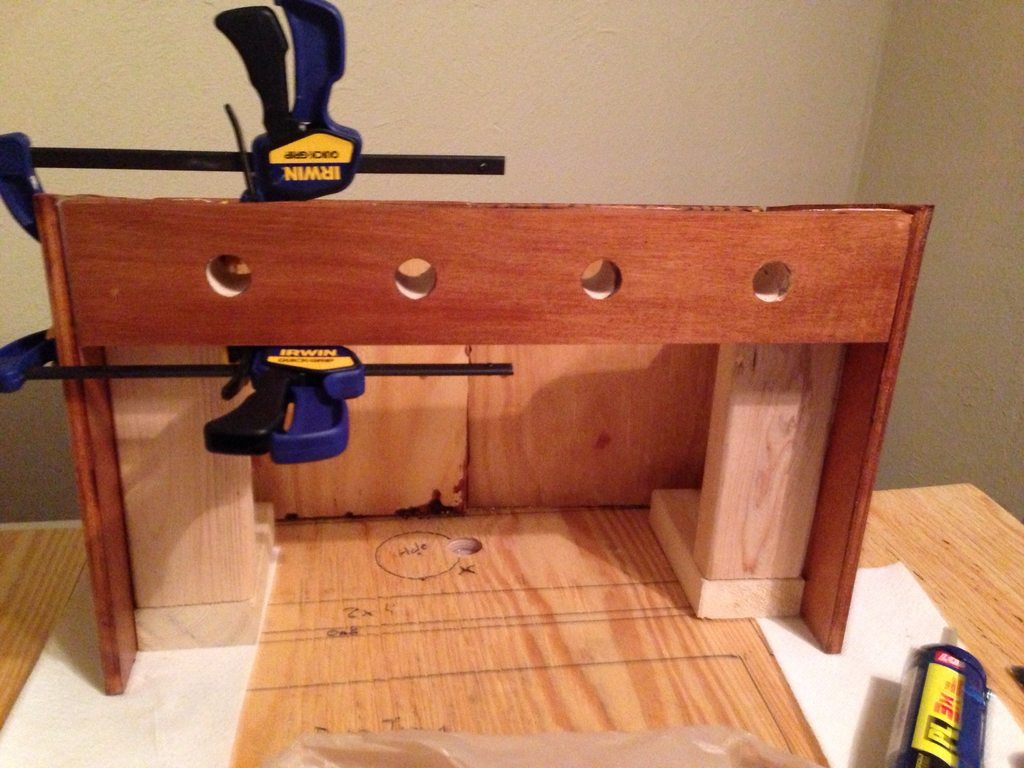
Building the skeleton of the base:
Attaching the front of the frame with wood clamps:
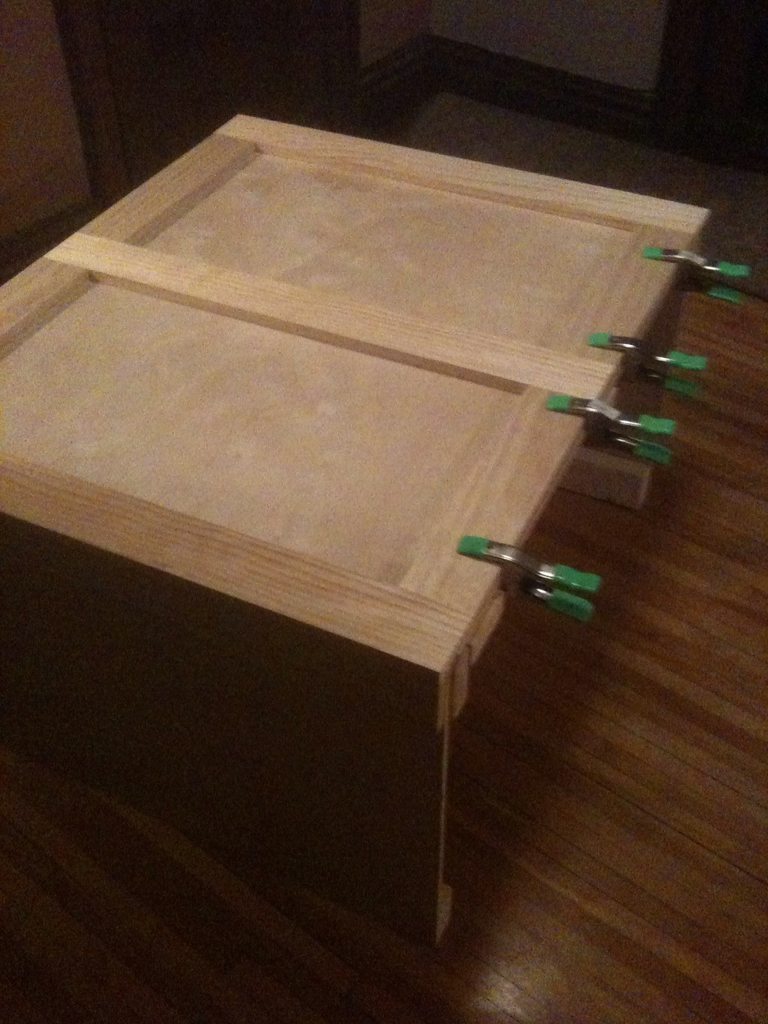
$0.99 wood clamps from Home Depot are amazing, but we learned quickly that choice of glue matters. We went through 2 or 3 types of glue that would securely hold the front down with no gaps.
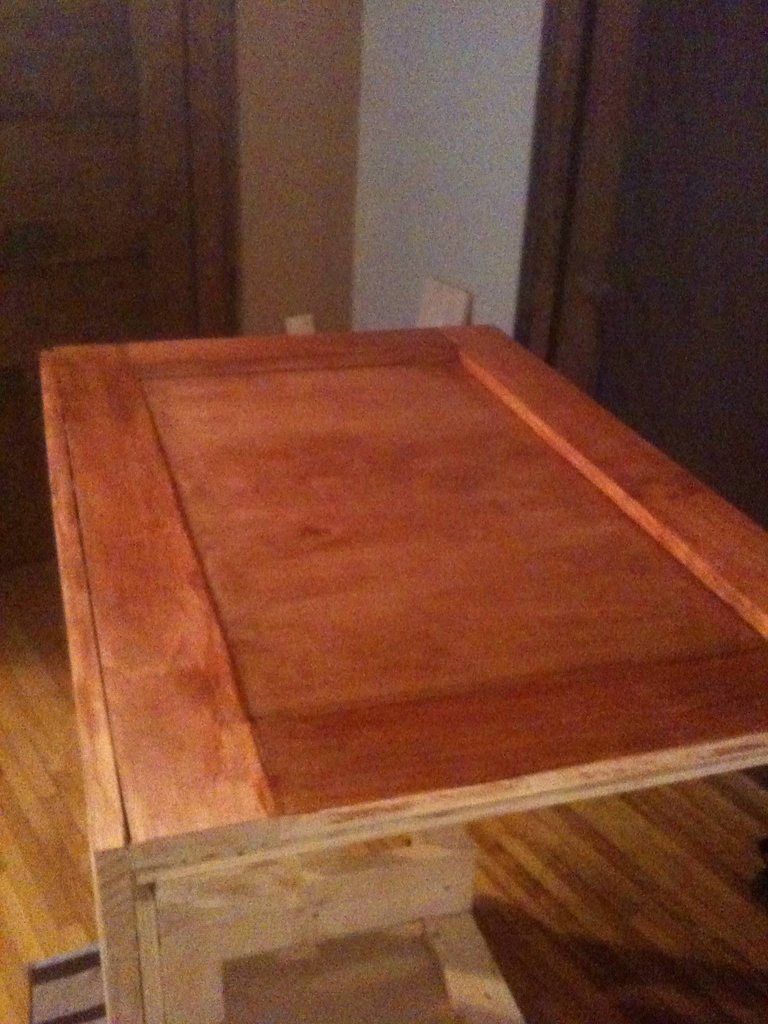
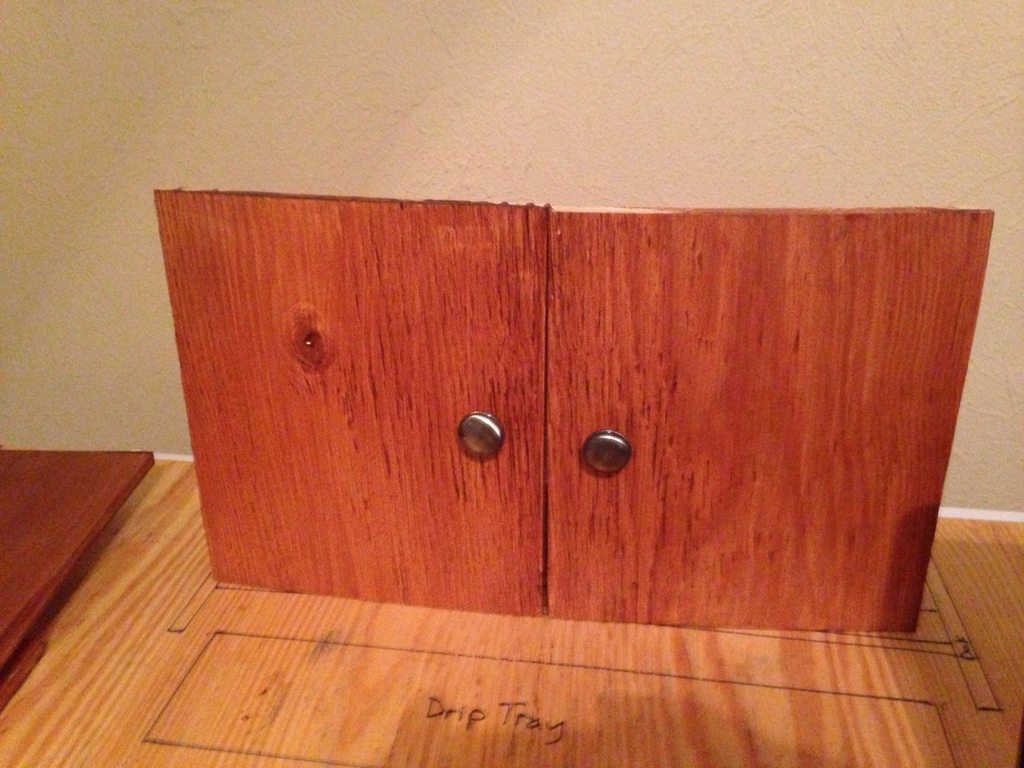
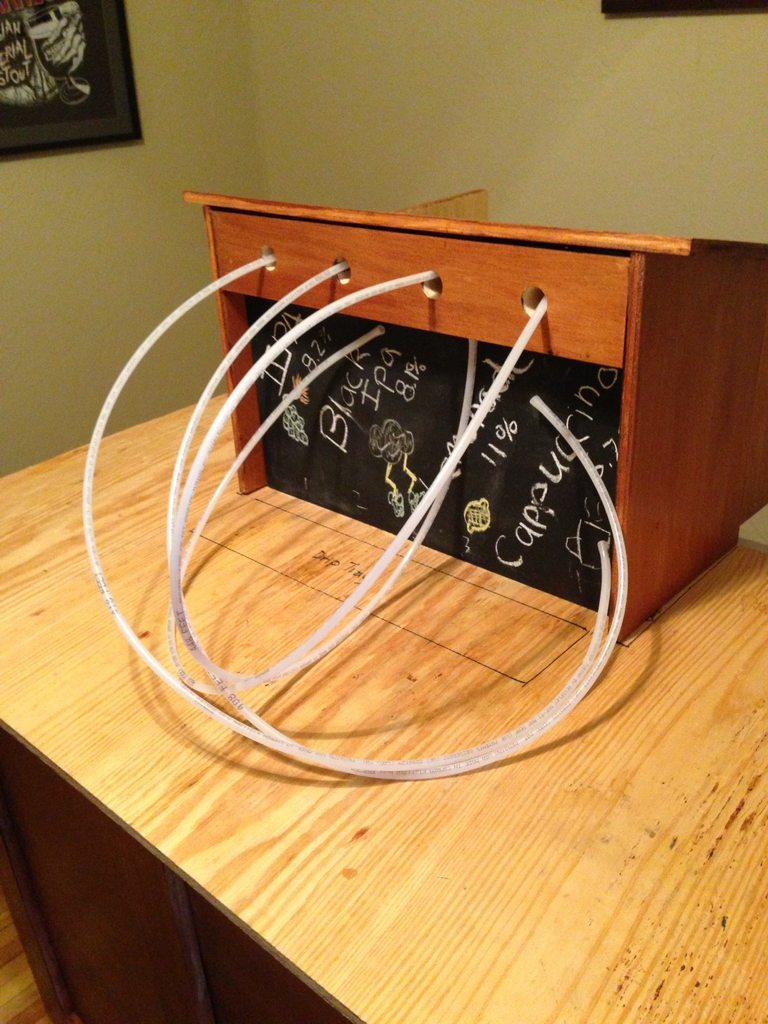
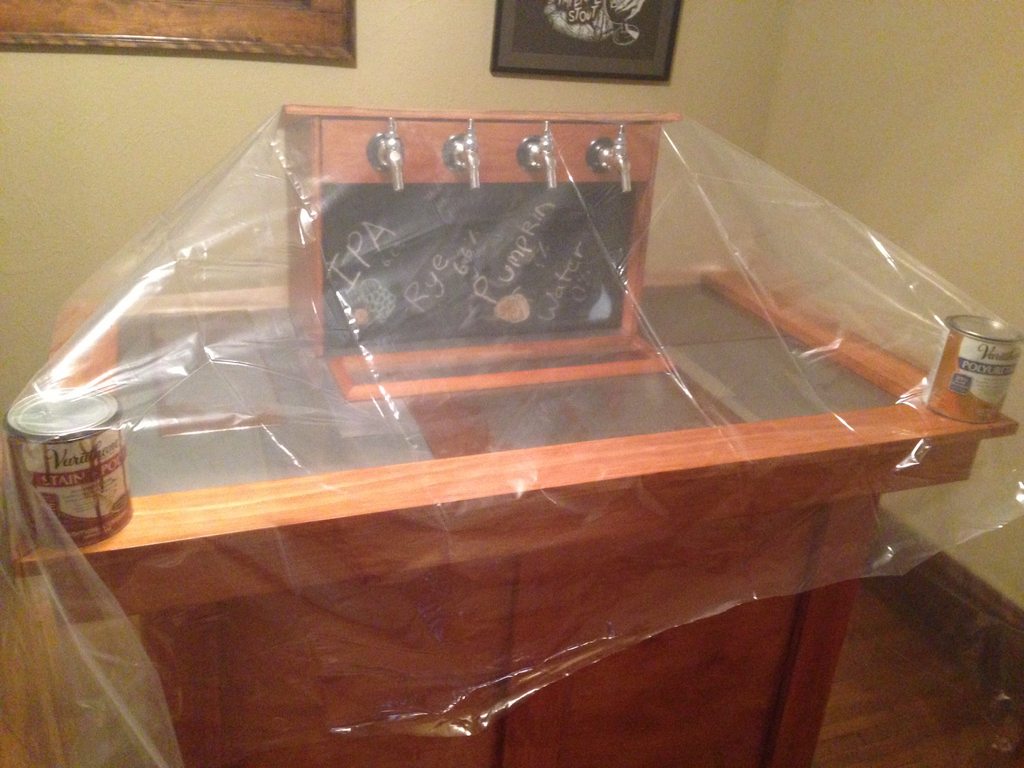
2 layers of stain and 3 layers of polyurethane, after hand sanding each piece of wood with 3 different grits of sandpaper:
Staining the other side:
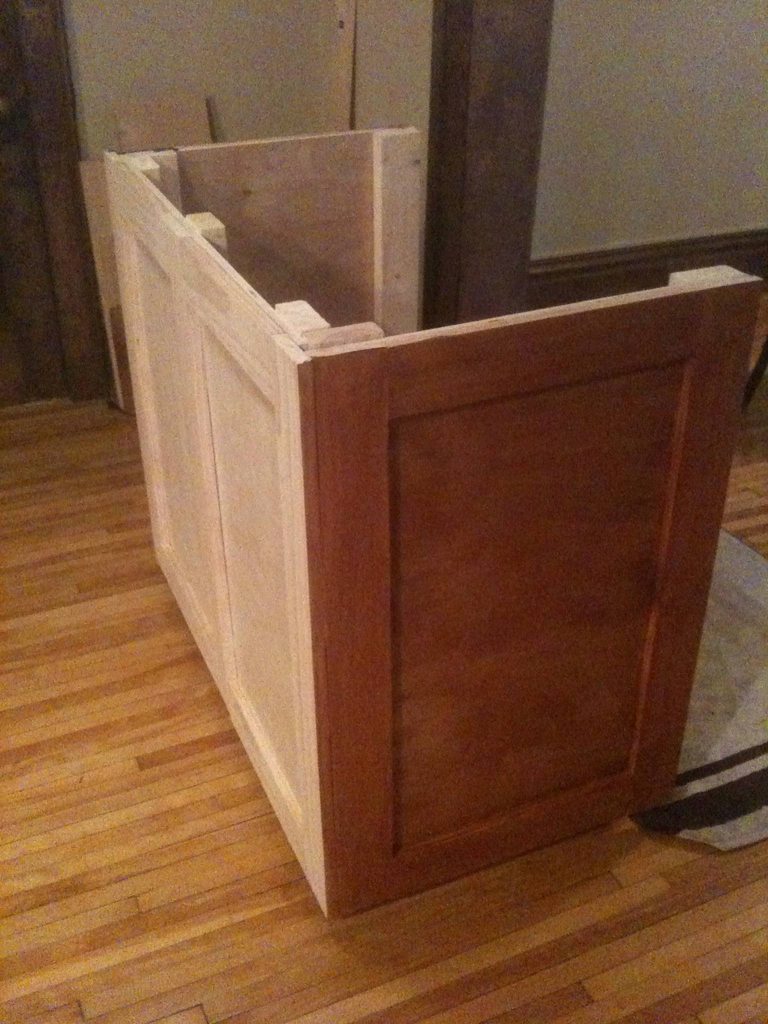
Base is finally stained, and it looks so much better instantly:
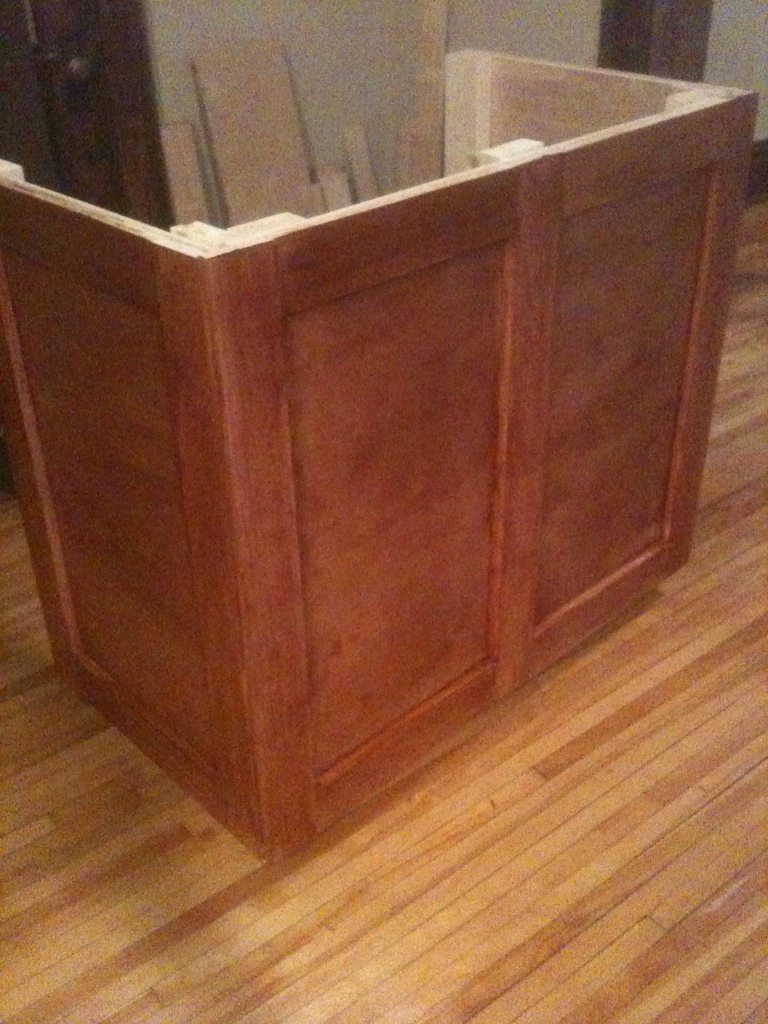
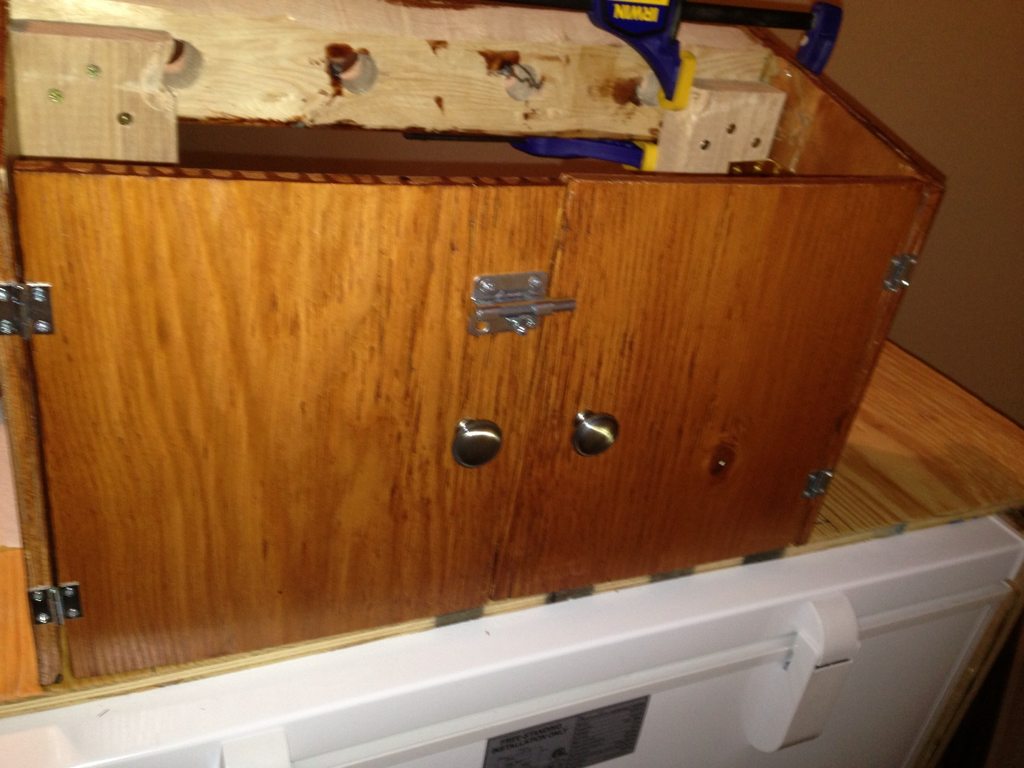
Fitting the fridge in:
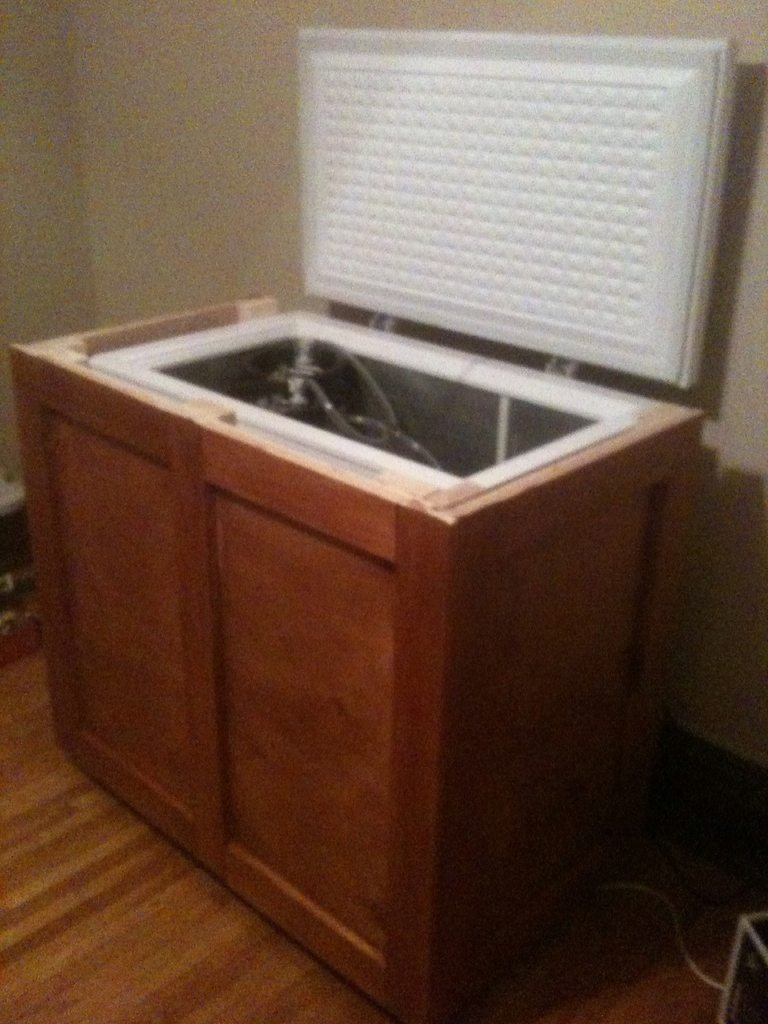
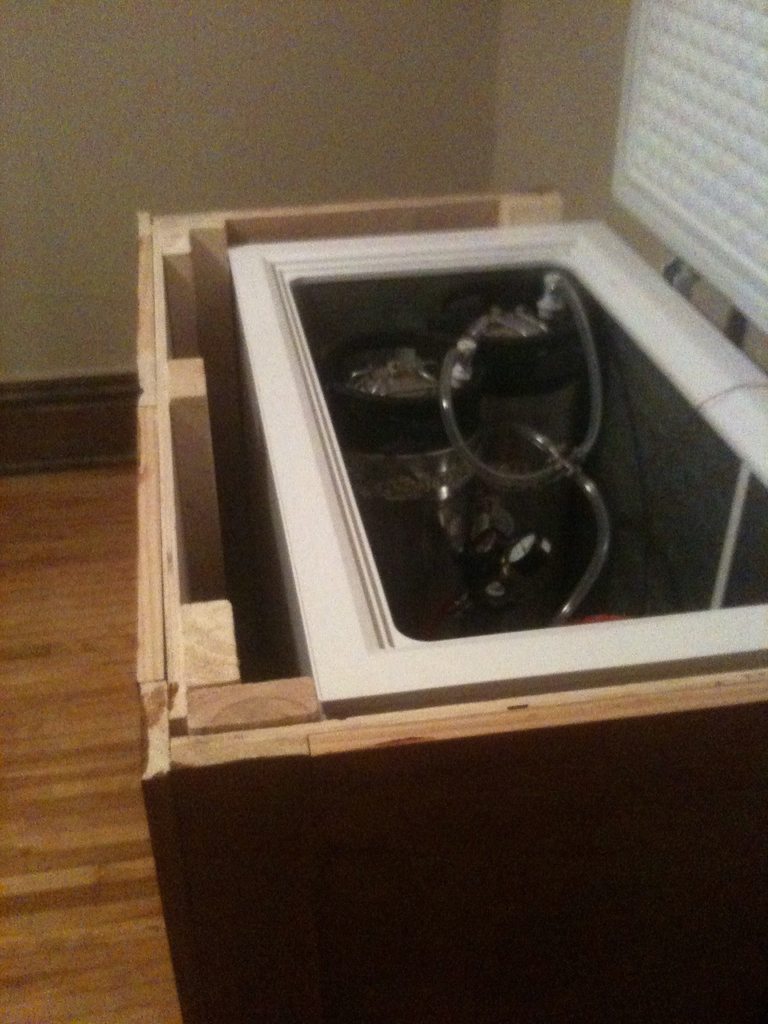
At this point we discovered the problem with exact tolerances, the freezer doesn't fit flush against the front of the skeleton as planned. We end up setting the freezer back about 2 inches to keep it straight. Drawback is that the bottom of the freezer doesn't sit evenly anymore against the frame, causing about a 1/8" difference between the right and left side. Not as noticeable in person as it is in the pictures, so we haven't fixed it yet, but one day we'll buy shims to even it out.
We now hit stopping point #1. The freezer was fully functional, and by using a picnic tap we can have kegged beer for the first time. Granted, we have to reset the picnic tap every time we want to change beer, but we sat at this stage for about 2-3 months.
It took about 2-3 month's worth of work, but various stopping points pushed the total time to completion to about a year.
We have never done a DIY project before this, but I had ambition and knew how to Google. Learned many lessons along the way and it may not be perfect, but we finally have a working kegerator.
We also managed to get by only owning a handsaw and drill and taking full advantage of Home Depot's wood cutting offer. Over the course of the project we also bought a pipe cutter, heat gun, miter box, and rented a jigsaw for a day, but not much else. We were able to complete this without the use of a garage, only working in my small city apartment.
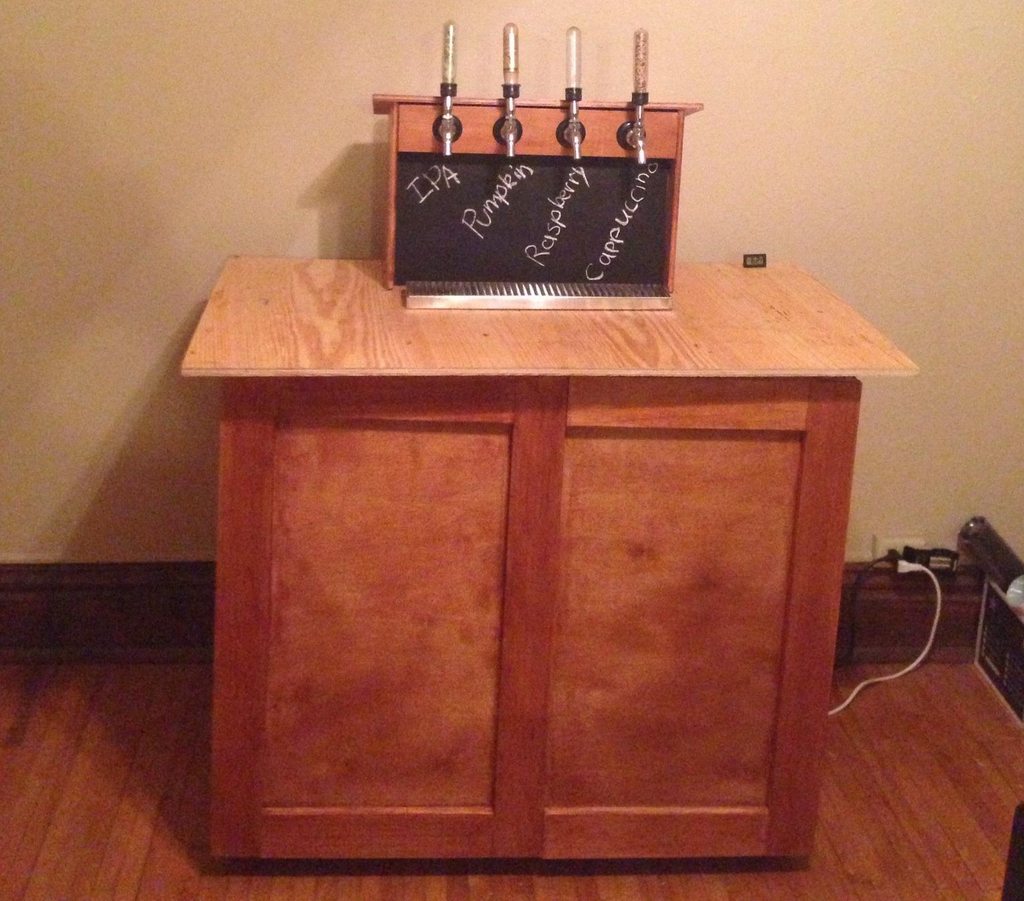
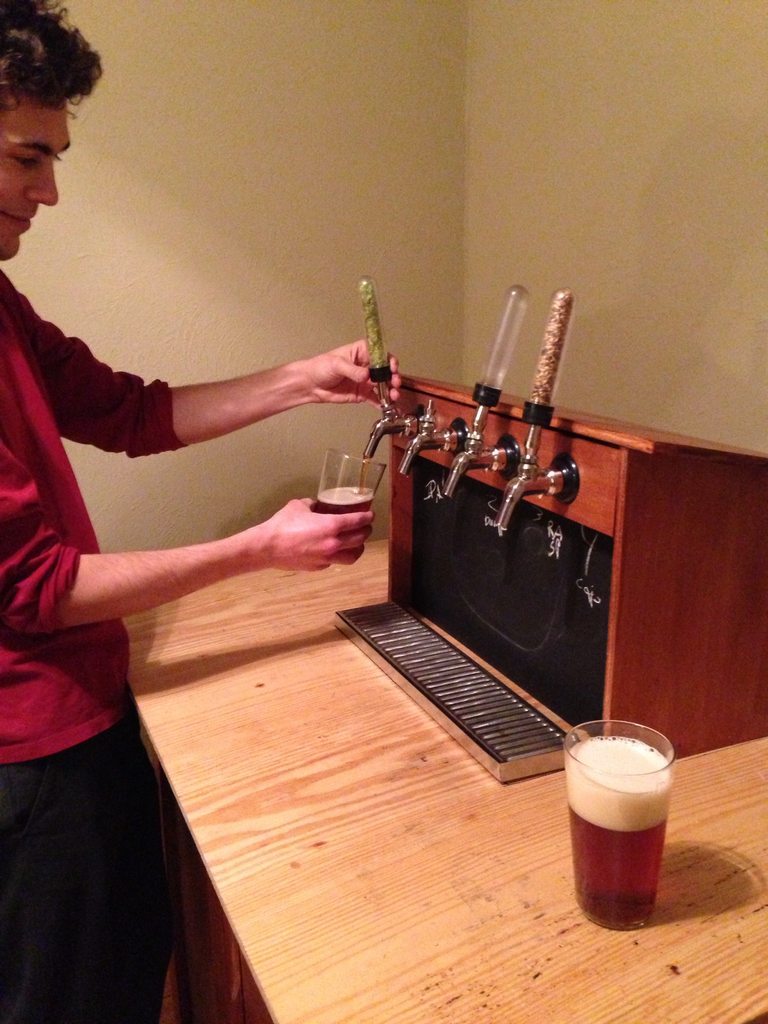
Without further delay, the finished product:
It may not be perfect, but its a fully functioning kegerator and I think it looks great sitting under that hops poster.
We created the concept using ideas from this forum. After getting a general design in place, we built the plans in Google Sketchup
Front:
Back:
The large cup is a 1/2 liter stein, and the small cup is a standard pint glass.
Creating the base:
Checking that the base fits on the freezer (freezer is the Professional Series 7.0 cu ft model from Menards):
At this point we learned DIY lesson #1, don't build something with such exact tolerances. A 2"x4" is not going to be exactly 2"x4".
Building the skeleton of the base:
Attaching the front of the frame with wood clamps:
$0.99 wood clamps from Home Depot are amazing, but we learned quickly that choice of glue matters. We went through 2 or 3 types of glue that would securely hold the front down with no gaps.
2 layers of stain and 3 layers of polyurethane, after hand sanding each piece of wood with 3 different grits of sandpaper:
Staining the other side:
Base is finally stained, and it looks so much better instantly:
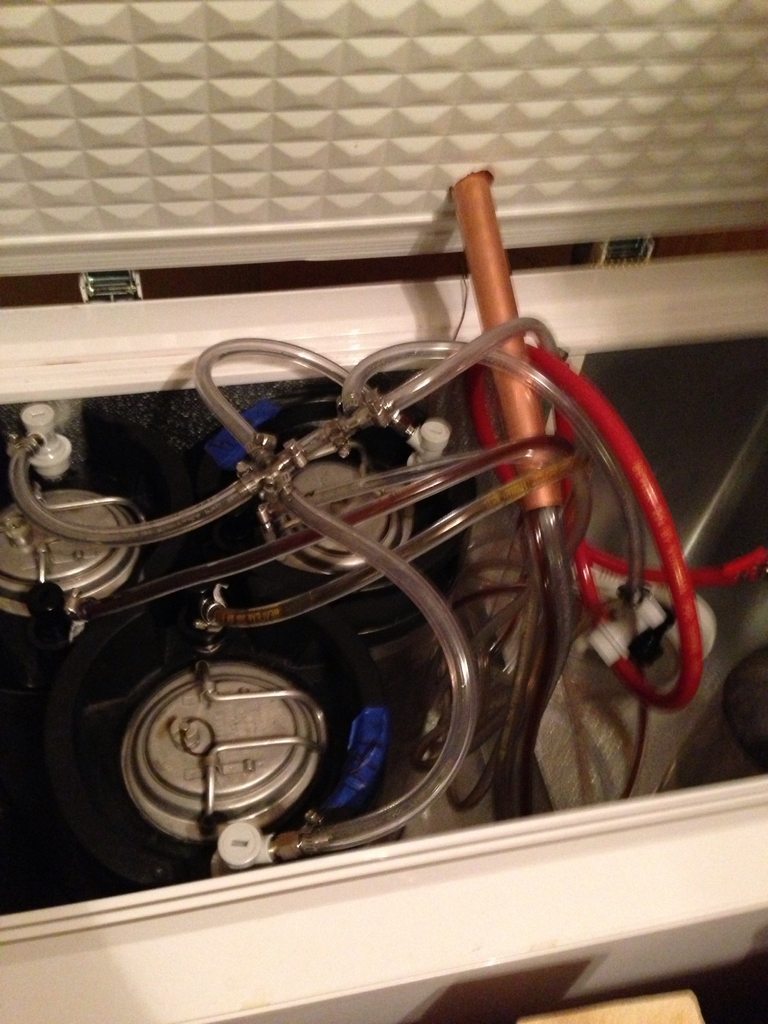
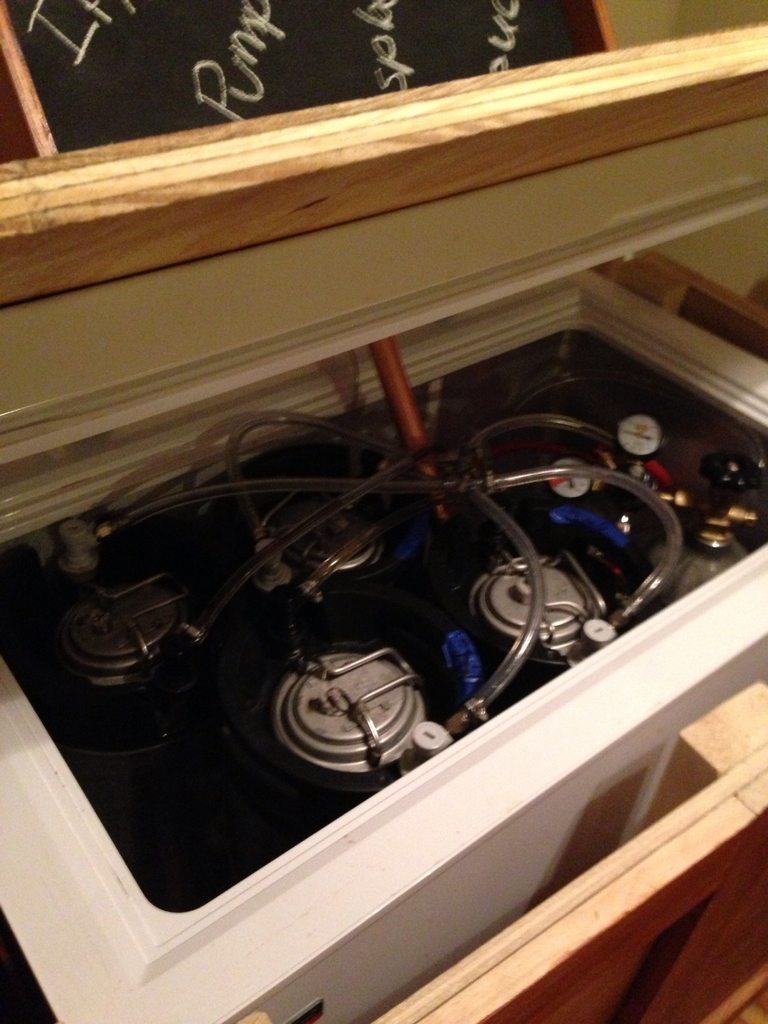
Fitting the fridge in:
At this point we discovered the problem with exact tolerances, the freezer doesn't fit flush against the front of the skeleton as planned. We end up setting the freezer back about 2 inches to keep it straight. Drawback is that the bottom of the freezer doesn't sit evenly anymore against the frame, causing about a 1/8" difference between the right and left side. Not as noticeable in person as it is in the pictures, so we haven't fixed it yet, but one day we'll buy shims to even it out.
We now hit stopping point #1. The freezer was fully functional, and by using a picnic tap we can have kegged beer for the first time. Granted, we have to reset the picnic tap every time we want to change beer, but we sat at this stage for about 2-3 months.

 MJW, I'd have to say , that with building this in your apartment, and no DIY skills, It turned out awesome looking!
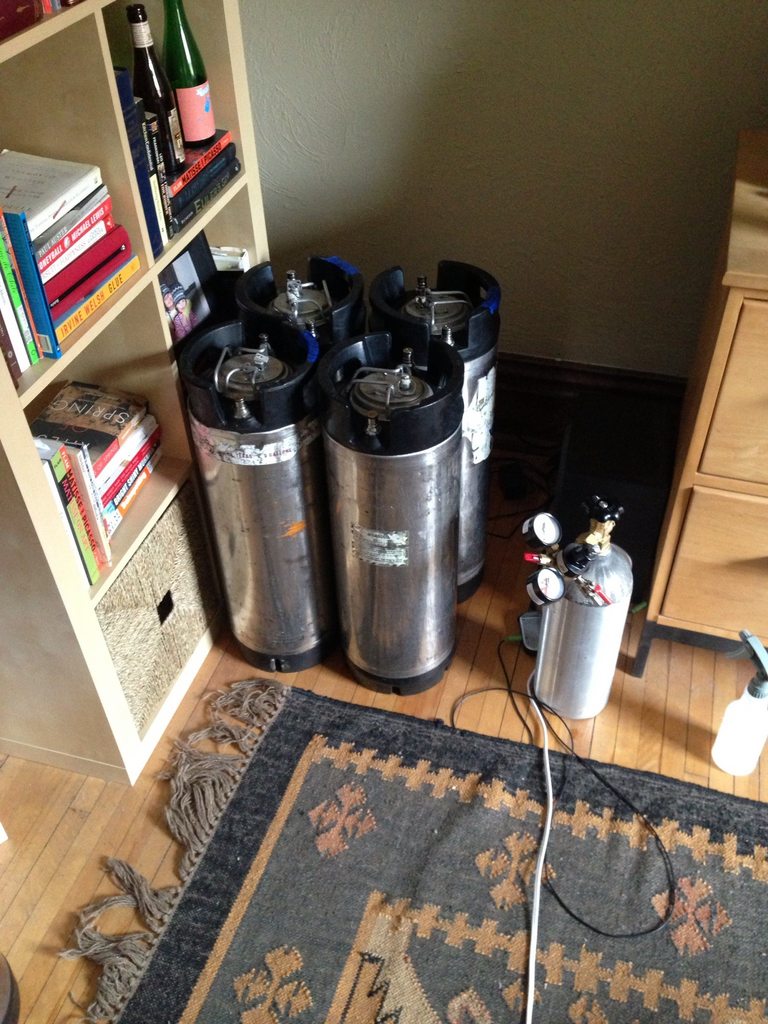
  I did like the idea of having the Co2 tank outside the keezer. I think I will utilize the idea. Thanks for the link.