HDIr0n
Well-Known Member
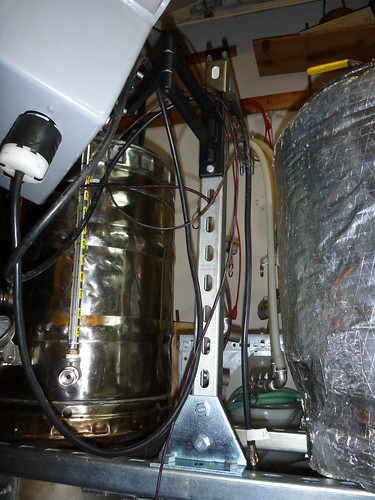
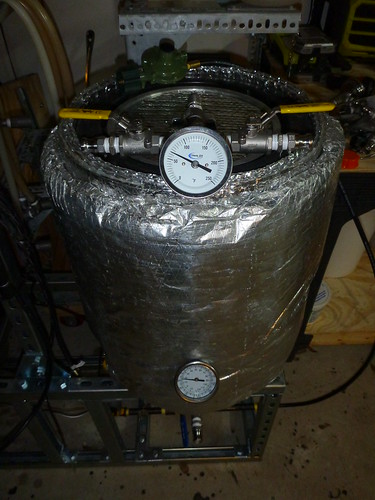
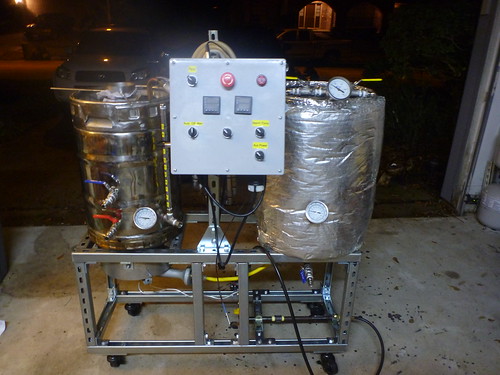
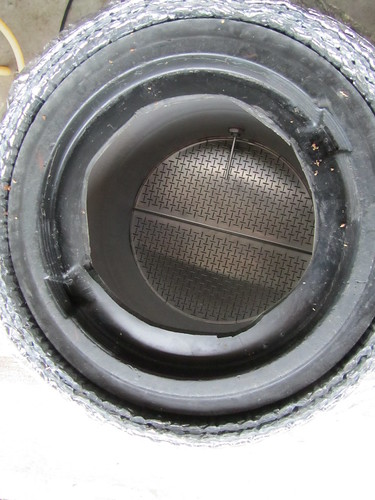
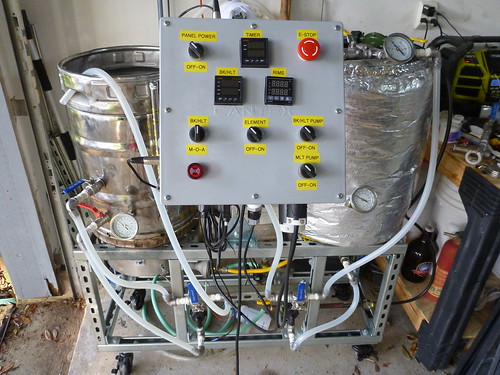
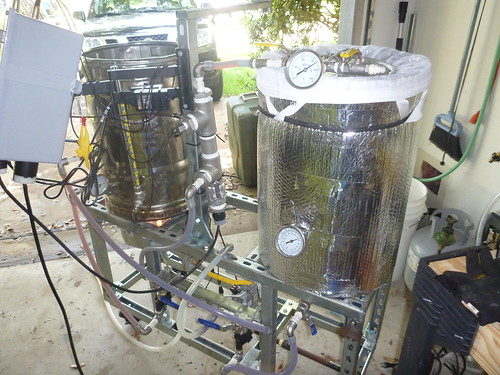
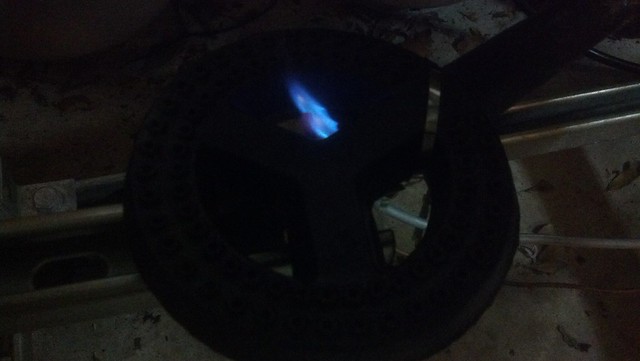
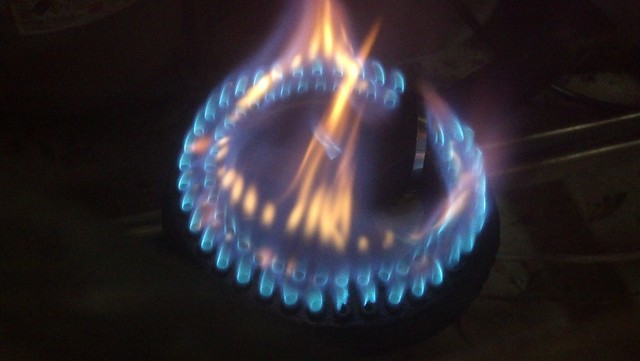
I am tearing apart my previous weldless failure, and changing the format to a Brutus 20 ish setup. I have a Bottom draining MLT, that has a false bottom and I am going to use a BIAB to speed cleanup. I am going to incorporate my 50' IC for my HERMS coil and use my Auber Ins. PID to keep my mash temp, and hopefully be able to step mash. I am for the mean time going to keep using my IC to chill, I do have 20' of 1/2" O.D. copper waiting for me to turn it into a CFC. Once I do I will still keep using my IC as my HERMS coil. I have a Stainless Brewing hop spider that I can't wait to use. The only major things I have still on order are 2x 12v Pumps, and my casters for the stand. Anyways here are the pics.
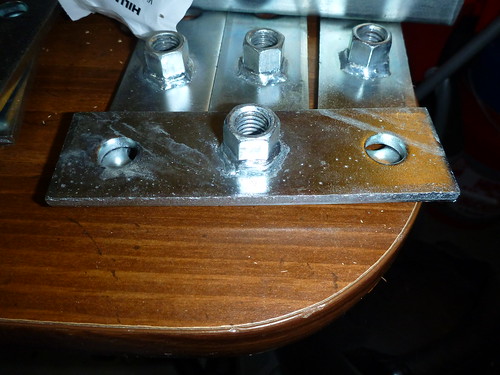
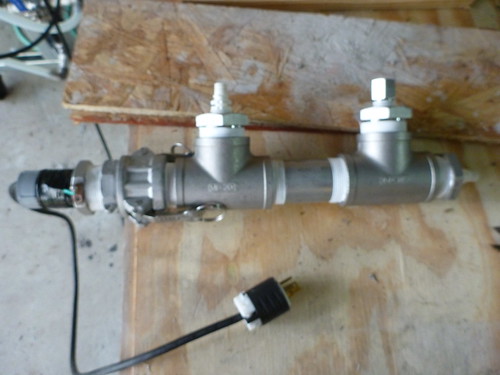
Here I am getting the final layout
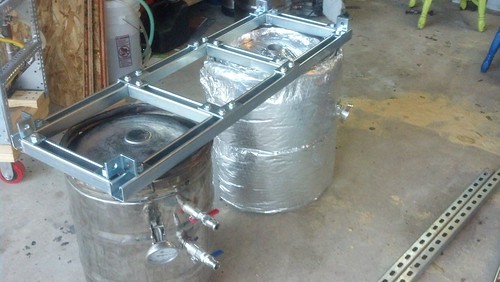
Untitled by HDIr0n, on Flickr
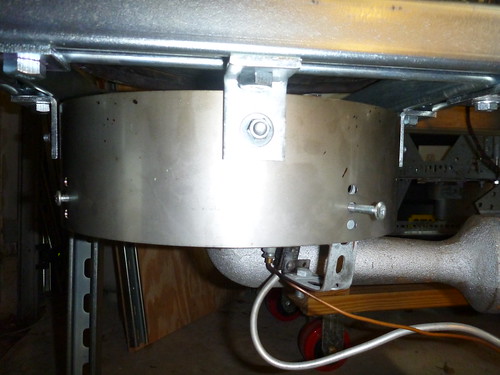
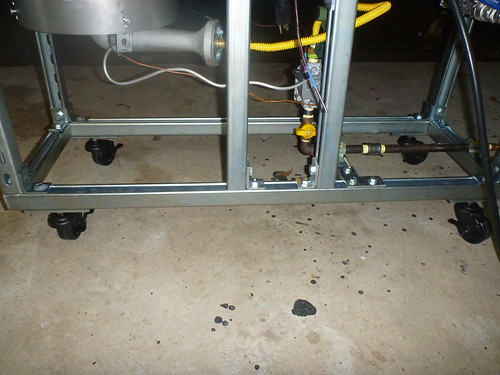
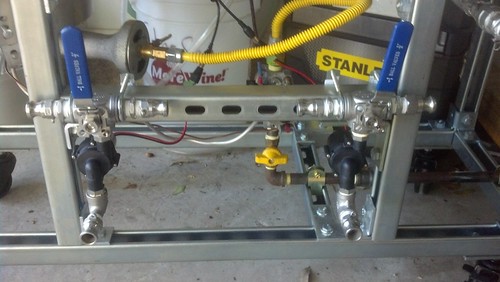
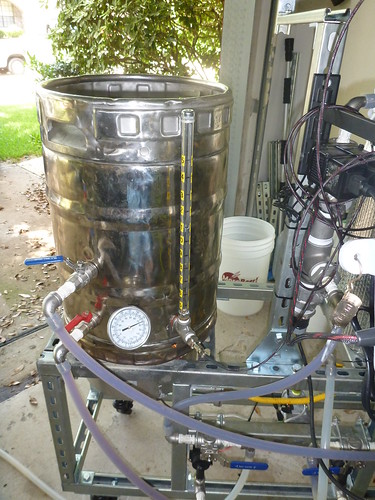
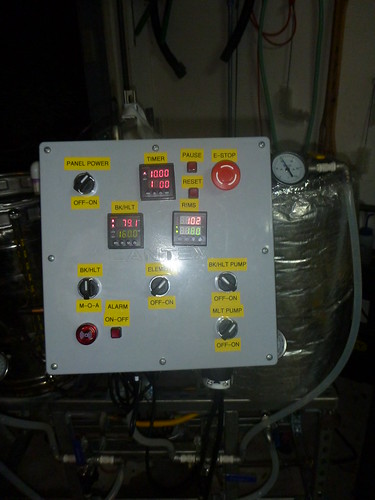
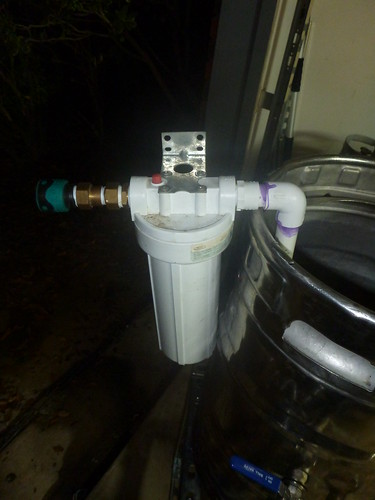
Another view
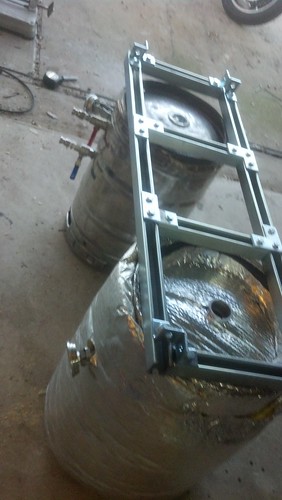
Untitled by HDIr0n, on Flickr
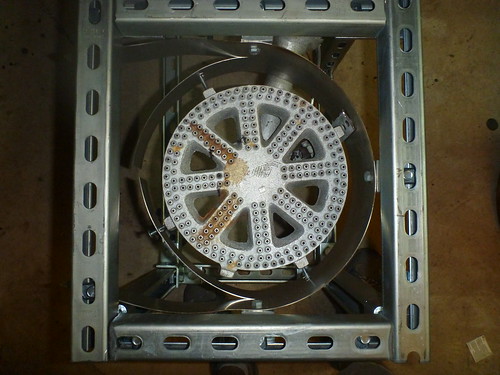
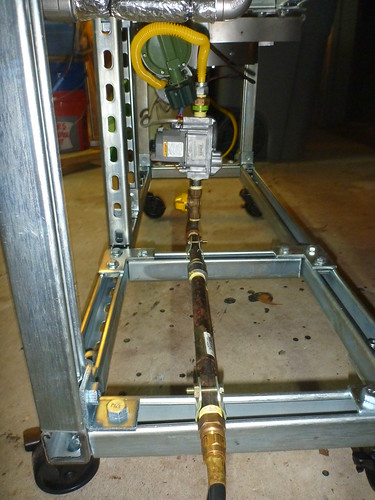
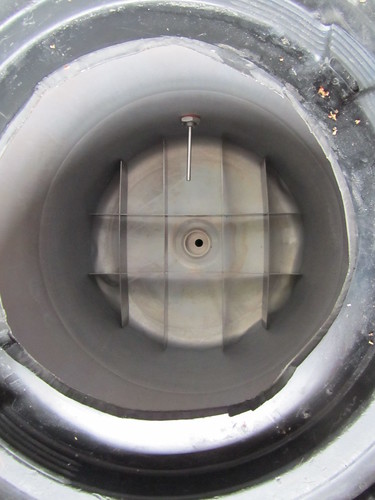
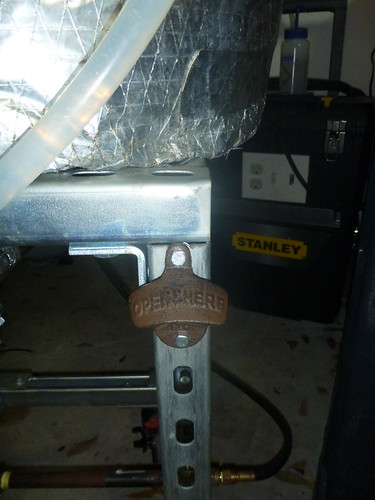
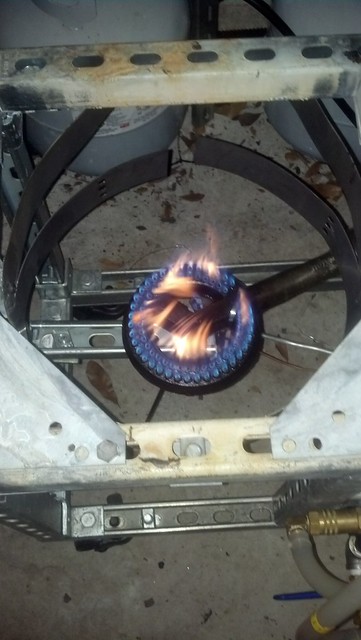
Here I am getting the final layout
Untitled by HDIr0n, on Flickr
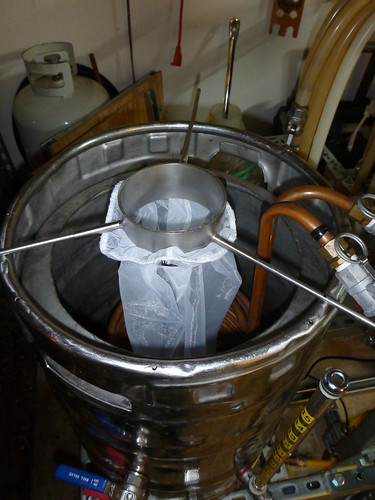
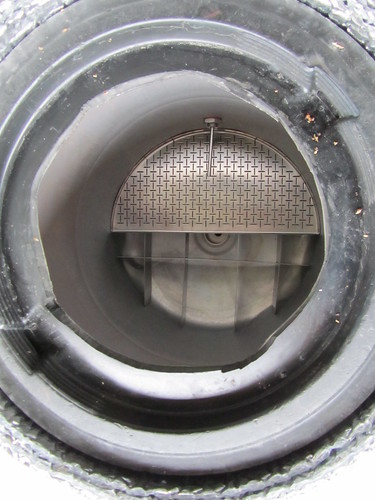
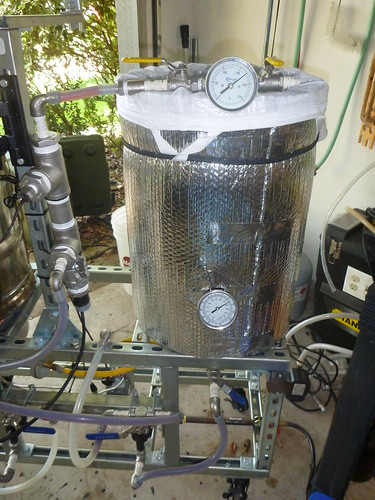
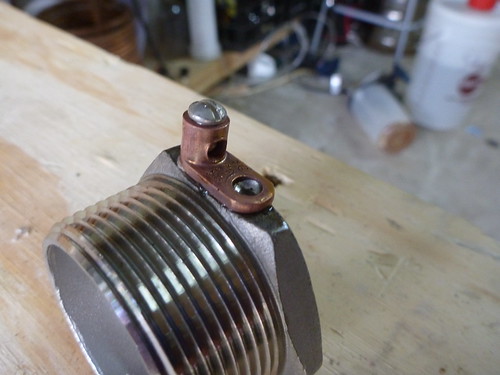
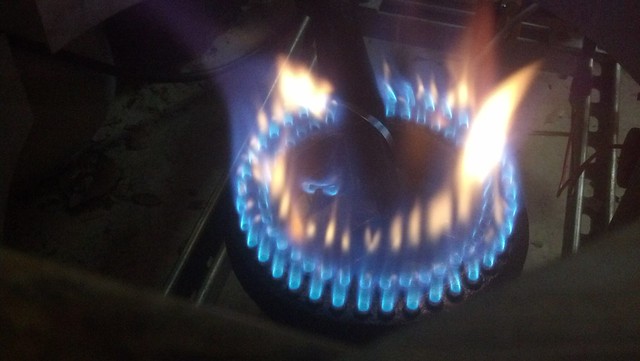
Another view
Untitled by HDIr0n, on Flickr