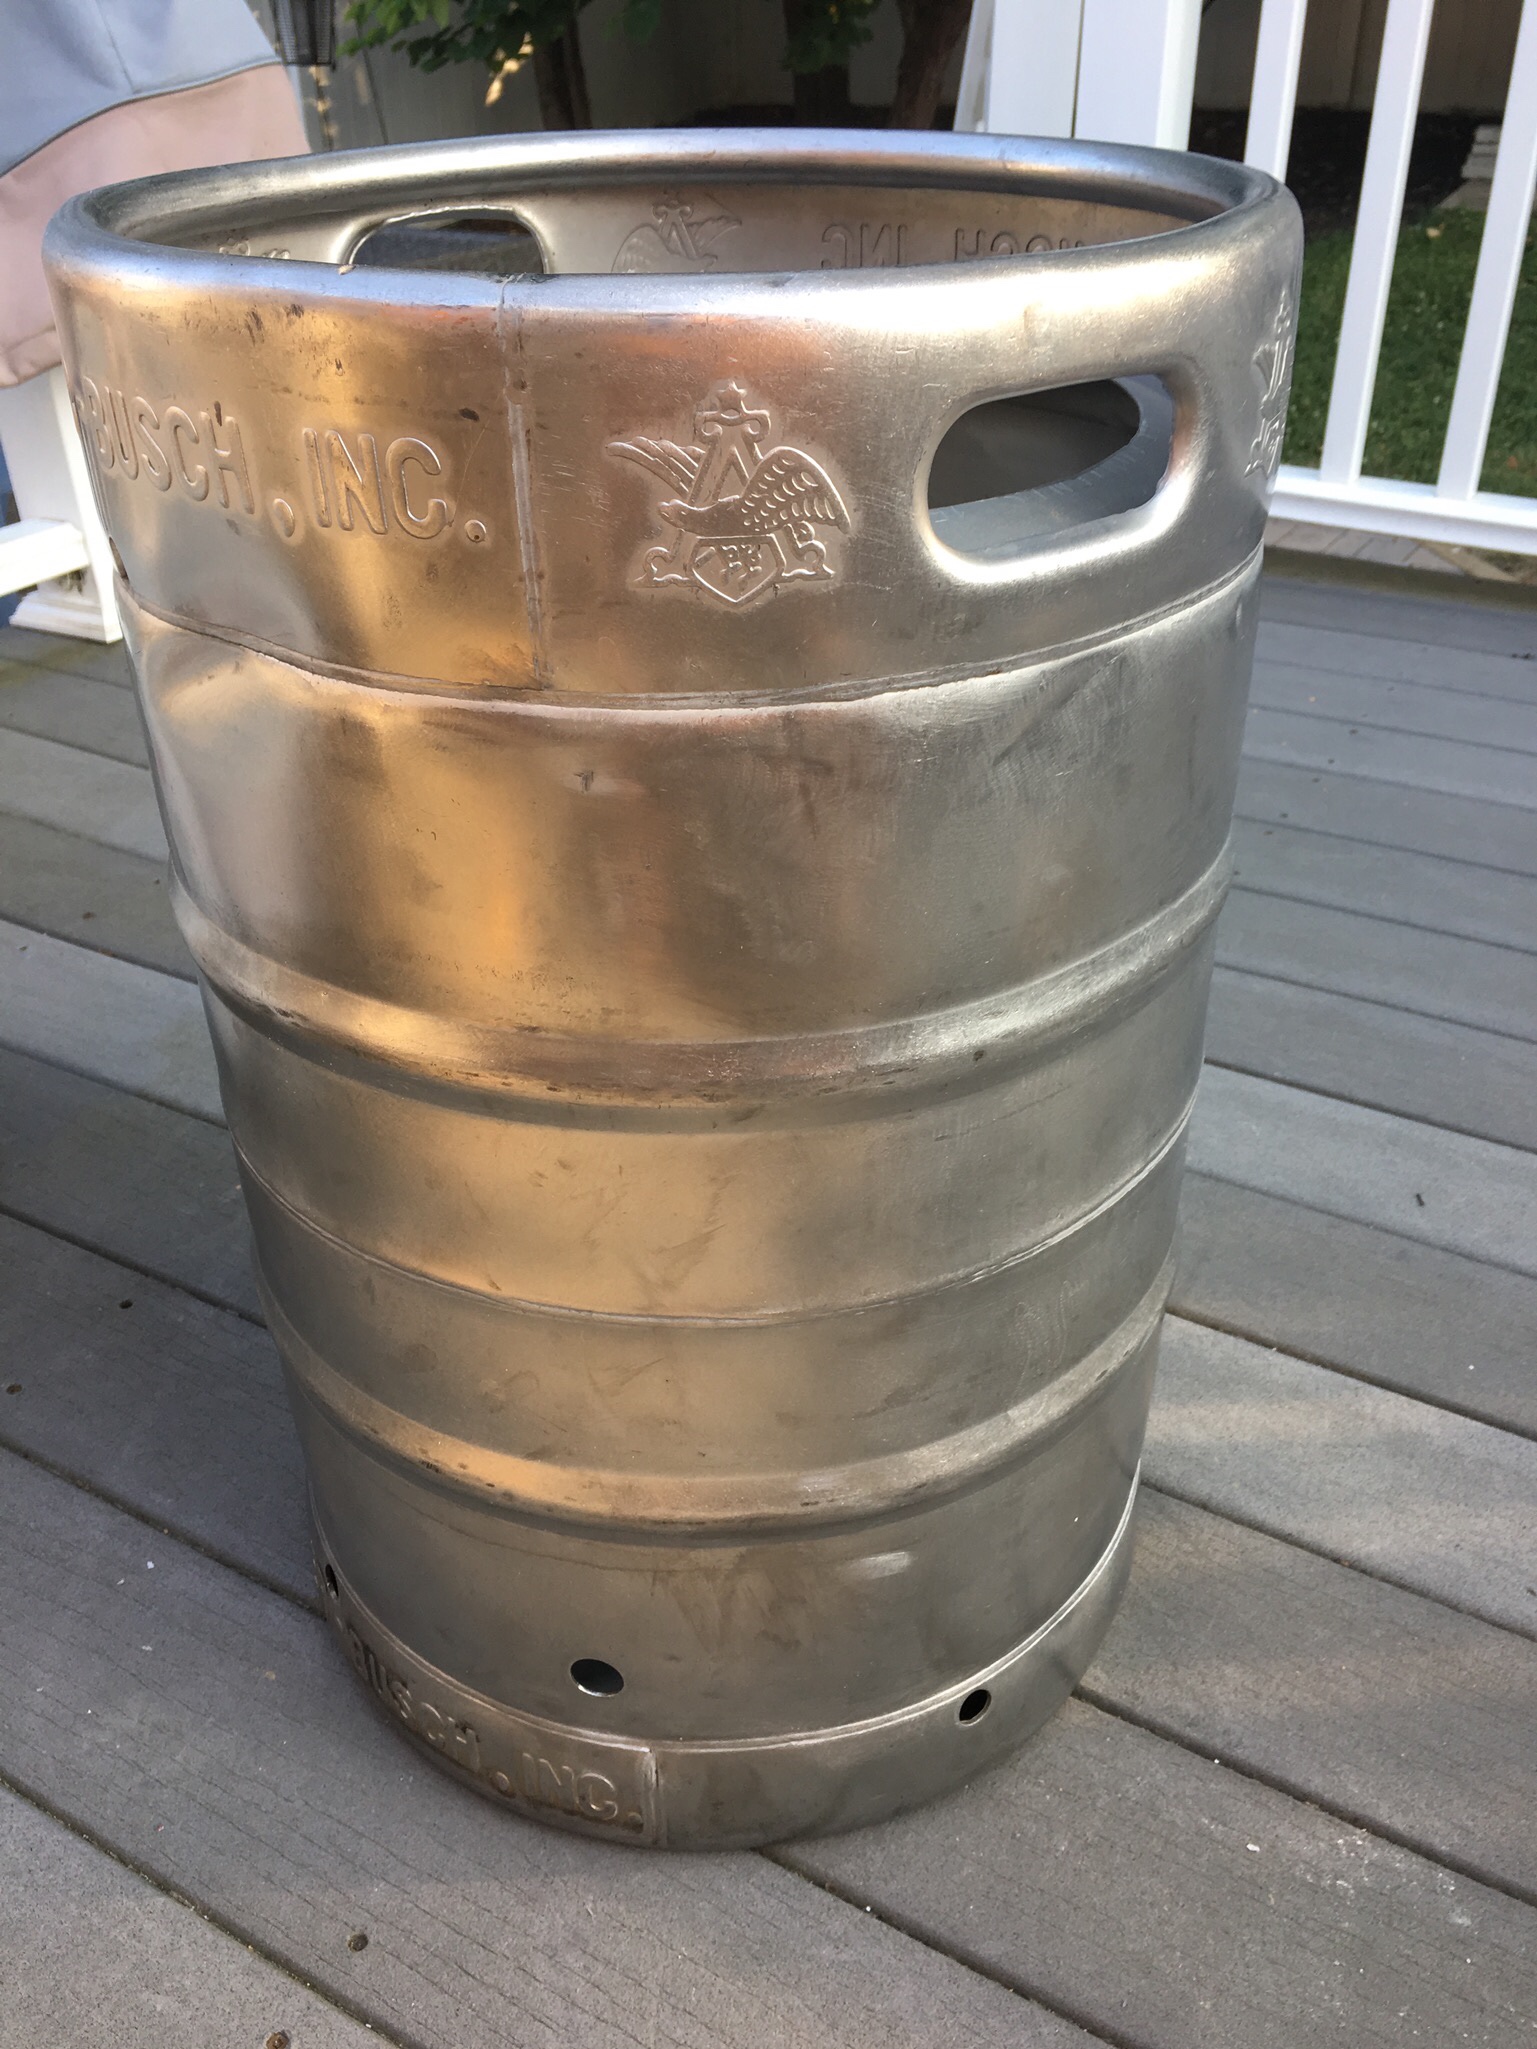
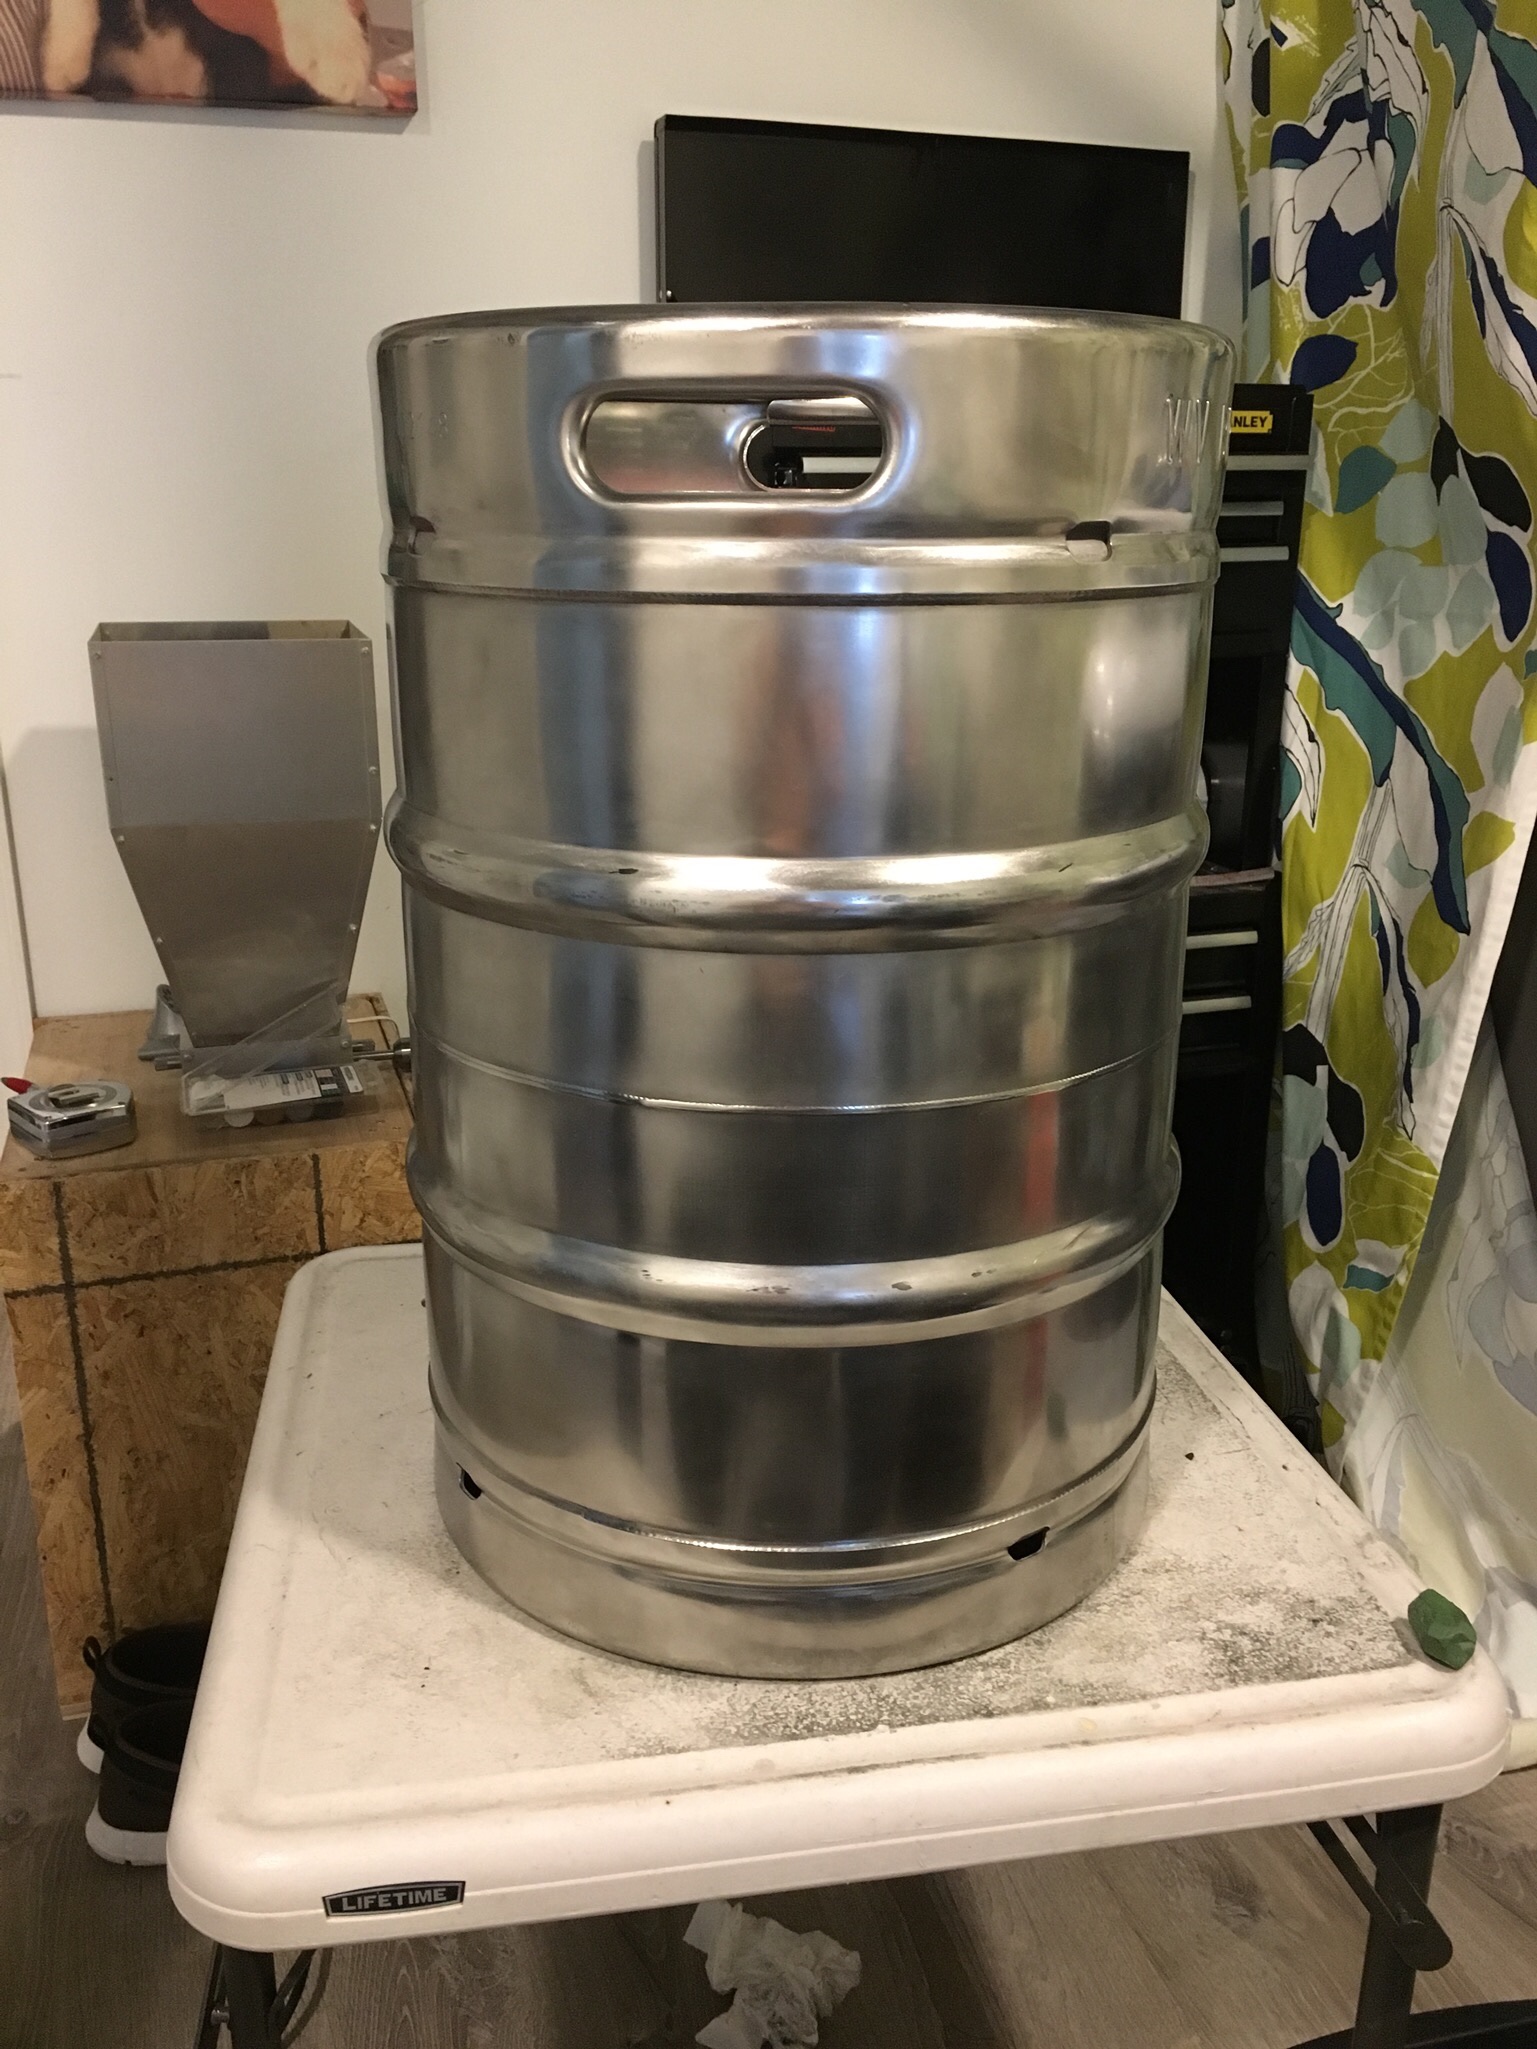
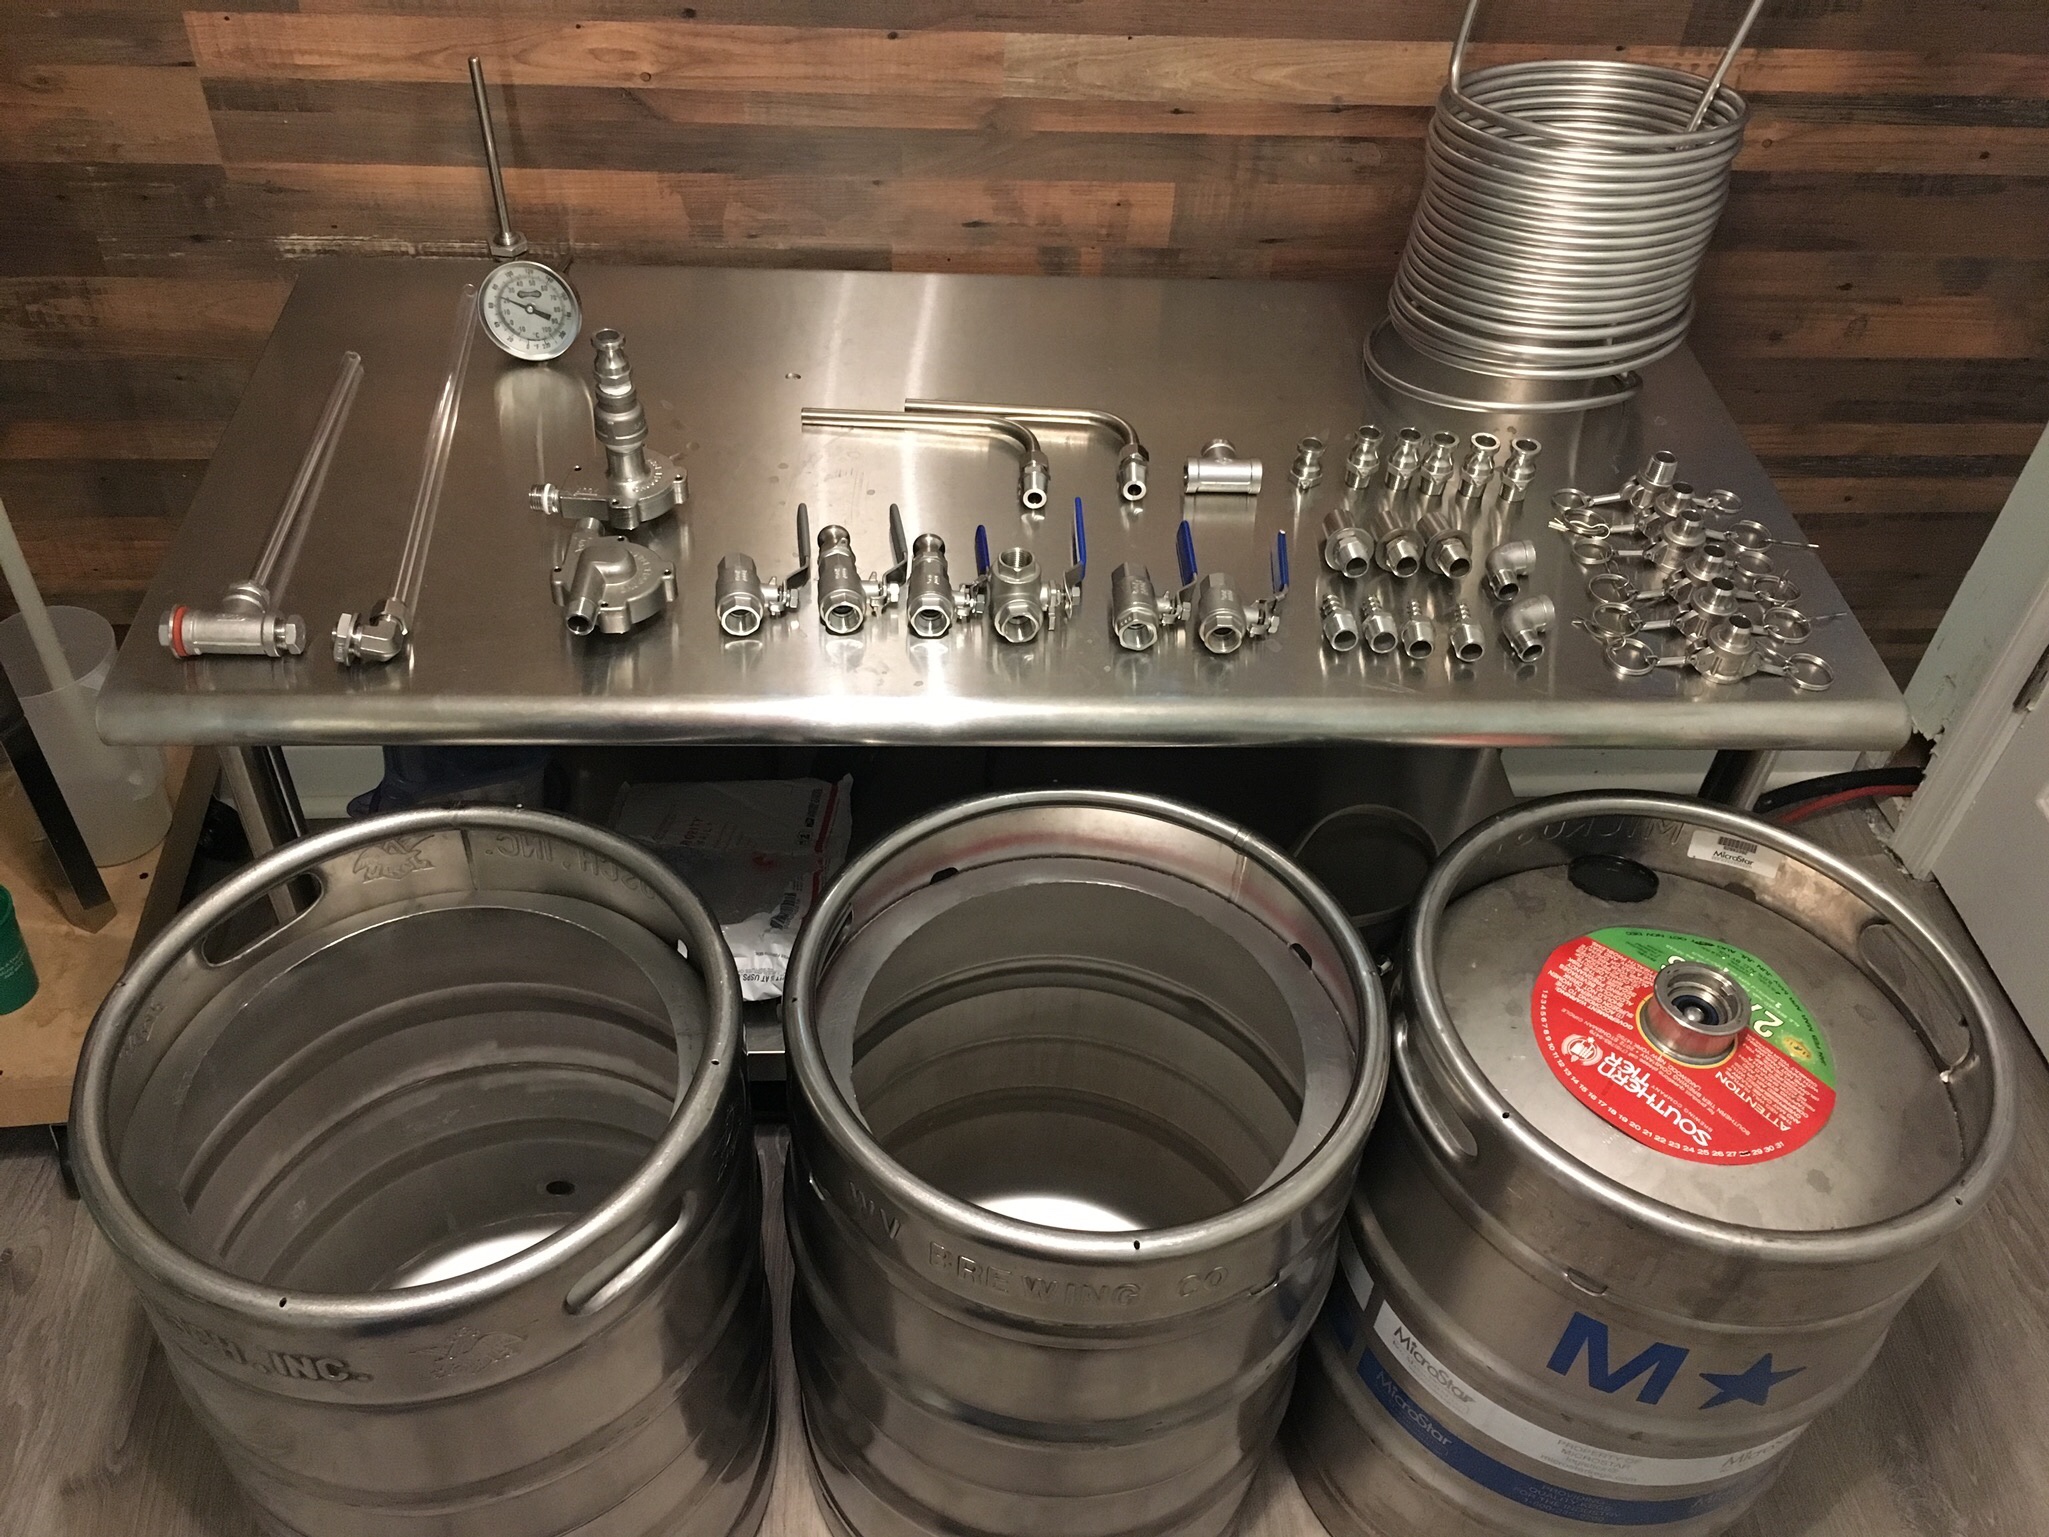
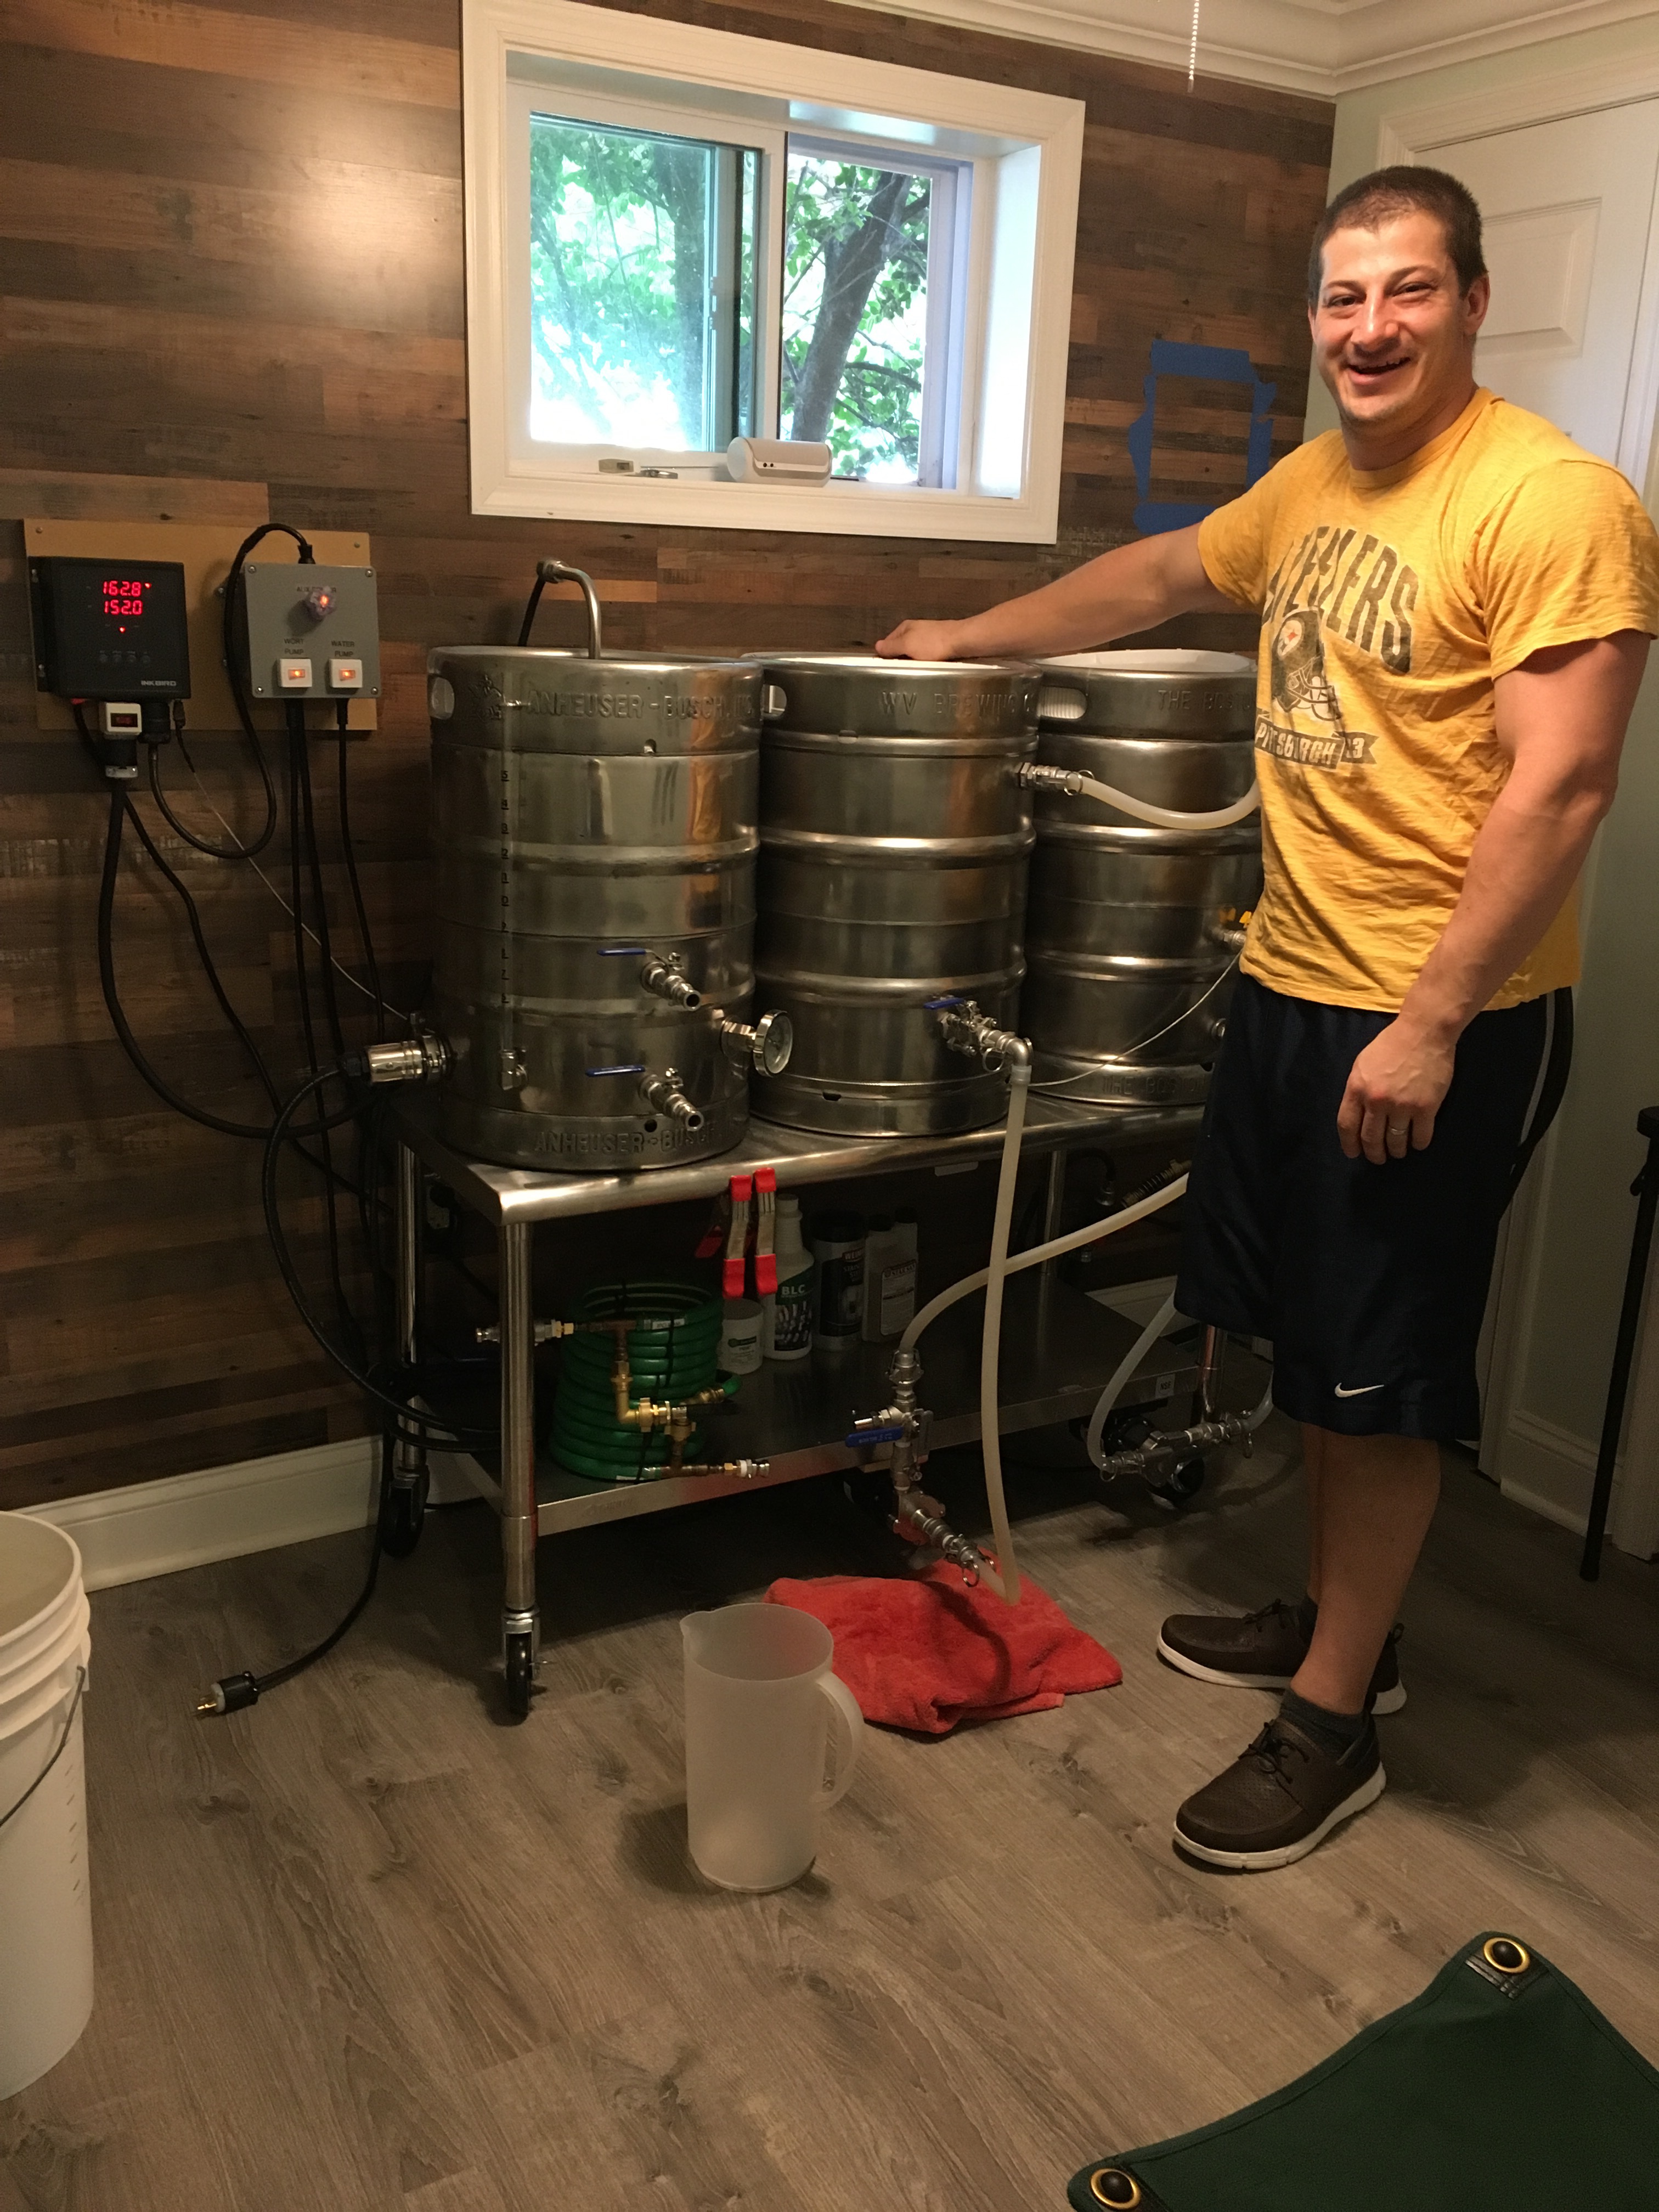
Starting Keg Conversions for a 3 Vessel E-Herms System

Homebrew Talk - Beer, Wine, Mead, & Cider Brewing Discussion Forum

Help Support Homebrew Talk - Beer, Wine, Mead, & Cider Brewing Discussion Forum:

This site may earn a commission from merchant affiliate links, including eBay, Amazon, and others.
Thanks man! I burrowed a set of conduit punches, but don't have an exact 1 1/4" punch. Since I have conduit punches they yield a larger hole to allow for conduit wall thickness. I have a 1" conduit punch that yeilds a 1.326 in. hole, so 0.076 larger than the 1 1/4" hole required for the elements. Do you think I could get away with 76 thousands over or should I not risk it? The 1 1/4" conduit punch yields a 1.701 inch hole, so that's of no use to me. Thankfully, mixed in with his assortment was a true 7/8" punch that worked awesome for most of the other holes for the bulkheads. I suppose I could knock out a hole with a smaller punch and then use the oversided step bit to finish as you indicated. Thoughts? :mug:
 
I couldn't tell you on the 0.076" side. Seems small, but water is crafty... maybe find a piece of scrap metal, punch the hole, put the element in, and see how much slop there is. You could be perfect, or you could find it's actually a lot more room than you think. If you don't have a piece of scrap to test on, just punch the hole with the next smallest die and use the drill to finish off.
 
After work on Friday I purchaced a 5 speed 8" drill press from a guy on CL. It's a cheap HF one, but it was brand new in the box......a gift from his dad that he never used. I only paid $40 for it, so I can't go wrong there. I used it to drill the holes for my heating element assemblies, per Kal's build. The drill press worked very nice. I bought a set of bimetal hole saws, which worked out great as well. I also drilled my 1 1/4" holes in my MLT and BK for the elements, first using a smaller hole punch and finishing with a step bit. Now I just need to order the 10/3, 300w wire and plugs to assemble the cords. Otherwise they are pretty much done, except for priming and painting. I'll post some pics. tomorrow. Next onto polishing the kegs and throwing everything together. :mug:
 
Just make sure you have resistance between the kettle side-wall and the ground post on your power supply cable to the control panel once you get it all assembled. You don't want to E-brew in un-grounded kettles!
 
I'm following Kal's heating element assembly very precisely, so the keggles will be properly grounded and I'll try to use a 240V AC 30 amp. cord with a built in GFI to power the control panel for added protection, but looks like they have been hard to find on ebay. My other options would be to use an expensive double pole 30A GFCI breaker in my circuit breaker panel......or worst case scenario a spa GFCI between my 30A outlet and the control panel. Do all of these choice offer suitable GFCI protection for safety precautions? I want this system to be 100% safe and done right.
 
The drill press did a nice job drilling the conduit boxes and cover holes for the heating elements. Should come in handy once I start the control panel build as well. For $40, I couldn't ask for anything more. I'm not going to review the step by step process for building the heating element components, because I followed Kal's instructions to a T and he did a fantastic job of explaining the process. Here's a link to Kal's instuctions. All of the plumbing is complete in all 3 vessels. Here are a few pics of the keggles from the inside with everything installed except for the recirculation tubing in the MLT and the recirculation port in the HLT.

IMG_3128.jpg


IMG_3135.jpg


IMG_3132.jpg


IMG_3145.jpg
 
I used Rustoleum Metal Finish paint in Polished Aluminum finish for the element housings. I primed the housings on Sunday and srayed them with 3 coats of the paint yesterday. Unfortunately I jumped the gun a bit, because they were still slightly tacky this afternoon when I went to install the elements onto the keggles and left a few finger prints. I'll wait for the paint to fully set up, then lightly sand and shoot with another coat of paint. Still need to build the cord assemblies and install the outer waterproof covers, otherwise it's one more project that I can mark off of the list. Here are a few pics of the keggles from the outside with the elements installed and a shot of the LED lighting installed in the vent hood.

I plan on completely disasembling everything and starting with the dreaded polishing process. :eek: I will also pickle the 3 brass fittings that I am using to remove any potential surface lead per John Palmer's instructions. Eventually, I will likely upgrade to 100% stainless steel, but for now, I want to devote any and all brewing funds towards controls.

IMG_3137.jpg


IMG_3143.jpg


IMG_3136.jpg


IMG_3140.jpg
 
Everything looks good.
One point. I have the same false bottom (well it looks the same). I have had minor issues with 5 gallon batches because of how much dead space is under it and thus limiting the amount of sparge water I can use. I would recommend trimming the "spacers" that it sits on.

I think mine now has 1.7 gal of deadspace compared to 2.5 from the vendor. YMMV
 
Yeah, this is something that I have certainly considered. It's a PICO false bottom and I called the folks down at Adventures in Homebrewing. They indicated that there would be about 2 1/2 gallons of dead space under the false bottom. I already installed my weldless bulkhead for my dip tube under the false bottom, so I can't cut them down at this point. I plan on making 10 gallon batches primarily. If I do the occassional 5 gallon batch, I was told to account for the 2 1/2 gallons of dead space when calculating my strike water volume. Since I will be continuously recirculating throught the HERMs coil throughout the mash and then fly sparging, even with a smaller volume of sparge water I should be able to acheive decent efficiency. Right????
 
If I primarily did 10 gal batches I wouldn't have messed with it either. I think you will still get decent efficiency on 5 gal batches. I think mine jumped about 5% when I modified it.
 
Thanks stranger. :D It's slowly coming together, but I have been juggling the brewery buildout with the keggle conversions, so it's taking longer than expected. Plus, I am really procrastinating on the keggle polishing project, because lets face it.....polishing kegs for hours on end really blows!

I have a short day today, so I plan on finishing up the trim in the brewery and putting the room back together today. :mug:
 
Yeah, the paint job looks great.....did you use a high temp. grill paint? I have already spent several hours cleaning up and sanding on these, so I'm now committed to go all of the way with them. I meant to make more progress, but I have been doing the finish trim in my brewery. It's in my signature line if interested. :mug:
 
Yup - used the standard BBQ grill paint and it came out fine. I should have put more time into the prep because it flakes off in some places. I'm still happy with it though, and glad I didn't invest countless hours into polishing them.
 
This is one SWEET thread. Can't wait to see this done! Can you get a vid up when its running? Envious!
 
Sorry for the late response, but my time has been very limited, as I am pursuing another business venture. Thanks for the compliment. :mug: Not sure If I will shoot a video or not once it's done.....I'm a little camera shy. :D
 
Well, I have read all your posts. Color me green with envy!! You have a done a fantastic job as all the other posters have said. Hope you enjoy the brewery when the builds are finished and you just have to brew on it.
 
Awesome build. Lots of great info for folks like me currently fabbing keggles.
I'm ready to start drilling/punching holes for eHERMS and eBK with whirlpool.
Do you have a schematic or diagram with final port/connection placement?
 
Thanks mrklueber, I can't wait to get this thing up and running. I'm working on the finishing touches and then need to make a final decision on controls for this thing. I am really leaning towards the BCS system, but might still go with Kals panel.....it's still up in the air. Regardless, I still have a bit of work to do before I order controls. :mug:

MrNatural.......no I don't have any schematics of port placement. I essentially took information from Bobby's (www.brewhardware.com) keggle conversion instructions on his site and merged them with Kal's (www.theelectricbrewery.com) instructions. I also picked the brains of several other HBT'ers to help me tweak the measurements to accommodate the PICO false bottom in the MLT. I'm hesitant to post exact measurements, because it's really dependent on the exact components that you are using for your build. For instance, if you are using a JayBird false bottom, the dip tube is positioned above the false bottom and then 90's down through a hole in the false bottom. With the PICO, the dip tube must be positioned low enough to sit completely underneath the false bottom.

In the HLT, I experimented quite a bit with the heating element assembly, so that the dip tube didn't interfere with it. I am using 5500W Camco elements, which are "s" shaped, so I had to make sure that the dip tube ended up being positioned in the concavity of the element curvature. The trickiest part by far was the placement of the HERMs coil. You need to make sure that the coil sits just above the heating element without sitting directly on it, but is still low enough in the keggle to stay fully submerged. The HERMs coil tends to sag a bit and has a tendency to want to sit on the element. My remedy is to create a suspension system with 10 guage copper wire suspended from an inverted stainless eye bolt in the outer lip of the keggle top to support the coil side opposite to it's connection points at the inlet and output ports. Kal used stainless tubing for his coil and recommended 7 inches between the lower inlet port and the upper outlet port. I used 50' of 1/2" copper that I purchased from menards and had and 11" mortar bucket that I wrapped the copper around to create the coil, so that it would fit down through my 12" rough opening in the top of the keggle. Once I created the coil, it was closer to 10" tall, so the 7" measurement that Kal used wouldn't work for me. I ended up going with 9" between the upper and lower ports and removed 2 turns worth of copper from the coil (about 6 feet).

I could certainly give you some exact measurements of port placement if you want, but would hate to give you measurements that don't work for your components. Just let me know. Thanks man! :mug:
 
Hoppo, man am I glad you resurrected this!! No worries with FB, going bottom dump MLT. I probably just need to mock them up before drilling, following the advice in this thread.
I've been acquiring stuff for over a year, starting with March pump and ASCO valves off CL, then BG-14 burners.
Then you guys here give me the Jones for electric.
Then my buddy across the street gives me 40ft of 6/3 and 3 reels of 10ga, plus use of his plasma cutter, welder and lathe (it did cost me 1.75 of Jameson:D).
I've got everything to fab convertible propane/electric except controller (leaning BCS). Holy crap do those SS fittings add up fast!
Now back to the keggle mock up..........

Thanks for the fine pics and advice,

:mug:Dale
 
Thanks stranger. :D It's slowly coming together, but I have been juggling the brewery buildout with the keggle conversions, so it's taking longer than expected. Plus, I am really procrastinating on the keggle polishing project, because lets face it.....polishing kegs for hours on end really blows!

I have a short day today, so I plan on finishing up the trim in the brewery and putting the room back together today. :mug:


This is absurdly old and I hope you still have your brewery up and running. I am days away from drilling holes in my kegs as I am about to build basically the same exact system that you did.
I was curious did you ever get around to polishing those kegs? If you can remember how you did it that would be awesome info. I am sanded down to 800 grit and I am trying to use polishing compound (ryobi home depot stuff) with a polishing pad on my angle grinder with mixed results. It is tedious and I am reading that the angle grinder may spin too fast. how did you do it?
do you have any pics of your finished product??

Thanks,
Sam
 
Good thread... currently building out my tap room.. then on to acquiring parts for keggle builds.. great job guys!
 
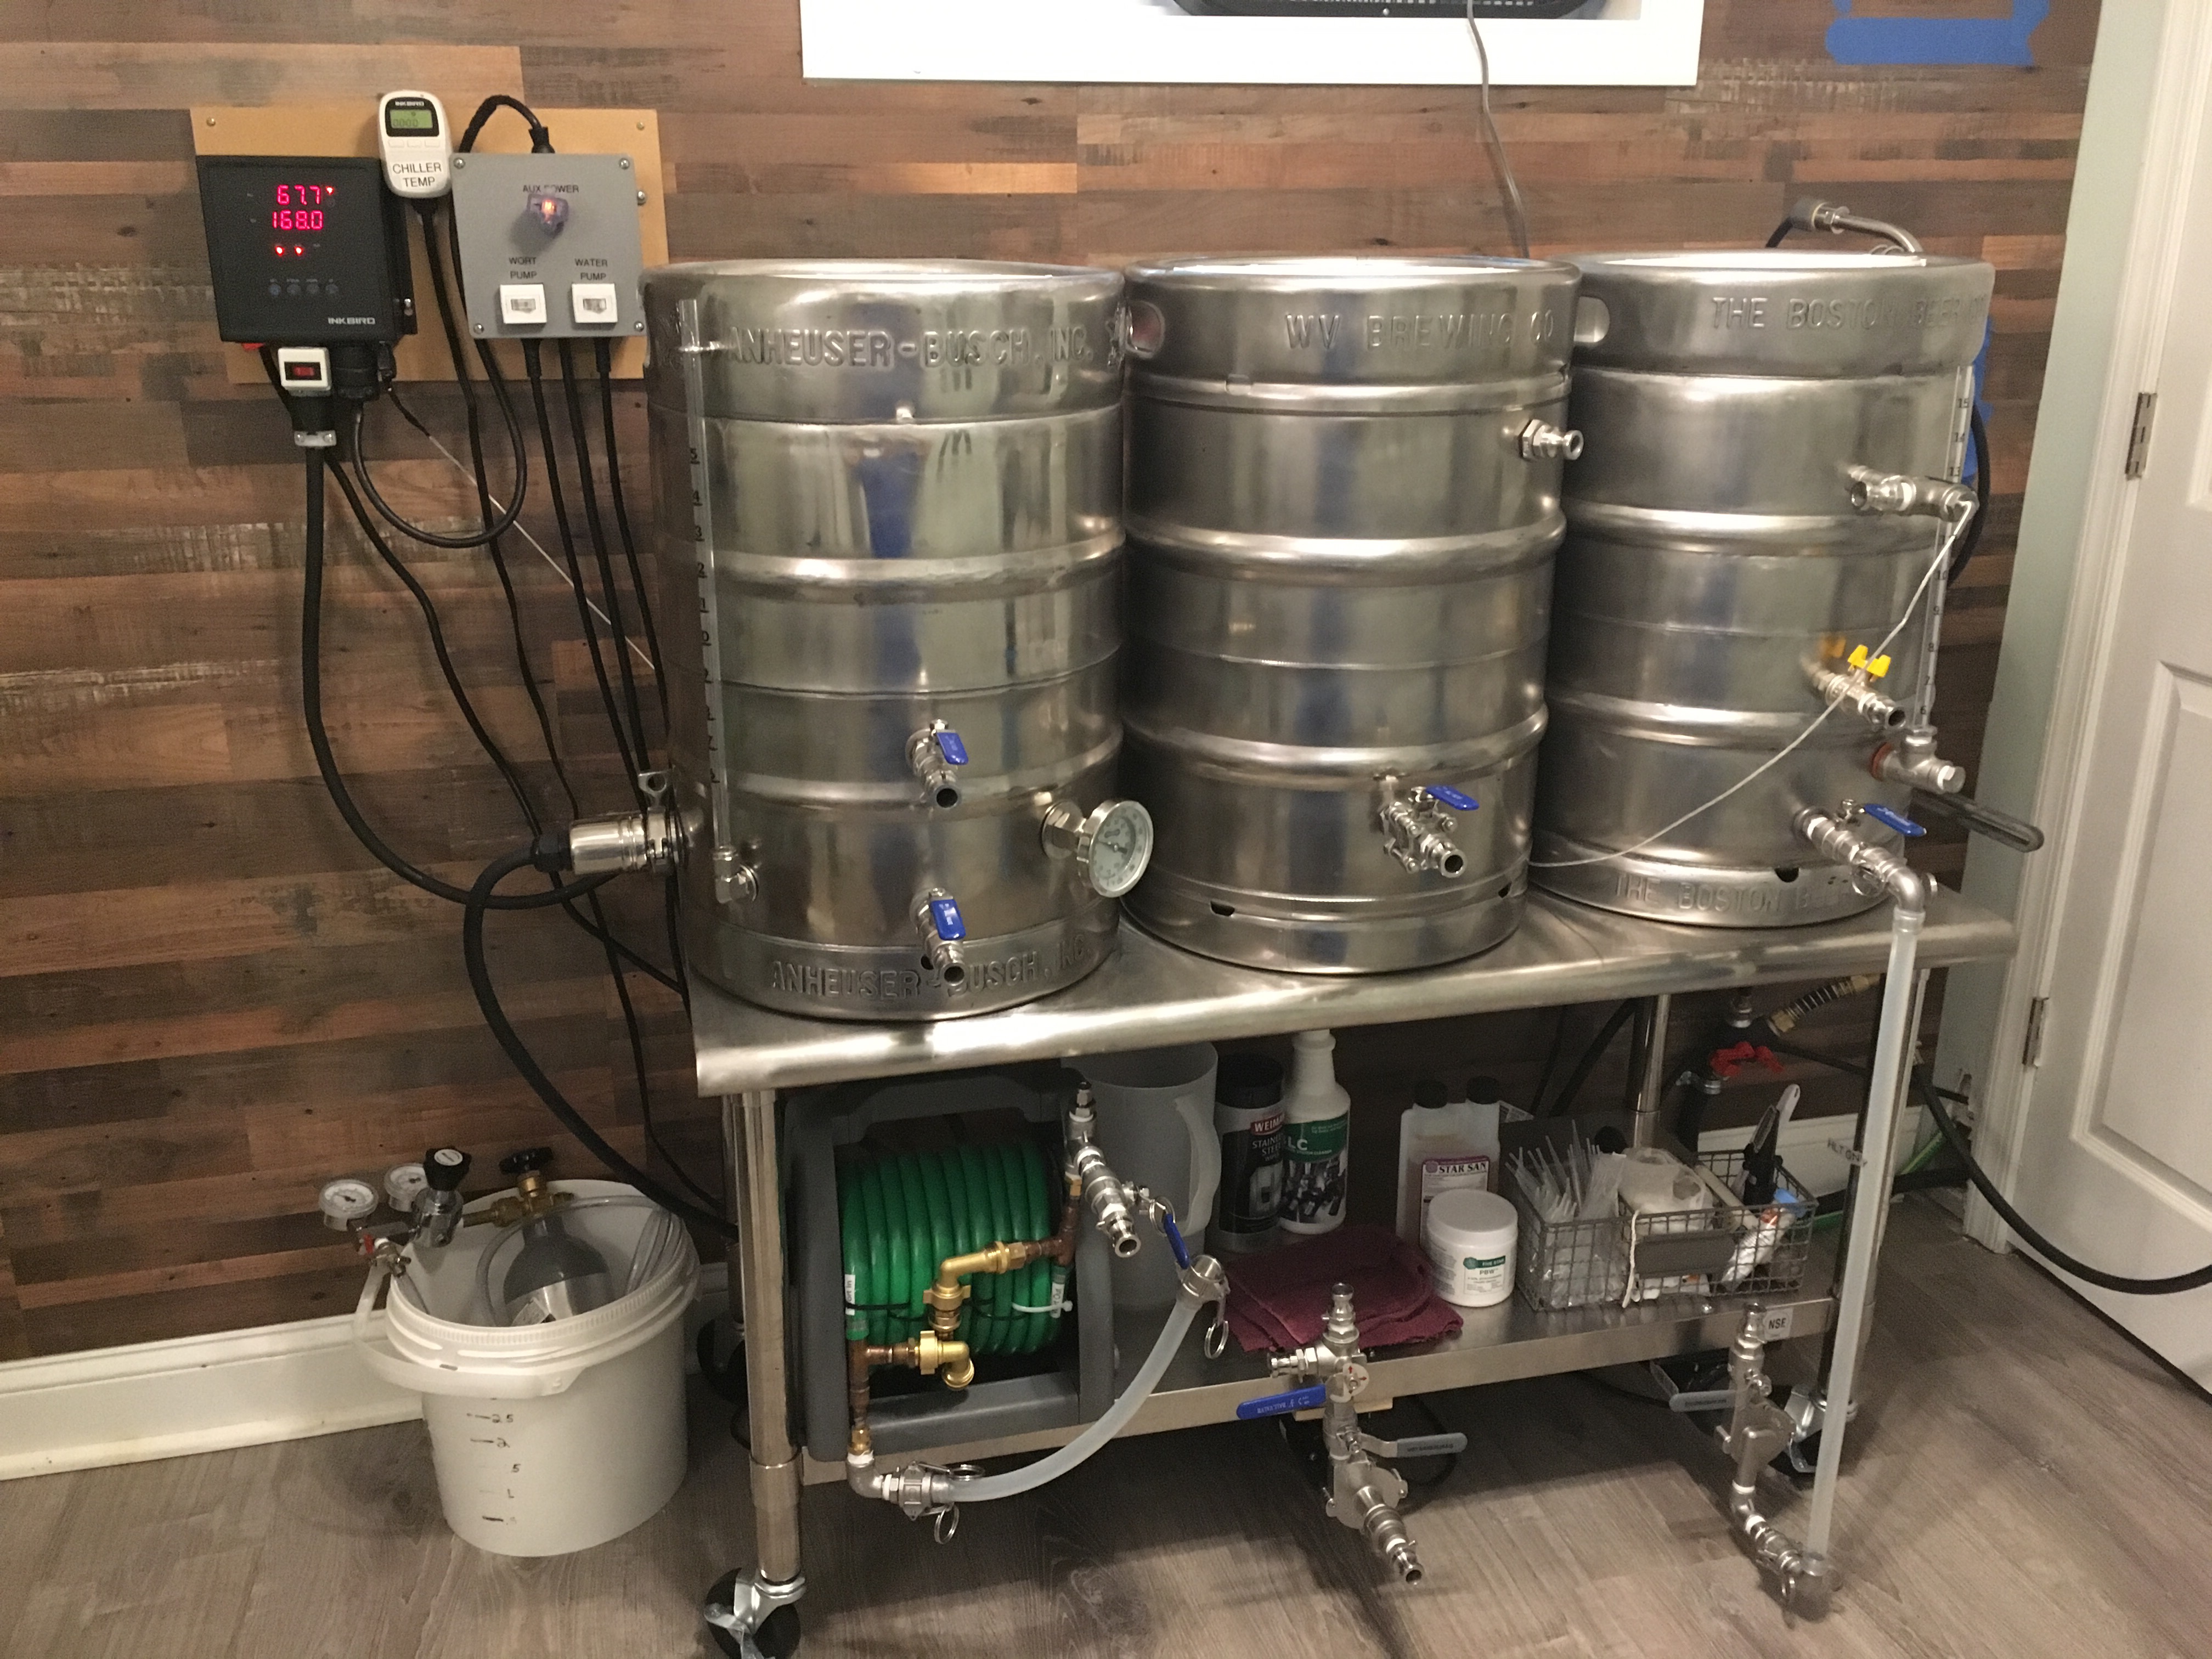
My 3 keggle HERMS system is complete! Who know polishing stainless steel kegs was such a nightmare!! Tons of elbow grease but I think it turned out pretty nice.
Thank you Bobby at Brewhardware for the help in building my system.

IMG_0117.jpg
IMG_0118.jpg
IMG_0121.jpg
IMG_0116.jpg
IMG_1201.jpg
IMG_1534518683.963758.jpg
IMG_1534518703.706144.jpg

IMG_1534518829.393595.jpg
 
Back
Top