Last spring I decided to grow my own hops. I can't really tell you today why, but it sounded like a good idea at the time. Having a large stock of fresh hops is never a bad idea. Plus it sounded like a challenge. As the growers in Tennessee will know, the conditions are far from ideal for hops. The humid hot climate combined with water logged soil don't meet the criteria for most hops. They are traditionally found in higher latitudes and colder climates. For a complete run-down on small scale hops gardening, visit
http://brewingtechniques.com/library/backissues/issue2.3/montell.html
My first big challenge was to find the rhizomes. This sounds simple but this year they sold out very quickly. It can be difficult to find them unless you get them early in the season. No one stocks rhizomes in great numbers because they are expensive to keep cold, they are difficult to harvest and there is no large market for them. I also found a spot in the yard that recieves at least 12 hours of sunlight during the summer. This is very important as hops cannot get too much sun.
I chose Cascade and Hallertau hops because they are practical hops. By that, I mean that their AAU and secondary contribution flavors are used in many of my favorite types of beers. My reasoning was that I could use these hops for the majority of my brews and only have to supplement recipes with small amounts of specialized hops. Your needs will differ, consider your favorite beers to brew when making your purchase.
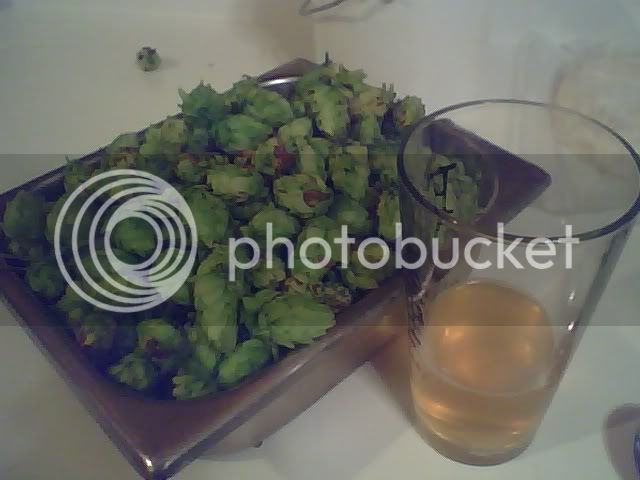
If you forecast a little bit you can save yourself a lot of trouble down the road. I know that my hop garden will take years to fully mature into productive colonies. Assuming no real return on investment in the first year is very important. The obvious dilemma became; what do I do with this years crop? How can I put it to use? One idea was to use the harvest as hop-fodder in experimental beer. It would also be good to try some fringe hopping practices like hop-tea and extractions. In my case, I decided that extra-IPA dry-hopping was something I could never do if I was paying for the hops. So instead, I would use my hops to try it out.
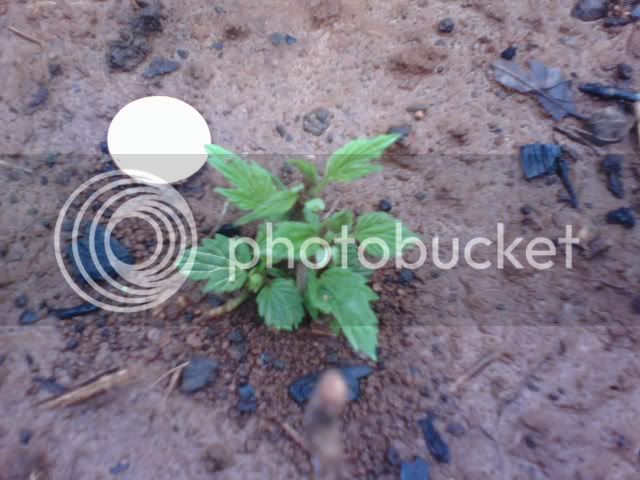
Once I received the rhizomes, I wasted no time in putting them in the ground. The hops are on a biological clock. Waiting too long will have severe consequences to the health of the plants. The first year is a fragile time for a new hop rhizome, treat it well. Since most of middle Tennessee is flat and soggy, I had to raise a planting bed so that the roots of the hops would be above the water table. They must also be able to grow down to the water table for year round water access. Hops prefer well drained, aerated soil. I ended up with 3 Hallertau rhizomes and 3 Cascade rhizomes (one per drum half).
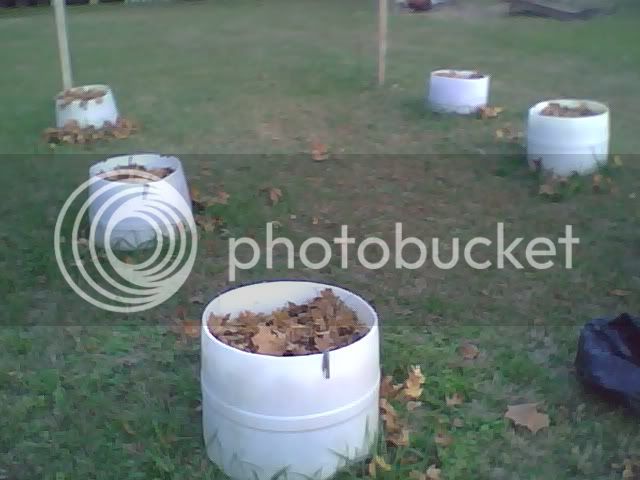
Using some resources around the house, I found some old plastic drums and cut them in half with a skill saw. Its important to note that the bottoms and the tops of the drums were cut off to allow root access to the surrounding soil at ground level. I simply set the half-drums, which were hollow cylinders at this point, on the ground and filled them with dirt from a nearby source. I fertilized with cow manure, ash and rotting vegetable matter. I Fertilized very sparingly, only about a shovel of each fertilizer went into each drum of dirt. Each drum contained about 10 shovel-fulls of raw dirt (to make an approximate 3:10 ratio which is completely arbitrary, I have no science to back it up). It was all mixed together and watered down. The hop rhizomes were carefully buried 1 below the surface and watered lightly. Never plant your rhizomes unless all threat of frost is completely gone. A snap freeze will destroy the tender rhizome.
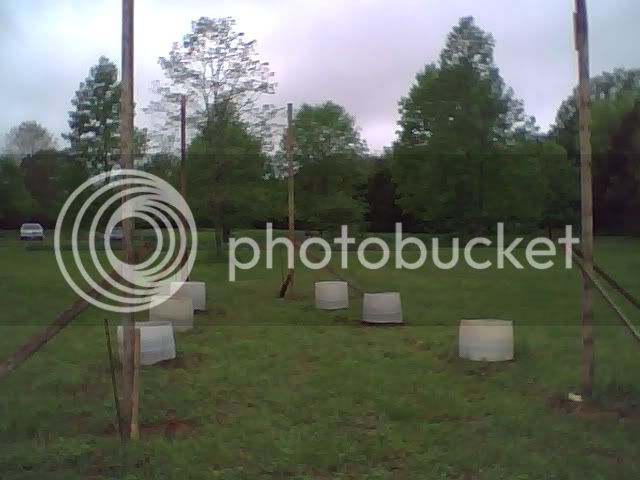
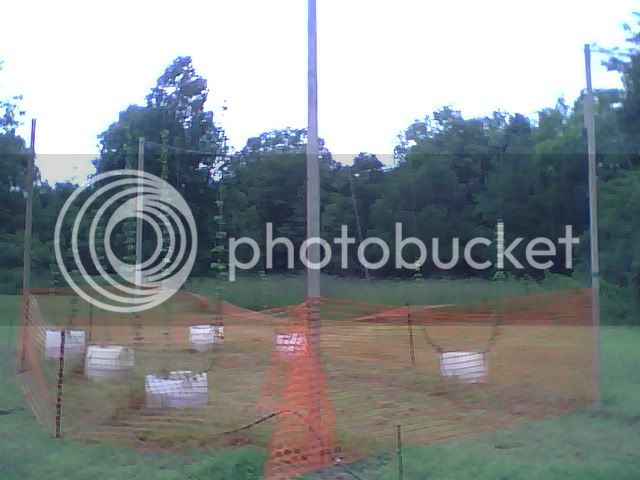
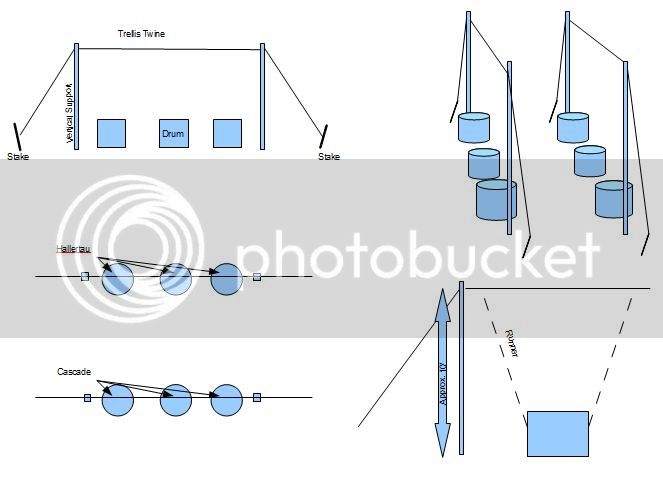
I next constructed vertical supports for a trellis from old 2x4's I had lying around. I drilled holes in the tops of the poles to allow twine to run through them, rather than tying it directly to them. I dug post holes and sunk the poles into the ground, securing them with quickrete and gravel. Nothing fancy, but enough to hold them up against strong winds. I pounded a 4 rebar stakes into the ground behind the 2x4's to act as anchors for the twine. See the diagram.
After the heavy work, I went to Lowes to get an automatic timer and a misting system. This little beauty is a godsend. The timer hooks into any standard water outlet or hose fitting and runs all year on two AA batteries. You can set it for pre-programmed watering days and times, I set it for every other day for 30 minutes and left it all year. I connected the timer to some tubing I had lying around and ran it out to my hops. I connected the misters and stuck them in the center of the drums. Now my garden was automated. All together it was probably $50. Some professionals say to use a drip line system to avoid wetting the leaves. If you have to run the hose a long distance from the house or water source, I highly recommend getting some black plastic hose from Tractor Supply or even better; the local Co-Op. It lies flat after a day in the sun and I even ran it over with the lawn mower, it never got hit.
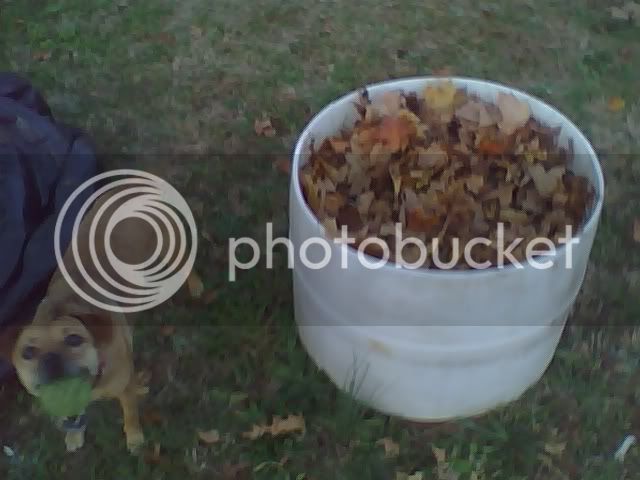
To prevent deer and other pesky herbivores from eating my hops I put up a construction fence. I got it at a yard sale, but I would highly recommend you do this as well. IF YOU HAVE PETS: DO NOT let them eat the hops. It can kill them! Read about it at
http://en.wikipedia.org/wiki/Dog_health look under dangerous foods. The fence was supported by removable stakes and wrapped around the garden.


") couldn't help myself!
couldn't help myself!