Brew Room Mostly Done - 1st Batch Today

Homebrew Talk - Beer, Wine, Mead, & Cider Brewing Discussion Forum

Help Support Homebrew Talk - Beer, Wine, Mead, & Cider Brewing Discussion Forum:

This site may earn a commission from merchant affiliate links, including eBay, Amazon, and others.

Waunabeer

Well-Known Member
Joined
Aug 17, 2010
Messages
382
Reaction score
42
Location
Placida
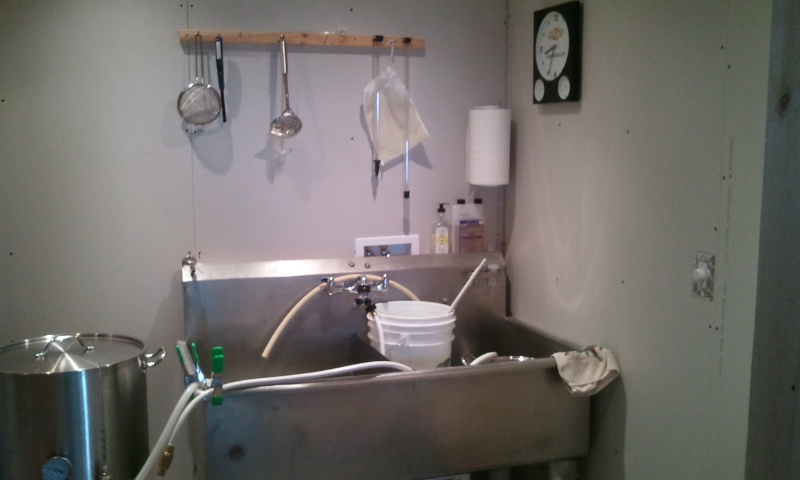
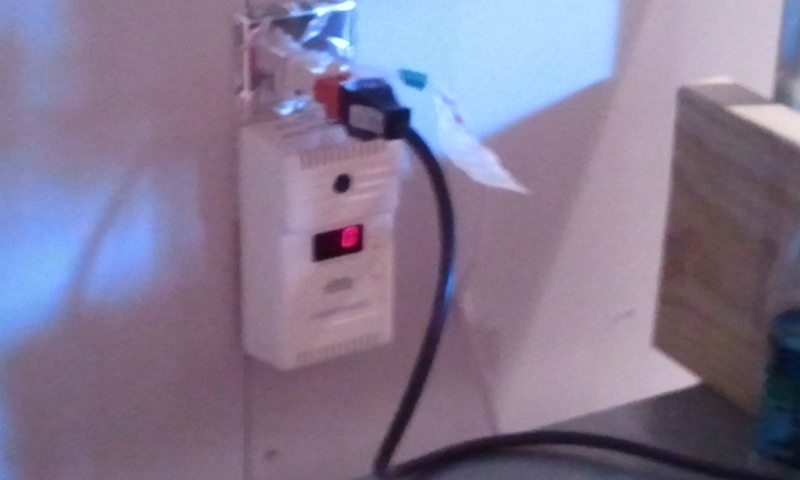
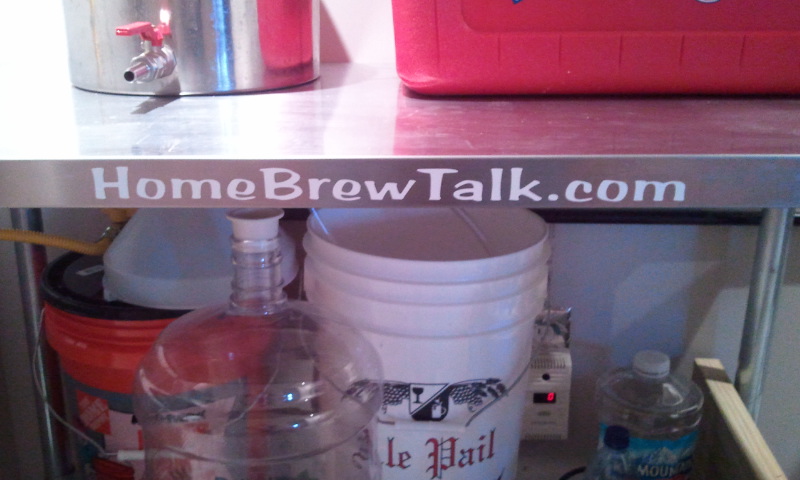
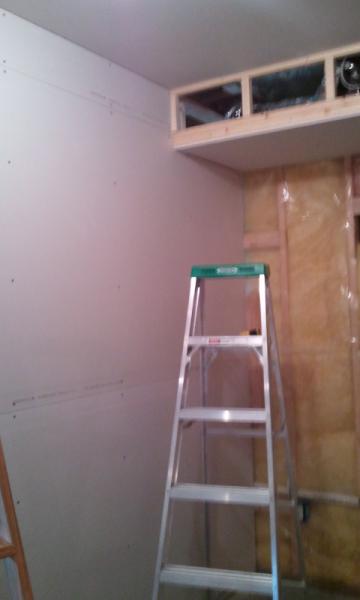
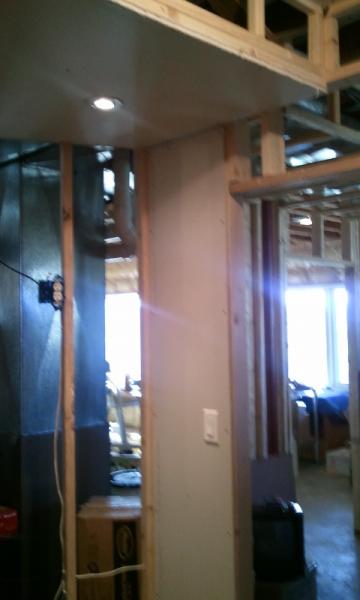
So I've been working on a brew room in my basement for the past 3 months. I brewed one batch on the stove upstairs (my first batch back in July) and decided it was time for my own room with all the conveniences. It's about 9'x17' in size:D

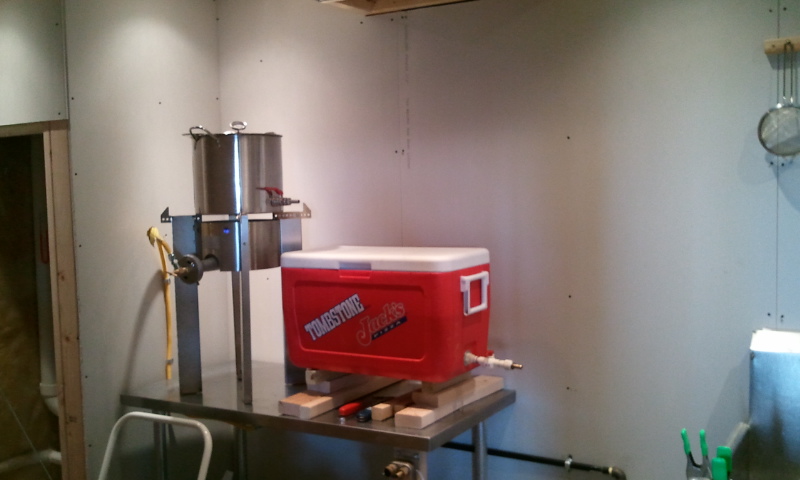
I found some awesome deals on Craigslist: huge SS wash tub for $110, a 24"x48" stainless steel table for $70 and a stainless steel range hood for $40. Those along with the fairly new full-size refridgerator for FREE (future kegerator); and a mini-fridge for $25. These things got me really motivated. I love CL.

I then framed in the room, ran all wiring, did the plumbing for the wash tub, ran gas pipe from a line that was already running through the ceiling, put up drywall (unfinished so far), put in speakers, ran cable (for future TV), put in a volume knob, built a fermentation chamber, and purchased a few other goodies to make the entire process a little smoother and more precise.
2010-10-11 09.41.02.jpg


2010-10-11 09.41.40.jpg


2010-11-16 08.33.43.jpg


2010-11-16 08.34.17.jpg


2010-11-16 08.35.34.jpg
 
Well today I finally used it all and brewed my first beer. I must say that it went very smoothly and hope for great results in a few weeks. My first two beers had some major flavor issues, which I believe that came from a hot ferment and various temperature fluctuations in the basement. I had a hard time controlling these things before, but hopefully that is all behind me.

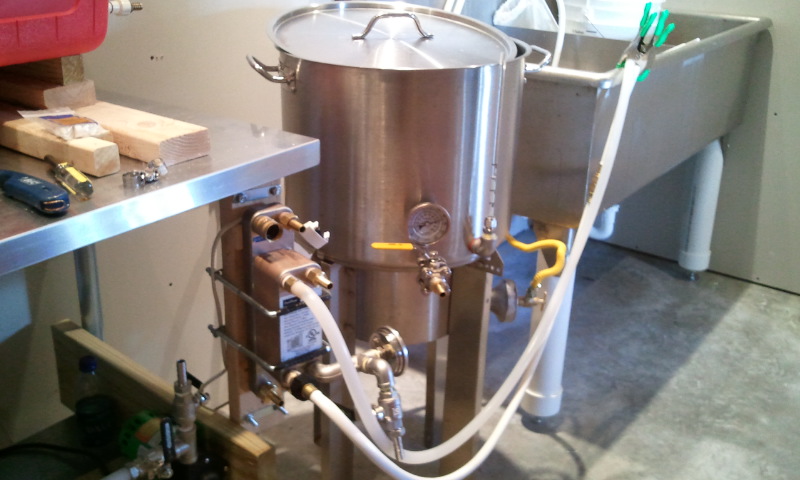
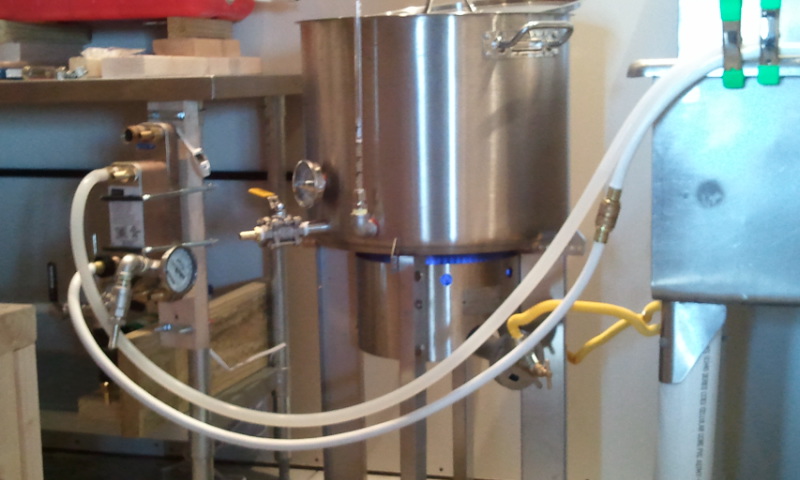
It's a 3-tier system, but I reuse some parts. I have my 5 gal. kettle up on the Blichmann burner with the legs on top of the table used as a HLT. Then while it's mashing, I move the Blichmann burner down to the ground so I can drain the wort into my 15 gal. kettle. Once my boil is complete I pump the wort (chugger pump) into the bucket through a 30-plate chiller w/thermomonitor to ensure a good cooldown. Then the bucket goes in the fermentation chamber (which is controlled by my ebay aquarium temp. controller).

Several hundred dollars later and I'm happy with the way it turned out and everything seemed to work very well today. I'm sure I will probably continue to tweak things as I see fit and maybe add some paint and tile at a later time. :mug:

2010-11-16 09.55.01.jpg


2010-11-16 11.41.27.jpg


2010-11-16 11.42.29.jpg


2010-11-16 11.41.56.jpg


2010-11-16 15.28.00.jpg
 
Volume knob for audio control and future flat panel site so I don't miss any sports. Also a hidden storage compartment behind the door which covers the power panel (holds tools, spare parts, etc.) and a fermentation chamber that can hold about 5 buckets at once.

2010-11-16 08.35.24.jpg


2010-11-16 08.35.04.jpg


2010-11-16 08.34.32.jpg
 
Wow that's a pretty sweet setup. Pretty new to brewing myself but alas Craigslist hasn't been that helpful yet. I keep checking so I'll keep my fingers crossed. Anyway looks great, good luck on the rest of it!
 
All said and done, I'd say less than $2,000 for everything (which includes a 4-keg system not shown), but many of my own hours to get it this way.
 
Yeah, time involved often is morethan actual money invested. I know my cars have been that way.
 
Yeah, time involved often is morethan actual money invested. I know my cars have been that way.

You are right, but it is so rewarding vs. paying someone else to do these things. I wouldn't be able to afford it any other way.
 
You are right, but it is so rewarding vs. paying someone else to do these things. I wouldn't be able to afford it any other way.

And the whole point of this hobby is to do it yourself instead of paying someone else. :mug:
 
I hope when I actually bite the bullet and buy my first house that I will have a "man cave." And in that man cave I'll keep my brewing equipment and all those goodies that you have included in yours.
 
Just a few suggestions:
1. If that drywall isn't fire rated I would put up something to protect the wall from the heat that burner spews out of it, even sheet stainless would be good.

2. Mold is in your future if you don't protect your walls from the moisture coming from the boiling process even with the venting as well as water you spill and creeps into the wall cavity. Tiling the floor and part of the wall would be great and give the room a "bathtub" effect so it keeps the walls dry on the inside.

3. I want a room like this!
 
Thanks for the pictorial, I have a space in my basement very similar that I am about to do the same thing to. i got a lot of good ideas, thanks again.


Cheers...
 
Very jealous! Looks awesome, and please keep us updated with pictures as you complete your project.
 
Just a few suggestions:
1. If that drywall isn't fire rated I would put up something to protect the wall from the heat that burner spews out of it, even sheet stainless would be good.

2. Mold is in your future if you don't protect your walls from the moisture coming from the boiling process even with the venting as well as water you spill and creeps into the wall cavity. Tiling the floor and part of the wall would be great and give the room a "bathtub" effect so it keeps the walls dry on the inside.

3. I want a room like this!

BigC:

1.) I agree with your statement, but I checked the wall during the boil and it wasn't even warm to the touch. Believe it or not, nothing outside of 6 inches from the pot gets warm; I was very worried about this and kept checking throughout the boil.

2.) I am going to do stainless or diamond plate around the washtub and near the boil kettle eventually. Maybe an X-mas present to me. Tile is on the wish list as well. I did keep the drywall at least 1/4" off the floor to prevent water from soaking in, in the meantime.

Thanks for all the nice comments. :mug:
 
Back
Top