Kegerator Project: Haier HRQ04WNAWW

Homebrew Talk - Beer, Wine, Mead, & Cider Brewing Discussion Forum

Help Support Homebrew Talk - Beer, Wine, Mead, & Cider Brewing Discussion Forum:

This site may earn a commission from merchant affiliate links, including eBay, Amazon, and others.

z987k

Well-Known Member
Joined
Feb 13, 2007
Messages
3,513
Reaction score
37
Location
Anchorage
I'll be using this thread to document the build up of my kegerator out of the mini-fridge I listed in the title. But for now I need to know if anyone knows if the freon lines run through the top of this. I did the corn starch and iso-alcohol thing and I think there are none. There is a chill plate in the back of the fridge that seems to be what cools the whole thing down.

Anyone have any ideas as to where the lines are?
 
If it has the condensor on the back (radiator looking deal) Then you are probably okay. I dont know where the evaporator usually is on those things though. Does it have freezer compartment? pictures in and out would help
 
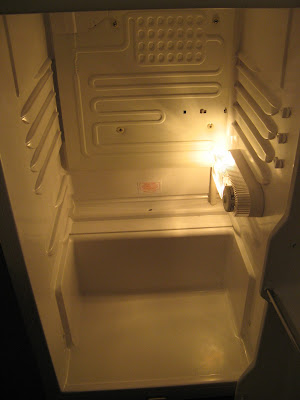
Here's 2 pics first is of the corn starch on top and the other is of the inside of the fridge.

00002.jpg


00004.jpg
 
Well the second pic clearly shows the evaporator, so no worries there. You never got a picture or told me if there was a radiator looking deal on the back of the fridge.
 
The back of the fridge is just the sheet metal. On the bottom is the condenser.
 
Thats the compressor. The condensor must be built into the exterior walls of the fridge. I would sprits the top of it with a thin mist of wat and plug it in and let it run. The water should dry up where the condensor lines run first.

I gutted a 1.7 cf haier and the condensor was all over the place. If it is anything like this then you will have to be very careful. I would carefully cut a circular hole in the plastic liner and scrape all the foam out. look for some aluminum tubing taped to the sheet metal. If there is you will have to move it out of the way. Be careful not to crimp it.

You can still plumb it out the door.
 
Here's the thing, I did the water thing, and couldn't come up with anything conclusive. The top of the fridge stayed ambient temp or maybe slightly cooler than ambient, and the sides got very warm. I'm assuming since that's why the water would evaporate first, the condenser is in the sides?
 
Did you get any results with the corn starch on the sides? If so I would go for it. I would still cut a hole in the top to inspect just be ultra sure.
 
I just did a quick google search on your fridge.
Is it a 4.2 cubic foot?
Can you fit 2 standard 8.5" diameter kegs in it?

Just Curious
BeerCanuck
 
yeah, I googled it as well and saw the 4.2 before I bought it, so I took a tape with me. It's 18" wide, and 29" tall (inside). Kinda tight on the sides but it'll work.
 
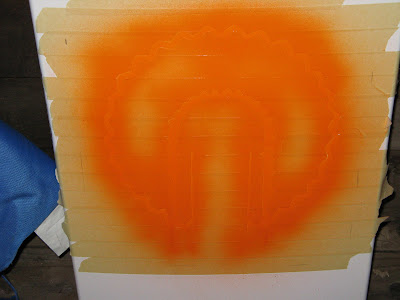
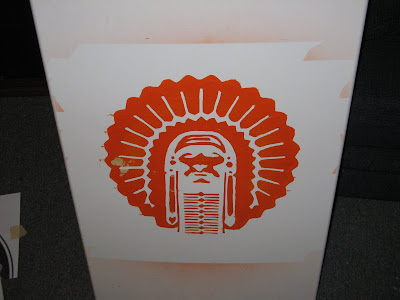
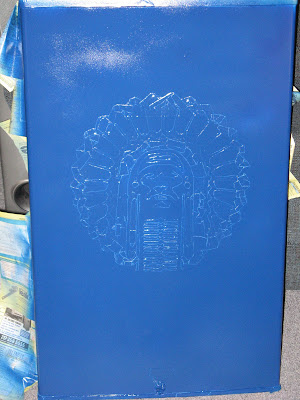
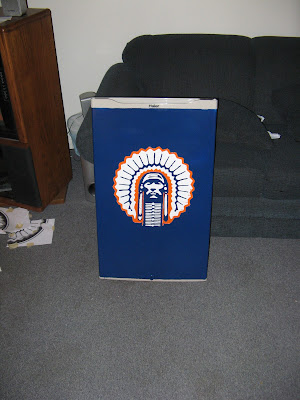
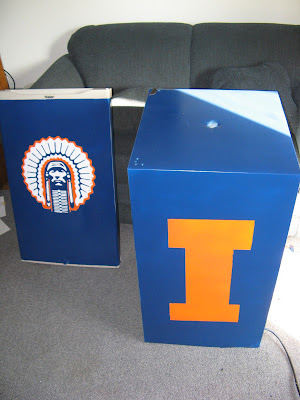
Figured I'd throw some pictures up of the project as it's coming along. It's taking longer than a regular kegerator build because of the painting, but I like the results thus far.

Also a note, there are absolutely no coolant lines in the top of this refrigerator.
00001.jpg


00004.jpg


00005.jpg


00009.jpg
 
That's a suweet paint job z even though I hate the logo to the core (Badger,Badger, Badger).

What did you pay, where did you buy and why break the Sanyo mold?

Just for future reference.
 
olllllllllllllllllo, yeah Bucky would have been easier to paint. I think any other big ten logo would have been easier to paint. It took me about 6 hours to mask and cut all of that. At first I was going to just pain it all blue and buy a large magnet, but my roomate was confident in my abilities so I went for it.

I bought the Haier off Craigslist for $50, no sanyos available except for retail at best buy. It seems this fridge will work nicely as well, since there are no coolant lines in the top.


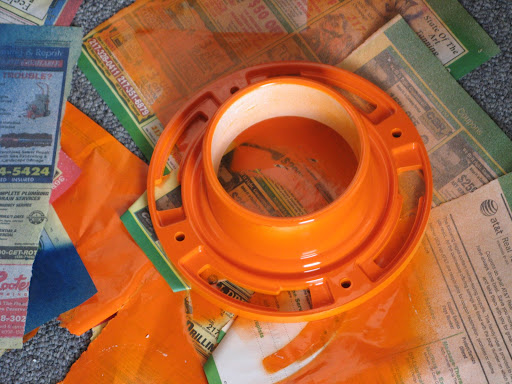
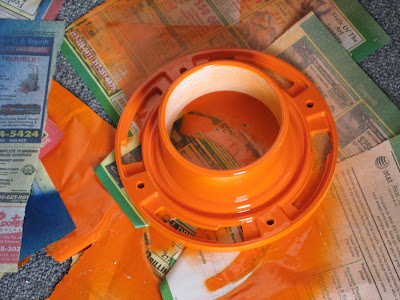
Cookiebaggs, yep toilet flange from home depot. It's going to be a T instead of the regular single tower, just wanted to break that mold as well I guess. I figured that way I can add more kegs later.... if it held more than 2 though.
 
Fantastic paint job there! My old man's an Illinois alum, I'll have to forward this this him :D.
 
More pictures:
00003.jpg

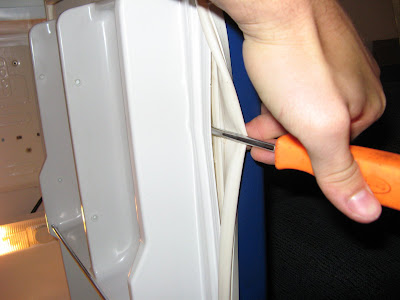
Need to take the inside of the door off, unfortunately it's glued on, therefore I had to use a screwdriver and utility knife to do it.

00007.jpg

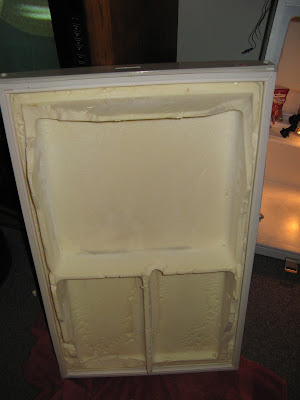
With all of the plastic off, exposing the insulation. You need to cut off the insulation where it bulges out so the kegs will fit.

00011.jpg

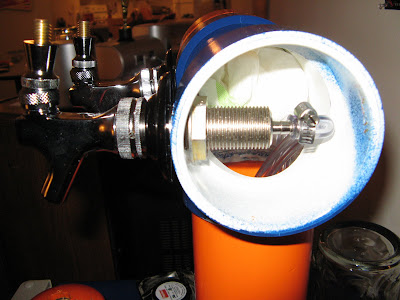
Shanks and Faucets

00002.jpg

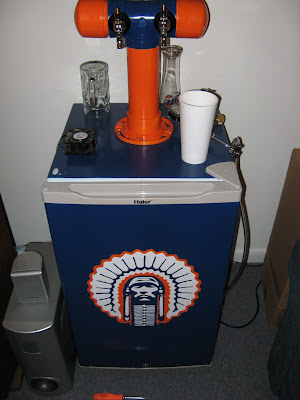
Finished from the outside.

I'm still waiting for my kegs to get here, but all the lines are ran so it's complete for the most part.
 
Hey, that looks really nice!

I'm sure it was alot of work painting chief Illinowek, but it looks great.

Nice job beating the Buckeyes on Saturday. Juice Williams is the real deal.
 
Here's some more pics of the build, and my kegs arrived today... to bad I'm 300 miles away.

00012.jpg


00015.jpg
 
Wow, just wanna say that I'm thoroughly jealous... I'm not allowed to start kegging for at least 4 or 5 months, says SWMBO... spent too much on initial startup :D

But soon... oh soon.... I can see the paint job already..........
 
only if thats what he meant orfy, then I wouldn't have to hate him so much. lol.
 
Damn, I wish I'd seen this earlier. I have a Haier kegerator (not a convert) with the exact same internals. You can drill anywhere, but it seems you already figured that out.

Nice job! The paint job is particularly impressive!
 
98, man the paint job rocks! :mug:

Long live The Chief! :rockin:

(OMG Orfy fer the love of GAWD, please not the evil Badgers. I still have nightmares about those furry little freaks. ;) )

Ize
 
Back
Top