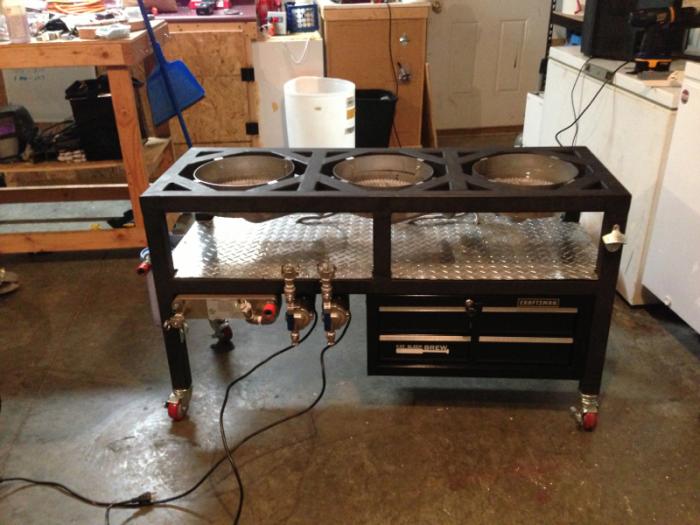
Brewtius Maximus/The Braxton 10 – Complete Single Tier Build

Homebrew Talk - Beer, Wine, Mead, & Cider Brewing Discussion Forum

Help Support Homebrew Talk - Beer, Wine, Mead, & Cider Brewing Discussion Forum:

This site may earn a commission from merchant affiliate links, including eBay, Amazon, and others.
I see. I plan to use honeywell valves in the future, so I will keep this in mind. For now Im just running a standard HP.

Nice stand by the way!
 
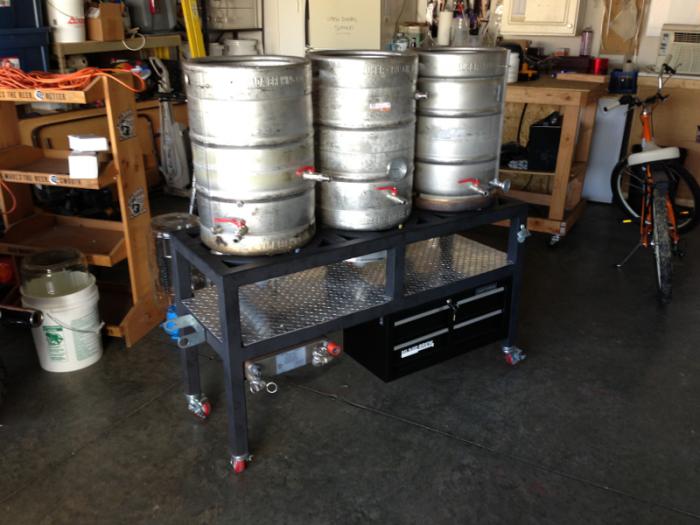
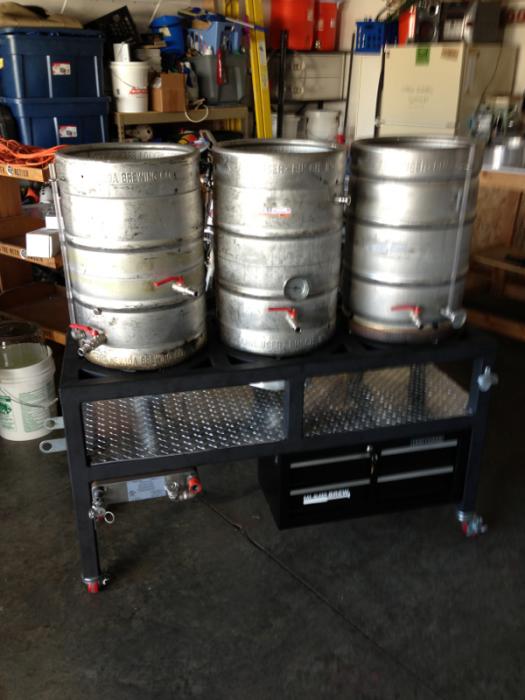
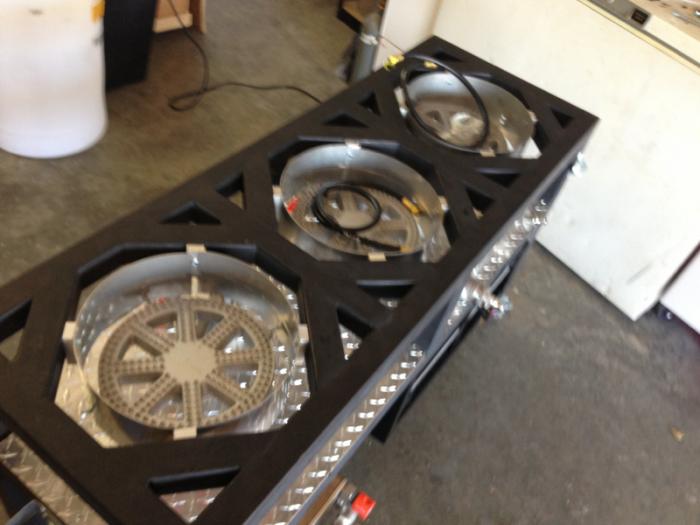
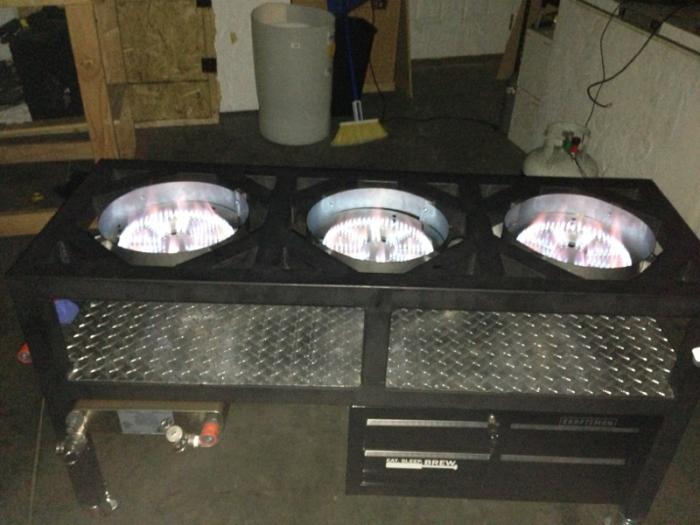
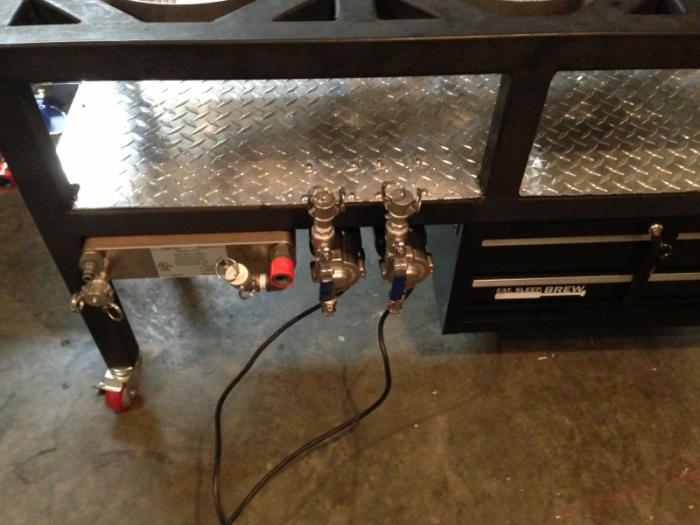
I still need to adjust the burners mount the pumps and wind shield. Figure out what to do for wind screens and possibly add Honeywell valves as well as convert to low pressure

image-4167595874.jpg


image-972633837.jpg


image-2862738136.jpg


image-2782159263.jpg
 
I had a chance to see BB's rig in person yesterday. It is really, really nice. Very sharp looking and very functional design. Still some things to do, but is something like this ever really finished? I don't think DaVinci put the brush down and said, "There, done with that", when he painted the Mona Lisa. I look forward to seeing this in action.
 
I had a chance to see BB's rig in person yesterday. It is really, really nice. Very sharp looking and very functional design. Still some things to do, but is something like this ever really finished? I don't think DaVinci put the brush down and said, "There, done with that", when he painted the Mona Lisa. I look forward to seeing this in action.

Thanks! And I agree.. Not sure if it will ever be "finished."
 
It's been awhile since an update, I've got a lot done, and had one semi-successful brew day. Things that went wrong:

Pump valve handles in wrong location, need to be flipped - kept me from controlling flow during use of plate chiller.
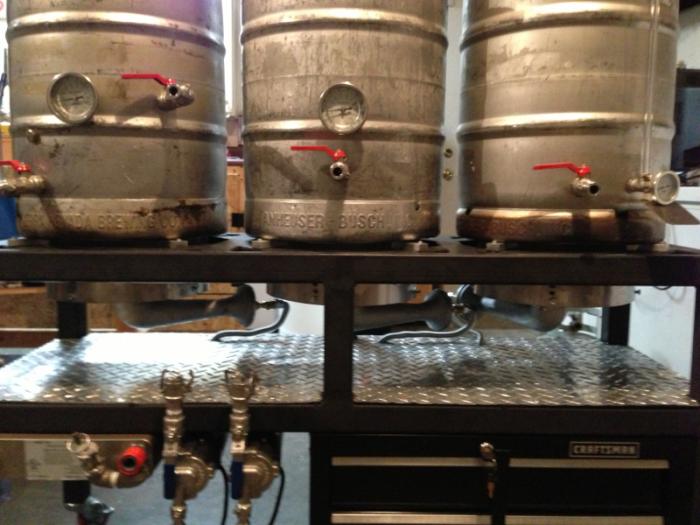
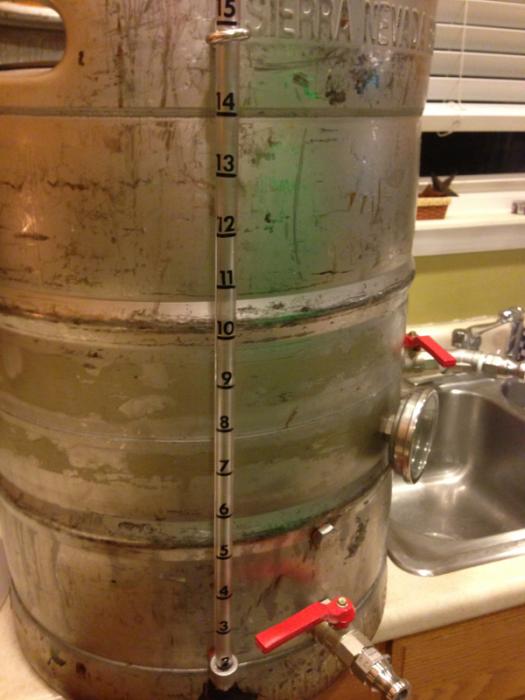
Thermometer in BK was leaking. Had to boil in my HLT.
Needed about 1 pound of rice hulls in the mash - grain bed compacted during recirculation. (cream ale - lots of adjuncts)
Should have made the first batch 5 gallons, insteaf of jumping in with the first batch being a 10 gallon
With out RIMS tubes Mash temp hard to keep steady

However, the beer is fermenting away and we hit all our numbers, so it was pretty good. The first couple brew sessions are definitely about getting kinks worked out.

I have everything for the control panel ordered: 1 honeywell valve, 2 PID's, timer, RIMS tubes, switches, lights, alarms, etc. will be using a 12X10X8 NEMA4 panel like cal. It will look slightly similar to this:

http://www.theelectricbrewery.com/forum/viewtopic.php?t=24952

Control panel is under way. Second brew day is coming 11/4(I hope) and 3rd 11/11 (definite)

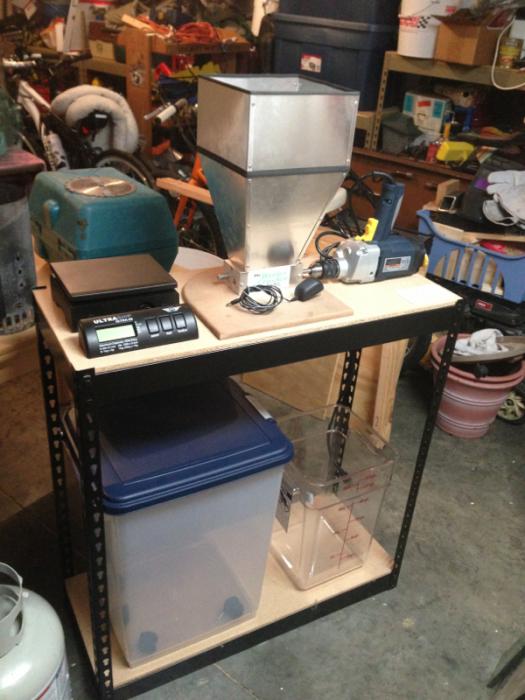
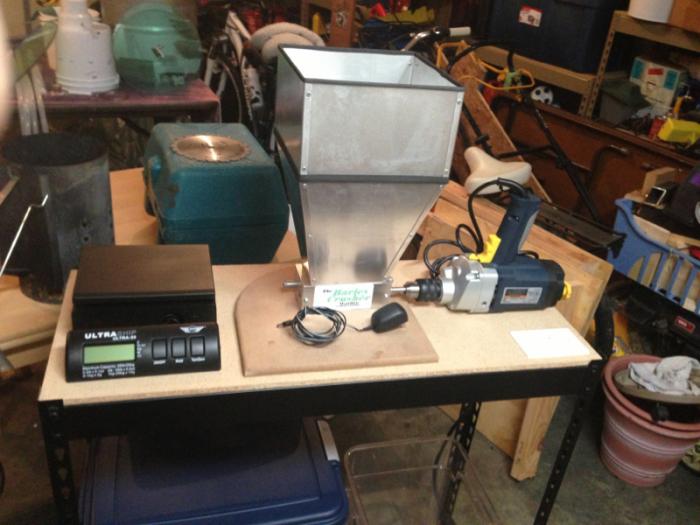
I love the Brewershardware wind screens, and I have also ordered a CIP spray ball to make cleaning easy.Oh, and my barley crusher is on the way! going to build something like this for it:

https://www.homebrewtalk.com/f51/harborfreight-drill-grain-mill-337006/index2.html

image-4224154904.jpg


image-2825281414.jpg


image-2413289944.jpg


image-2008904465.jpg


image-799627322.jpg


image-78631349.jpg


image-2159832869.jpg


image-2588458719.jpg


image-2399694705.jpg


image-1461691226.jpg


image-1335363379.jpg


image-298460773.jpg


image-839600878.jpg


image-1376197977.jpg
 
Its the 30 plate long from brew hardware. I used 2 T brackets from Ace Hardware and 2 stainless wing nuts. I used self tapping screws thru the T into the square tube and the bolts that are attached to the chiller with wing nuts. The angle bracket just gives some support.

image-470092021.jpg
 
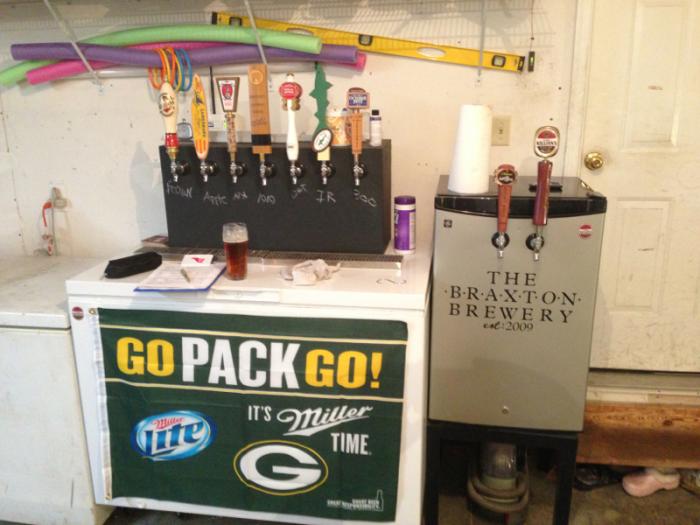
Okay, with 9 taps and that "GO PACK GO" sign... I want to come over for the games!

The stand is looking great too.

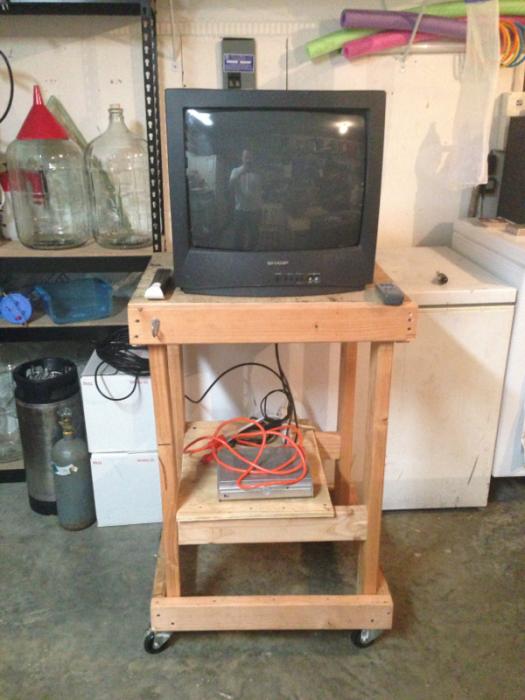
Just cut up the old stand (wood) and turned it into a tv cart. Haha Had an old tv sitting in the basement. Prefect for a brewery TV and with 100 ft of cable it can go anywhere I need it to. !:mug:

image-3037978856.jpg
 
I got to work on the grain mill station today since everything came in. I need to make a few changes, and to raise a shelf, throw some casters on it and that's all. Wiring is done. I got the idea from a different poster mentioned earlier. I think it looks great.

Next up: control panel, ferm chamber modifications, and brew stand finalization.

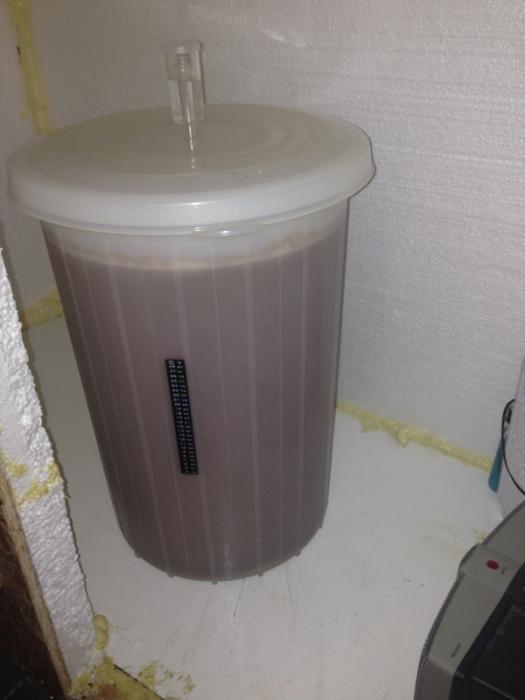
Also - that's the first batch from the new stand fermenting away!

image-4254633991.jpg


image-4255485902.jpg


image-1381307199.jpg


image-1687755986.jpg


image-4065303037.jpg
 
How did you make out with the burner heights? If I remember right there was some concern with it being too close to the pots.
 
Dragonman said:
How did you make out with the burner heights? If I remember right there was some concern with it being too close to the pots.

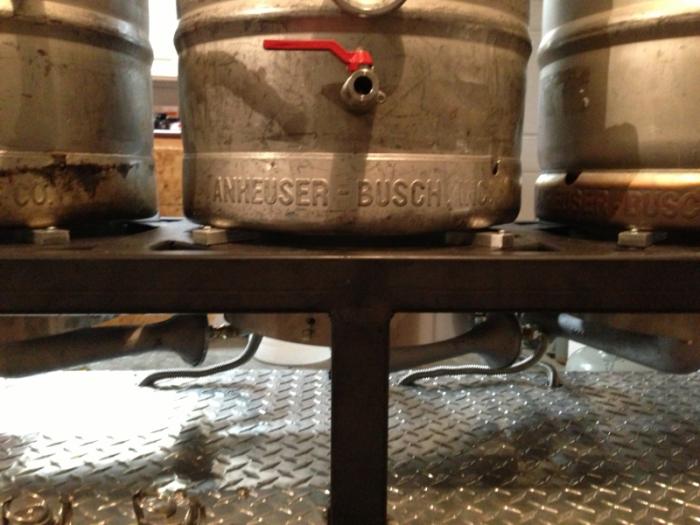
Bought 3 windscreens from brewers hardware. Mounted them at the lowest point on those. Also added 1/2" aluminum bar stock to raise the kegs off the stand. Offers more o2 and keeps my paint from searching.
 
Could you post pictures of the burners from below possibly, especially with the changes you made? What do you think you would do differently from the start to avoid the bar stock? Great job, you got me thinking I can do this now. Do you happen to have a master list for the rookies out here?
 
BB, When you find a minute please share an update on other tweaks you've made after a few more brew days. How many brews do you have on the rig at this point? I'm close to finishing my build and I'm pretty sure I'll have to make some burner height adjustments. Any guidance from your experience would be appreciated.
 
Sorry it has taken me so long to get back to my fellow Homebrewers.

I love the rig but if I had to do it all again there is alot I would change. I love the drawers but they make removing the pumps and plate chiller a pain. I just got the panel up and running, I just need to get the gas valve mounted and hooked up to test run with water. Will try to brew this weekend. Over all, Its great and I love it. I have a dozen brews on it.

image-122660982.jpg


image-4119801296.jpg


image-2750720797.jpg


image-2309946195.jpg


image-169415046.jpg


image-1596654065.jpg


image-1687001482.jpg
 
Check out brewhardware.com. He has everything you need to get that setup. It's worth the price. I use it everywhere during brewday.
 
HDIr0n & BraxtonBrewery, thanks for the insights.

if he's using a compression fitting to attach the thermometer, the ring must be really damn small... those thermometers have long needle probes (http://www.amazon.com/dp/B0021AEAG2/?tag=skimlinks_replacement-20) so the ring would need to fit that.

does brewhardware.com have compression fitting that small? if so, i wasn't able to find them.

(update: yes, brewhardware does indeed have them: http://brewhardware.com/thermometers-71/153-probecompression2)
 
Last edited by a moderator:
Hi, BB. I ama relatively new home brewer and love your rig. But, I'm debating on the relative value of buying a rig or making one like you did - custom and all. Can you share how much dough you have in the brew stand, including the welder (Ive never welded before, but I'm handy) and other tools? I have my pumps, burners, kegs, quick-cam locks, tubing thermometers, etc (thanks, Bobby from NJ). I'm trying to talk my wife into this for my upcoming birthday and would rather get it than spend weeks shopping for parts, etc. Was it worth it for you? Brew on!
 
Very nice rig like the control panel. I want to do something like that, did you any trouble setting it up? What kind of honeywell valves do you have
 
This is exactly what a Packers fan's setup would look like! Nice job my man! What enclosure and mount did you use for the PID/Control center?
 
Ok maybe two actually! I am still in the planning stages of my build and I have to ask why you have the three Keggles so tightly pitched together? I am give them a good 4 inches in between. Yes i know this means more steel but then I have room for lines and such. One more question as I do know they are low cost but if your going through all the trouble Why Keggles? They are hard to clean and Blichman or Stout tanks are very easy to clean and really nice too boot. Great build don't mean to be critical just like to know everyones thought process.:drunk:
 
Kind of interested in this build. Where do people source the steel for stuff like this? He needed 44' of steel tubing. That's maybe about $250 worth of steel. Wonder where one could try and find scrap steel for that kind of thing.
 
Ok maybe two actually! I am still in the planning stages of my build and I have to ask why you have the three Keggles so tightly pitched together? I am give them a good 4 inches in between. Yes i know this means more steel but then I have room for lines and such. One more question as I do know they are low cost but if your going through all the trouble Why Keggles? They are hard to clean and Blichman or Stout tanks are very easy to clean and really nice too boot. Great build don't mean to be critical just like to know everyones thought process.:drunk:

Sounds like your design is similar to mine. Stout tanks and 6" apart due to the handles on the sides and for room to eventually hard plumb it. Go with Stainless!!! The cost is not much more than steel and is easy to weld even with a cheap Everlast Tig welder ( and fun too )
 
If I know Braxton, to get the steel he probably stole guard rails off a highway in front of a church!!

We have to get Braxton to post pics of the latest version of his rig. He's made some changes/additions since those last pics were taken.
 
Back
Top