OP
OP
Boerderij_Kabouter
Well-Known Member
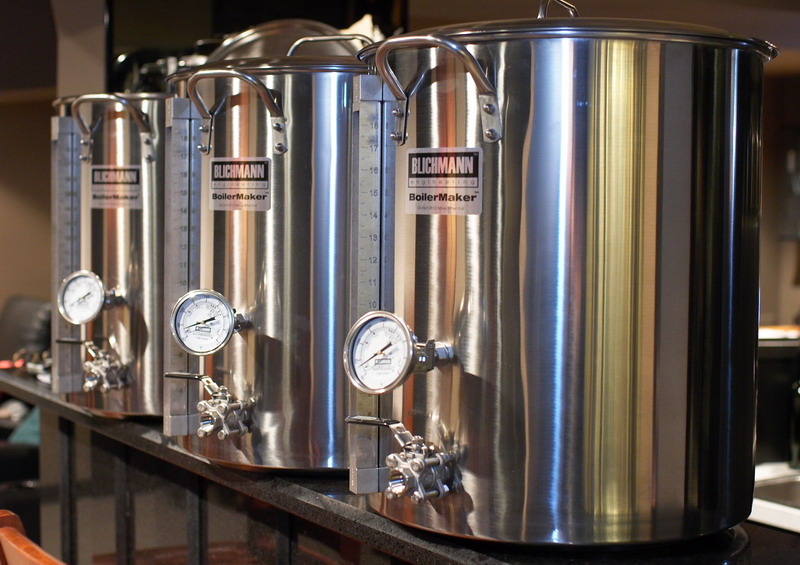
WOW!!! That is awesome! I want to see more pics 
That thing is unreal! I want to see some detail shots and hear about any tweaks you made to the design.
Great work!
That thing is unreal! I want to see some detail shots and hear about any tweaks you made to the design.
Great work!
")