Mistakes I made while attempting Kals Electric build

Homebrew Talk - Beer, Wine, Mead, & Cider Brewing Discussion Forum

Help Support Homebrew Talk - Beer, Wine, Mead, & Cider Brewing Discussion Forum:

This site may earn a commission from merchant affiliate links, including eBay, Amazon, and others.

NewBrewB

Supporting Member
HBT Supporter
Joined
Dec 26, 2009
Messages
807
Reaction score
48
Location
Pace
We all know this one:

"Measure twice, cut once"

I learned that it should read:

"Measure twice, cut once with the right tool"

I was so excited to get my 45mm bimetal hole saw in the mail. I finally checked amazon and a week after ordering, it still had not shipped. I canceled the order and paid $7 more to buy it at HD. The next morning, my wife and I were cleaning the house for company but I wanted to cut the last two holes so I could paint the enclosure.

In my rush, I grabbed the wrong bit and cut 51 mm holes instead of 45mm......had to spend an extra hour creating a steel plate from another enclosure I had originally purchased but decided not to use, and then JB welding it in place and getting everything filed down....

Going to paint it this morning--Hopefully it will look fine (and at least it is on the bottom)

ForumRunner_20120408_074007.jpg
 
Nice save. I just went with a jig saw and a standard 2 plug 15A twist-lock($5.50) for the pumps.

CP BOTTOM.jpg
 
No pictures but I essentially drilled the holes for one of my heat sinks just barely too far apart. After that, the bolts wouldn't thread properly without angling and stripping, in addition to leaving a gap that the silicone didn't fill..... ended up having to re-drill/enlarge the holes, curse at it quite a bit, scrape and re-apply the silicone, and use washers so the bolt heads didn't go through the enlarged holes.

Measure twice, cut (or in this case, drill) once.
 
Oh... also somehow bought the wrong 22mm lights.... I got the ones that are also switches and are not properly sealed/water resistant.

I've been stalling on ordering my Volt/Amp meters... finally decided to do it today and realized they could take up to a month for shipping---pretty disappointing. If you are attempting this build, get your stuff ordered from Chinese manufactures as soon as possible... Auber Instruments is wicked-fast so no hurry on their components.
 
You're lucky you didn't make that mistake on some Blichmanns! That would really suck.
 
Oh... also somehow bought the wrong 22mm lights.... I got the ones that are also switches and are not properly sealed/water resistant.

let me know if you want to sell the wrong ones. I think I could use them send me a pm with some pics of them if possible. Good luck with the rest of the build. I completed a much simpler 1 pid control panel for a herms setup. Also if you want I could find the name of the Chinese eBay seller I used to buy lights and switches, I had tracking from china and only took 10 days to NY.
 
I bought two definite purpose contactors--didn't really realize Kal's design uses power relays (page 245 mentions both but doesn't demonstrate installation/use of the Contactors) Anyway, I bought a 120v and a 240v... Now that I'm getting further in my Kal build, I'm wondering what I should have bought instead...

Does it matter if I use the 240? Should I sell both and buy Power Relays?

*sigh*
contactors-53895.jpg
 
In Kal's design the 120V loads (pumps) are switched directly, and the 240V loads (elements) are switched by relays and then controlled by SSRs. So all three relays in the box (incoming power, element, element) need to be the same - 240V.

Edit: The labels in that picture show the coil voltage as being what's different, it says nothing about the load voltage, just the load amperage. If those are rated high enough, you'd have to switch one of them at 240V and one of them at 120V. Sounds like a bad idea to me. Go for 240V 40A+ load rated relays, with 120V coils.
 
Both of those contactors are double pole & are rated for switching 240V 40A. One has a 120V coil and the other a 240V coil.

They will work just fine for your setup. Just energize their pick coils appropriately.
 
P-J said:
Both of those contactors are double pole & are rated for switching 240V 40A. One has a 120V coil and the other a 240V coil.

They will work just fine for your setup. Just energize their pick coils appropriately.

Thanks p-j!
 
Drilled holes before receiving the parts in the mail....

I recommend buying all "like" parts at the same time. I bought my doorbell transformers and variable output transformers at different times but went ahead and started drilling holes based on the sizes of the first one to arrive. Even though they are the same model and (I think) from the same seller, they were slightly diff sizes. Had to get creative when it came time to mount them.
 
Question...

Working on the wiring. The two doorbell transformers each have pos/neutral/ground wires coming out. My question is about whether each of them should get connected separately back to the bus or if I can connect the ends of both transformers' hot wires to a third black wire that runs to the hot bus.

(same with neutral...both transformers' neutral wires to a third white wire connected with a twist connector and then the third white wire goes to the neutral bus.)

I cant upload photos so maybe this helps:

Positive (black)
Volt doorbell transformer-------\twist connect________hot bus
Amp doorbell transformer------/

Neutral (white)
Volt doorbell transformer-------\twist connect_____neutral bus
Amp doorbell transformer------/

Thanks
 
Thanks Huaco for answering this question in a PM


As for more "mistakes"... I wish I had placed the hot and neutral buses further from each other because I didnt have much space for the jumpers. I got it done with about 1" of space but the jumpers overlap quite a bit.
 
NewBrewB said:
Thanks Huaco for answering this question in a PM

As for more "mistakes"... I wish I had placed the hot and neutral buses further from each other because I didnt have much space for the jumpers. I got it done with about 1" of space but the jumpers overlap quite a bit.

Just out of curiosity what did you go with? I would think it wouldn't be a problem, but I definitely am not the person for electrical help.


One mistake I made in the wiring process, although not a mistake, was to wire most of the front panel lights and switches back to the buses individually. I didn't read the part about connecting them until I was about 75% done. You can only imagine he rats nest inside.
 
Sorry for the slow response...went with wire nuts but also soldered each set of three wires together. I think that should work out alright. I guess I will let you know once I get an outlet installed and plug it in. :)
 
I haven't updated this in awhile.... Wanted to add a couple of comments.

1) The coil. The absolute hardest part of this entire process was getting the coil mounted inside the HLT. So I used a Keg... big deal. I don't care if you have a keggle or a $500 blichman--this part is tough. Hell, just coiling the thing was excruciating. My advice is if you are even considering building kal's brewery, START with the HLT. If you can get through that without losing your mind, this project is for you.

2) Consider ventilation. I cut this corner and filled my garage with steam. Worked out fine until I opened the garage door and almost walked into an adult black bear in my driveway. I guess bears like American Pale Ale.... funny, but scary at the same time (since I didn't get mauled to death I guess it's all good).

3) Think hard about the power cable design. Even though Kal's design is great for keeping water out of your electricity where the cable meets the element, having a long (heavy) black cable hanging off of it really is a pain. I'm not sure what the solution would have been, but there has to be another way that would make cleaning them easier. I also almost had a problem with temp probe cable lengths but ordered the whatever deluxe ones and they were long enough.

4) This system is not "cheating." Maybe somewhere in the back of my mind, I thought that if I built this system, somehow that would help me become a good brewer. Nope... only studying, experimenting, experience, and time can do that. It is fun to flip the switches though.

5) Oh, one other thing. I would recommend using DIFFERENT COLOR LIGHTS for the pump indicators. It is really easy to hit the wrong switch (yes, beer pump/switch on left & water pump/switch are on the right). If you hear that grinding noise, turn it off immediately.

6) I realized why people that are smart enough do enclosed systems. Every time you disconnect a hose, it drips a little (or a lot if you forget to close the valve). Boiling beer = boiling drips. With all of the money put into QDs and hosing, I bet I could have designed an enclosed system with a bunch of valves, that would have made clean-up MUCH easier and kept the mess off the floor.

That's it for now. I'm sure I made many more mistakes, but I hope this thread was at least a bit helpful.
 
I'm in the beginning stages of building mine, and #6 (the mess of switching hoses around) was an obvious problem to me. Especially since my brewery will be indoors in the same room as my TV and expensive, as I've accidentally disconnected a hose before while it was still connected to the cold water... my kitchen got soaked!

So I've put together a design for a system that will be *fully* enclosed. Not just the vessels themselves, but the hot and cold water supply *and* drains. But another problem arises. It requires so many valves to accomplish (about twenty), and it's pretty difficult to set all twenty valves to the correct positions every single time.

So I've decided that my only choice is to go with automatic, motor-actuated ball valves. And buying twenty of those babies ain't cheap!

So yeah, I do think enclosed systems are the best choice, but they are also more expensive, and possibly even a HELL of a lot more expensive, depending on how far you decide you need/want to take it. So I can appreciate that not everybody can afford (or simply just don't want to spend that much on) such a system. And for most systems, that's okay. But I have almost $10,000 of electronics in that room, so spending the extra money (looking at about $800 for *just* the ball valves) is a no brainer, especially when I've already made a mistake before that could have caused some serious damage had those electronics been in the same room at the time.
 
A&G Homebrew supply (Portsmouth, NH) has an enclosed pipe system. I dont think I took a picture of it but he did a masterful job of designing it. Depending on what he is doing, the liquid may be flowing different directions through the same valves. He also only uses one pump (gravity from HLT cuts out the second). If I took a picture I will post it. If not, I will email him and ask for one.
 
NewBrewB said:
4) This system is not "cheating." Maybe somewhere in the back of my mind, I thought that if I built this system, somehow that would help me become a good brewer. Nope... only studying, experimenting, experience, and time can do that. It is fun to flip the switches though..

Well said. I have taken notes of each brew day and learn a lot from each round. Figuring out how the system reacts to different actions is a delicate thing. The more you introduce to a brew day the more that go wrong. I knew I would have a learning curve, but I would agree that it was a lot larger than I expected.
 
One aspect of ky learning curve is my strike temp. It takes awhile to get back to mash temp if I strike too low but it also takes awhile to cool down if too hot. Really seems like something I need to nail down.

Any thoughts? 5 degrees? 10? 2 degrees per 4 lbs of grain? Im sure there is a good way to make educated guesses instead of just winging it.
 
Promash has a calculator that takes into account the thermal mass of your tun and the temperature for the lbs of grain you have. It's pretty close for my system.

I'm willing to bet other calculators are available as well.
 
BeerSmith 2.0 gives a decent estimate of what temp your water needs to be given the quantity of water, grains, material of your tun, size, and ambient temperatures. Easy enough...
-Kevin
 
Are those both ipad apps,computer software, or web calculators?

Anything good for the Android system? I have BrewAide but it only seems to work if I have preformatted recipes to import.

Sorry if this discussion derails the real purpose of the thread a bit.
 
BeerSmith is a PC program that will cover your brew from the ingredients through to the finished drink. Not sure if there's a simple Android app.
 
NewBrewB said:
One aspect of ky learning curve is my strike temp. It takes awhile to get back to mash temp if I strike too low but it also takes awhile to cool down if too hot. Really seems like something I need to nail down.

Any thoughts? 5 degrees? 10? 2 degrees per 4 lbs of grain? Im sure there is a good way to make educated guesses instead of just winging it.

Just curious if you have checked out Kal's brew day section. I am assuming you have, but if not it is pretty detailed. His suggestions are right on the money.
 
I have tried to refer to it but usually get annoyed that it isnt mobile friendly...

It would be much better if I could download a .pdf with the whole thing, or at least the option to load the whole page at one time. Trying to find info piecemeal on 20 different web pages is pretty irritating.

I'll take another look when I can.
 
At the request of another brewer, I'm posting the measurements I used to do my keggle conversions.

First off, I wish I had done the kegs inverted--just a much cleaner/more efficient drain process for cleaning....but I didn't.

From the bottom rim of the keg to the center of the hole for the element(s) = 4" Could probably have gotten away with 3.5" but I was conservative.

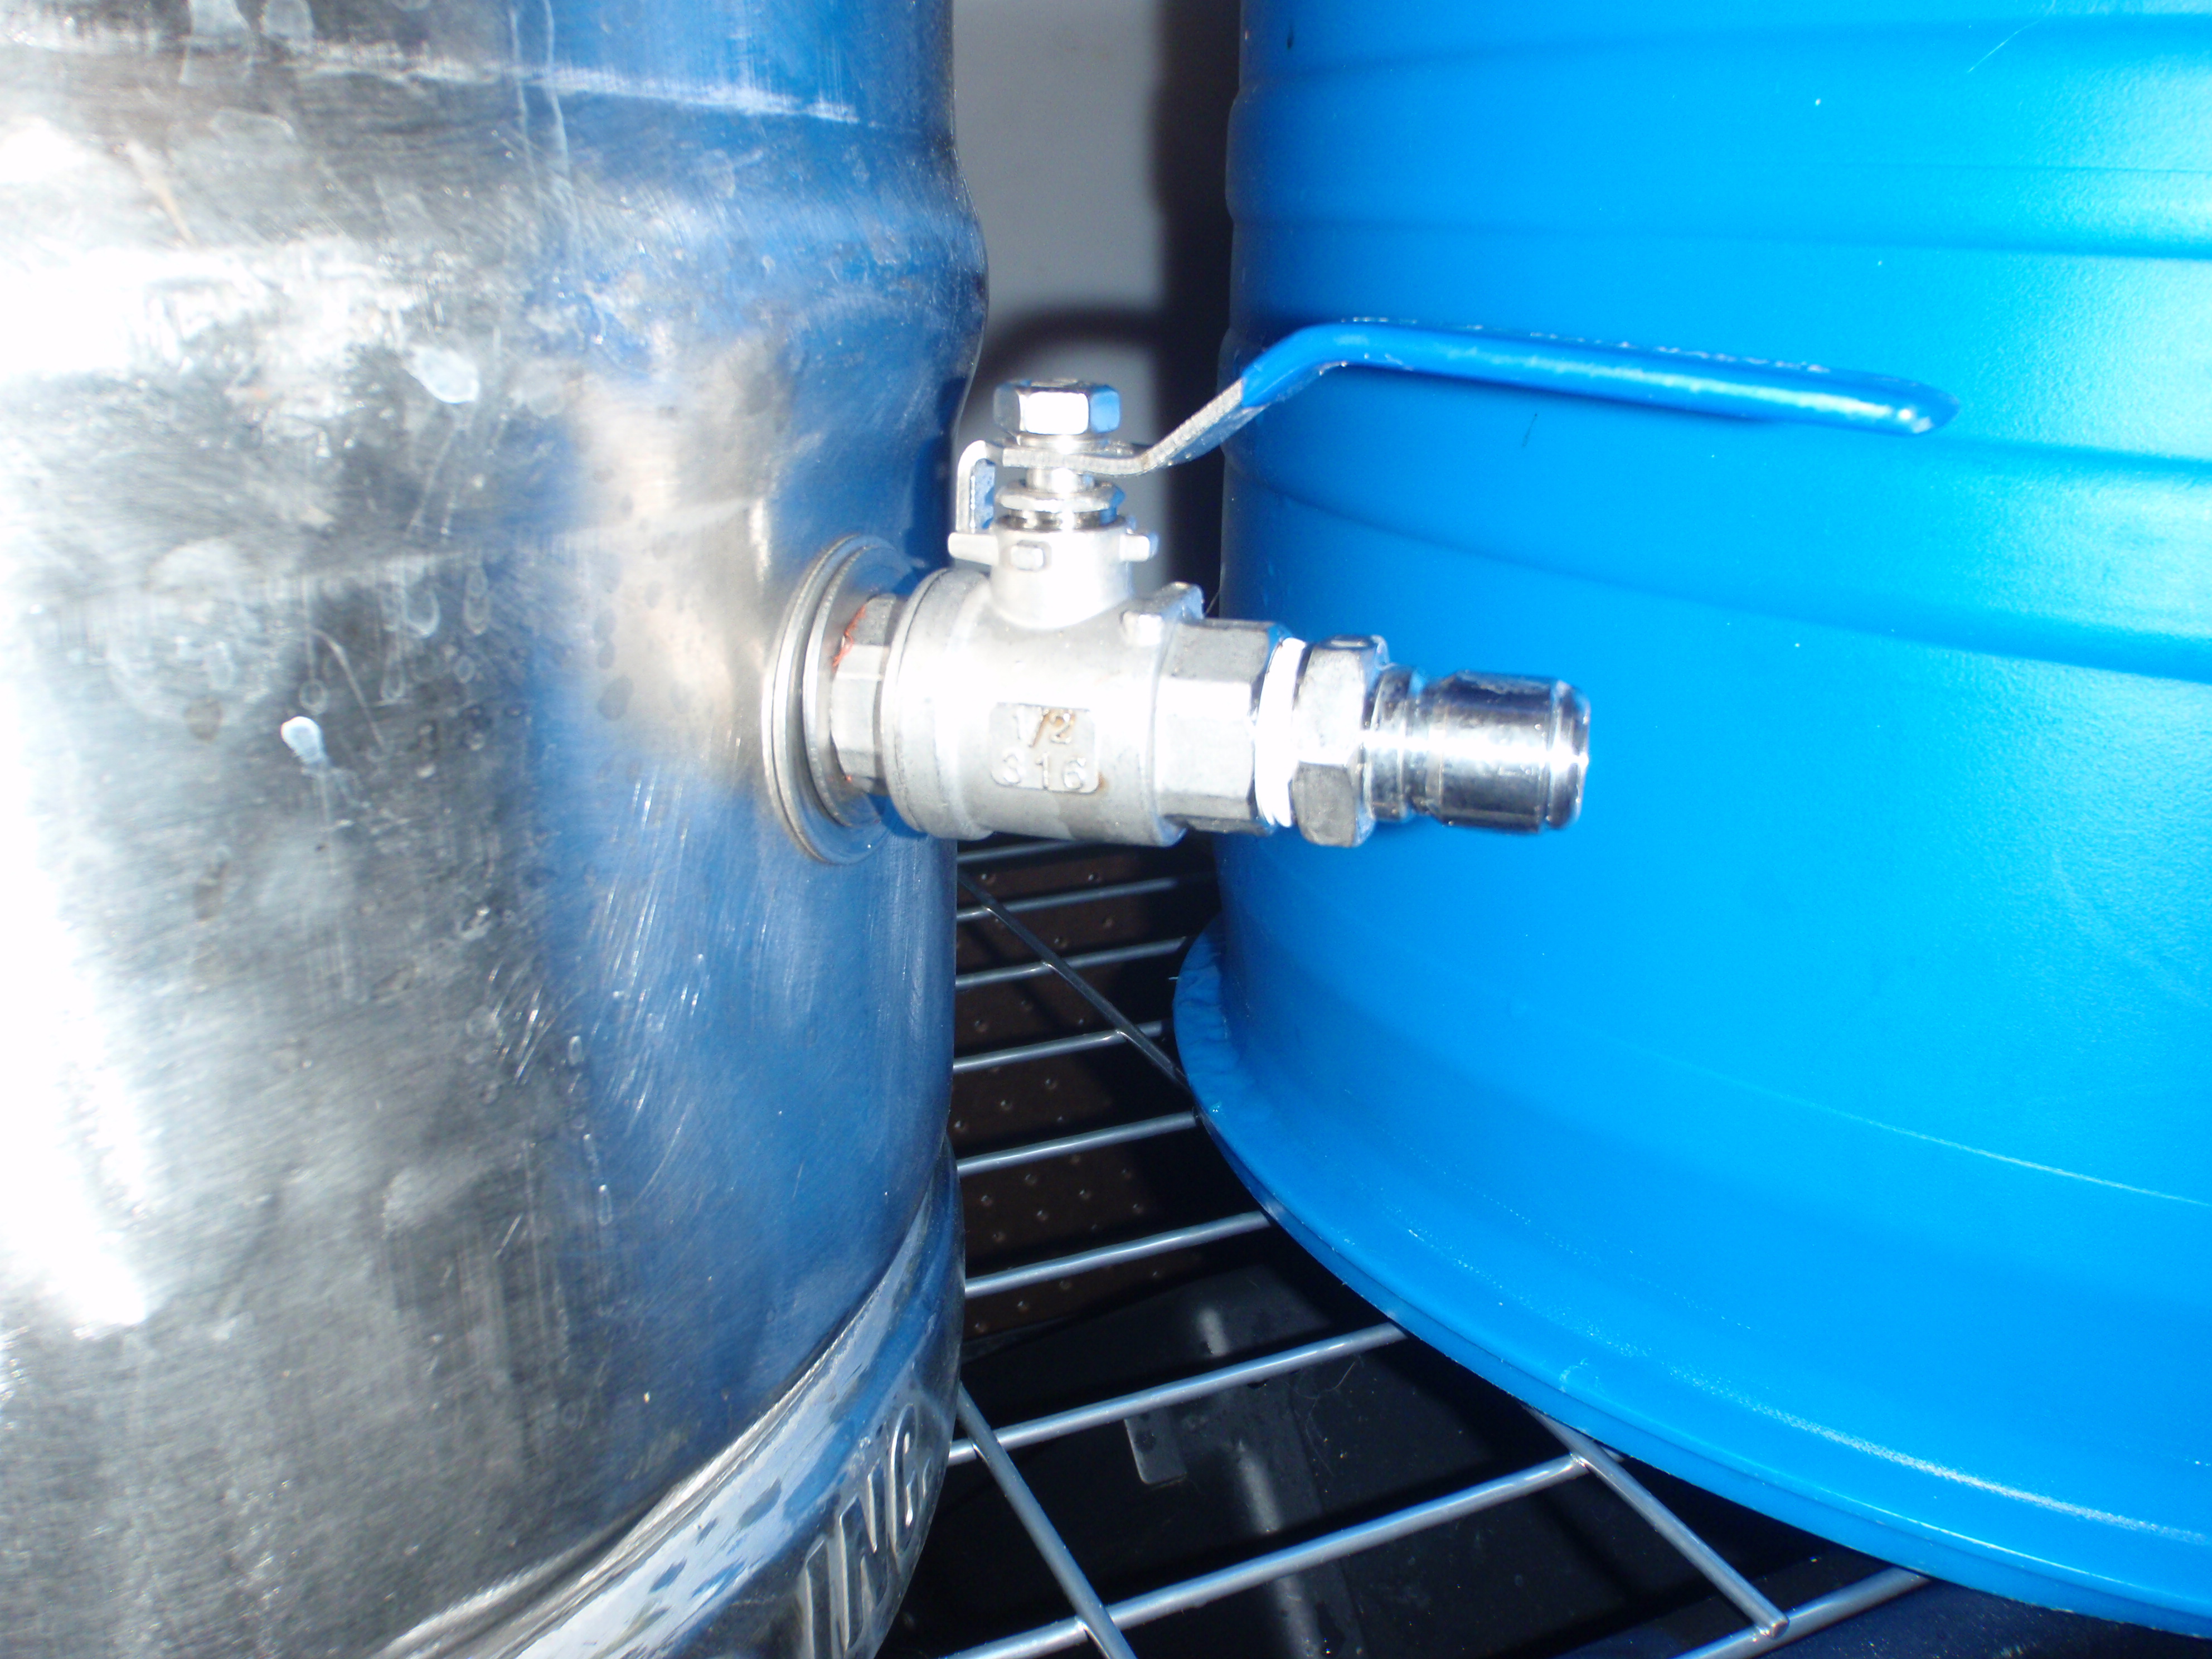
My coil was a dissaster, so I placed my holes for the ball valves on each end where I thought they would be up off the element but low enough to stay submerged. My advice--DO NOT CUT YOUR HOLES UNTIL YOU HAVE THE COIL THERE TO MEASURE AND MAKE SURE IT IS LINED UP. (Also, if they are staggered, make sure you don't measure and punch your holes backwards...for instance, mine were top right & bottom left but should have been top left and bottom right....fixed it by using the extra lower hole for my dip tube and punched a new hole way to the right for the other coil valve...
From the bottom of the keg to the low coil valve = 7.5 "
From the bottom of the keg to the high coil valve = 13.5"

Here are a few more photos...kinda blurry because of the flash with the reflective stainless. If you have questions, I'll do my best to help.

Hmm.. having trouble uploading. Going to reboot then post.
 
What do you mean by "inverted"? I'm going to be putting a coil in my keg soon too.

Some guys turn the kegs upside down and cut the bottom instead of the top. .. Then they install a clamped fitting on the existing 2" Sankey fitting as a drain instead of a dip tube through the side.

You can't do it with propane burners but with electric elements it is possible and makes cleaning them in-place MUCH easier.

Wow!!! Never even thought of that!!! That's awesome!! I'm off to search....
 
3) Think hard about the power cable design. Even though Kal's design is great for keeping water out of your electricity where the cable meets the element, having a long (heavy) black cable hanging off of it really is a pain. I'm not sure what the solution would have been, but there has to be another way that would make cleaning them easier. I also almost had a problem with temp probe cable lengths but ordered the whatever deluxe ones and they were long enough.
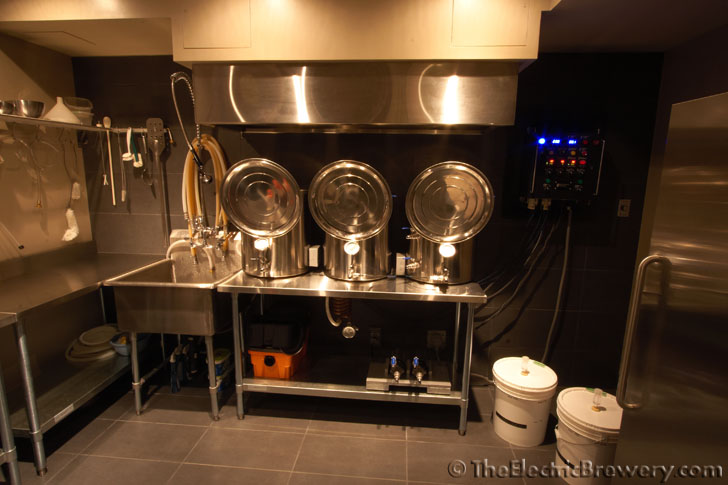
Don't disconnect them. Make how you clean part of the design. That's what I did. Nothing in my boil kettle is unplugged to clean it. It's simply tilted sideways into sink right besideand then sprayed clean while I wipe with a sponge.

IMG_2253.jpg


The Layout was done like this on purpose to make cleaning the easiest possible. The HLT never gets disconnected as it never needs to get cleaned.
The MLT gets the temp probe disconnected and it's cleaned on the left of the sink (tilted into the sink) while boiling.

Kal
 
let me know if you want to sell the wrong ones. I think I could use them send me a pm with some pics of them if possible. Good luck with the rest of the build. I completed a much simpler 1 pid control panel for a herms setup. Also if you want I could find the name of the Chinese eBay seller I used to buy lights and switches, I had tracking from china and only took 10 days to NY.

Just a tip, I have been using shamrockcontrols.com as a source for pushbuttons and switches, low prices and they are in Texas. They also have contactors and power supplies.
 
Don't disconnect them. Make how you clean part of the design. That's what I did. Nothing in my boil kettle is unplugged to clean it. It's simply tilted sideways into sink right besideand then sprayed clean while I wipe with a sponge.

The Layout was done like this on purpose to make cleaning the easiest possible. The HLT never gets disconnected as it never needs to get cleaned.
The MLT gets the temp probe disconnected and it's cleaned on the left of the sink (tilted into the sink) while boiling.

Kal

How do you clean and deal with the spent grain?
 
How do you clean and deal with the spent grain?

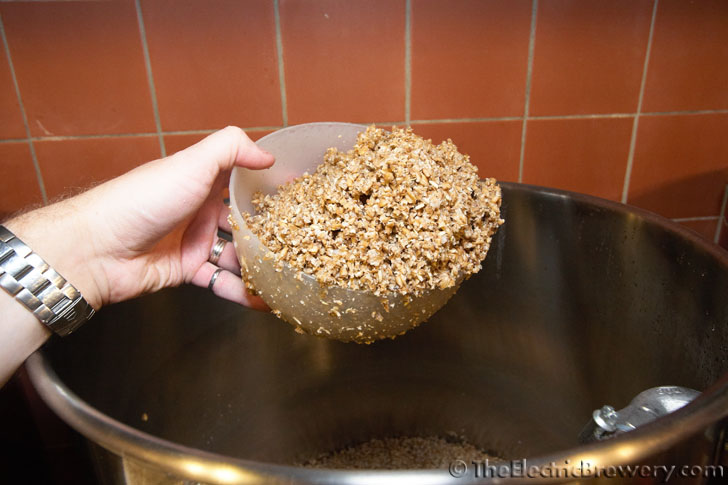
I scoop the spent grain out first with a small bowl and then the MLT is cleaned on the left of the sink (tilted into the sink) while I'm boiling in the boil kettle. Some brewers use a shop vac. Choice is up to you.

IMG_7307.jpg


IMG_8070.jpg


To not derail this thread with questions on , complete details on my brew day can be found in my Brew Day Step by Step article.

Kal
 
Back
Top