OP
OP
daveooph131
Well-Known Member
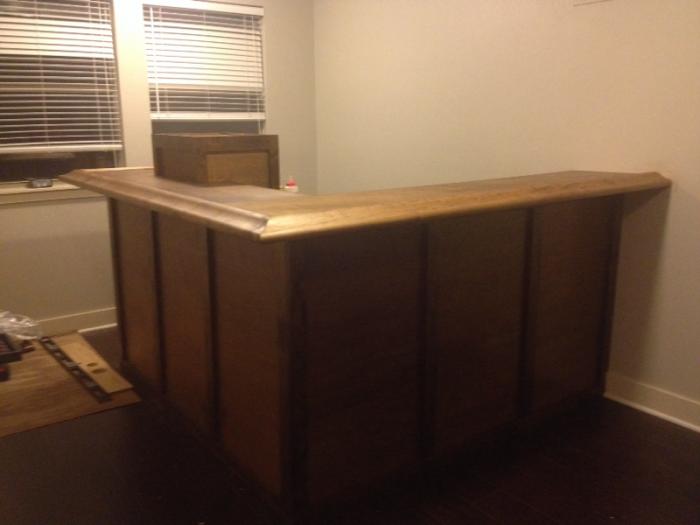
And the finished product....


Malric said:Any chance you could make a video on how you're attaching the tap line through the lid and into the coffin box?I saw the previous post, but I'm not sure I get it.


Hmm never thought of that just a stainless steel piece?Malric said:Stainless?
What are hydro outlets ? I have thought about lighting under the bar but probably will add that later if I want as I'm trying to keep cost down now as I'm over budget. I will be putting a serving top on but will be doing that last.kenmyfam said:One more question. Are you putting any hydro outlets up there in the back splash ?? Worth their weight in gold in my opinion....oh and any under counter lighting ?? wise to put that in while you still have some access left.
What are hydro outlets ? I have thought about lighting under the bar but probably will add that later if I want as I'm trying to keep cost down now as I'm over budget. I will be putting a serving top on but will be doing that last.


I can do that. I'll try to get a video up soon.
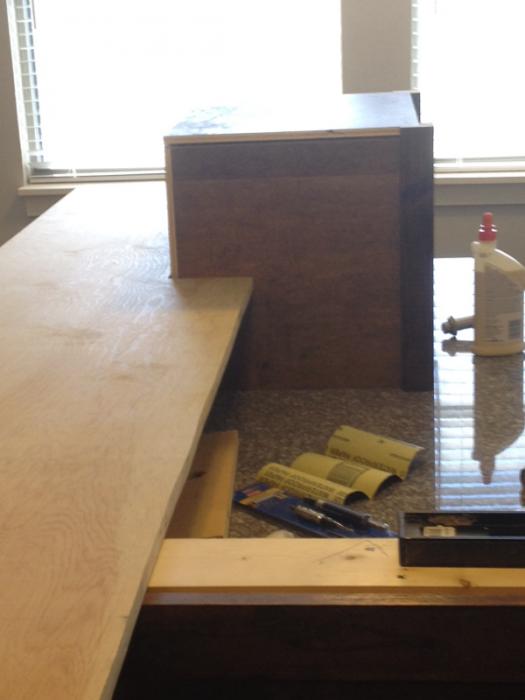
Today got the inside are of the bar framed including the chest freezer pull out side skinned.
johndejoie said:3/4" plywood with 1" trim? Am I seeing that correctly? How is your airflow under the cabinet? (Some other posts have talked about freezers cooling through the sides.) Just curious


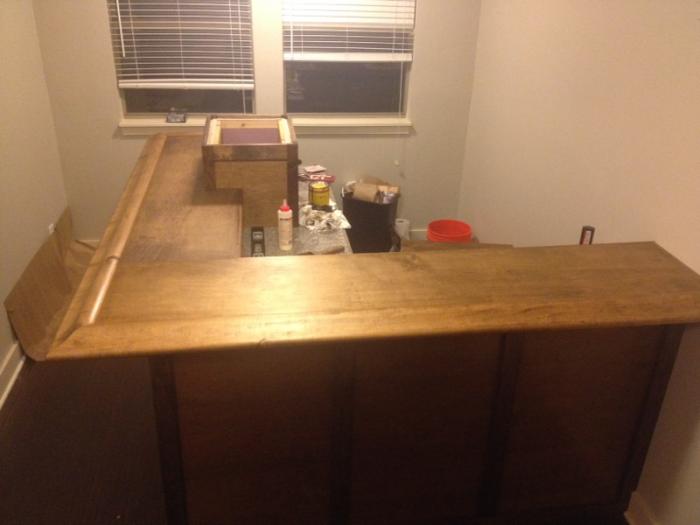
Black_Z28 said:Do you have any pictures of the coffin removed with the freezer pulled out to gain access to the kegs? Would like to see how it all looks now that it's all finished. Thanks man.....looks great.


Hope this helps if not let me know and I'll try to snap more pictures.
In this photo you can see we drilled a 3.5 inch hole on the coffin box sub floor. In the chest freezer the hole size is 2.5".
On the end of the pipe we glued into place a foam gasket piece that we found in the toilet plumbing sections at HD. This slides slightly inside the chest freezer hole sealing it off. However it pulls free And up through the coffin box (3.5" hole) with a little twisting.
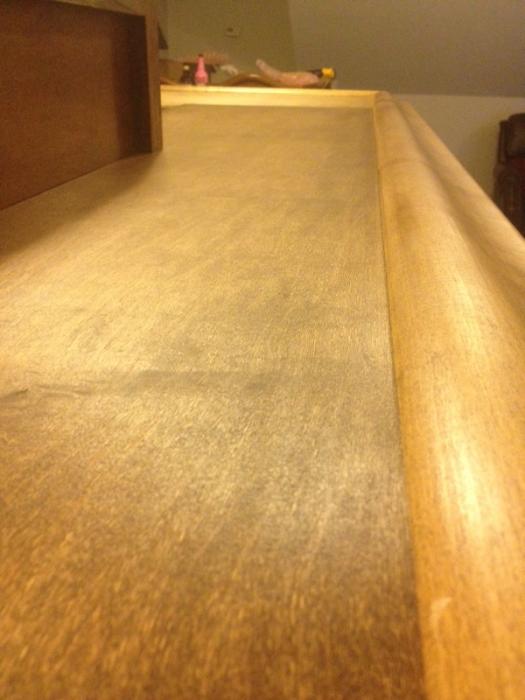
Got my Custom maple tap handles in today and made two labels. Things are great - found them on the vendor page of the board. A HBT local makes them himself and I must say I think they will add a great amount of style.
I plan to stain them to match the rest of the bar.
View attachment 150012
Enter your email address to join: