Bottling Tips for the Homebrewer

Homebrew Talk - Beer, Wine, Mead, & Cider Brewing Discussion Forum

Help Support Homebrew Talk - Beer, Wine, Mead, & Cider Brewing Discussion Forum:

This site may earn a commission from merchant affiliate links, including eBay, Amazon, and others.
put some of the advice found on this thread to use when i bottled this past weekend!

made everything much much easier (except for the fact that i had to bring tons and tons of stuff upstairs to my kitchen HAHA... well atleast i got a workout.

DSC07506.jpg

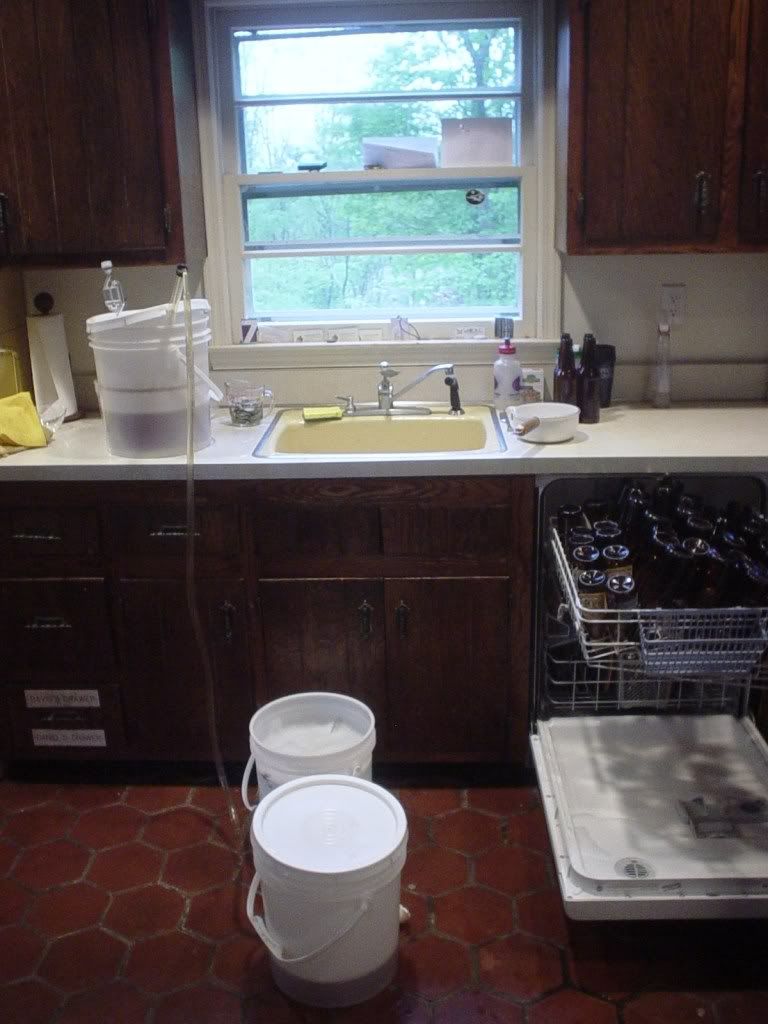
racking from the 2 5 gallon fermenters to the bottling bucket (i split 5 gallon batches into 2 5 gallon buckets - couldnt find 6.5 gal free :(... wont matter much when i do 3 gal AG.. cant wait.

DSC07509.jpg

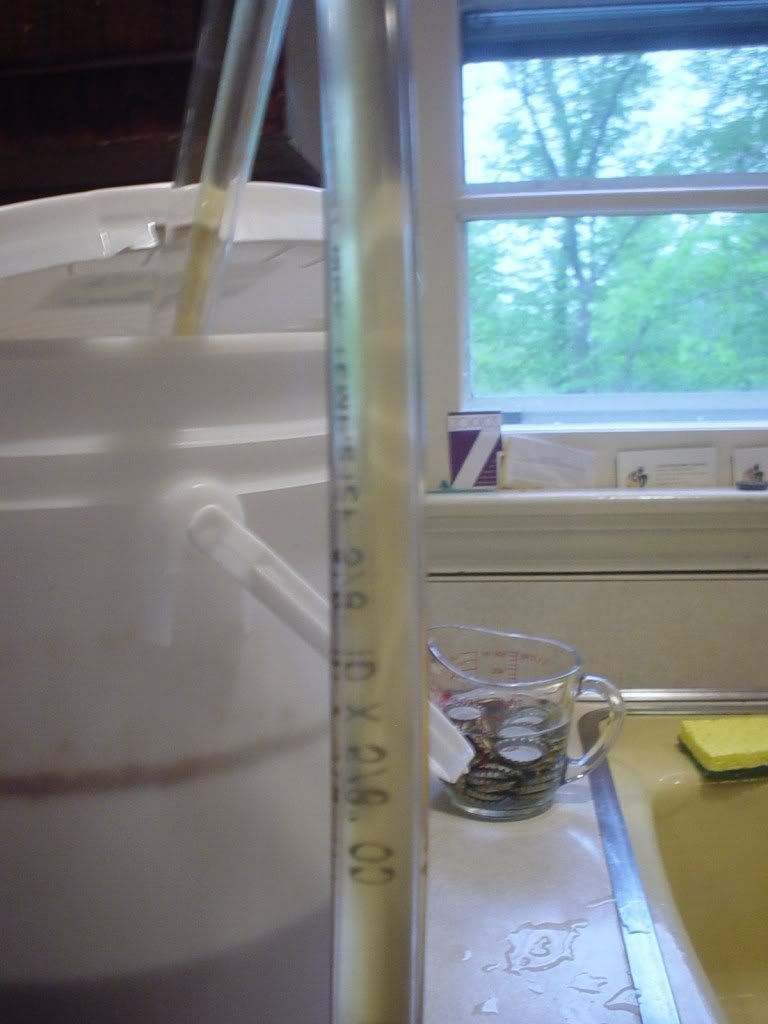
this is austinhomebrew's cream ale kit. wort hinted that this would be a tasty beer, just right for late spring early summer! after a good pint (leftover from bottling - NOTE THE MISSING BOTTLE!!!) i knew this would be a hit once carbed.

DSC07513.jpg

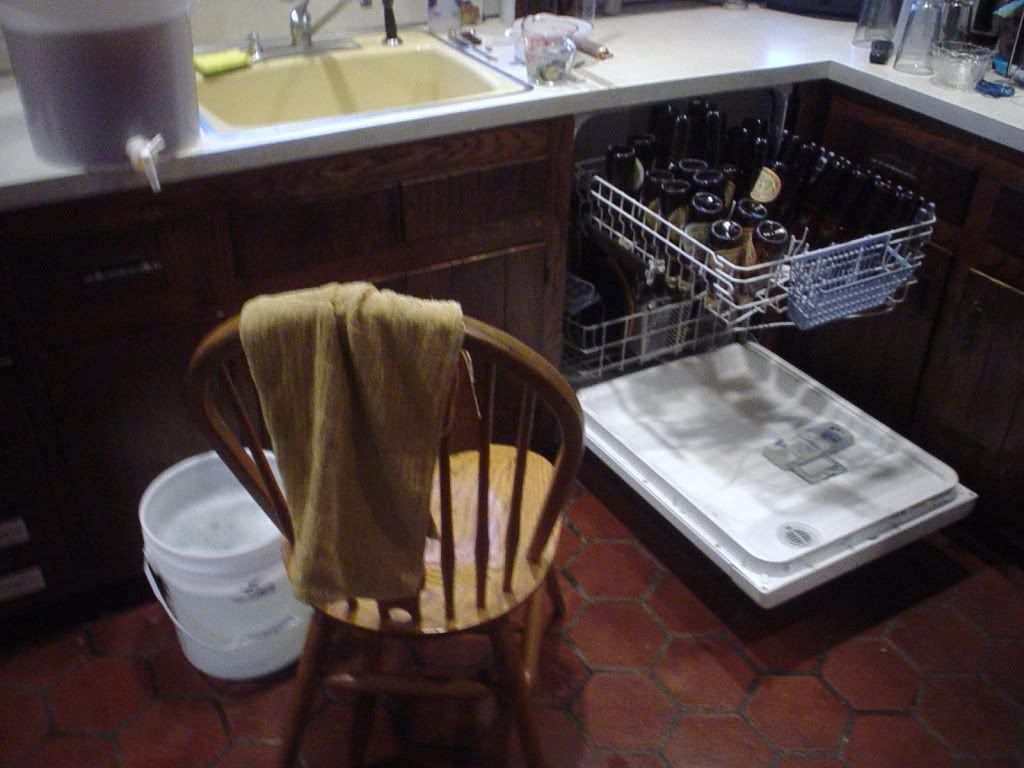
sanitized bottles go on sanitized dishwasher rack to dry.. wow what a great tip! i pull up a chair, sit back relax and start filling!..

DSC07512.jpg

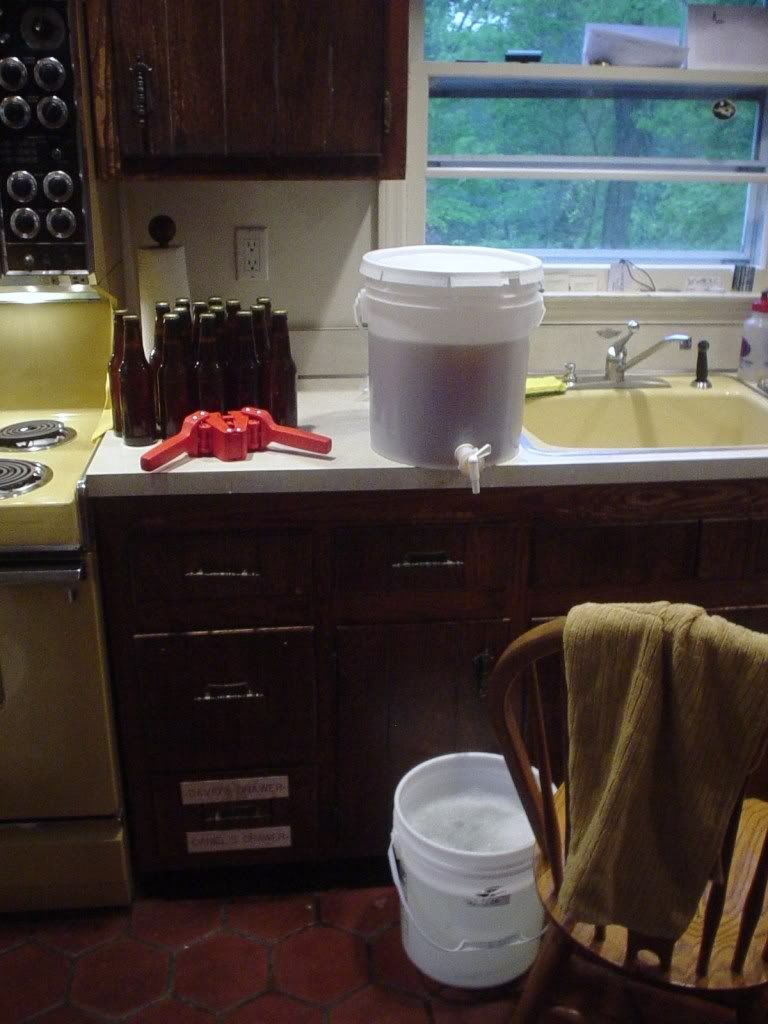
once i hit ~18 or so, i start crimping!

DSC07514.jpg

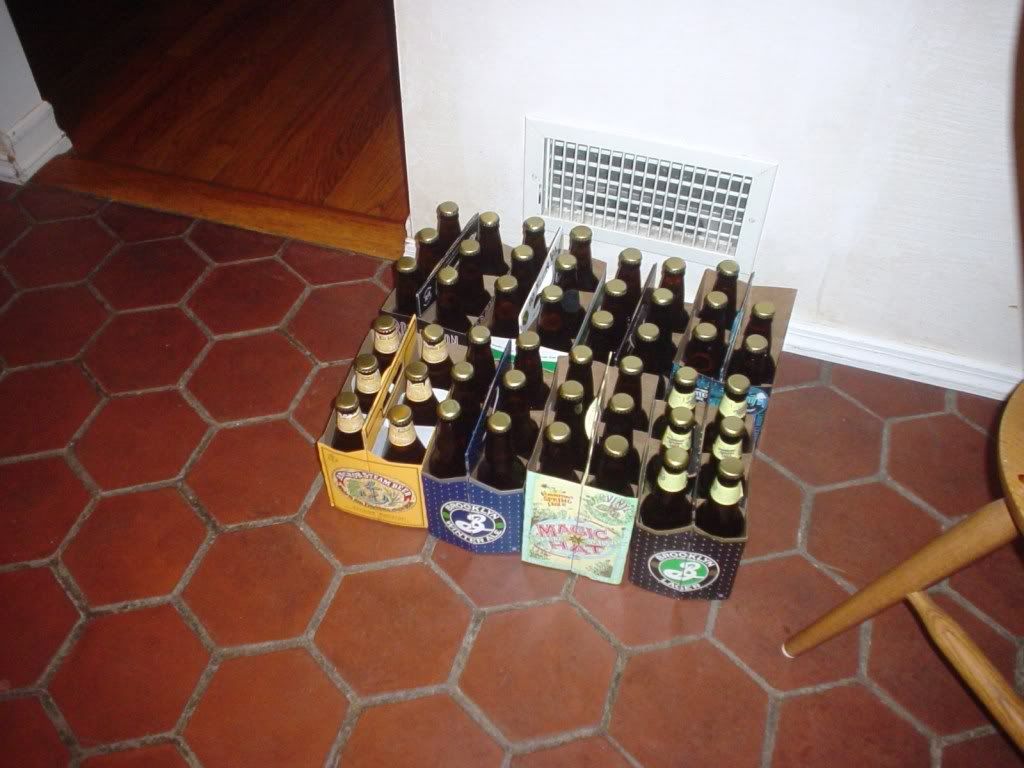
Finished product! - 8 six packs.. err minus a beer.. decided to pour myself a glass instead! hey.. that was some hard work!

DSC07517.jpg

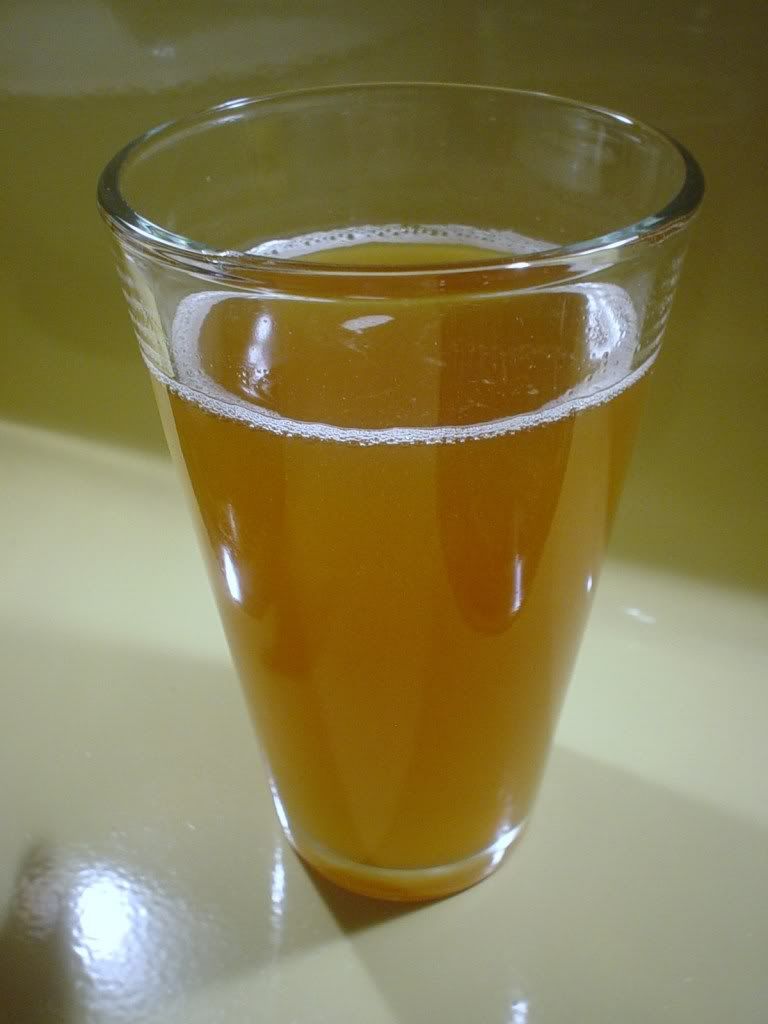
looks promising, tastes even promising-er :mug:.. cant wait to see how it turns out
 
Thanks for the dip tube idea in the priming pail, I made one this weekend using the elbow of a plastic racking cane. Works great! I used to tip the bucket as it was nearing the end, and even slosh it back and forth in the air for that last beer, but now it only leaves behind enough for about one 12oz so it might not be worth tipping. I still did of course because I am greedy and had spare 12oz :)
 
I used the skinny dip tube but also noticed air bubbles. I've had some trouble with offtastes so I went with the 3/4 inch elbow. I'll be testing it out here in a few weeks.
 
Thanks for the dip tube idea in the priming pail, I made one this weekend using the elbow of a plastic racking cane. Works great! I used to tip the bucket as it was nearing the end, and even slosh it back and forth in the air for that last beer, but now it only leaves behind enough for about one 12oz so it might not be worth tipping. I still did of course because I am greedy and had spare 12oz :)

Yeah, but that spoils the fun of trying to drink the remaining 11oz of beer right out of the 5 gallon bottling bucket without giving yourself a flat beer shower.
 
I have a challenge form my more scientifical friends on here.

So we know the diptube works, we may even know the why and how. But I'm having a bit of a challenge with mine now, I and I figure there's a "right" answer to be found in science.

I replaced my bottling spigot with an identical red handled one, and I replaced the rubber stopper as well. And now my dip tube no longer works as well. I've slid it in, pulled it out longer and I can't seem to get it to drain all the beer out now. I even heated the racking cane up a bit and shifted the angle.

So I am wondering in my original design, standard red handled spigot, a corresponding sized drilled stopper and a 3 inch piece of standard racking cane.

Is there an optimal angle of the can to work effectively?

Or also does the length or the racking cane, and how much sticks out of the stopper, or inside the stopper, matter.

So I would like anyone interested to do some experiments using the above stuff and maybe we can figure out the best way to do it.

:mug:
 
Yeah, but that spoils the fun of trying to drink the remaining 11oz of beer right out of the 5 gallon bottling bucket without giving yourself a flat beer shower.
And here I thought that I was the only one who did this!
 
I have a challenge form my more scientifical friends on here.

.....

So I am wondering in my original design, standard red handled spigot, a corresponding sized drilled stopper and a 3 inch piece of standard racking cane.

Is there an optimal angle of the can to work effectively?
....
First of all, great tip! I rigged one up and I get all but the last 6 oz. of fluid.

The dip tube is a siphon, and I don't think the angle makes a difference. My guess is you are getting air bubbles in the stream once the level drops below the spigot.
 
Revvy -

I switched to the 3/4 (?) in pvc elbow that screws right onto the spigot end inside the bucket. No air bubbles in the bottling wand (why I changed) and it goes on with no mods.

Try that and see what happens.
 
i plan to use some bent copper pipe and the rubber stopper (made for a 1 gal carboy), should fit perfectly into the spigot opening.

will test it out when i bottle my summer saison this week!

as for all the other tips, i have been converted! thanks again revvy, using the dishwasher as a "bottle tree"/drying rack has become essential to my bottling routine.
 
I took Brian's advice and got a 3/4" PVC 90deg elbow at Lowes. Made sure it was rated NSF - PW for potable water. Problem is, it has a UPC code and some other numbers stamped on the outside with ink or paint?! Doesn't wash off. I'm a little nervous about putting this in my wort. Is this just a newbie worry? Or should I try something different?
 
Never mind - - - Found an answer - - - A little ketone took it right off, followed by a scour in the dishwasher.
 
I just tried about half the tips in these posts, and it helped mucho. The biggest plus was the bottling wand on the spigot trick. It is actually easier for me to manipulate the bottle vs the wand.
Probably spilled a tablespoon total. Some tweaking on my process still needed, but this 5 gallons went better than any I can remember.
 
Ok a quick search didn't bring me the answer to this question, so I'm hoping you all can help me out.

I'm going to bottle my first batch tomorrow and I have heard that after 3-4 weeks of warm carbing temperatures, when the carbing should be done-ish, that you should chill your bottles to put the yeast to sleep? If this is necessary, how long do chill them and how cold? fridge space in my house is at a premium, I could probably get away with a day or to with all or most in the fridge at one time, but that's it. If it is necessary, but a freezer temps would work, I have access to a chest freezer with enough room, but I don't know how long to leave it in?

Some experienced explanation/instruction would definitely be appreciated!

Ben

Carbonation will be finished sooner than 3-4 weeks. Chilling the bottles is not necessary until you are ready to drink it. Depending on the strength of the beer, it will store at room temperature for months with no problem. A cool, dry place is fine. If you have a cellar, that might be ideal.
 
Ok a quick search didn't bring me the answer to this question, so I'm hoping you all can help me out.

I'm going to bottle my first batch tomorrow and I have heard that after 3-4 weeks of warm carbing temperatures, when the carbing should be done-ish, that you should chill your bottles to put the yeast to sleep? If this is necessary, how long do chill them and how cold? fridge space in my house is at a premium, I could probably get away with a day or to with all or most in the fridge at one time, but that's it. If it is necessary, but a freezer temps would work, I have access to a chest freezer with enough room, but I don't know how long to leave it in?

Some experienced explanation/instruction would definitely be appreciated!

Ben
One week is enough if you are desperate to drink.... 2 weeks is better .... 4 is ideal.
The chilling is to make the bottles settle down. All beer is more stable if it has been in the fridge for an extended period ... I find this is super important for HB.
24 hours should be enough, a few days is better... I sometimes cheat and use the freezer for a few hours, if I can't get a day in.
Welcome to a fantastic hobby.
 
I will usually pop one open after a week just to get an idea how it is going to end up. At that point, it is pretty much fully carbonated. Really, you should wait three weeks, but only because the flavors will blend and the yeast continue to clean up the flavor of the beer by reducing levels of diacetyl and acetaldehyde. Four is better as mentioned.
 
I will usually pop one open after a week just to get an idea how it is going to end up. At that point, it is pretty much fully carbonated. Really, you should wait three weeks, but only because the flavors will blend and the yeast continue to clean up the flavor of the beer by reducing levels of diacetyl and acetaldehyde. Four is better as mentioned.


That's not necessarily the case. Sometimes as written in the blog, beers need a minimum of three weeks to just carb up. It all depends on the gravity and storage temp of the beer. If you are getting a beer carbed in a week that's great, but too many new brewers assume something is wrong if there's isn't. And two weeks later or more they carb just fine.
 
Okay, sounds like a plan!

Now for another question: I used the PVC elbow mod for my bottling bucket, but when I got to about level with the middle of the spigot, I lost all flow whatsoever. I hated to do it 'cause I knew would increase oxygen exposure, but it was I could think of, so I stuck a funnel in the last two bottles and poured from the bucket. Is there something that anyone might suggest that I may have done wrong that would cause this?

Thanks again for all of the valuable insight! Its a great help!

Ben
 
That's not necessarily the case. Sometimes as written in the blog, beers need a minimum of three weeks to just carb up. It all depends on the gravity and storage temp of the beer. If you are getting a beer carbed in a week that's great, but too many new brewers assume something is wrong if there's isn't. And two weeks later or more they carb just fine.

I'm sure carb times vary from one style to another and batch to batch, but here is a pic of my APA bottled on 6/26.
I hope it doesn't carb too much more.
 
Hi all,
I have found this thread very useful but want some clarification. I see some have a secondary fermenter with a spigot on it. Could I theoretically siphon from my secondary (carboy) into a 5 gal gatorade bucket with a spigot and bottle off of that using some of the tips here (bottle wand attached to spigot and diptube attached to spigot stem)? I was thinking it would be good to siphon on top of half of my priming sugar mixture and add the other half of the priming sugar on top of the rest of the beer. As long as I sporadically stir the mixture I should be good right?
Thanks,
37OliveStBrew

I don't see any benefit of doing that over just adding the priming sugar and stirring gently.
 
Hi all,
I have found this thread very useful but want some clarification. I see some have a secondary fermenter with a spigot on it. Could I theoretically siphon from my secondary (carboy) into a 5 gal gatorade bucket with a spigot and bottle off of that using some of the tips here (bottle wand attached to spigot and diptube attached to spigot stem)? I was thinking it would be good to siphon on top of half of my priming sugar mixture and add the other half of the priming sugar on top of the rest of the beer. As long as I sporadically stir the mixture I should be good right?
Thanks,
37OliveStBrew

The problem with bottling from a primary or secondary instead of using a bottling bucket, is that since you have patiently gone and let your beer settle and clear, in order to mix the priming solution and beer effectively, you would have to stir it in the carboy which would a) kick up all that nice sediment you have patiently let fall, b) possibly oxydize the beer.

It really defeats the purpose of both a long primary/no secondary or a secondary if you have to stir up all the nice sediment you patiently waited to settle just so you can have consistent carbonation.

Of course if you are using prime tabs it really doesn't matter. But most folks bulk prime with sugar solution, rather than bottle prime. Especially if you carb by style. BUT if you are doing it from a spigoted bucket, that you've let stuff settle in, all that trub is going to be coming out into your bottles again defeating the purpose of any clearing time for you beer.
 
Revvy,
Thank you for stating what I had thought but needed confirmed. I am psyched to bottle my first ever batch this week when I find the time.
Thanks everyone!
37OliveStBrews
 
Hello again,
After reading all the great posts about adding a spigot and dip tube to the bottling bucket I returned from a successful trip to Home Depot and added a spigot to my primary/bottle bucket. Problem is even with the dip tube 1/8" away from the bottom of the bucket I still find I have to tilt the bucket as the stream of liquid quickly slows once the level has dropped below the level of the spigot. Does this change if you have a bottling wand attached to the spigot (one step I have yet to do)?
I appreciate your help with this matter.
37OliveStBrews
 
You'll thank yourself for the bottling wand even if it didn't speed up the flow, but I think the siphoning action would help.
 
Hello again,
After reading all the great posts about adding a spigot and dip tube to the bottling bucket I returned from a successful trip to Home Depot and added a spigot to my primary/bottle bucket. Problem is even with the dip tube 1/8" away from the bottom of the bucket I still find I have to tilt the bucket as the stream of liquid quickly slows once the level has dropped below the level of the spigot. Does this change if you have a bottling wand attached to the spigot (one step I have yet to do)?
I appreciate your help with this matter.
37OliveStBrews

The purpose of a dip tube is so that you don't have to tip the bucket, because it brings the liquid too the spigot.

When you have a hose or in our case a bottling wand attached to something you then lower the height of the hole (the bottom of the hose or wand tube) THAT is what helps create a siphon, because the opening is way below the level of the liquid (and in your case the back of the spigot/dip tube.)

The point of a dip tube is it lowers the level of where the liquid comes in, BUT it is incumbent on having a strong siphon to begin with, to pull the liquid the bend, into the "back" of the spigot, however high up the spigot is) and then out the front.

So yes you need a hose or bottling wand attached to it.

I leave behind around 4 ounces of beer with sediment in it.

Now if you've added a hose or your wand on the spigot, and you still have issues, then you need to play with the angle of the bend of the diptube. Like I asked on here a few posts ago, I don't really have any data and the angle of the bend and how that effects the working of the dip tube.
 
Revvy,
I should have revisited Charlie P's siphoning 101 but thanks for your post because you have reminded me about the hole being lower than the level of the dip tube. Thanks very much.
 
Revvy,
I should have revisited Charlie P's siphoning 101 but thanks for your post because you have reminded me about the hole being lower than the level of the dip tube. Thanks very much.

Meh, no problem. Someone just explained it in another thread. I totally forgot the principle behind it as well.
 
Ok, so I may not have had time to read through this entire thread but I have just one question.
I know that after bottling, you let it condition/carb at room temp, but then I see things that say "CO2 is absorbed at cold temps only" and I get confused. Does that only apply to people who are force carbonating with kegs? I'm not about to try to find room in the fridge for my 48 freshly bottled brews because of this little contradiction, but I just would like to know why the contradiction exists.
Any help is appreciated.
 
CO2 absorbed at cooler temps? Meh. Just put the bottles in a "coolish" out-of-the-way location and let them be. They will carbonate just fine. Pop one in the frig in a week or so, and you'll enjoy the fruit of your labors.

glenn514:mug:
 
glenn514 is correct. Carbonate in bottles at room temp. Wait three weeks and you will enjoy the fruit of your labors more.
 
Ok, so I may not have had time to read through this entire thread but I have just one question.
I know that after bottling, you let it condition/carb at room temp, but then I see things that say "CO2 is absorbed at cold temps only" and I get confused. Does that only apply to people who are force carbonating with kegs? I'm not about to try to find room in the fridge for my 48 freshly bottled brews because of this little contradiction, but I just would like to know why the contradiction exists.
Any help is appreciated.

Actually there is no contradiction, co2 is absorbed by the cold, bit first it must be produced, THAT is what happens in the three weeks at 70 degrees. You may not want to read the whole thread but read my post on the first page titled "Of patience and bottle conditioning" for an explanation of carbonation.
 
Ok, thanks guys. I just picked up Charlie P's "Complete joy of Homebrewing 3rd edition" last night so I'll have me a time reading that. But, the only out of the way place I've got is a coat closet that sits at anywhere between 72-76* during the day. I know that should be fine, and I shouldn't have a problem waiting a while for them to carb seeing as how I lost track of time during fermentation and left it in there for 3 weeks rather than 2. My only problem now is affording more bottles for my weizen that is ready to be bottled now. I guess by brewing my first two batches back to back (3 days apart) I've started a nice beginning to my future pipeline. :mug:
 
Yuppers, MrWiggles, I understand your conundrum! When I started brewing, I was very careful to make sure I had more bottles than beer. Now, however, I have quite a stash of empty bottles, so that is no longer a problem. Why not invite a few friends over, and ask them to bring six-packs of local/regional beers that DON'T use screw caps?

glenn514:mug:
 
Ok, thanks guys. I just picked up Charlie P's "Complete joy of Homebrewing 3rd edition" last night so I'll have me a time reading that. But, the only out of the way place I've got is a coat closet that sits at anywhere between 72-76* during the day. I know that should be fine, and I shouldn't have a problem waiting a while for them to carb seeing as how I lost track of time during fermentation and left it in there for 3 weeks rather than 2. My only problem now is affording more bottles for my weizen that is ready to be bottled now. I guess by brewing my first two batches back to back (3 days apart) I've started a nice beginning to my future pipeline. :mug:

That's a great temp for bottle conditioning.

Currently, I get my bottles at a local pub - the young folks who work there as back bar and waitstaff are, as are many young folks, quite taken with green issues and love the notion of reusing the bottles. The pub doesn't even recycle, so they like this arrangement.

Also, a while ago, I put a notice out via facebook about needing some bottles and few responded. Also, I put a note on the local Craigslist and ended up trading a six pack of beer for two cases of bottles.
 
Yuppers, MrWiggles, I understand your conundrum! When I started brewing, I was very careful to make sure I had more bottles than beer. Now, however, I have quite a stash of empty bottles, so that is no longer a problem. Why not invite a few friends over, and ask them to bring six-packs of local/regional beers that DON'T use screw caps?

glenn514:mug:
Well that sounds all well and good, but me and SWMBO live in a small 1BR apartment. Plus since we're both pack-rats, there's hardly enough room for just the two of us. But, I have a friend that throws parties all the time and he said to just let him know and he'll throw a 'pop top' only party to get me some much needed bottles.
And Pappers, I've thought about asking the folks at our local Mellow Mushroom if I could have some empty pop tops since I'm in there pretty often. I have also thought about using Craigslist as well. I am just not too keen on going around telling everyone I don't know or trust that I homebrew since it isn't quite yet legal in Alabama.
 

Latest posts

Back
Top