Kingmatt's Keezer Build

Homebrew Talk - Beer, Wine, Mead, & Cider Brewing Discussion Forum

Help Support Homebrew Talk - Beer, Wine, Mead, & Cider Brewing Discussion Forum:

This site may earn a commission from merchant affiliate links, including eBay, Amazon, and others.

kingmatt

Hop Addict
HBT Supporter
Joined
Mar 26, 2010
Messages
1,477
Reaction score
1,876
Location
PA
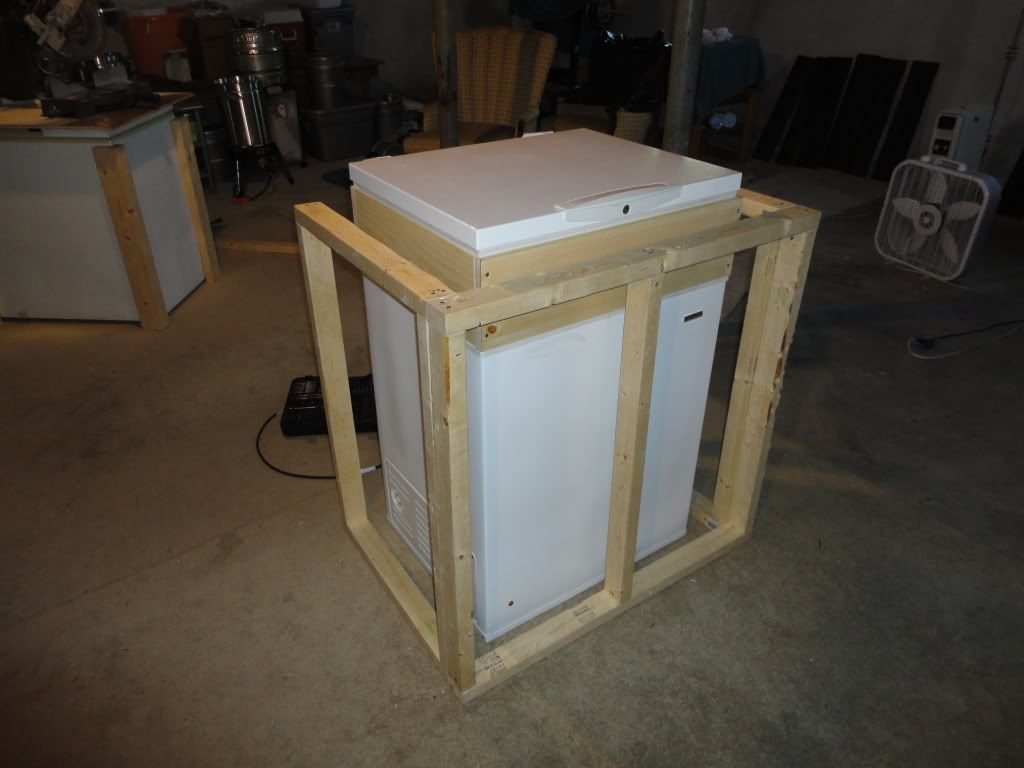
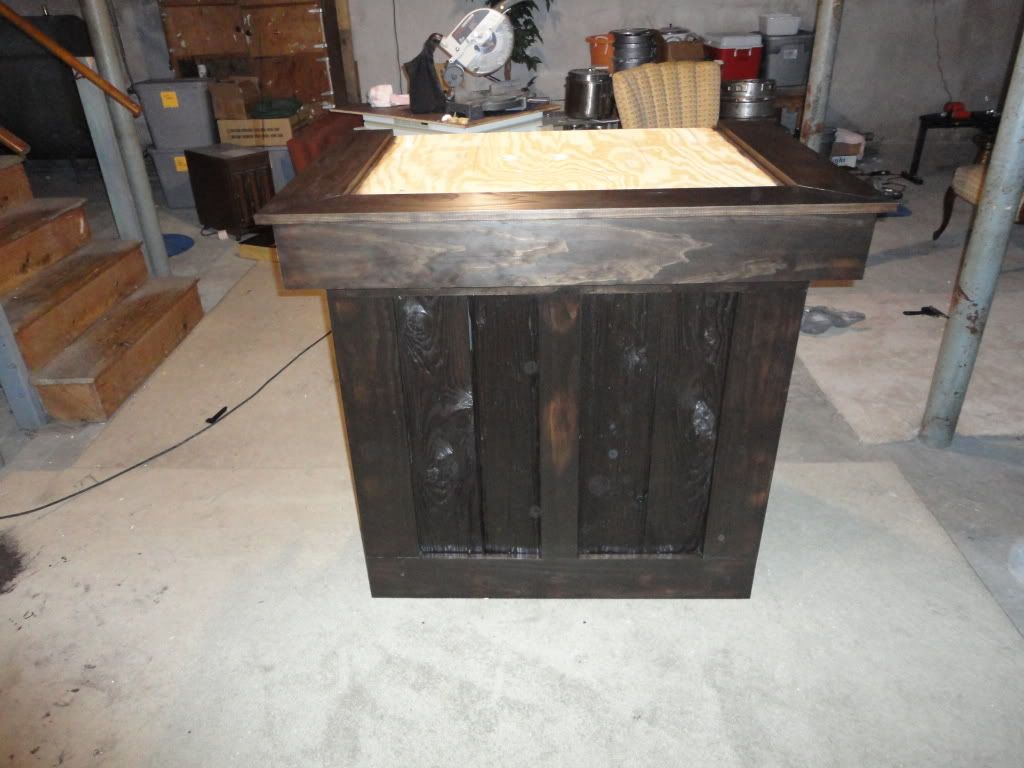
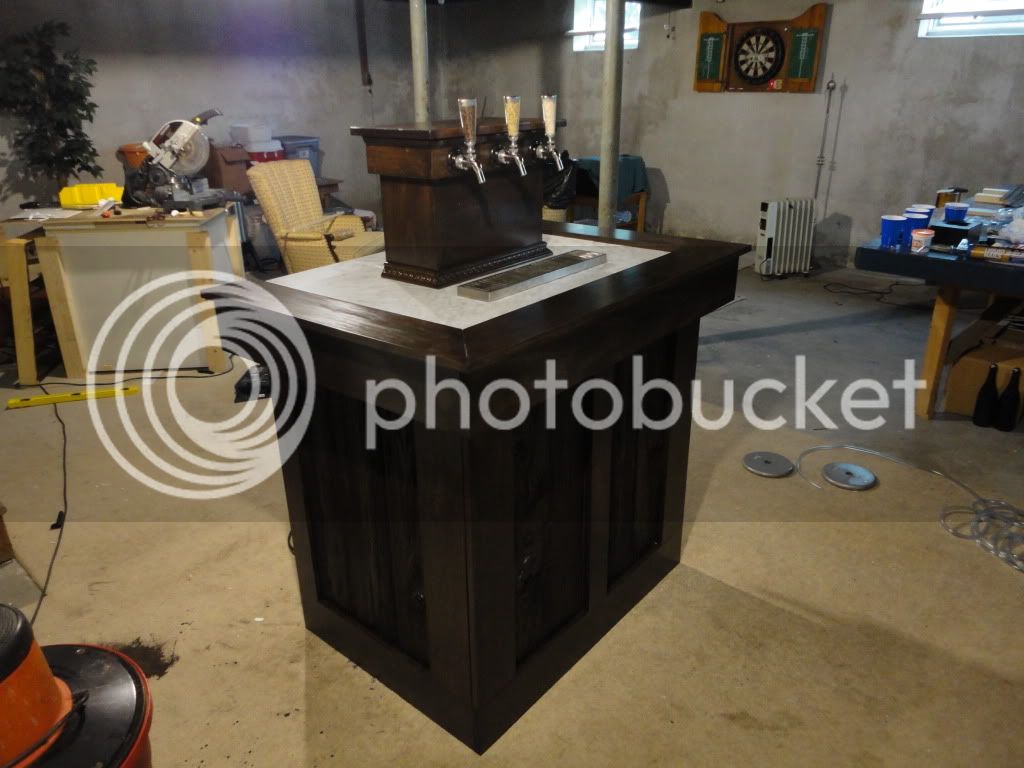
So I have decided to build a 3 tap keezer. Actually, I bought a complete 3 tap keezer off Craigslist a few weeks back only to have the freezer konk out on me shortly after plugging it in :mad:

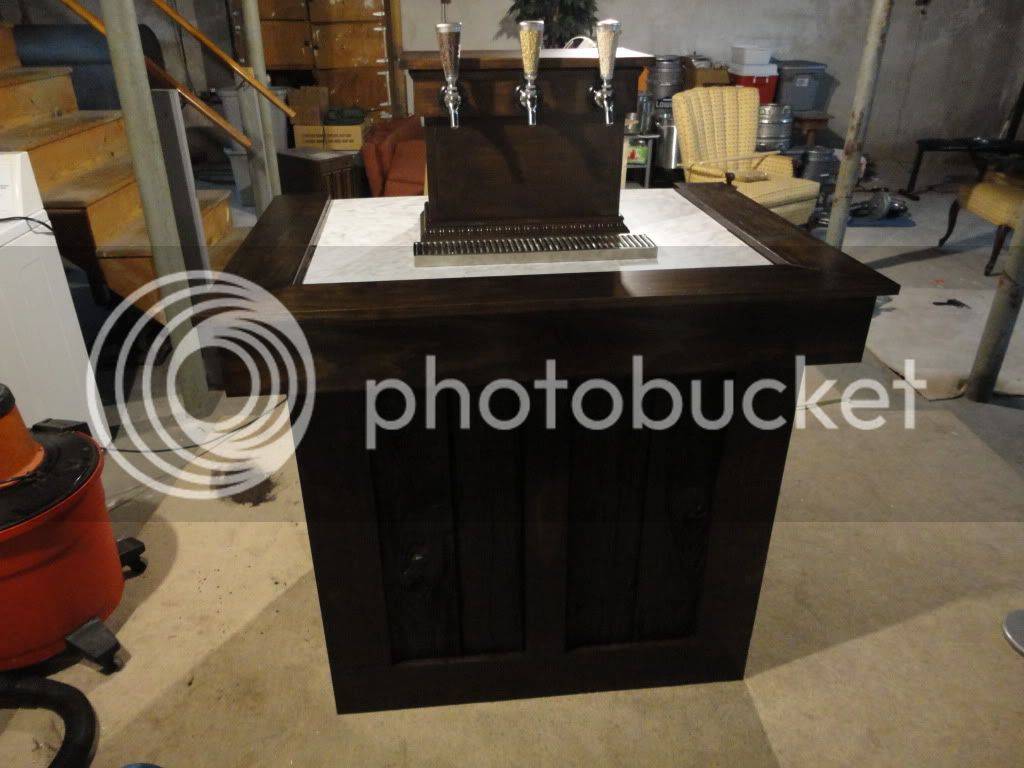
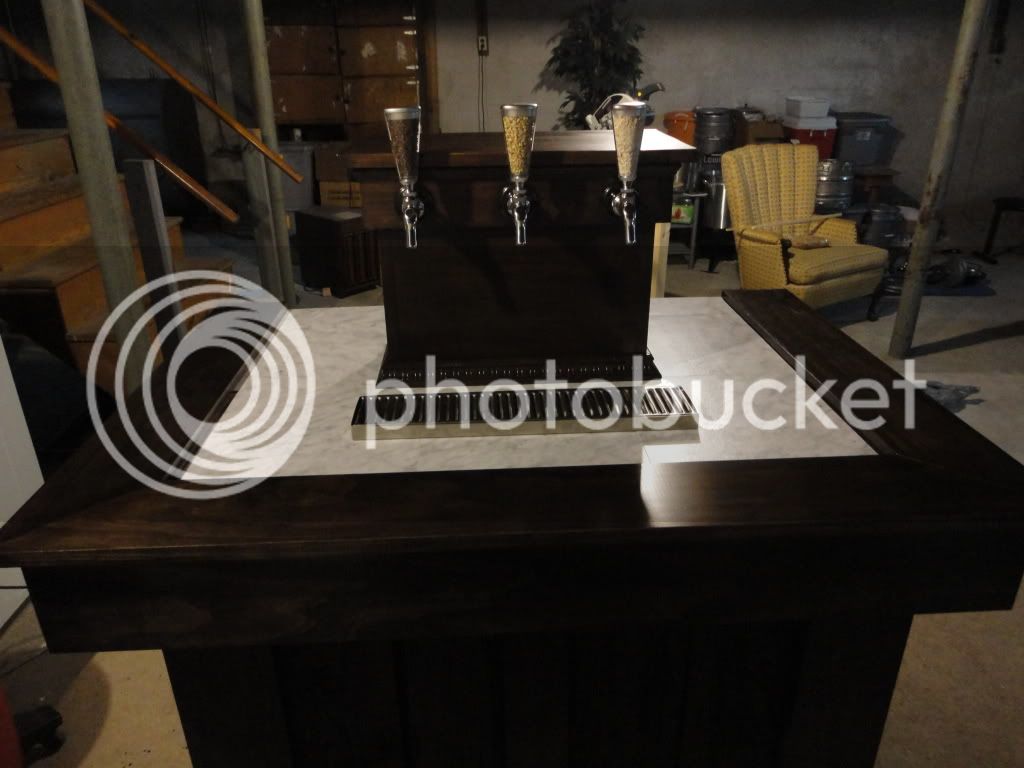
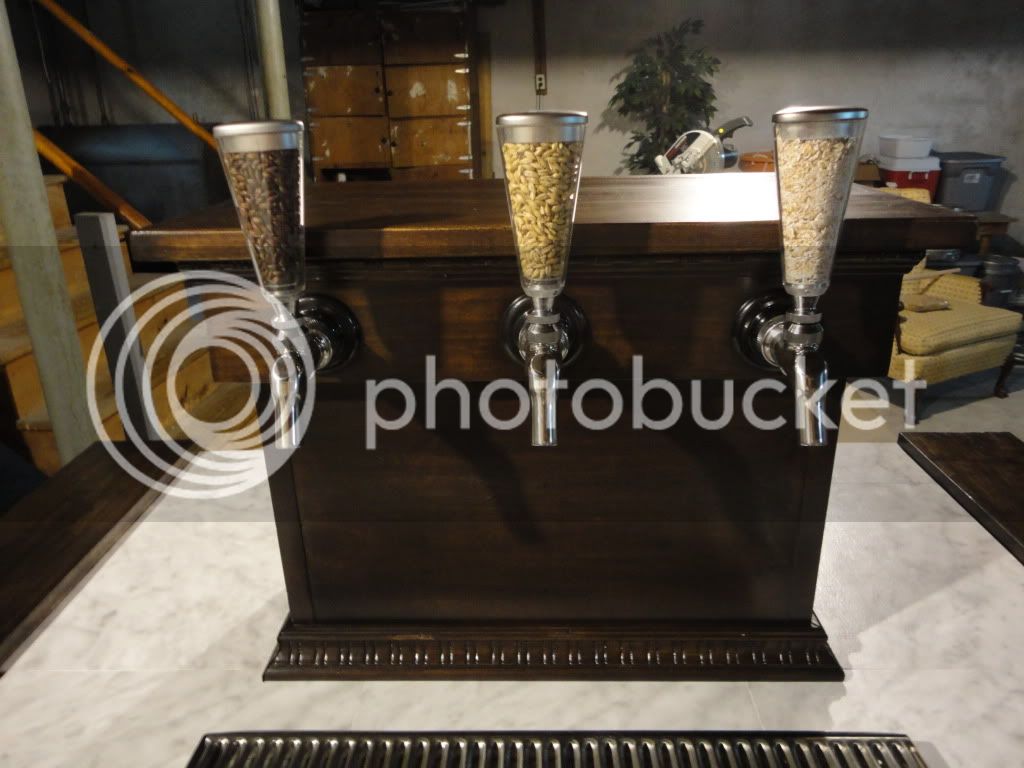
The good news is that for the price I paid ($300) I still made out on the deal because I was able to salvage 3 Perlick stainless steel faucets, shanks, the three-way manifold, regulator, 5lb CO2 tank, quick connects for 3 kegs, temp control, coffin and the reclaimed wood he had used to skirt the frame :)

So, I bought a 1 year old 5.1 CF GE chest freezer off Craigslist (insuring it worked ahead of time of course) for $75 and began my foray into the wonderful world of keezer building :ban:

I will post pics as I complete various stages for anyone interested!


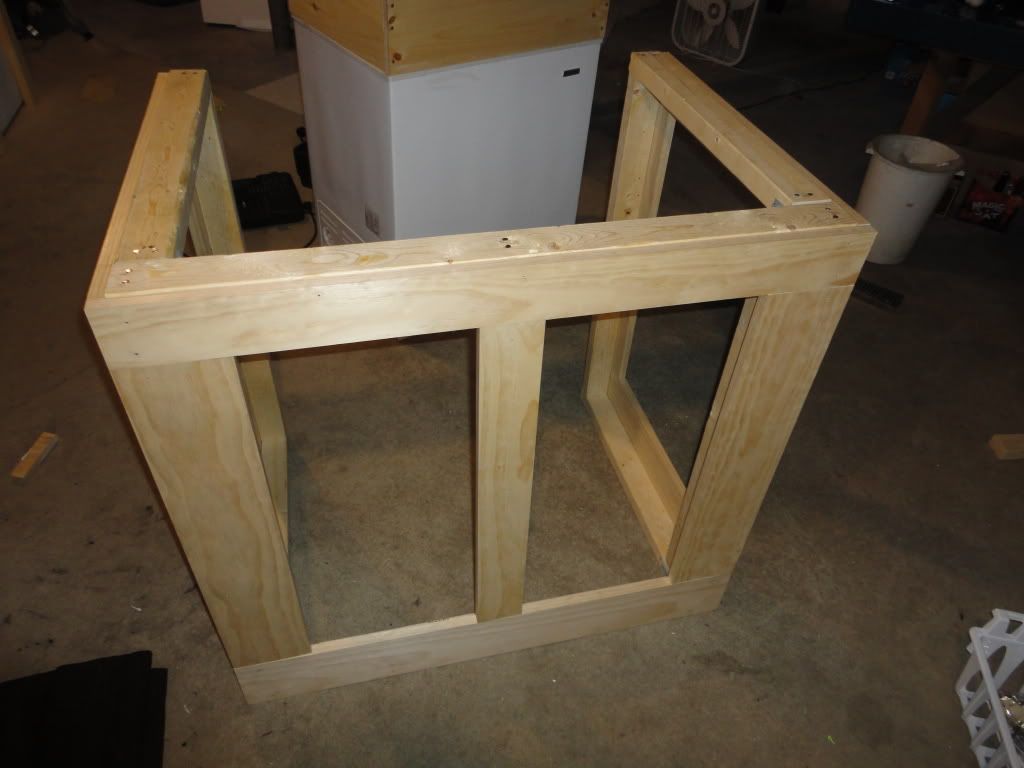
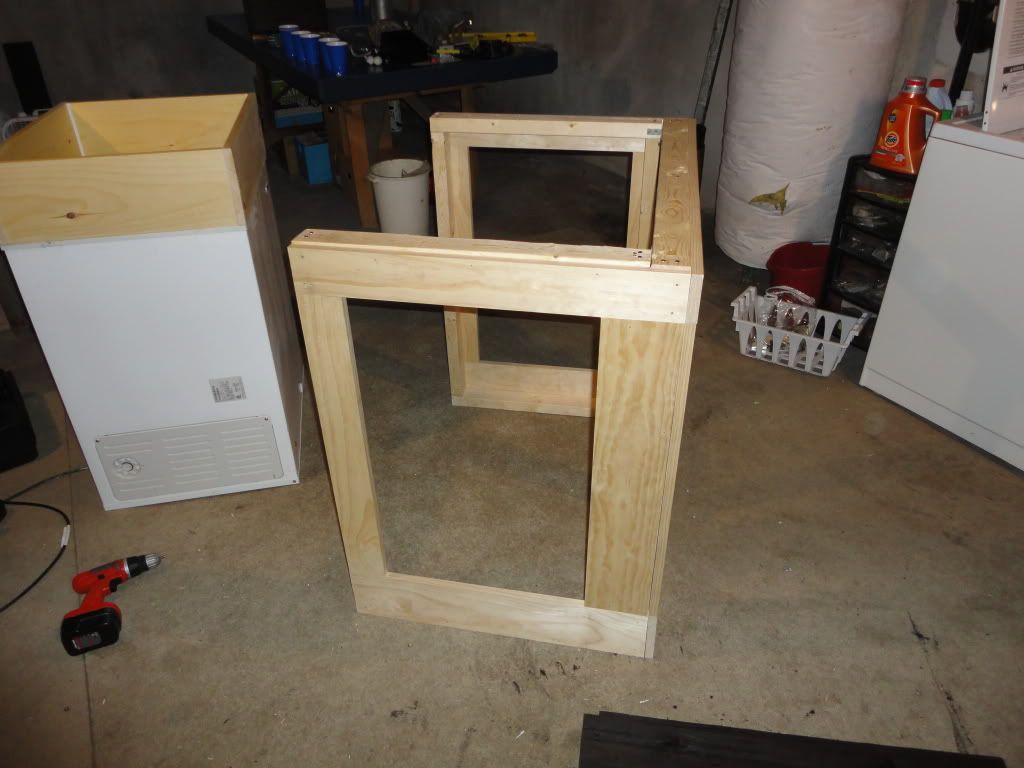
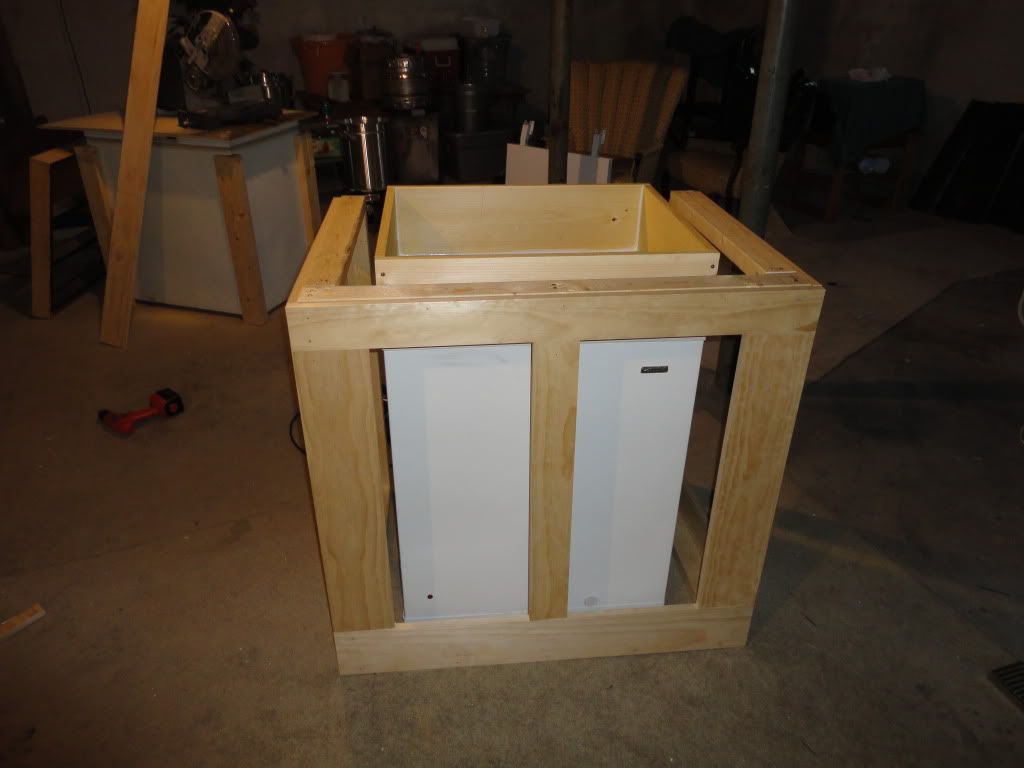
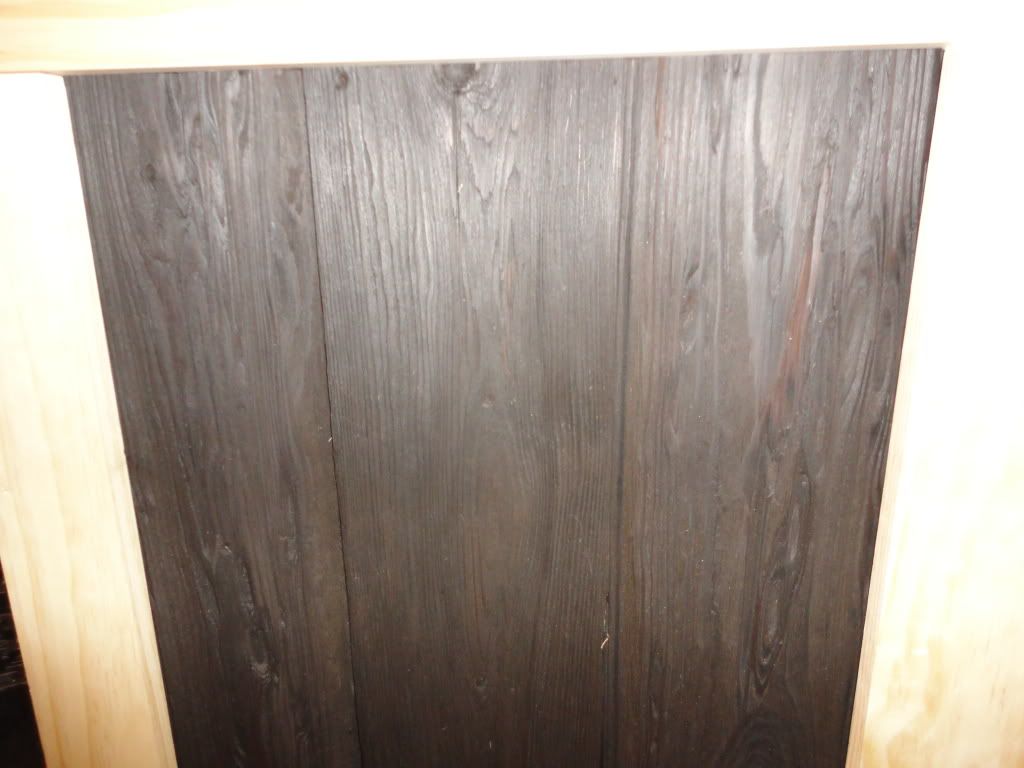
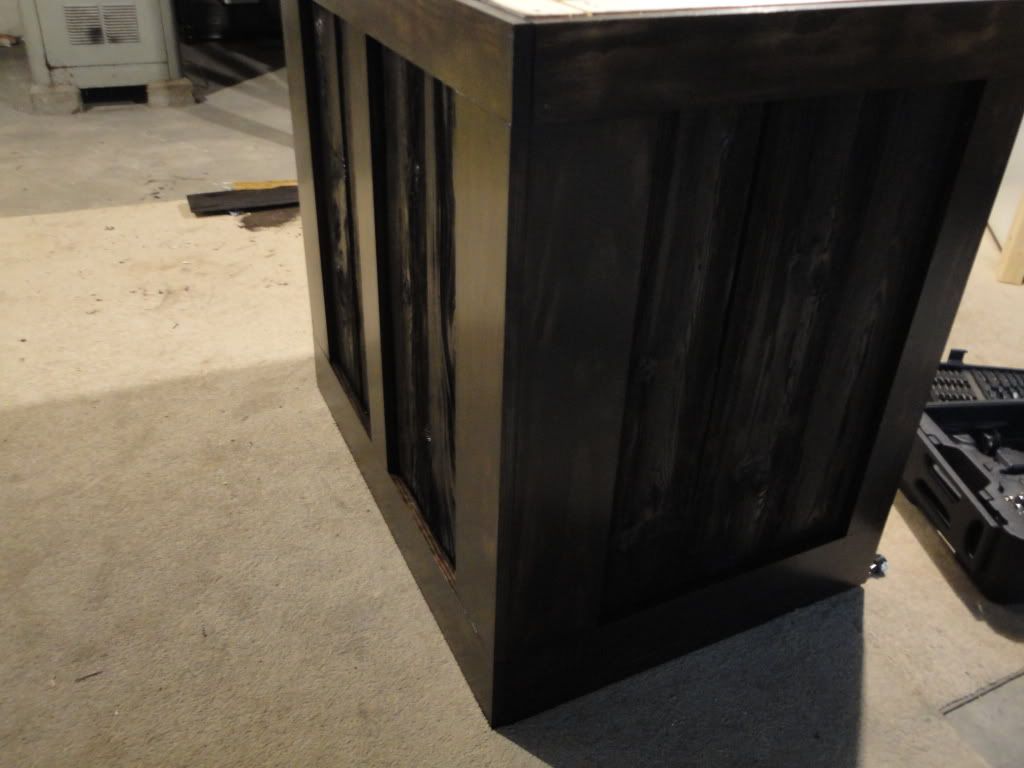
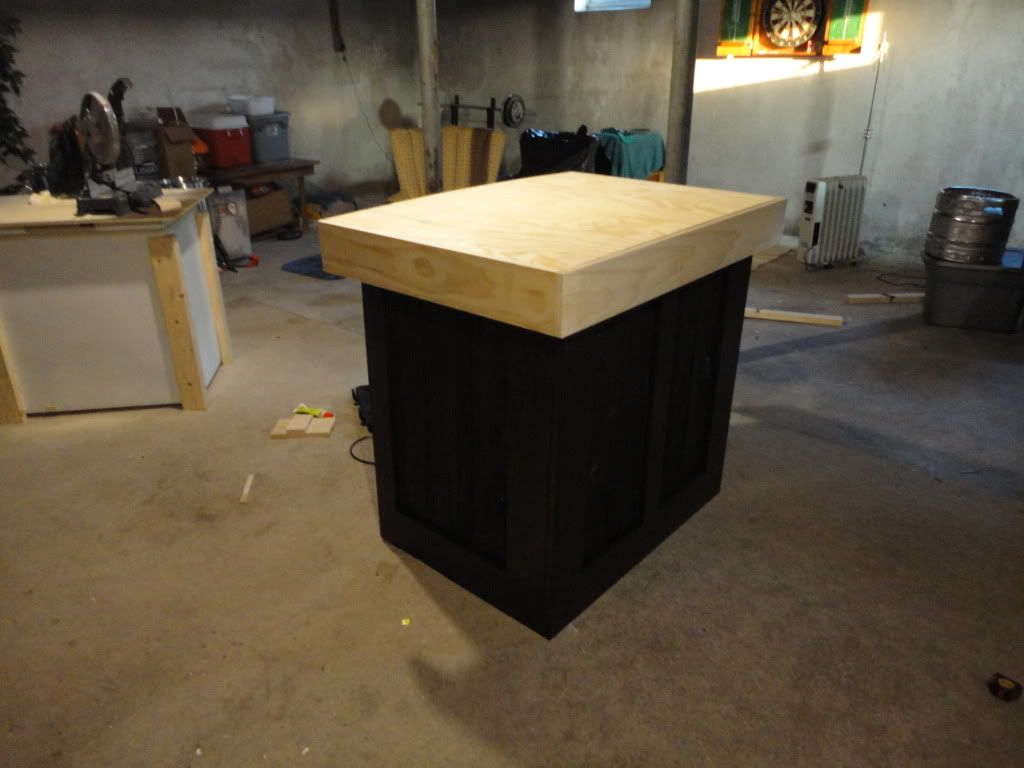
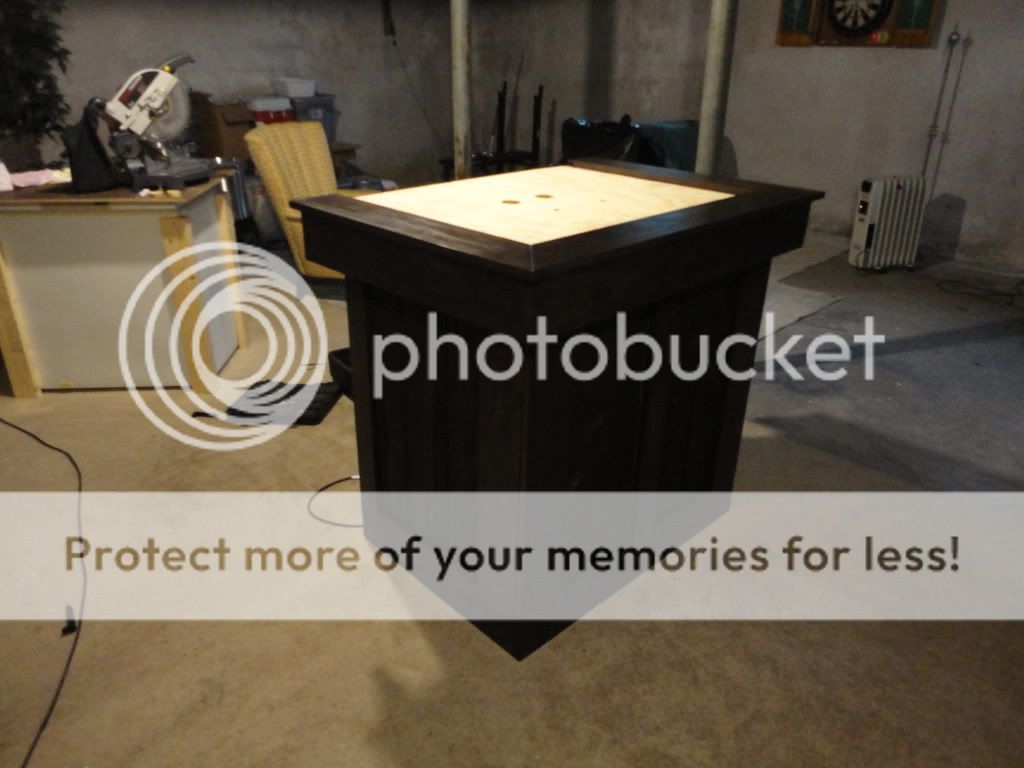
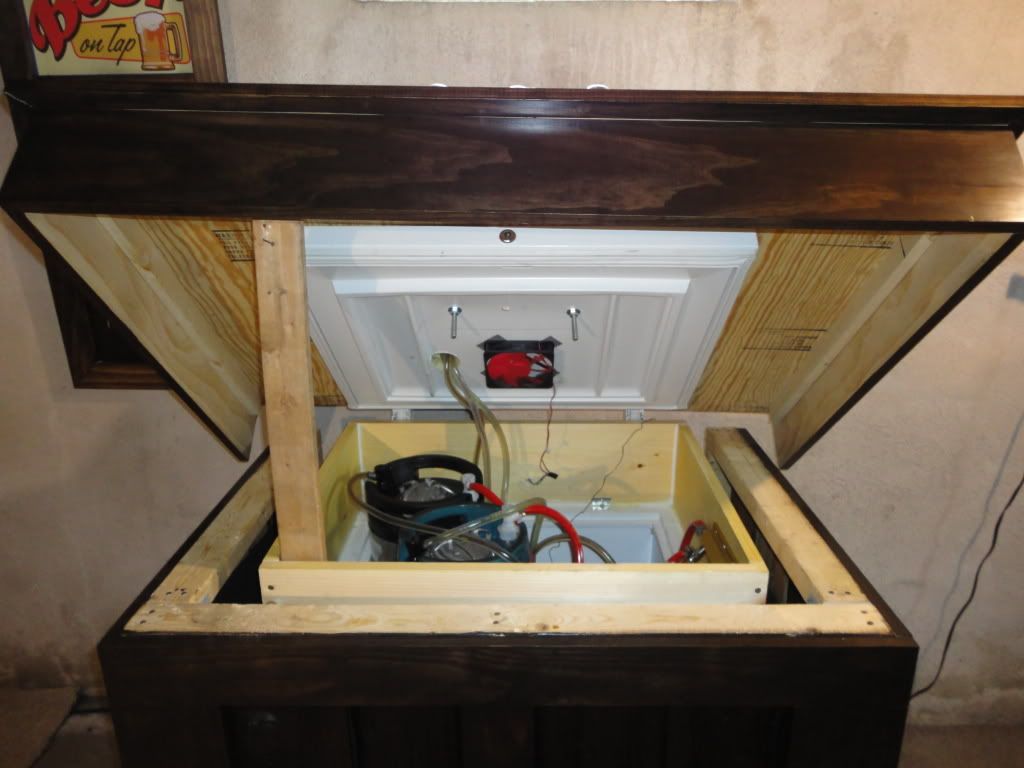
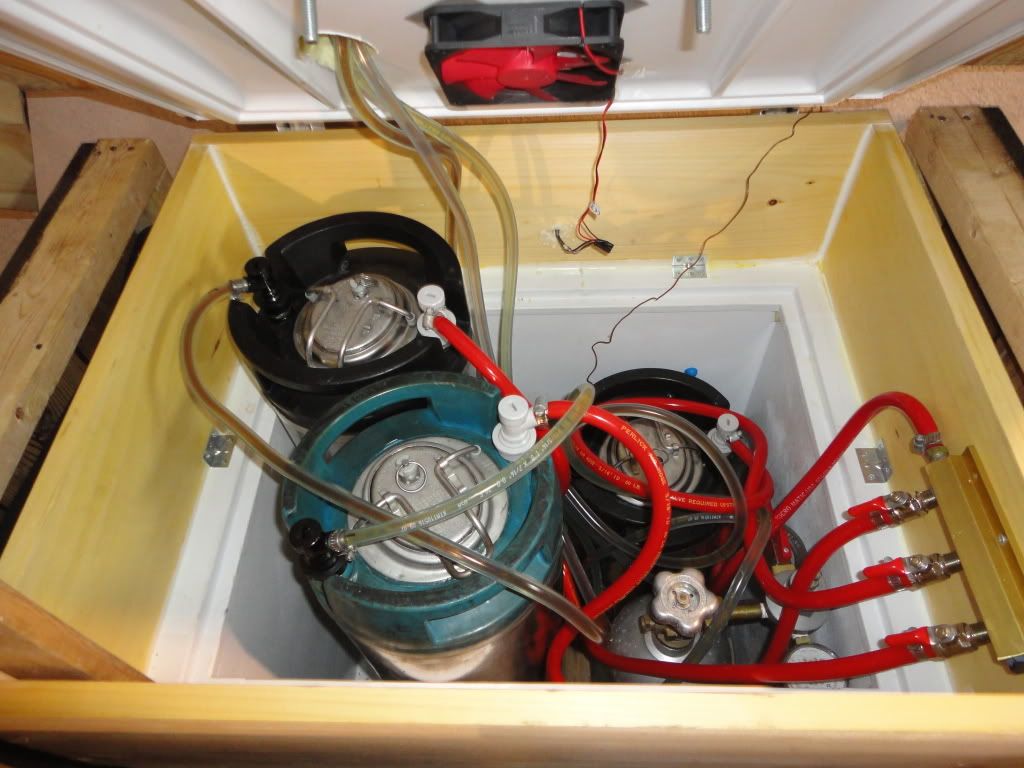
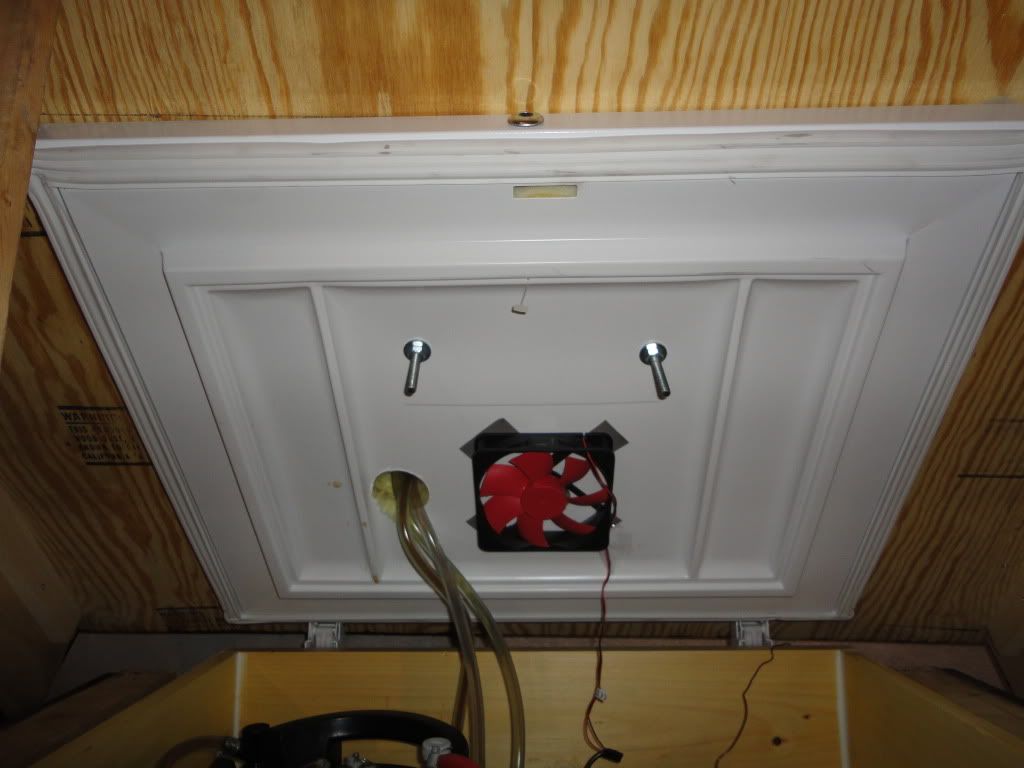
So far, I have built a 1X8 collar to raise the height of the freezer to hold 3 cornies, attached it to the freezer with heavy duty construction adhesive and caulked:

DSC01982.jpg


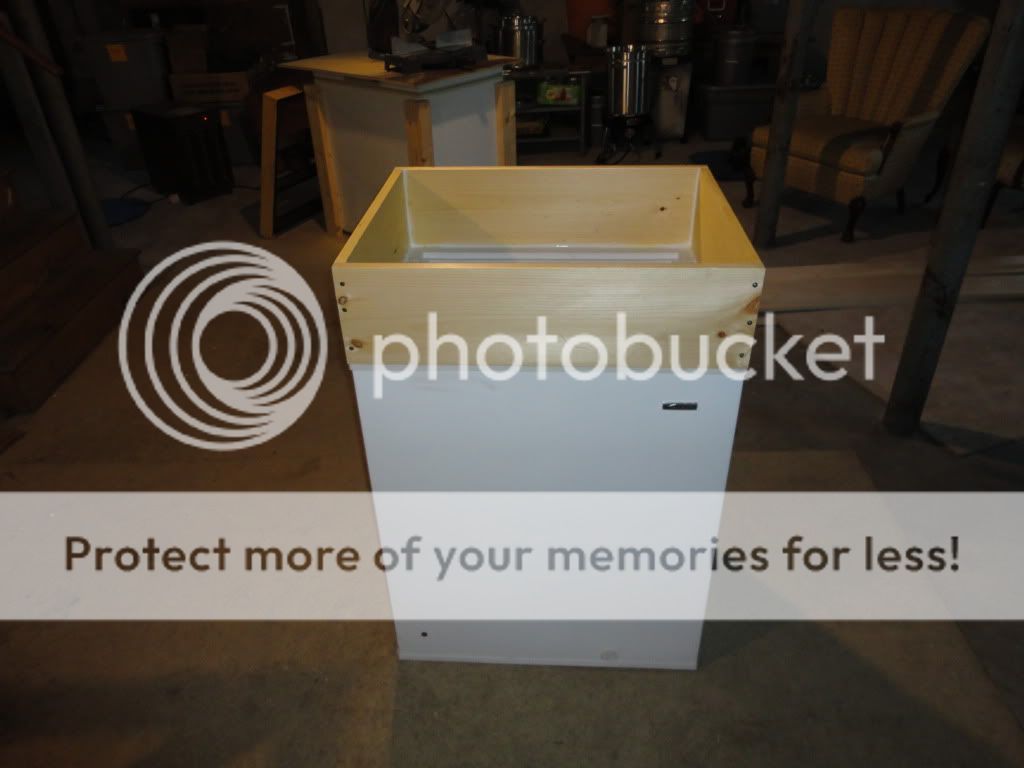
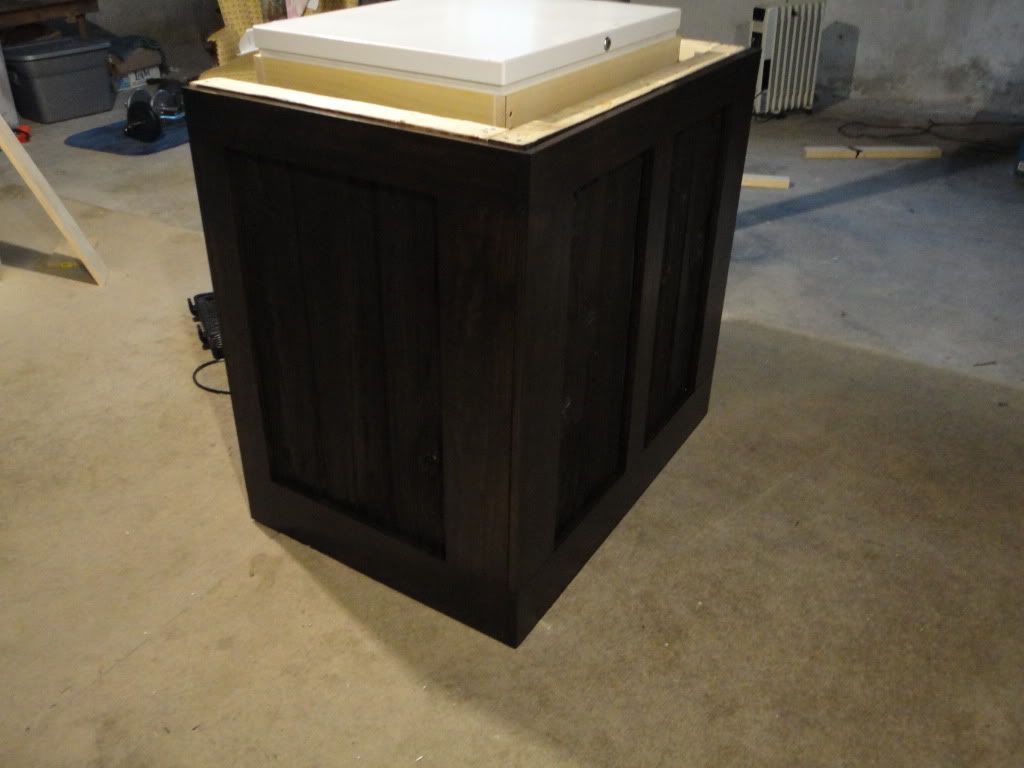
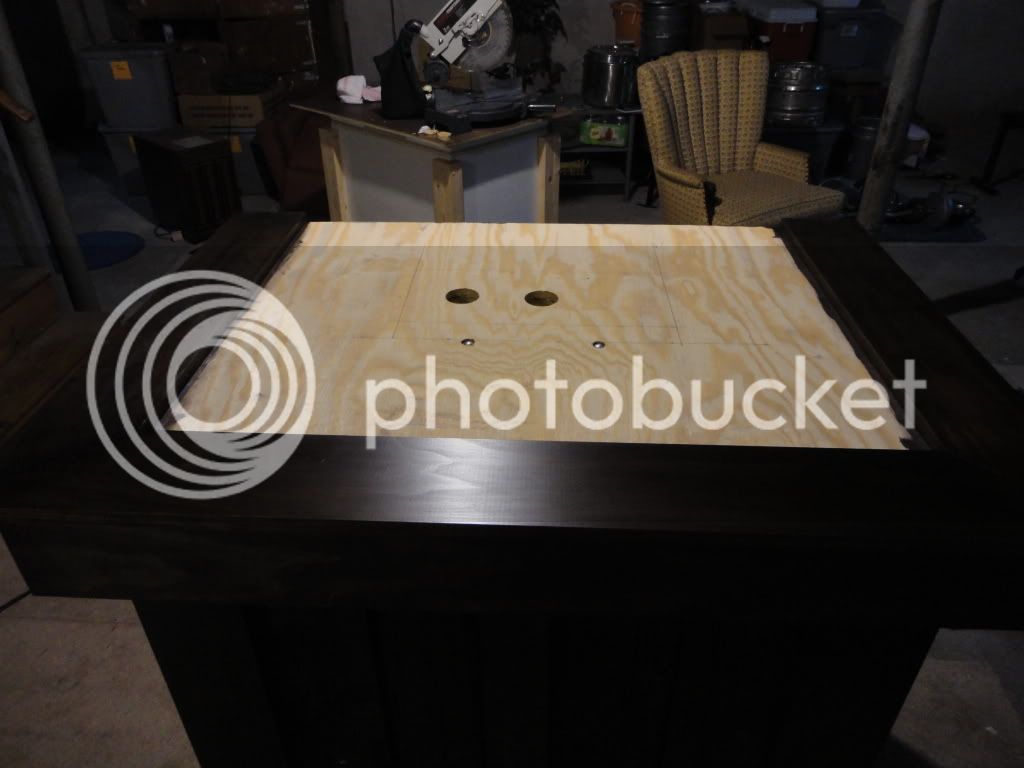
I also had to build a small shelf for the bottom since I couldn't fit two cornies down there and had to extend the compressor box to fit two on the top:

DSC01983.jpg

I'm also planning on adding 1 inch pink insulation board to go around the inside of the collar.

So far things are going smoothly (knock on wood)!
 
Outside Frame is built:

DSC01981.jpg


I'm not attaching the frame to the freezer so it is lighter and easier to move in pieces. I also left a 2 in gap all the way around the freezer to allow for ventilation.

Now off to watch my Nittany Lions win their opener!:rockin:
 
Got a little more work done yesterday before the picnic and was able to trim out the fram with pine:

DSC01984.jpg

DSC01985.jpg

DSC01986.jpg


Next I will be filling in the middle panels with the reclaimed boards I got off the keezer I bought...
 
Added the reclaimed boards to the middle panels (I pre-stained these):

DSC01988.jpg


Here is a close up of the reclaimed boards (I think they may have been from an old barn or something):

DSC01989.jpg


Next I will be filling in the nail holes, sanding and staining the pine trim to match the reclaimed boards. After that it's on to the lid!
 
It's already turning out great. Keep up the good work. I started working on homemade tap handles yesterday out of cedar branches. Not sure how I feel about them yet, but my wife hates them. Jump onto my thread when you get a chance and let me know what you think. I need all the feedback I can get. They will look much better finish sanded and with several coats of poly.
 
Made a little progress on the keezer this weekend. I filled in the nail holes, sanded, put on 2 coats of stain and finally 2 coats of polyurethane.

DSC02034.jpg

DSC02035.jpg

DSC02036.jpg


Cabinet is now done so this week I am buying supplies to start on the lid :rockin:
 
Cut the plywood for the top to size and attached to front skirt boards via cleats from the inside:

DSC02037.jpg

DSC02038.jpg


Going to attach the top trim from under the plywood before I glue the whole thing to the lid and drill my beer line hole...
 
Well, it's pretty much finished. I only need to buy another piece of quarterround to trim out the lid where it meets the tile and a couple internal things to get the beer running. I think she is a beauty :rockin:

DSC02068.jpg

DSC02066.jpg

DSC02067.jpg

DSC02069.jpg
 
Thanks for the kind comments!

I am not sure where the tap handles originally came from because I salvaged them from the keezer I bought off craigslist that broke. They are the kind that you can make your own label and put the paper inside the plastic handle (similar to these http://www.micromatic.com/draft-keg-beer/tap-handles-pid-C100-4-M.html) but I simply filled them with different grain (chocolate malt, 2 row and flaked wheat).

The ones at the site I linked probably won't work though because they have a solid insert that goes behind the paper and the ones I have don't...
 
What a nice job you did, very nice work, using this as a model for my own project if I can free up some time this winter, just built a new house and tore down an old house, salvaged a bunch of old pine and douglas fir floors, 100+ years old, grain patterns are amazing, it has been sitting in the barn all wrap up, I know what it is going to be used for now!!! =) Will post some pics when done, thanks for the inspiration!
 
Thanks! I am really happy with the way the reclaimed wood turned out and it contrasts well with the new material.

Please make sure to post when you end up building yours, i'd be interested to check it out. Good luck! :mug:
 
This came out really nice. I guess the whole top tilts up to access the interior. Does that work out well?

Thanks! It opens the same way a chest freezer would and I have a board that I use to prop it open when I need to change out kegs or adjust my CO2. I used vinyl tiles instead of stone to keep the weight of the lid down and it is still pretty heavy. It is a little tight inside but it works fine...

If I were doing it over again I would go with a bigger chest freezer that would allow me to move around inside a little easier and possibly expand.
 
That is nice. My favorite so far. The dark stain on the wood and the tap handles are a thing of beauty.
 
You mind posting a picture with the top open? I intend on trying to build something similar in the future and I'm not sure I'm properly visualizing how it is attached/opens.

I love the stain with the tile/tap handles. It looks great! :mug:
 
OK, so you just bolted the top on through the existing lid. I have been planning something very similar for my keezer, as far as framing out the bottom and dressing it up a bit. The lid is where I am having some indecision. I think that I may fabricate a completely new lid out of plywood and insulation board that can be lifted completely off the top (independently of the tap tower), but I wanted to see what other people are doing first. Thanks for the pix!
 
OK, so you just bolted the top on through the existing lid. I have been planning something very similar for my keezer, as far as framing out the bottom and dressing it up a bit. The lid is where I am having some indecision. I think that I may fabricate a completely new lid out of plywood and insulation board that can be lifted completely off the top (independently of the tap tower), but I wanted to see what other people are doing first. Thanks for the pix!

Are you planning on building a tap box on top or drilling through your collar? If you are building a coffin style box, having to completely remove the lid and set it aside, while you taps are connected to your lines, anytime you want to change out kegs might be a pain.

Just my 2 cents.
 
Back
Top