
Evan!
Well-Known Member
I hope you don't have dialup or a small screen, because these are kinda big.
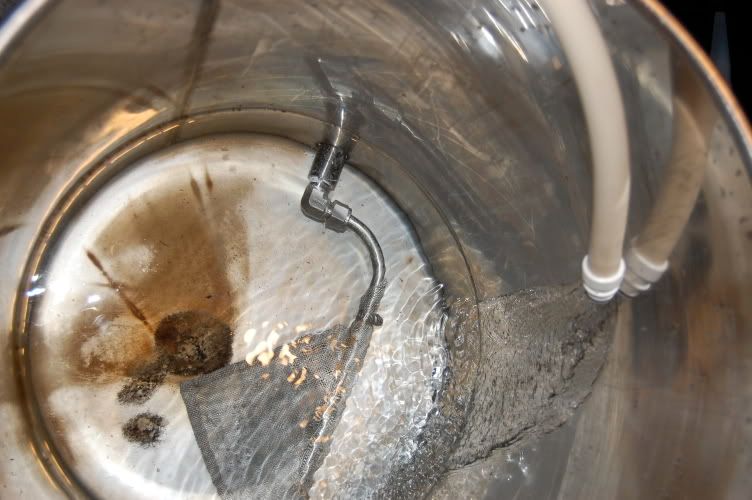
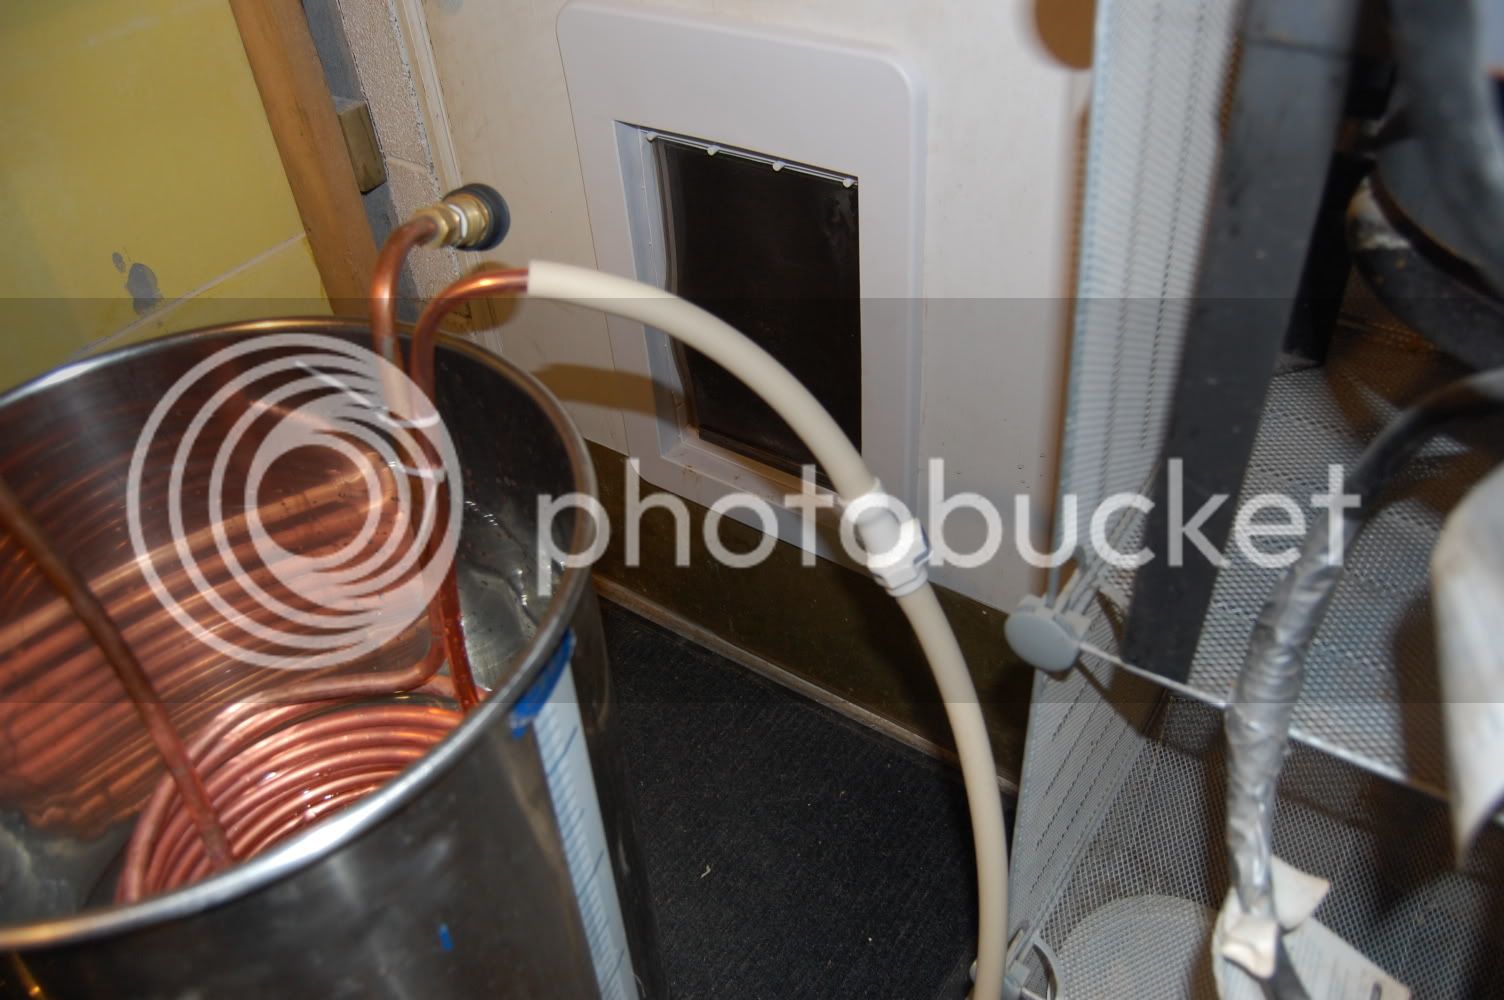
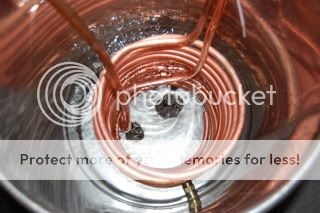
So about a month and a half ago, I built my whirlpool IC using stuff from Lowes and a few things from NB. Brewed three batches with it, and really like it.
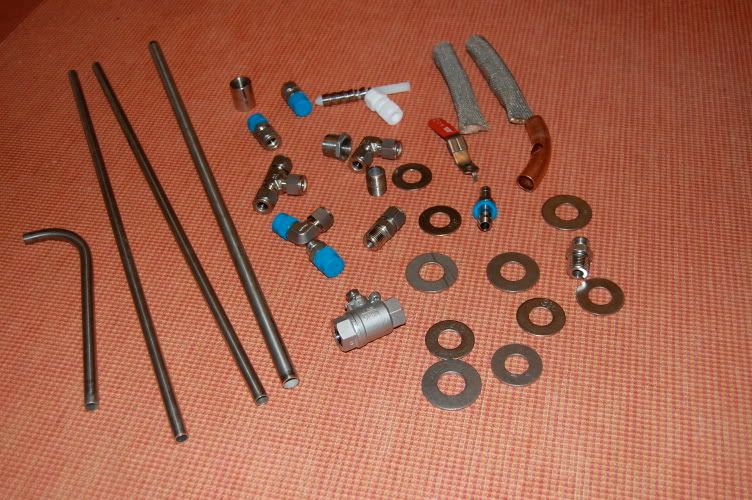
Well, an awesome mf'er from the other forum sent me all this beautiful stainless stuff for free. Thing was, it was coming from Canadia, which meant it took a whole month to arrive. A MONTH! But for free, it was worth the wait. So, here's what he sent:
I also ordered 3 sets of 90 degree QD's from McM-C, two for the march pump, one for the valve:

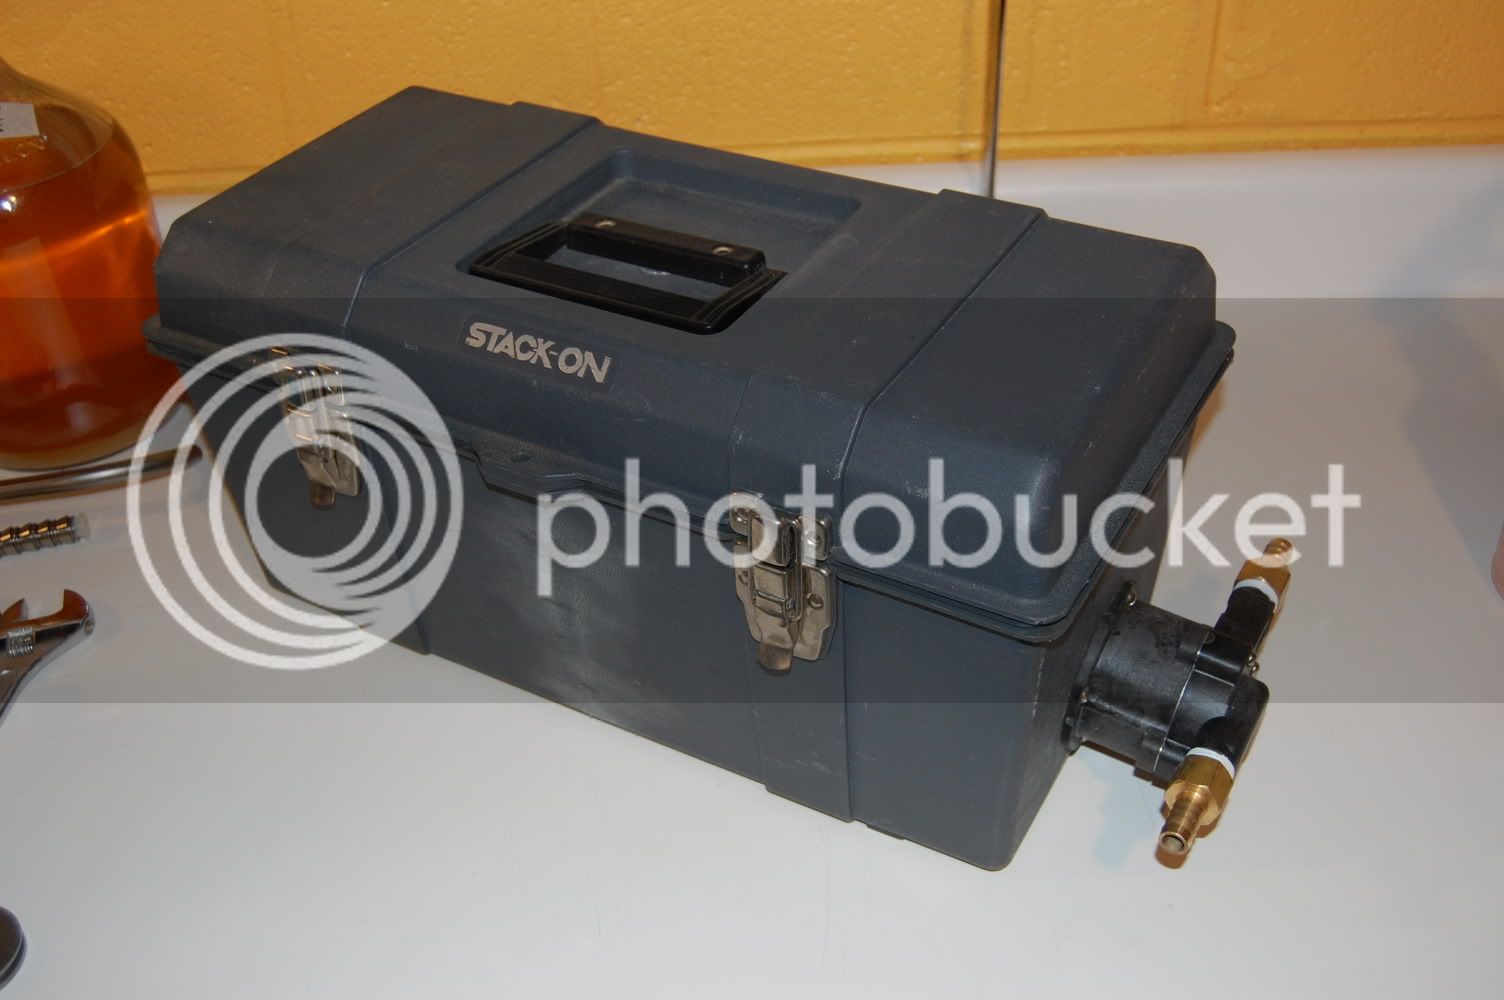
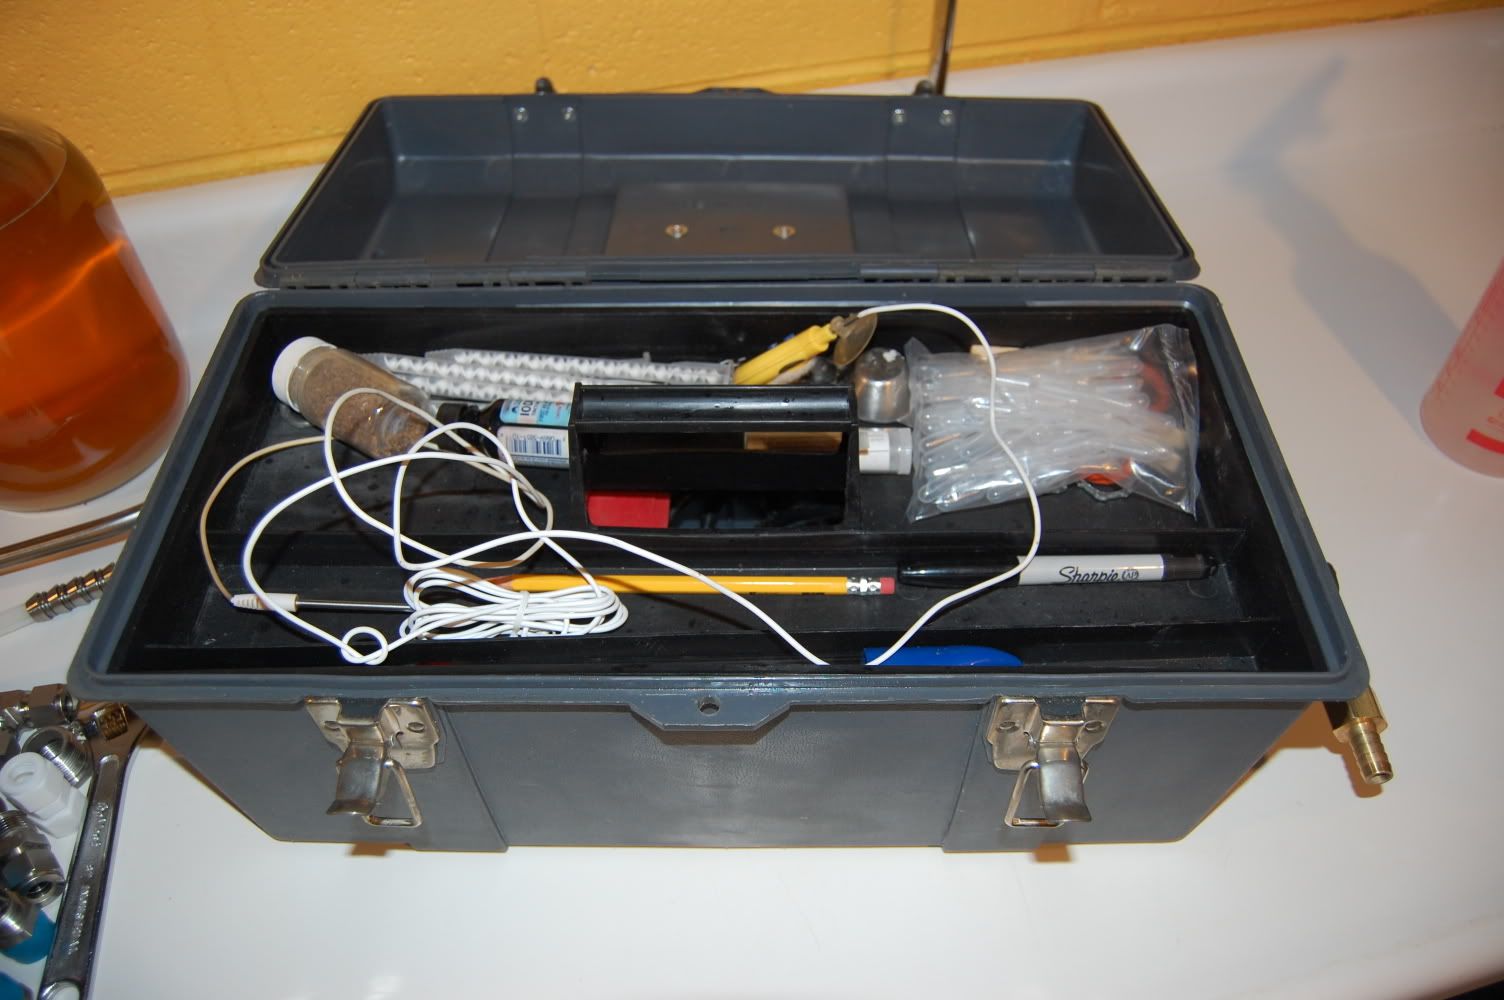
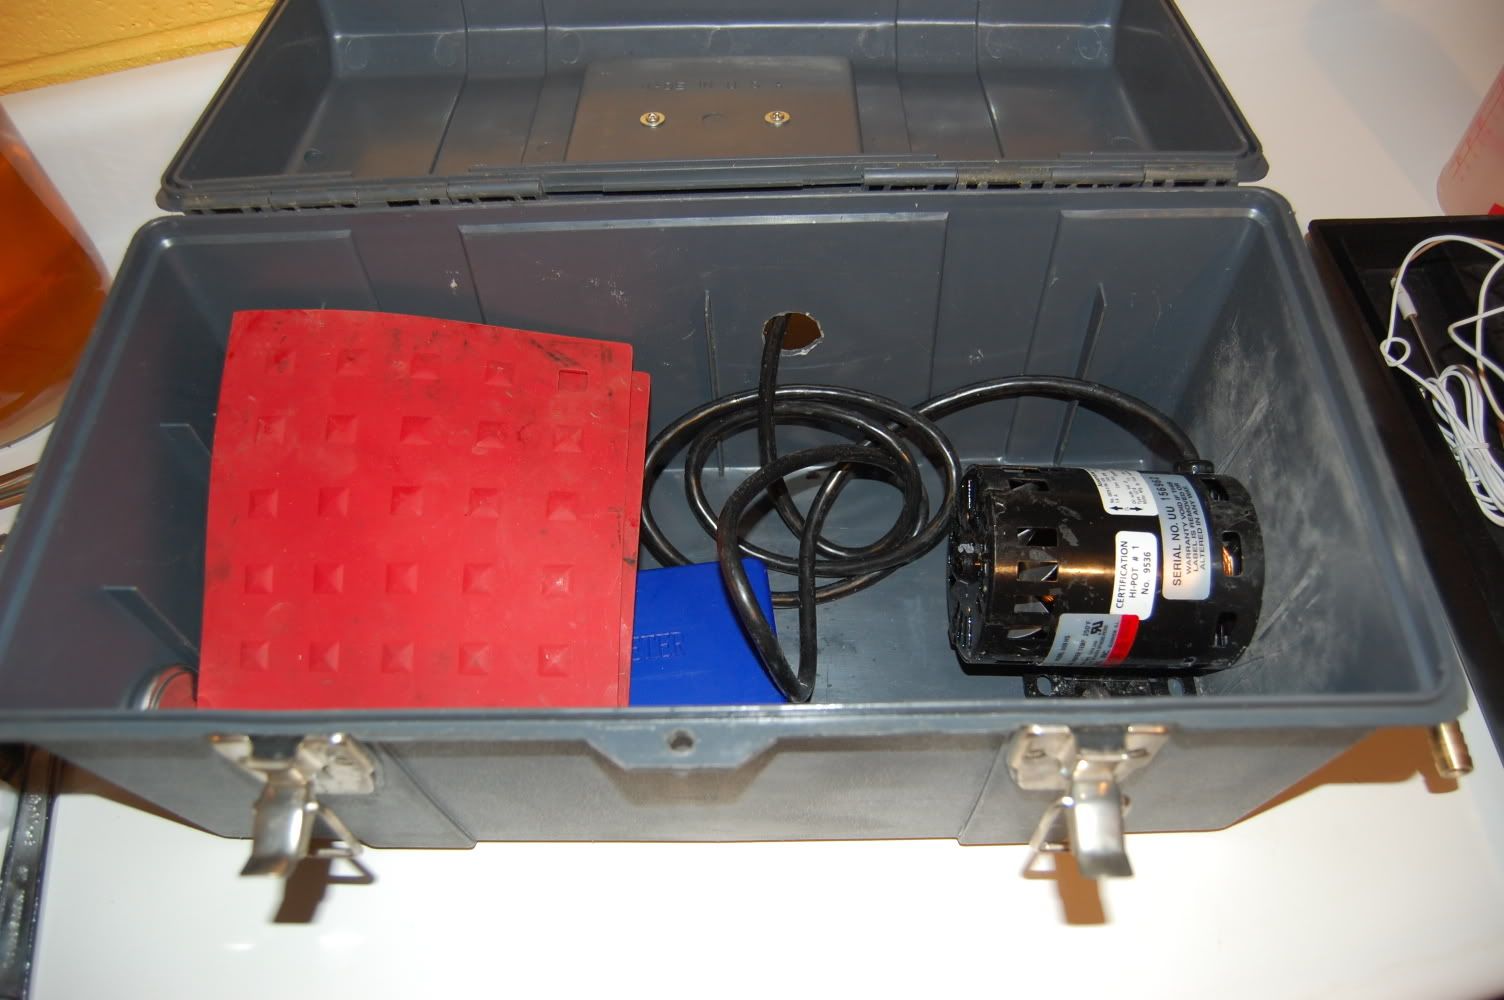
I also took an idea from, I believe, ryanpa, and modded my brewing toolbox with the march pump:
So about a month and a half ago, I built my whirlpool IC using stuff from Lowes and a few things from NB. Brewed three batches with it, and really like it.
Well, an awesome mf'er from the other forum sent me all this beautiful stainless stuff for free. Thing was, it was coming from Canadia, which meant it took a whole month to arrive. A MONTH! But for free, it was worth the wait. So, here's what he sent:
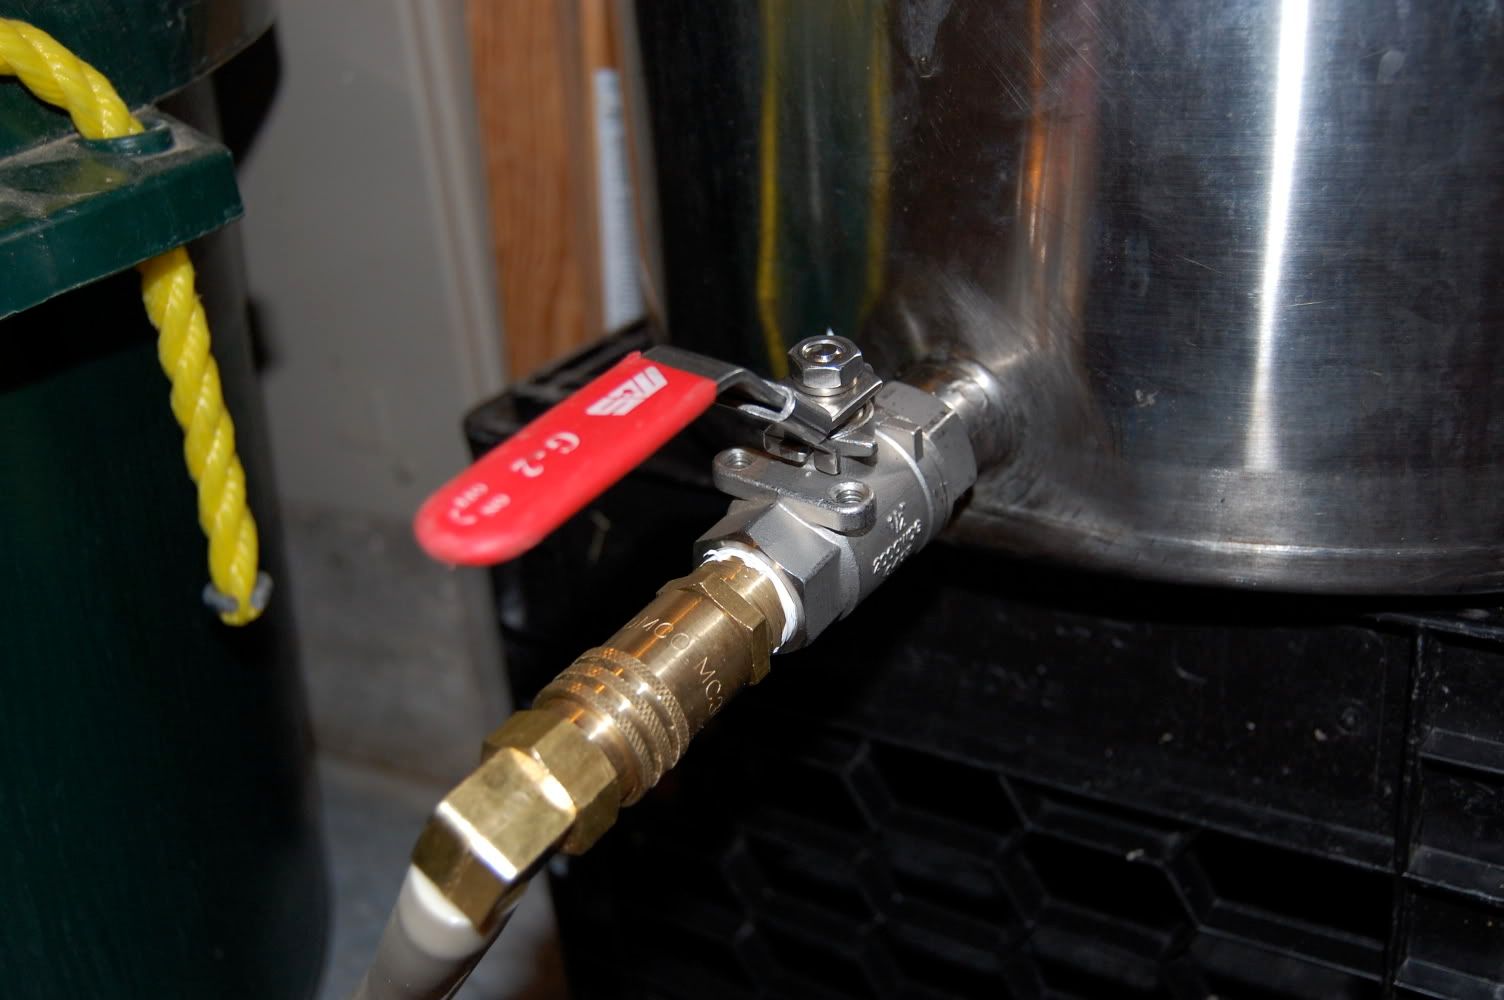
I also ordered 3 sets of 90 degree QD's from McM-C, two for the march pump, one for the valve:
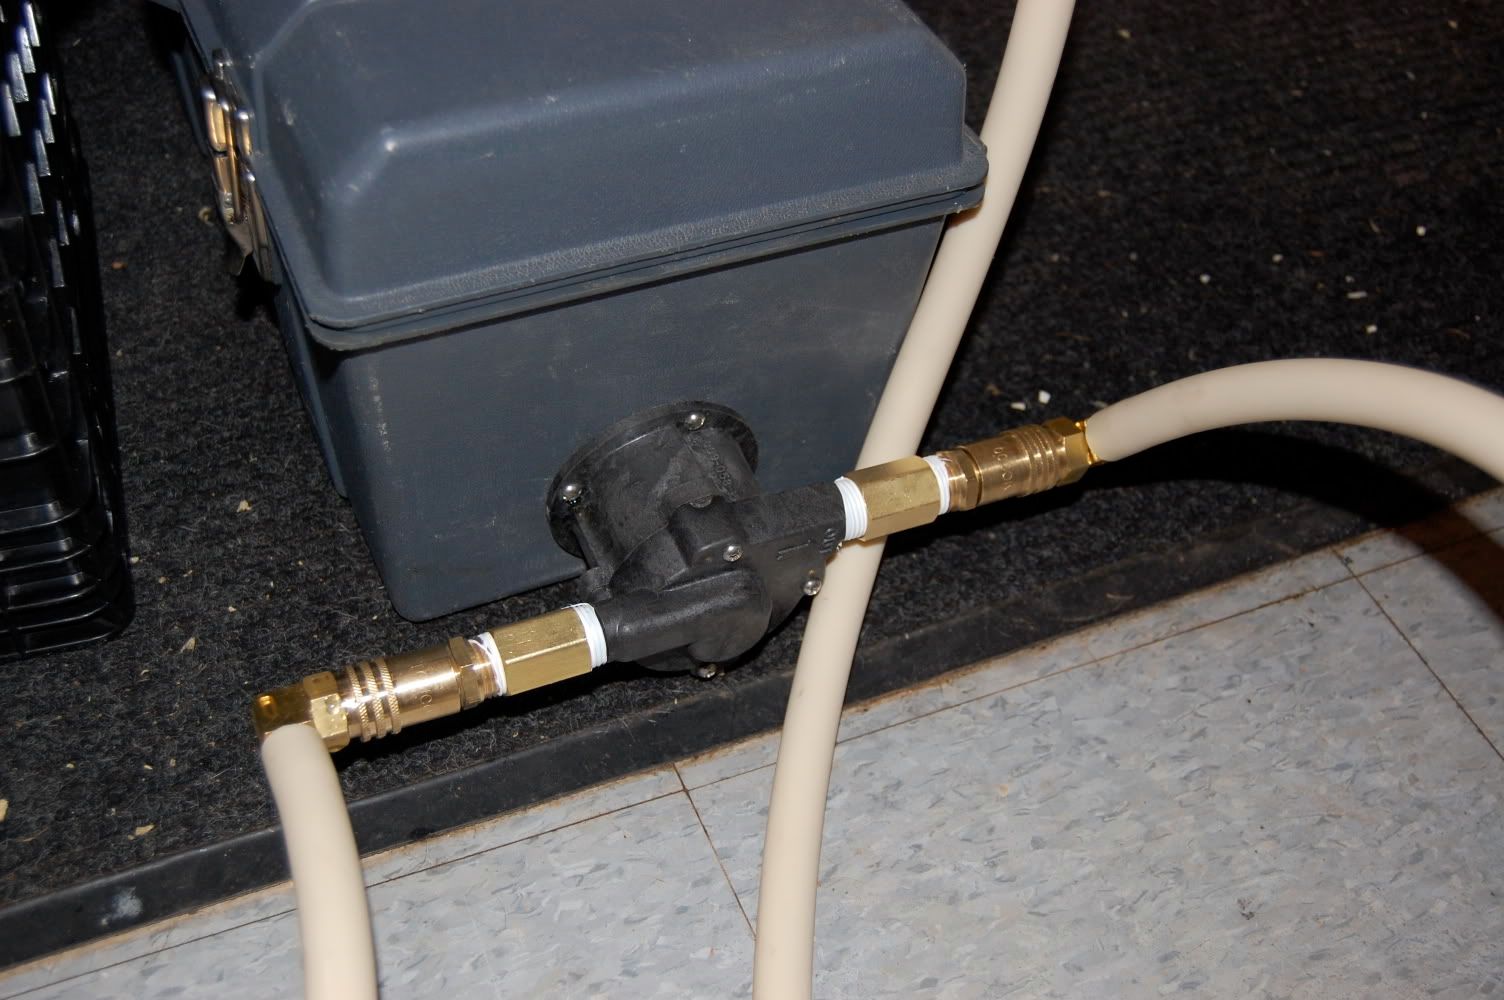
I also took an idea from, I believe, ryanpa, and modded my brewing toolbox with the march pump:


") ) what pump solutions to we have for that besides the fullblown march pump??? is there any cheaper foodgrade pumps I could use to recirculate my wort that can be kept clean and no worries of contamination?? especially considering hot liquids would not be an issue??
) what pump solutions to we have for that besides the fullblown march pump??? is there any cheaper foodgrade pumps I could use to recirculate my wort that can be kept clean and no worries of contamination?? especially considering hot liquids would not be an issue??