Did mine last night. Tried to use the trickle charger for my scooter and it didn't work. Switched to the OPs method with the 9 volt battery and everything went smooth.


I've seen some people have done this on a Bayou Classic. How have they held up to this process?
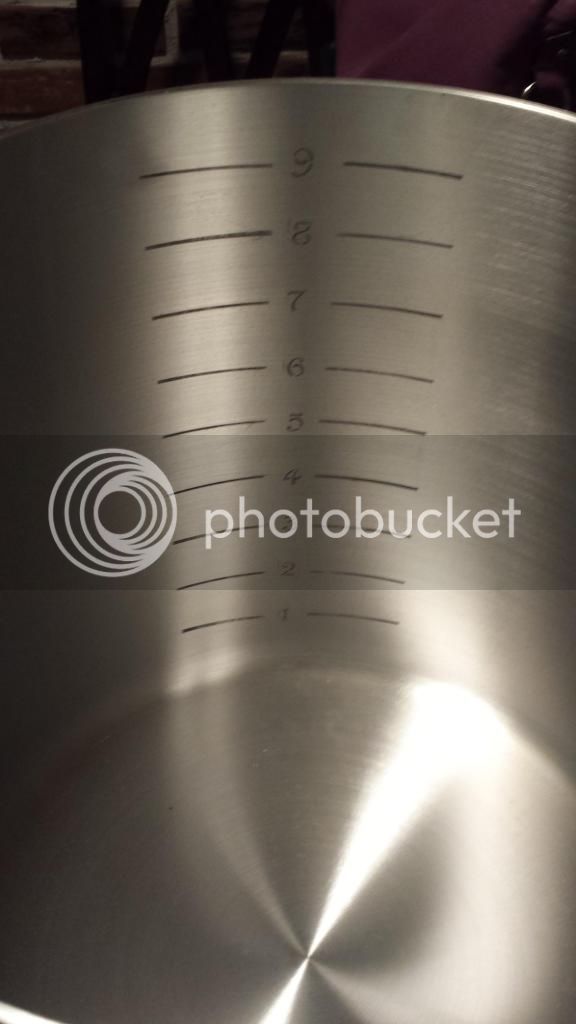
I have the 9 gallon Bayou Classic and would love to try this, but I suspect it isn't the best quality stainless steal. It is magnetic.
Well, I hope the 9 gallon bayou classic holds up because that's what mine is!
Awesome, you can be my test subject! But seriously what are you doing to prevent rusting, if anything? And PLEASE let me know if you see any potential problems.
Awesome, you can be my test subject! But seriously what are you doing to prevent rusting, if anything? And PLEASE let me know if you see any potential problems.
You can see my earlier posts where I etched my stainless 37L Spike kettle, and 7qt Target brand stock pot. I have 0 rusting, and didn't do anything special to prevent rusting. Stainless passivates almost immediately, aluminum does not.
If you get any rust on stainless, you just use some bar keepers friend to remove it. Done. I've got quotes from the owner of Spike saying this, and John Palmer says the same thing (he's a metallurgist and a host for Brew Strong on The Brewing Network, also writes for BYO).
How are you guys making sure your lines are straight? I marked off and tried to tape off, but could never get them straight.
by not drinking too much before applying the tape?How are you guys making sure your lines are straight?

by not drinking too much before applying the tape?
How are you guys making sure your lines are straight? I marked off and tried to tape off, but could never get them straight.
")
It shouldn't be straight, it should be sloped to account for thermal expansion. I thought we discussed that already...
best way not to compromise the integrity of you pot by etching or grinding Cold on left, hot on right - that is actually awesome!

One my 8 gallon kettle I marked out 2 lines one for 6.5 gallon and one for 5 gallon using a dull punch that I rounded out, tap tap TAP on it worked
Sent from my iPhone using Home Brew
Otherwise, measure from the center with a rod and call it a day.
Yup, loads of people in this thread have used chargers.


Used mine yesterday on Stubby's Baytown Brown and it worked out very well. Markings held up to boiling, scrubbing, and PBW. I'll definitely do this to the 80qt kettle I've got my eye on.
Sent from my iPhone using Home Brew

How you like Stubby's kits?
Enter your email address to join: